
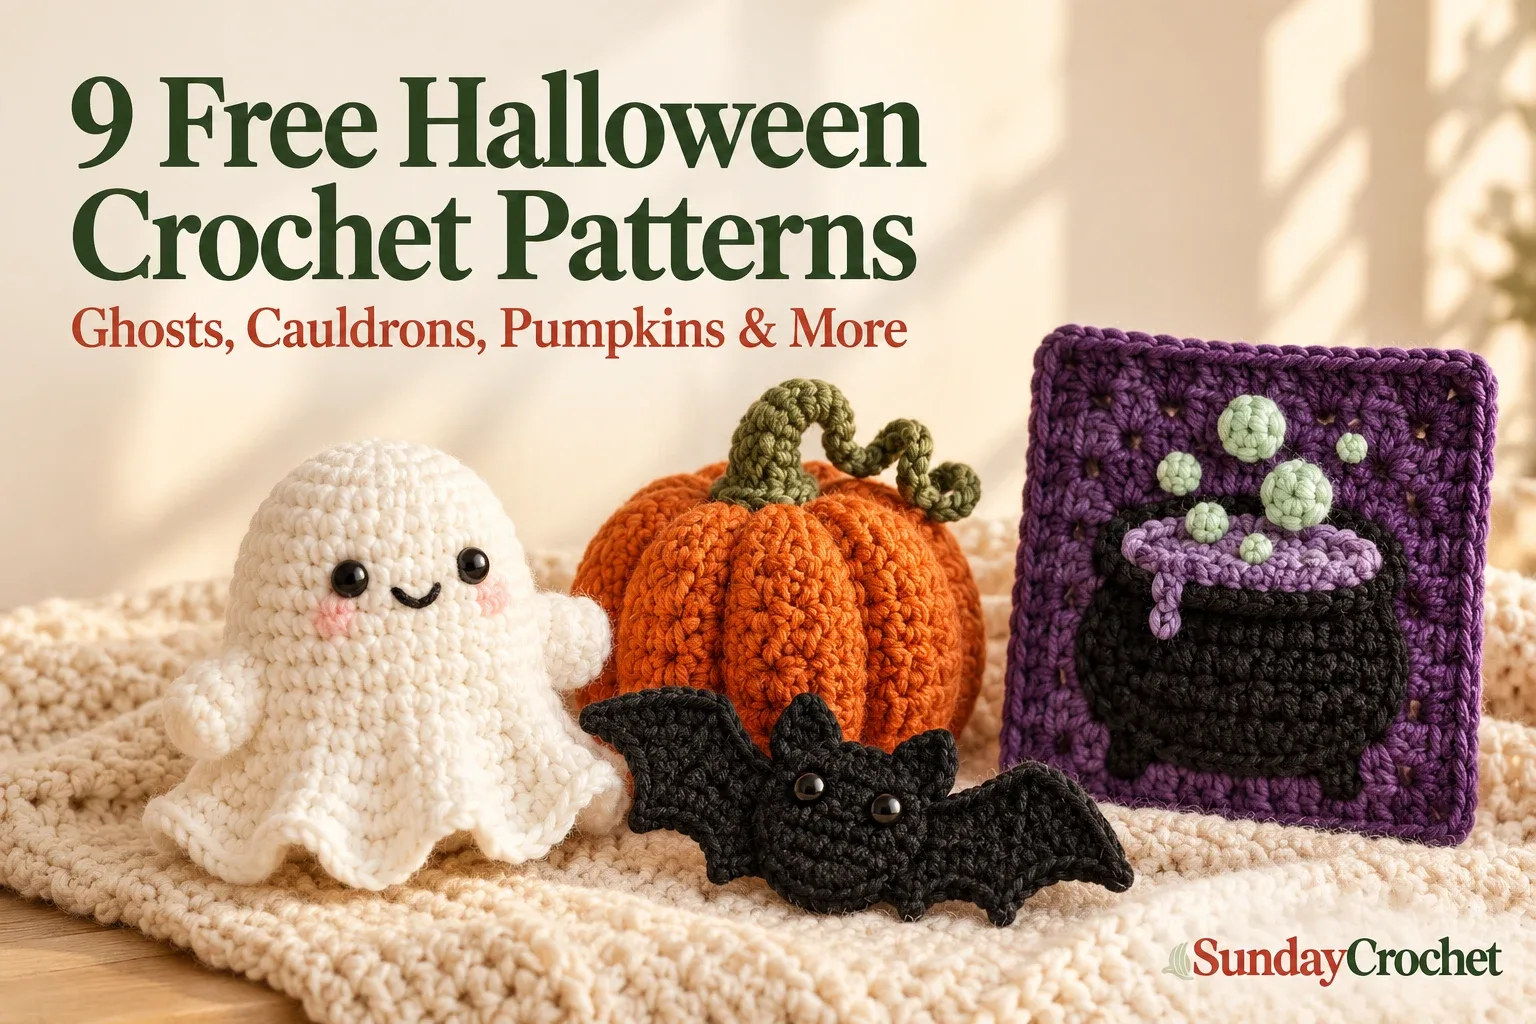
Nine Halloween crochet ideas, from small amigurumi to seasonal granny squares. · Sunday Crochet
In this article
01 · Nine Halloween crochet ideas, from quick makes to statement squares02 · 1. Easy Mini Crochet Ghost Pattern: Lollipop Cover03 · 2. Crochet a Witch Ghost Amigurumi04 · 3. Easy Crochet Bat Applique05 · 4. Easy Halloween Ghost Granny Square06 · 5. Crochet Bubbling Cauldron Granny Square07 · 6. Easy Crochet Pumpkin Pattern in Any Size08 · 7. Mini Crochet Pumpkin Keychain Pattern09 · 8. No-Sew Crochet Pumpkin Amigurumi10 · 9. No-Sew Crochet Ghost with Ruffled Hem11 · How to choose a Halloween crochet project12 · A little handmade Halloween collectionNine Halloween crochet ideas, from quick makes to statement squares
Halloween crochet can mean a tiny favor you finish in an evening, a soft amigurumi friend, or a motif that becomes part of a larger blanket. This roundup brings together nine free patterns from Sunday Crochet so you can compare the projects before choosing one. You will find little ghosts and pumpkins, a flat bat applique, and two granny squares with very different centers.
Each project section includes a little more than a title: what shape you will make, how the construction works, details that affect the finished result, and ideas for using the piece. The linked pattern has the complete instructions and materials. Check it before you begin, especially if yarn weight or finished size matters for your project.
If you want a quick choice, start with the mini ghost or the flat bat applique. If you enjoy working in joined rounds, browse the amigurumi ghosts and pumpkins. For a motif you can combine with other blocks, compare the ghost square and the bubbling cauldron square.
1. Easy Mini Crochet Ghost Pattern: Lollipop Cover
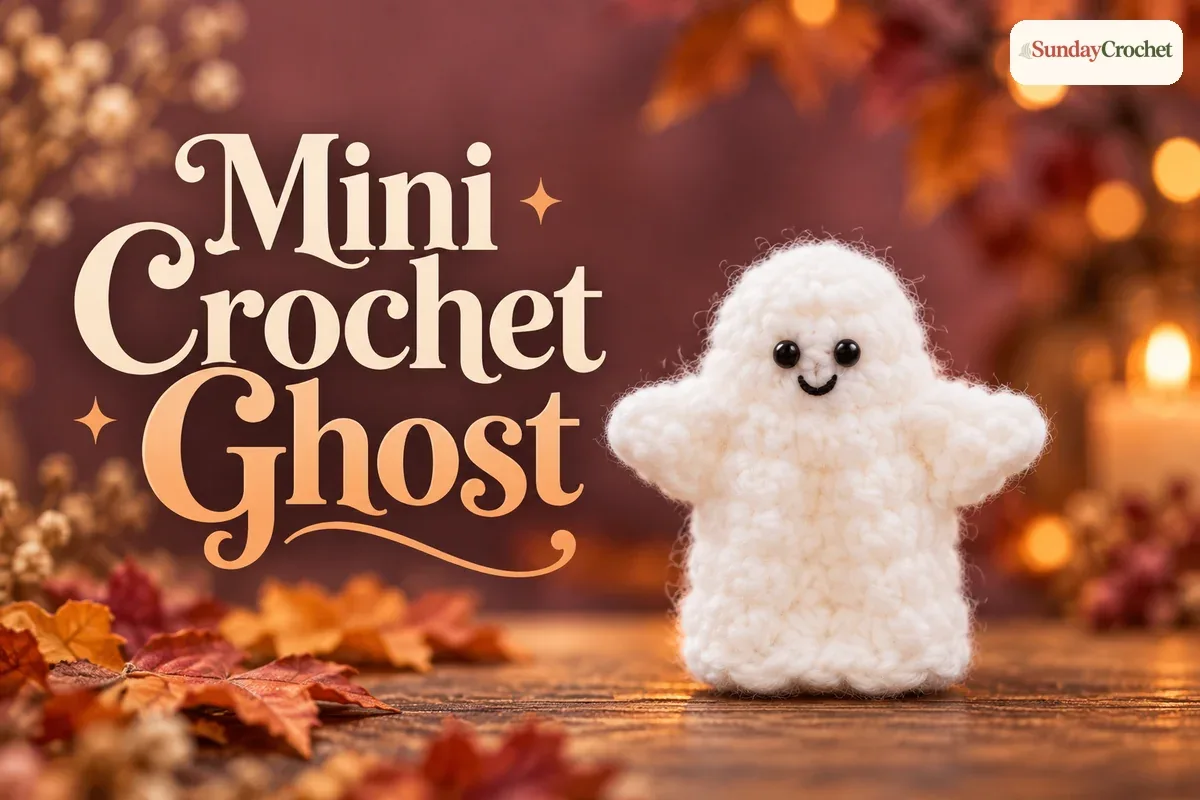
This mini ghost is about 7 cm tall, with a rounded top, two little openings for its arms, and a flared lower edge. The body is worked from the top down in joined rounds. Rather than making and sewing on separate arms, you create the openings by skipping stitches at the arm round, then continue the body below them. That keeps the shape small and simple while giving the ghost its recognizable silhouette.
The sample materials are fine 3-ply yarn, a 2.5 mm hook, and 5 mm safety eyes. The pattern uses US terms and gives round counts, so it is easy to see how the small circle grows into a body. The size is approximate and will shift with yarn and tension. If you plan to use it over a lollipop, compare the finished opening and height with the treat you have in mind before making a batch. It can also stand alone as an ornament or a tiny Halloween favor.
The small scale makes this a good first amigurumi-style Halloween project for someone comfortable with joined rounds and increases. The main point to watch is the arm-opening round: count carefully before and after the skipped stitches so the openings stay balanced on both sides. The full easy mini crochet ghost pattern includes the complete shaping and finishing details.
2. Crochet a Witch Ghost Amigurumi
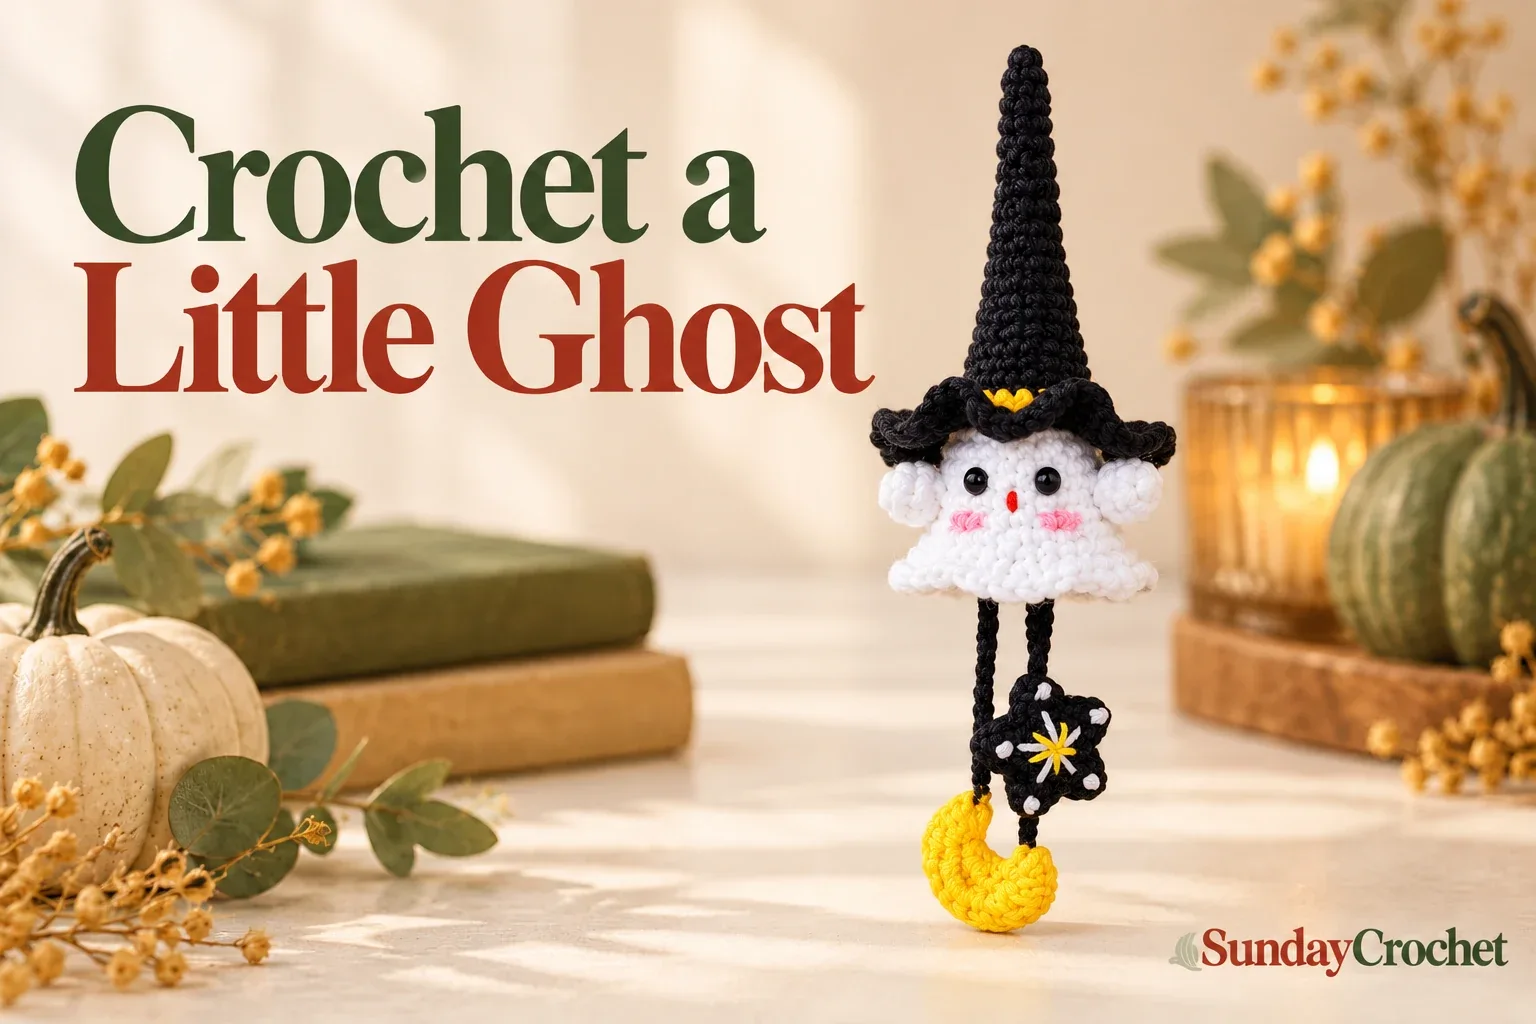
This little character combines a white ghost with a tall black witch hat and two dangling celestial details, a star and a moon. The hat starts narrow and gradually widens before its brim flares out. The ghost body has a shaped lower edge, and the pattern provides charted stitch counts for the hat, body, two arms, star, and moon. It is a more involved character make than the mini ghost because there are several small pieces and finishing choices to bring together.
One useful detail in the pattern is its distinction between the charted crochet and the photographed styling. The sample finish also shows long black legs, decorated boots, and facial details, but those extras do not have stitch instructions in the pattern. You can follow the counted pieces as written and decide whether to add your own finishing details. The yarn weight and hook size are not specified, so choose a yarn that gives you a fabric you like and use a matching hook, keeping tension consistent across the pieces.
This is a nice choice when you want an amigurumi that reads as a tiny Halloween character rather than a plain ghost. Make the star and moon charms in contrasting colors so they remain visible against the white body. Read the witch ghost pattern before starting to see the full charted counts and notes about which pictured details are left open for you to interpret.
3. Easy Crochet Bat Applique
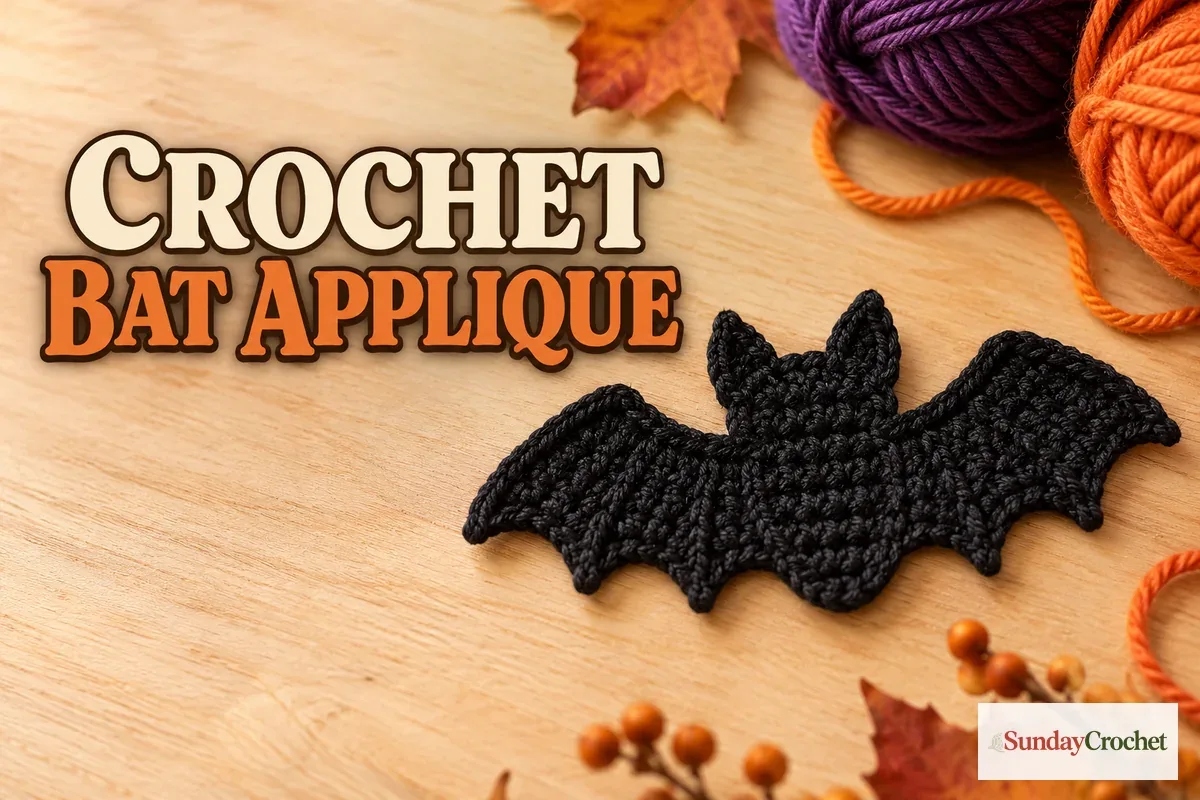
The bat is a flat applique rather than a stuffed toy. It begins with a 15-chain foundation, then the outline is formed by working along the chain in stages. A mix of stitch heights gives the first side its curved wing shape; small picot details create pointed ears; and a return pass shapes the other edge. The resulting silhouette has a center body with broad wings, all in one small piece.
Because it is flat, this project uses less yarn and avoids stuffing and assembly. The sample uses US terms and familiar stitches, but the changing stitch heights and working back along the foundation chain reward steady counting. The exact finished measurement and gauge are not specified, so yarn and hook choice will affect the size. A brighter yarn can make it easier to see the stitch placement while you learn the shape; black gives the classic bat look once you are comfortable with the steps.
Use the finished applique as a seasonal accent on a handmade card, bag, or other decorated project. If you are making several, keep the chain tension and picot spacing similar so the bats look like a set. The crochet bat applique pattern walks through the foundation, first wing edge, ear points, and opposite edge in order.
4. Easy Halloween Ghost Granny Square
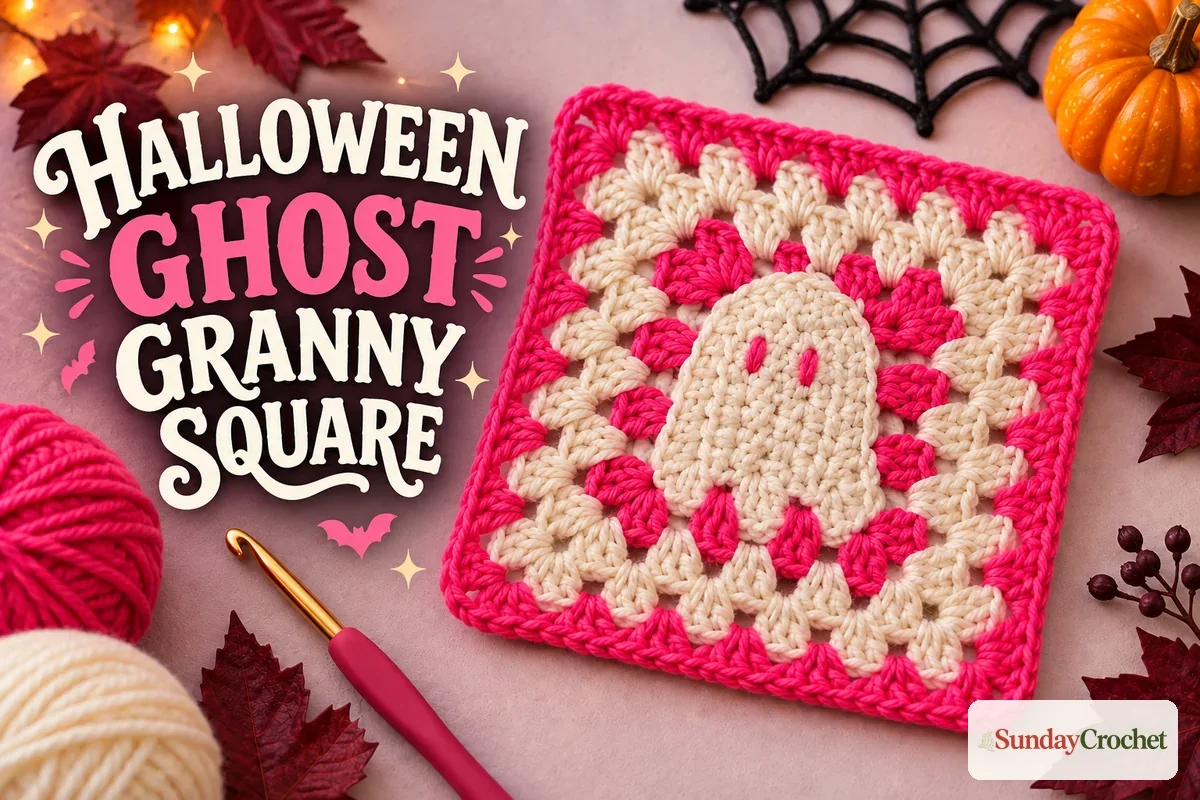
This square puts a small ghost at the center of a familiar granny-square frame. First, the ghost is shaped separately over a short foundation chain. Half double crochet widens the rounded head, and three groups of double crochet form a softly scalloped bottom edge. The first square round outlines that motif and establishes the corners. Three additional granny rounds grow the block outward, with a contrasting border to finish it.
The sample uses worsted-weight yarn and a 4.5 mm hook. The written pattern uses cream for the ghost and inner square, then a contrast color for the outline and border. Pink makes the stitch placement clear in the pictured example, while black, purple, or another dark shade gives the square a more traditional Halloween palette. If you are comfortable with chains, half double crochet, double crochet, slip stitch, and treble crochet, the round-by-round construction lets you follow the changes from a small motif to a square.
One square can be a little seasonal decoration on its own, or you can make several for a blanket, cushion, or bag panel. The linked instructions cover one motif, so you will need to choose your own joining method and overall project size if you build a larger piece. See the Halloween ghost granny square pattern for the ghost shaping, four square rounds, and finishing notes.
5. Crochet Bubbling Cauldron Granny Square
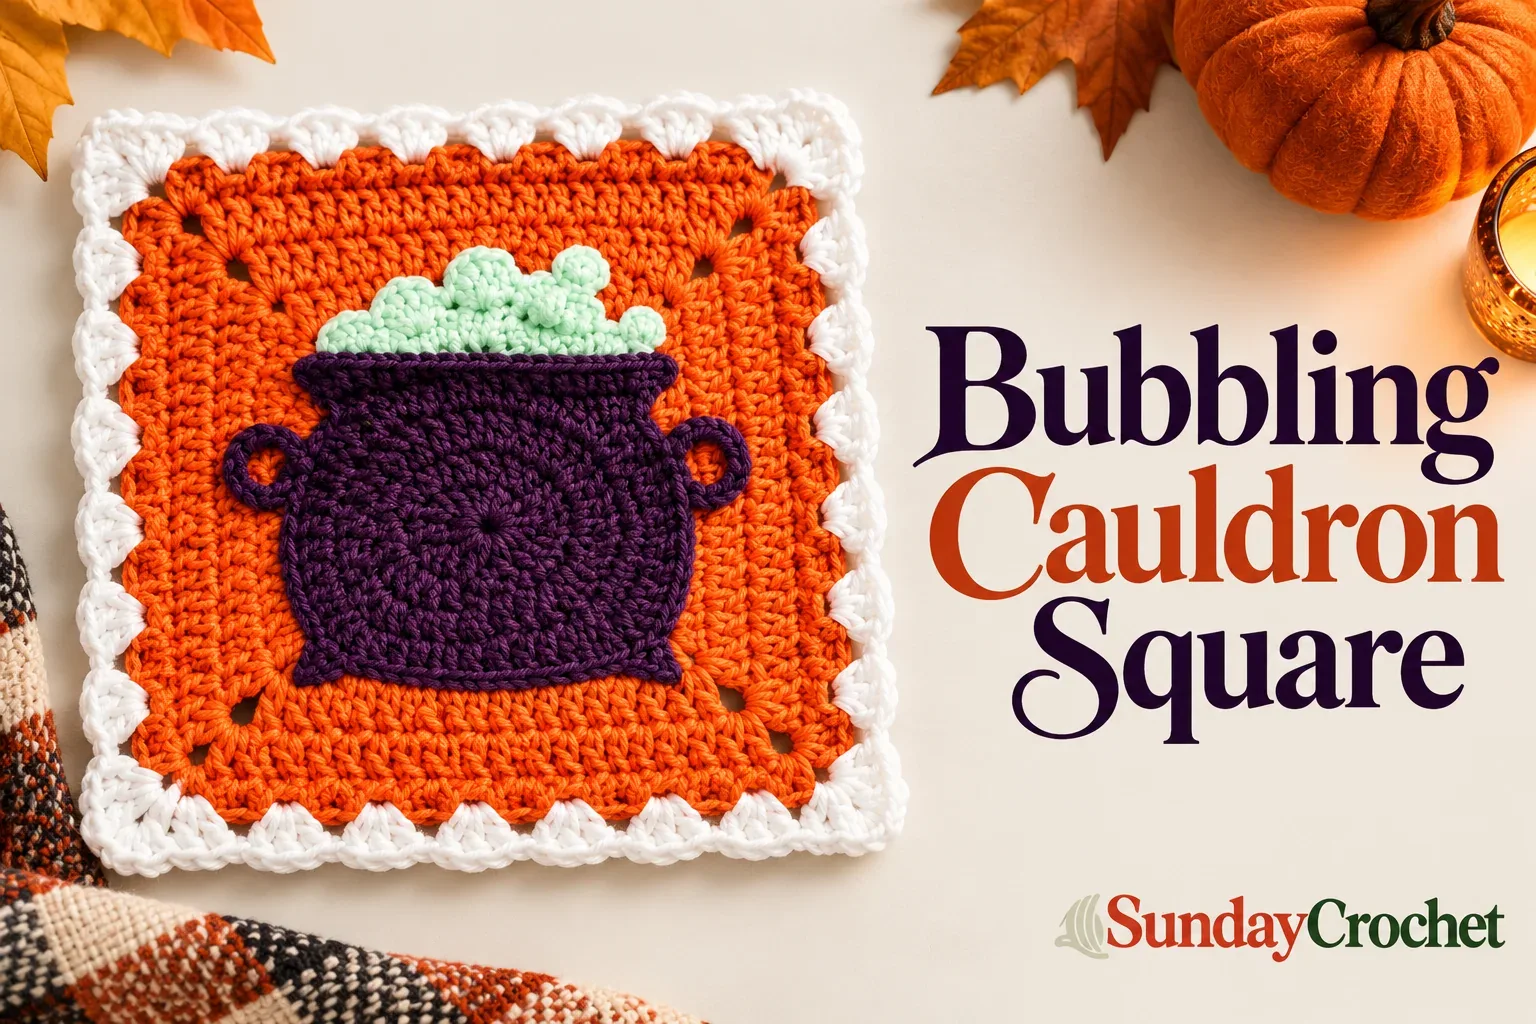
The bubbling cauldron square has more layers and texture than the ghost motif. A purple circle forms the pot in the middle of an orange block. The cauldron details are then built from the unused loops: handles, feet, and a rim help define the pot without making every detail as a separate piece. A mint-green applique sits under the rim as foam, and a white shell border frames the finished square.
The pattern builds the square in ten rounds and then returns to shape and finish the cauldron. It uses US terms and includes taller stitches as well as the usual single, half double, and double crochet, so it is most comfortable if you have some experience with stitch placement and joined rounds. The foam and rim are attached as appliques, which gives you a chance to position the bubbling edge before securing it. The exact block size depends on yarn, hook, and tension; keep those consistent if you plan to combine this square with other motifs.
Use it as a Halloween pillow front, a tote panel, or one block in a larger seasonal blanket. The border and color choices can help it coordinate with other squares. The bubbling cauldron granny square pattern includes the round sequence plus the separate directions for the pot details and foam.
6. Easy Crochet Pumpkin Pattern in Any Size
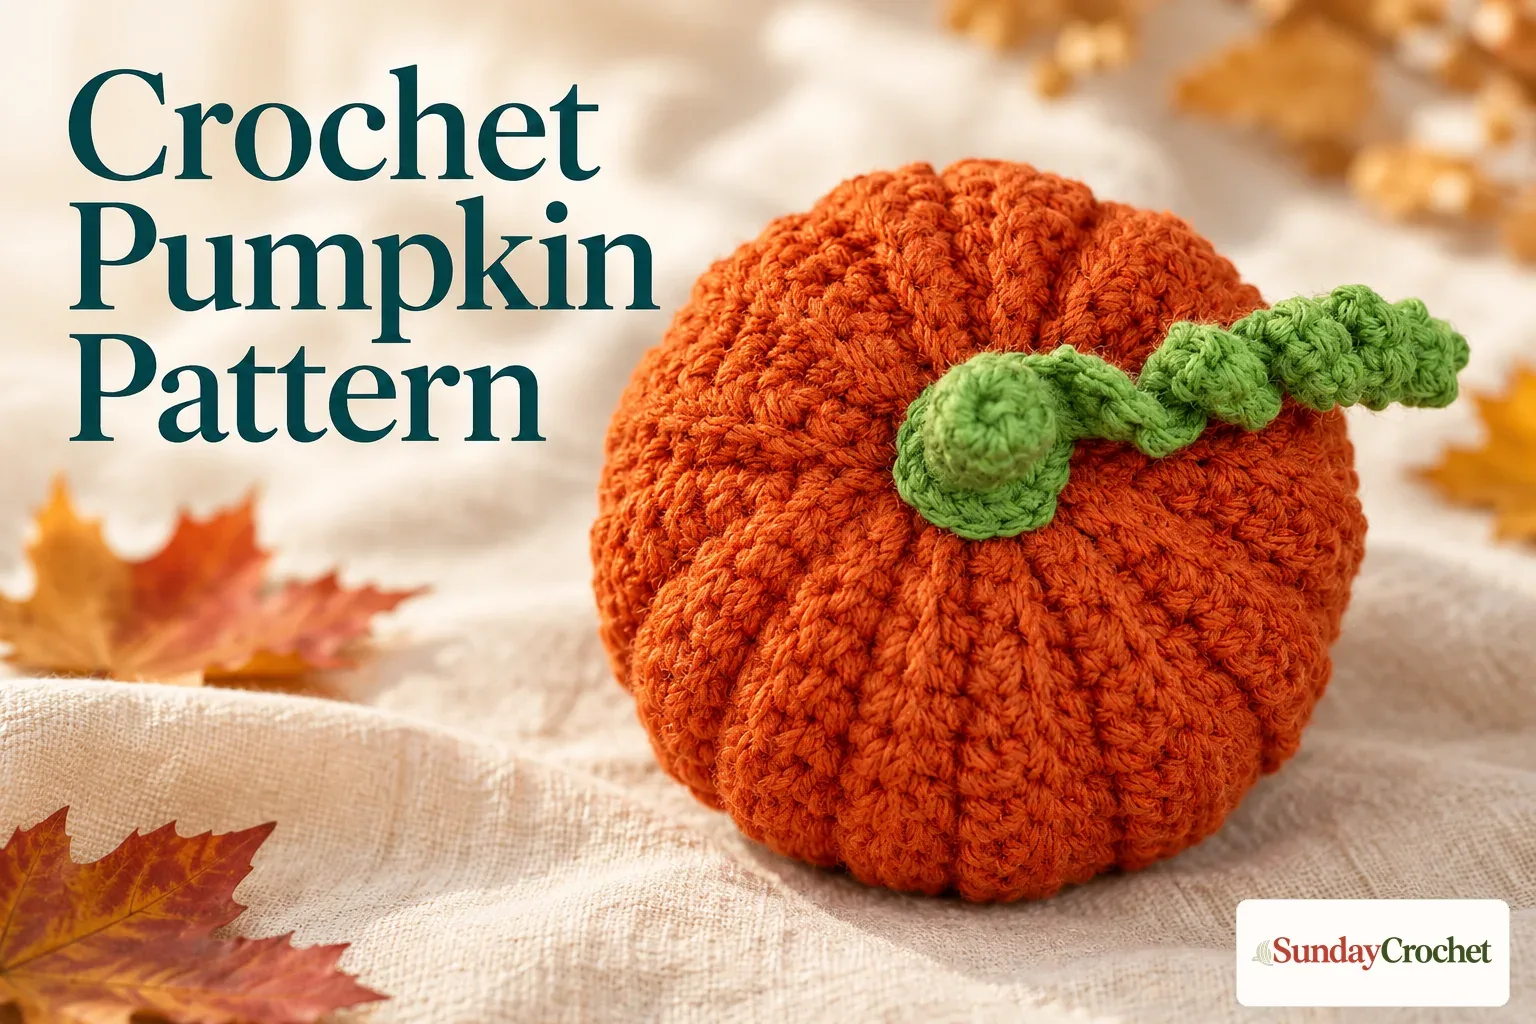
This adjustable pumpkin is constructed from a flat ribbed strip instead of a ball worked in continuous rounds. The sample begins with a 21-chain foundation and makes a 20-stitch row. Each row uses single crochet and half double crochet at both ends, with double crochet through the middle. After the first row, working into back loops leaves ridges along the strip. Once you have enough rows, sew the short ends together to make a tube, gather the bottom, add stuffing, and close the top.
The pattern shows how to scale the strip by changing the foundation chain and adding rows. The sample uses 21 chains and 25 rows; longer foundations such as 31, 41, 51, or 61 chains make a taller panel, while additional rows increase the circumference. A small green stem is crocheted in joined rounds and attached at the gathered top. The optional curly vine starts with a chain and curls as you work back along it.
This construction is useful if you enjoy shaping and sewing more than counting a long series of amigurumi rounds. The visible back-loop ridges guide the pumpkin segments, and the final shaping passes draw those ribs inward. The crochet pumpkin pattern in any size explains the row sequence, seam, gathers, stuffing, and stem. Finished measurements are not specified, so use the strip dimensions and your own desired display size as a guide.
7. Mini Crochet Pumpkin Keychain Pattern
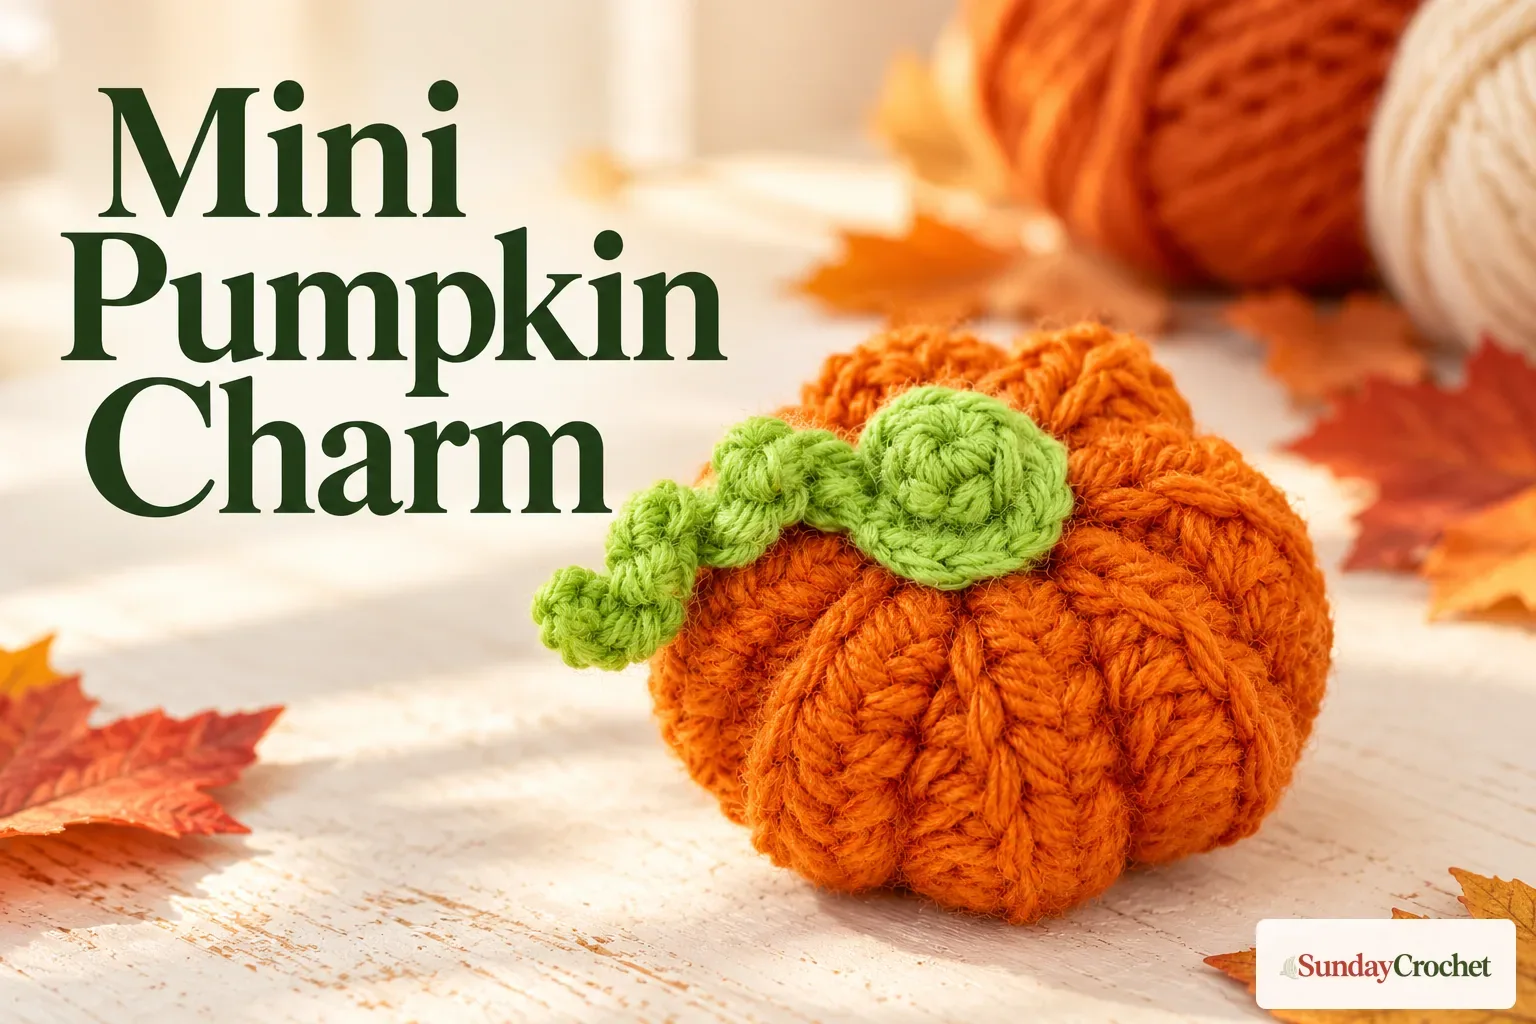
This mini pumpkin uses a narrow strip to create a tiny ribbed body. The orange panel begins with 13 chains and has 12 stitches across: one single crochet at each edge and ten half double crochets in the middle. The following rows are worked into back loops to make raised ridges. After 16 rows, seam the two row edges into a tube, gather one end, add a little stuffing, close the other end, and pull yarn through the body to define the ribs.
The separate green stem is small too. It begins with five single crochets, grows to ten, and gets a curled vine made by working two single crochets into each chain on the return. The sample uses a 3.5 mm hook and US terms. Keep the first and last stitches easy to spot on each row, since those single-crochet edges help the strip stay even and make the seam easier to line up.
The pattern makes the crocheted pumpkin and stem, not the metal key ring or its attachment. You can display it as a miniature fall ornament or add suitable hardware separately if you want a keychain. It is a good pick for using a small amount of orange and green yarn, with enough shaping detail to feel satisfying without becoming a large project. The mini pumpkin keychain pattern includes the row counts and finishing sequence.
8. No-Sew Crochet Pumpkin Amigurumi
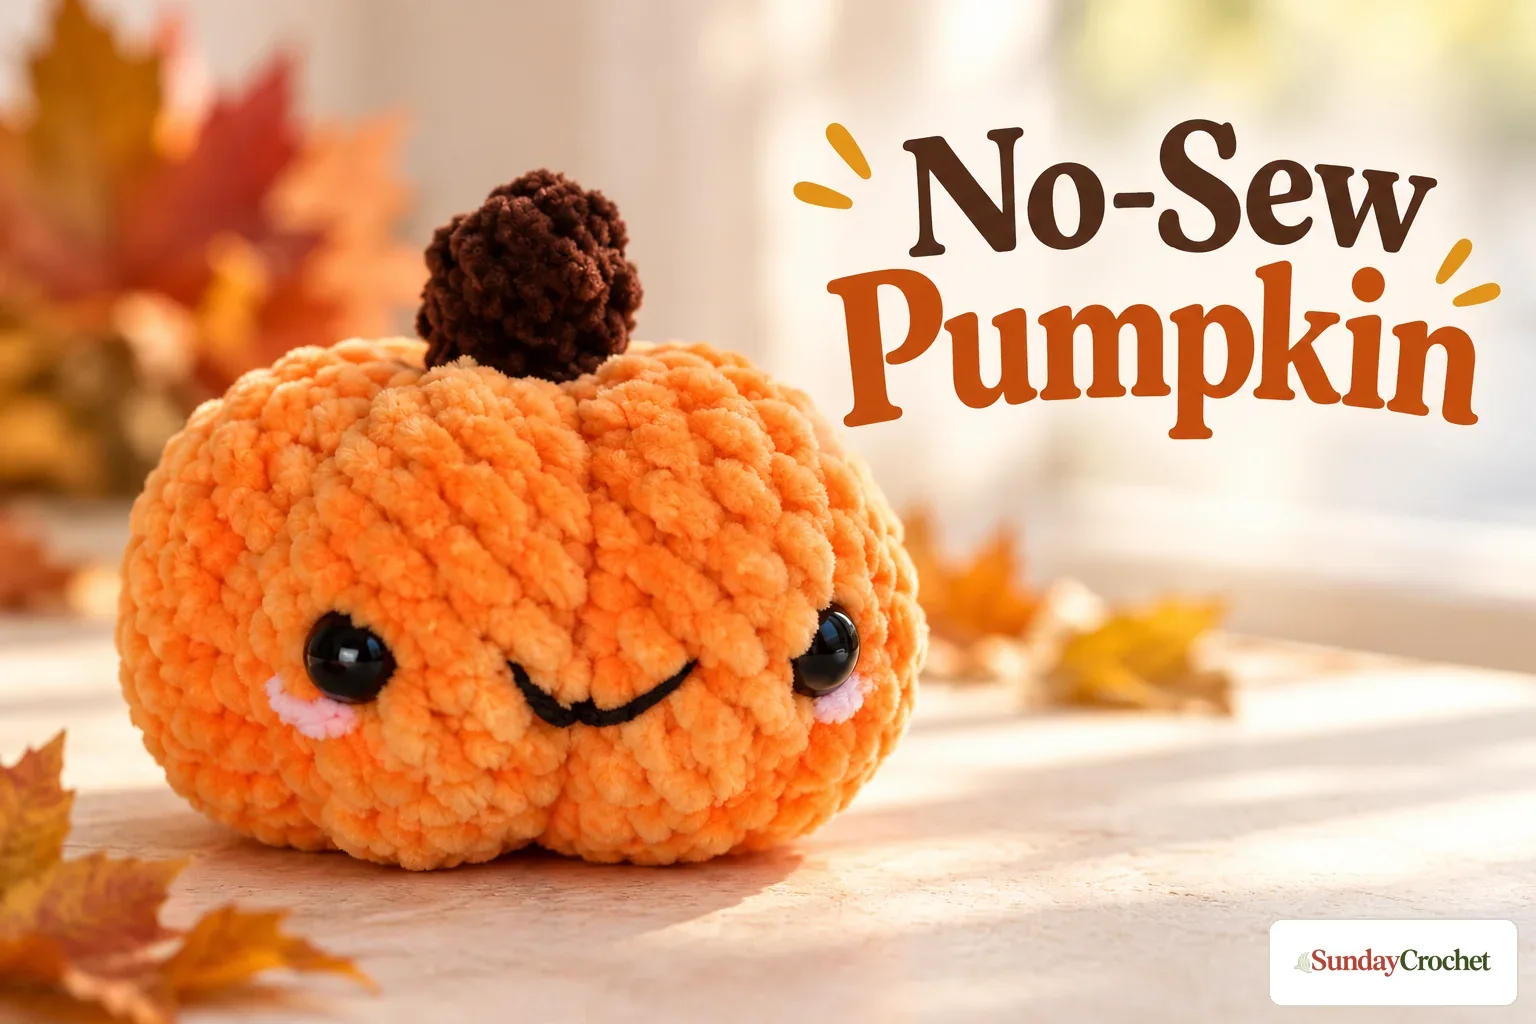
This plush pumpkin begins with a short brown stem and continues directly into the orange body, so the stem does not need to be made separately and sewn on. The pattern has 19 rounds in total. Once the crocheted body is complete, use a yarn needle to close the bottom and draw in six sections to create the pumpkin ribs. The name “no-sew” describes the continuous crochet construction, while the finishing still uses a needle for closing and shaping.
The face is optional. Leave the pumpkin plain for a simple autumn decoration, or add safety eyes and embroidered features for a character-like Halloween version. The article gives a round-by-round stitch count and notes that the finished size varies with the bulky yarn, hook, and tension. Plush yarn makes a soft surface, though the fuzzy texture can hide stitch tops. A stitch marker helps track the beginning of each round, and checking the count as you go is especially useful around the increases and decreases.
If you want a stuffed pumpkin with a stem that grows from the body, this is the most direct construction in the roundup. The shaping step is what turns a round plush into a segmented pumpkin, so distribute the pulls evenly rather than tightening only one side. The no-sew pumpkin amigurumi pattern includes all 19 rounds and the options for the face.
9. No-Sew Crochet Ghost with Ruffled Hem
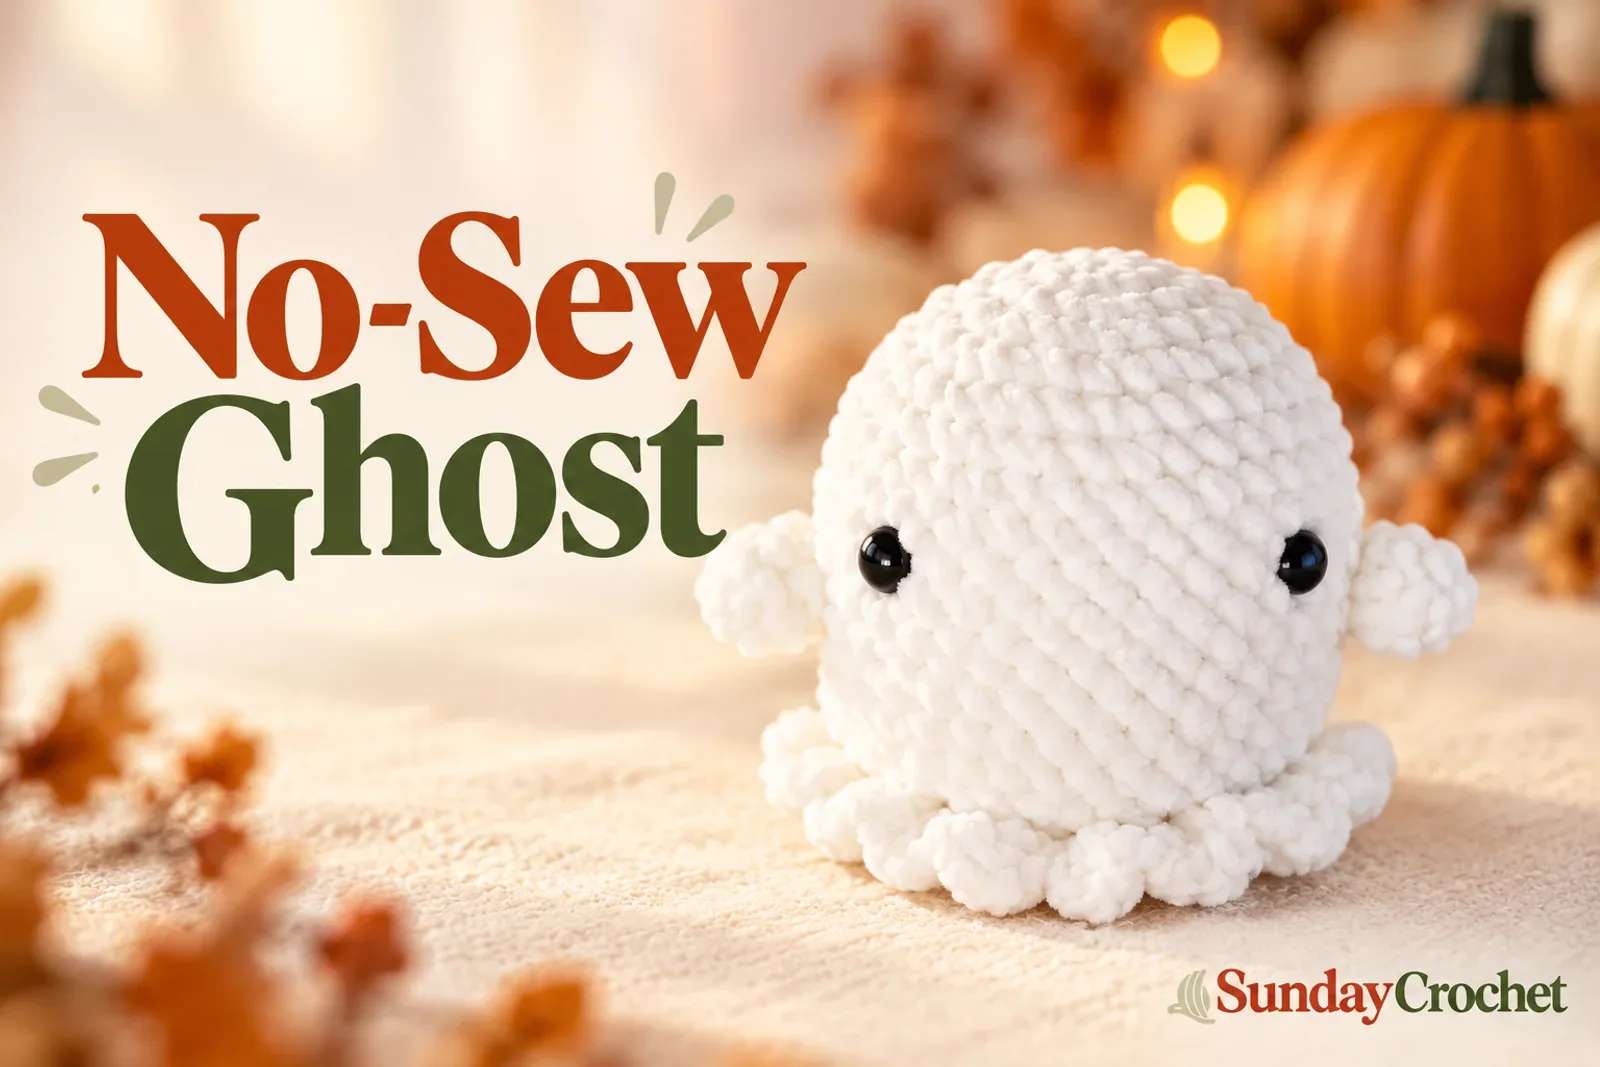
This ghost is a soft plush with a rounded body, small arms, safety eyes, and a ruffle around the bottom. The arms are crocheted first, then joined directly into the body as you work, avoiding the fiddly step of sewing two tiny limbs onto the finished toy. The body is crocheted from the crown down, shaped with increases and decreases, and stuffed before the remaining opening is closed.
The ruffle is made from the front loops at the lower edge, using taller stitches to add fullness. The pattern places the ruffle before the final rounds that close the body, so follow its order and leave enough room to stuff comfortably. Plush yarn works up quickly and gives the ghost a soft finish, but the fuzzy strands can make it harder to see the top of each stitch. A stitch marker and careful counting help keep the shaping even. The instructions use US terms and cover 23 body rounds.
This is a good option if you like the look of a small ghost plush and want its arms integrated rather than attached afterward. The ruffled hem creates movement and gives it a different silhouette from the plain mini ghost. The no-sew crochet ghost pattern with ruffled hem explains the arms, body, eye placement, stuffing, and finish.
How to choose a Halloween crochet project
Think about the shape and construction you would enjoy making. The bat is flat and has no stuffing. The mini ghost, witch ghost, and two plush designs are worked as small amigurumi projects, although each has different details to finish. The two pumpkin patterns give you a choice between a strip that is seamed and gathered, and a continuous stem-to-body construction that is shaped afterward with a needle. If you prefer squares, the ghost and cauldron patterns both grow outward into framed motifs.
Size may matter too. The mini ghost is around 7 cm tall, while several other patterns do not give fixed finished measurements. For those, yarn and hook choice, stitch tension, and the number of rows or rounds affect the final scale. The adjustable pumpkin is the easiest one to adapt deliberately because its foundation chain and row count are designed to change. For a set of granny squares, use the same yarn weight and hook across motifs, then compare their size before joining them.
Before you start, open the linked pattern and gather the materials it actually specifies. A keychain fitting is not included in the mini pumpkin instructions, and the witch ghost has a few pictured styling details that are not charted. Those notes help you plan the project without assuming every pictured extra is part of the written pattern.
A little handmade Halloween collection
These nine patterns cover several kinds of seasonal crochet: quick flat decoration, small amigurumi, ribbed pumpkins, and granny-square motifs. You can make just one project for your own display, or choose a few pieces that work together in color and scale. Start with the linked instructions for your chosen design, then enjoy the small details that give each ghost, pumpkin, bat, or cauldron its character.


