
· Sunday Crochet
In this pattern
01 · A tiny ghost with room for a lollipop02 · Yarn & tools03 · The pattern04 · Add the face and finish05 · Common questionsA tiny ghost with room for a lollipop
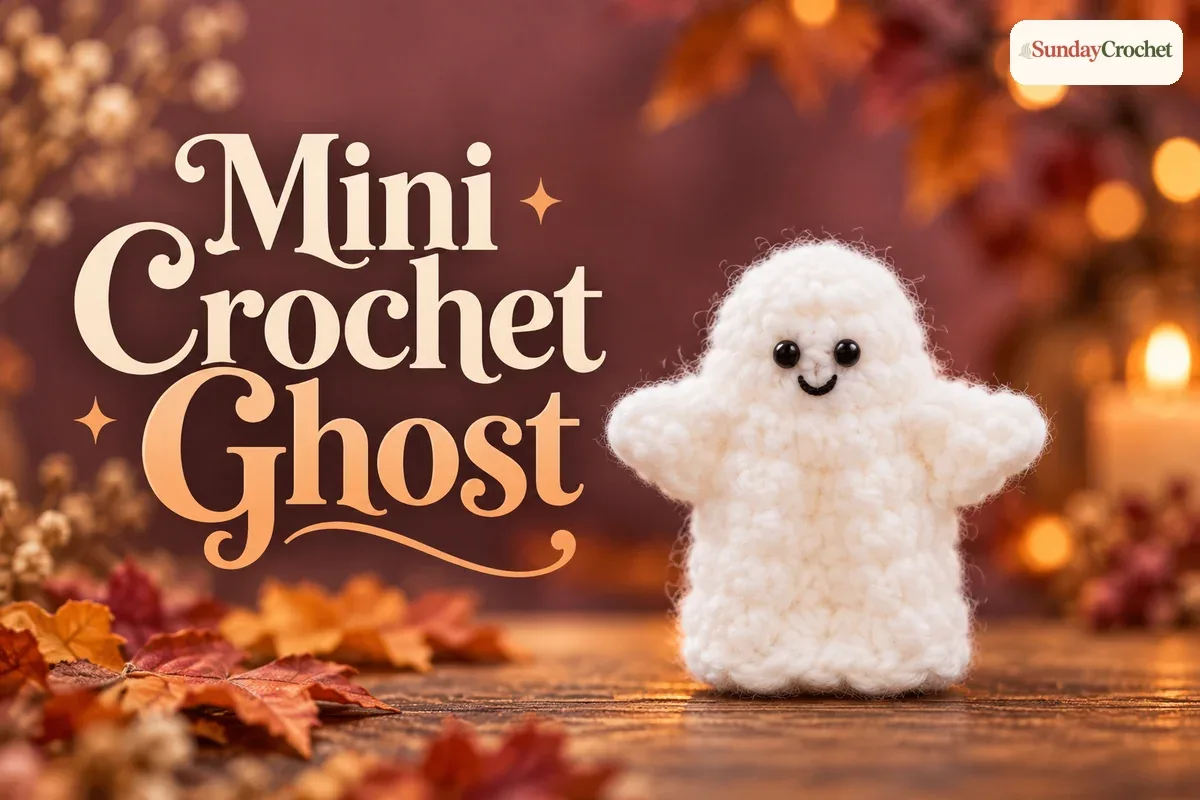
This little ghost is quick to make and has a useful trick built into its shape: two small openings let its arms peek out, while the flared lower edge slips over a lollipop stick or hangs neatly as an ornament. At about 7 cm tall, it also makes a sweet Halloween favor or pocket-sized decoration. The body is worked from the top down in joined rounds, with the arm openings formed by skipping stitches rather than sewing on separate limbs.
I’ll show you how I work the rounds and keep the stitch counts easy to follow. The pattern uses US terms and the materials specified for the sample: 3-ply yarn, a 2.5 mm hook, 5 mm eyes, and a glue gun for attaching the eyes. The finished size is approximate, since yarn and tension can change the scale. If you’re newer to the hook, my first crochet stitches guide covers the basic movements, and the written pattern guide explains how to follow stitch counts and repeats.
Yarn & tools
The pattern’s sample uses white yarn for the ghost, black thread or yarn for the mouth, and small eyes. The lollipop is for the finished cover; it is not part of the crochet construction. No stuffing is listed for this flat cover style, so I leave the body unstuffed. A 3-ply yarn and 2.5 mm hook are a specific pairing; if you substitute yarn, check the label and remember that the finished measurement will change. My yarn label guide shows where to find fiber and hook information.
Abbreviations
- ch — chain
- dc — double crochet
- hdc — half double crochet
- sl st — slip stitch
- st(s) — stitch(es)
- inc — work 2 dc into the same stitch
- sk — skip the stated number of stitches
The stitch counts below count the starting chain 2 as the first stitch whenever the round says it does. Join each round with a slip stitch into the top of the first stitch, as shown in the instructions. Keep that join consistent so it does not get mistaken for an extra stitch.
The pattern
Round 1
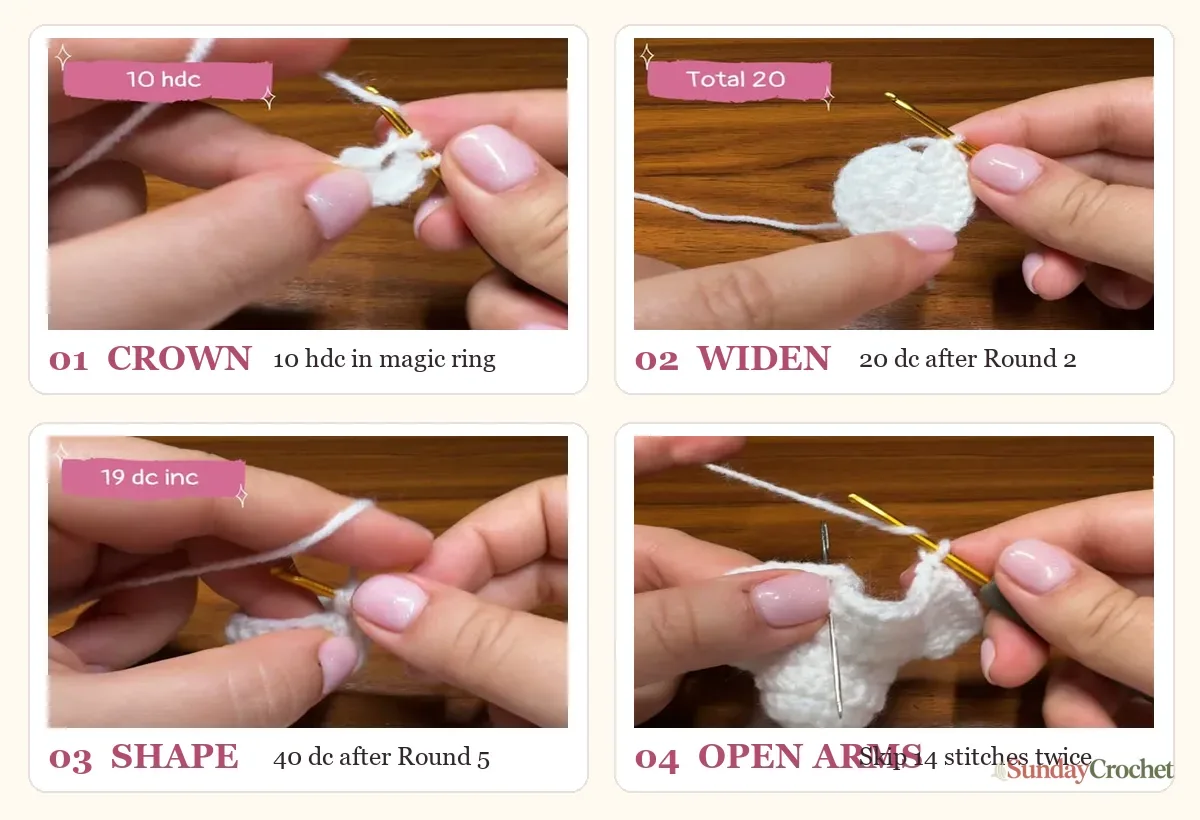
Make a magic ring. Work 10 hdc into the ring, then join with a sl st into the top of the first hdc. 10 hdc.
Pull the ring closed enough to bring the stitches together without distorting them. This small circle becomes the crown of the ghost. If you prefer another adjustable starting ring you already know, use it in the same way; the important part is having ten hdc to work into on the next round.
Round 2
Ch 2; count this chain as the first dc. Work 1 dc into the same stitch, then work 2 dc into each of the next 9 stitches. Join with a sl st to the top of the beginning ch 2. 20 dc.
You have doubled the original ten stitches. The fabric should lie as a small round disk. If the join is hard to see, pause before working into it again and identify the top of the starting chain; the repeat count ends at twenty.
Round 3
Ch 2, counting it as the first dc. Work 19 dc, one in each stitch around. Join with a sl st to the top of the beginning ch 2. 20 dc.
Round 4
Repeat Round 3: ch 2 as the first dc, work 19 dc, and join to the top of the chain. 20 dc.
These two even rounds start turning the flat top into a shallow cup. Keep the stitches relaxed enough to move the hook comfortably, but try not to leave large gaps between them.
Round 5
Ch 2, counting it as the first dc. Work 1 dc into the same stitch. Work 2 dc into each of the remaining 19 stitches. Join with a sl st to the top of the beginning ch 2. 40 dc.
This increase round widens the ghost. It can feel crowded at the end because you are putting two stitches into every stitch from the previous round. Count around the edge as you go; the target is forty stitches, not forty pairs.
Round 6
Ch 2, counting it as the first dc. Work 1 dc in the same stitch, then 1 dc in the next stitch. Repeat (2 dc in the next stitch, 1 dc in the next stitch) 19 times. Join with a sl st to the top of the beginning ch 2. 60 dc.
This makes one increase for every two stitches of the previous round. The body expands into a shallow bell shape. The repeat uses three new stitches across two old stitches, so work it steadily and use a marker at the beginning if you lose your place.
Round 7: make the arm openings
Ch 2, counting it as the first dc. Work 7 dc, skip the next 14 stitches, work 16 dc, skip the next 14 stitches, then work 8 dc. Join with a sl st to the beginning ch 2. 32 dc.
The skipped sections leave two openings on opposite sides of the body. They are the arm gaps, not mistakes. Before joining, check that both gaps sit across from each other and that you have worked the final stitches back to the beginning. The round count is thirty-two after the skipped sections.
Round 8
Ch 2, counting it as the first dc. Work 31 dc, one in each stitch around. Join with a sl st to the top of the beginning ch 2. 32 dc.
These stitches follow the top edge made in Round 7. The skipped sections remain open below as the arm openings. Keep the tension even so the small gaps do not pull tight or disappear beneath the body.
Round 9
Repeat Round 8: ch 2 as the first dc, work 31 dc, and join. Finish with an invisible join, then fasten off and weave in the yarn end. 32 dc.
The last two straight rounds give the ghost a short body and a softly flared lower edge. The invisible join helps the final round sit neatly. If you usually use a different tidy finish, you can use your preferred method; just make sure the yarn end is secure.
Add the face and finish
The sample has two small eyes and a simple embroidered mouth. Place the eyes across the front of the rounded top and check their spacing before attaching them. The source instructions specify 5 mm eyes and a glue gun; follow the eye maker’s instructions and let adhesive cool fully before handling. For an item that will be used by a young child, embroidered eyes are a sensible alternative to small detachable parts. The mouth is added with black yarn or thread and a yarn needle. Keep the stitches short and secure, and weave the ends inside the fabric.
Once the face is in place, slip a lollipop stick through the bottom opening. The open lower edge lets the ghost cover the candy while the bell shape drapes around it. You can also leave the ghost empty and add a hanging loop if you want it as a decoration; the loop length and attachment point are not specified, so choose a length that suits where you plan to hang it.
The sample shown is approximately 7 cm tall. That measurement is a guide, not a guarantee: a different yarn, hook, or personal tension will alter the size. If your ghost comes out larger or smaller, it can still work as a cover or ornament; check that the opening fits your intended lollipop before finishing the face.
Common questions
Can a beginner make this mini ghost?
Yes, if you are comfortable with hdc, dc, joined rounds, and increases. The arm openings are made by skipping stitches, then working across those sections in the next round. A stitch marker can help you keep track of the beginning of each joined round.
What if I do not have 3-ply yarn?
Use a yarn you already have and a hook that suits it, but expect a different finished size. The pattern does not provide a gauge, so compare your work with the approximate 7 cm sample and test the bottom opening around your lollipop before you finish.
Is this the same as the witch ghost pattern?
No. This is a simple rounded ghost with arm openings and a lollipop-cover shape. The separate witch ghost amigurumi pattern has a pointed hat, charms, and a different body construction.
Can I use the ghost as a hanging decoration?
Yes. Leave out the lollipop and add a hanging loop in a place that balances the ghost. The loop is an optional finishing choice; no measured loop is included in this pattern.
This little ghost is mostly about repeating simple rounds and enjoying the shape as it appears. Once the face is finished, try it as a lollipop cover, a small seasonal ornament, or a handmade Halloween favor.


