
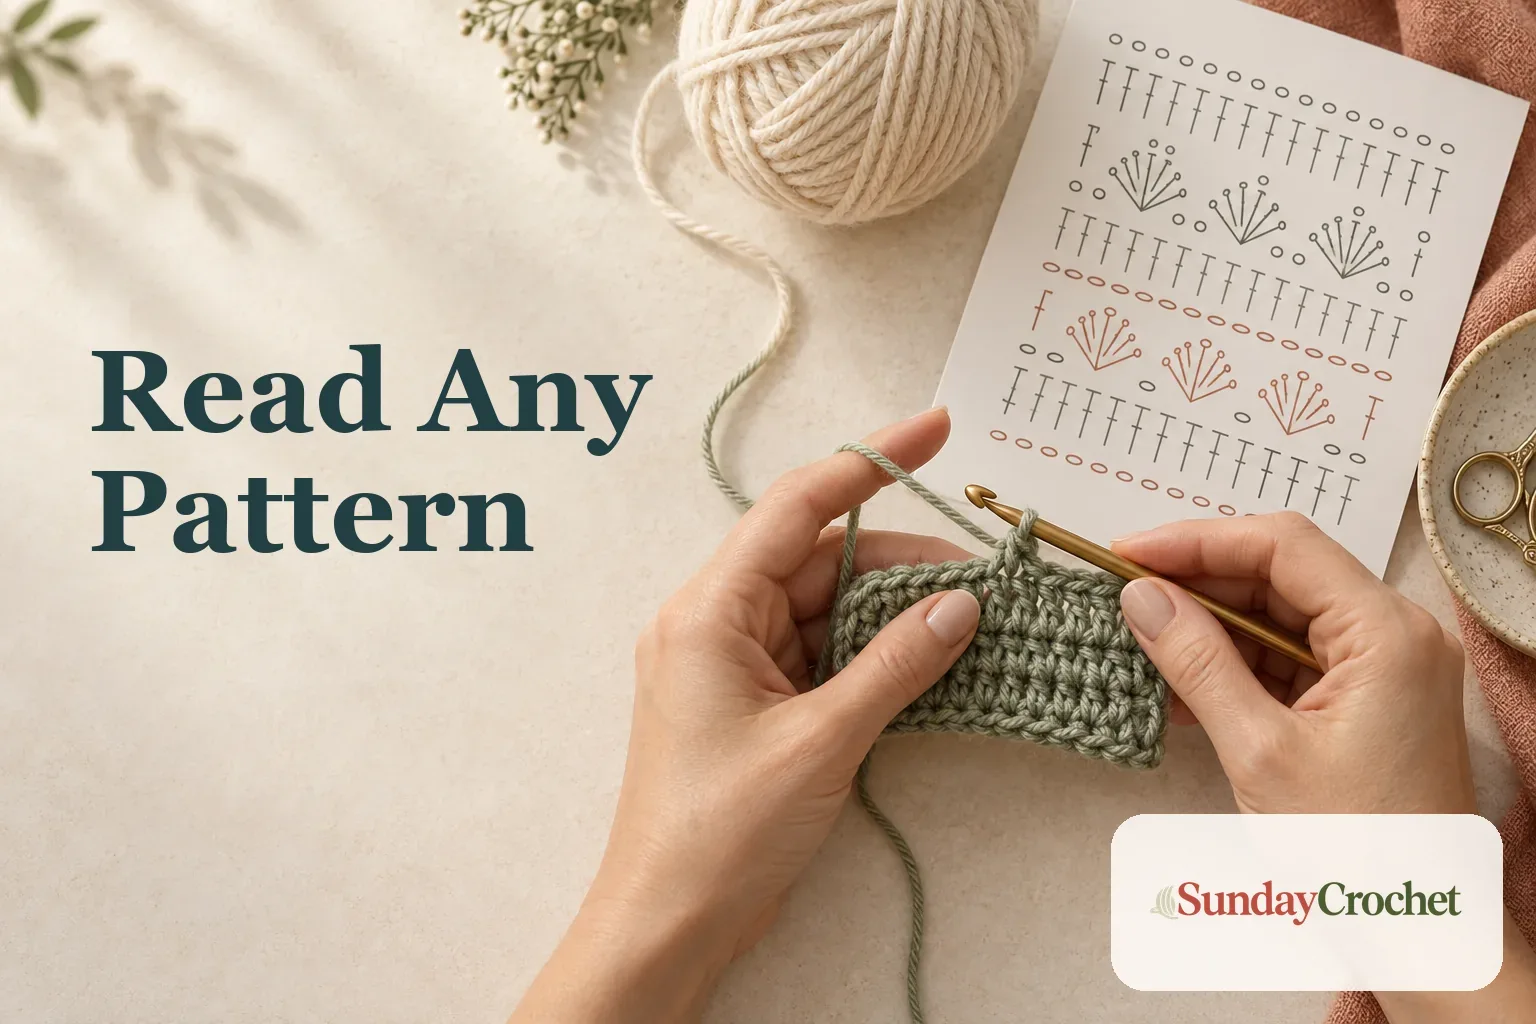
Read a written crochet pattern one instruction at a time.
In this article
01 · Read the pattern notes before you make a chain02 · Turn crochet abbreviations into plain English03 · Connect the shorthand to what your hands do04 · Read repeats, brackets and parentheses without losing your place05 · Let’s decode a written crochet row together06 · What about rows, rounds and symbol charts?07 · When a line still makes no sense08 · Common questions09 · Your next pattern will feel smallerRead the pattern notes before you make a chain
I’ll show you how I read a written crochet pattern when the page is full of letters and brackets. I don’t start at Row 1. First I scan the top of the pattern for the things that can change every instruction below it. That small pause saves a lot of unraveling later.
Look for the yarn weight, hook size, finished size, gauge, skill level and any special stitches. Then find the terminology note. A pattern written in US terms uses sc for single crochet and dc for double crochet. UK patterns use different names for some of those same movements, so a UK dc is a US sc. If the pattern doesn’t say which language it uses, check its abbreviation list or ask before you commit to a large project.
Gauge tells you how many stitches and rows should fit into a stated measurement. For a fitted garment or a project with a precise size, make the gauge swatch. A blanket or practice square is often more forgiving. Either way, notice the stated stitch multiple. “Multiple of 4 + 2,” for example, means your starting chain follows that arithmetic. You can make 18 chains because 4 × 4 + 2 = 18. Don’t guess at this part.
Turn crochet abbreviations into plain English
Most crochet patterns shorten common words so you can scan a row quickly. Once you recognize a handful of them, a dense line starts to look like a short set of directions. Keep the designer’s own abbreviation key beside you because a special stitch may have a name that is unique to that pattern.
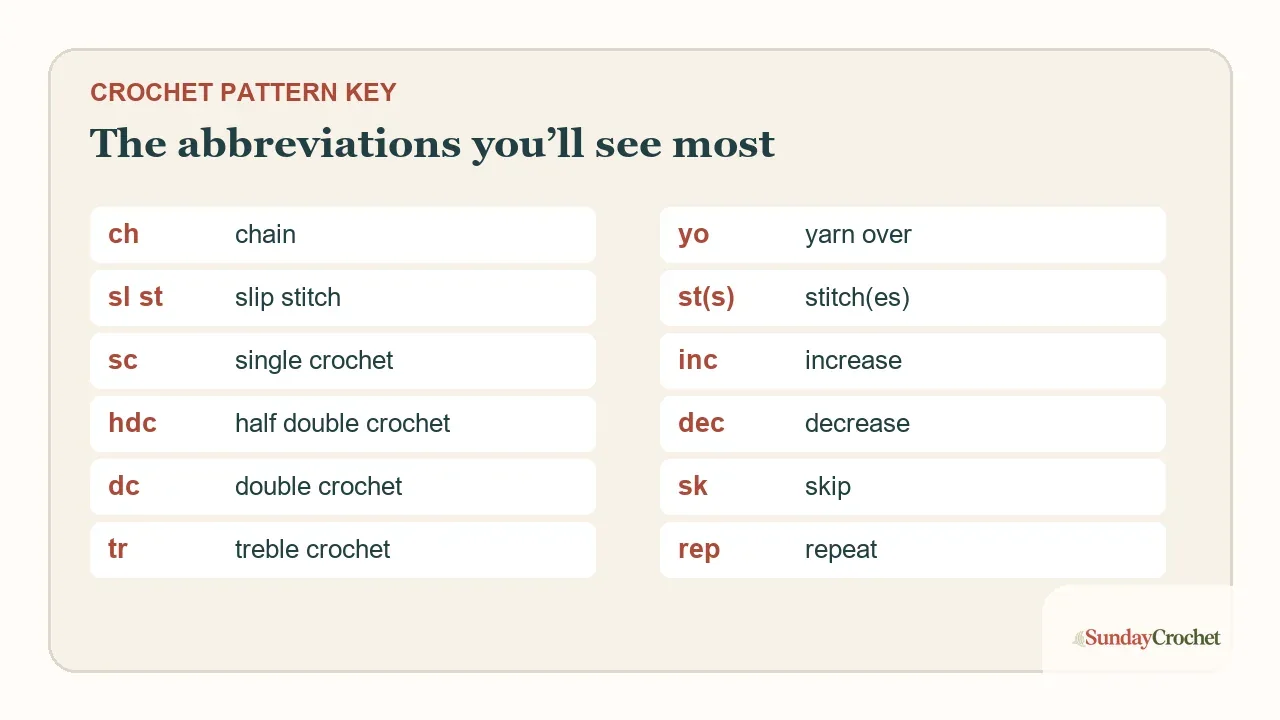
Ch means chain, the linked loops that often form a foundation. Sl st is slip stitch, commonly used to join or move without adding much height. Sc, hdc, dc and tr are stitches of increasing height in US terms. Yo tells you to wrap the working yarn over the hook. St means stitch and sts means stitches.
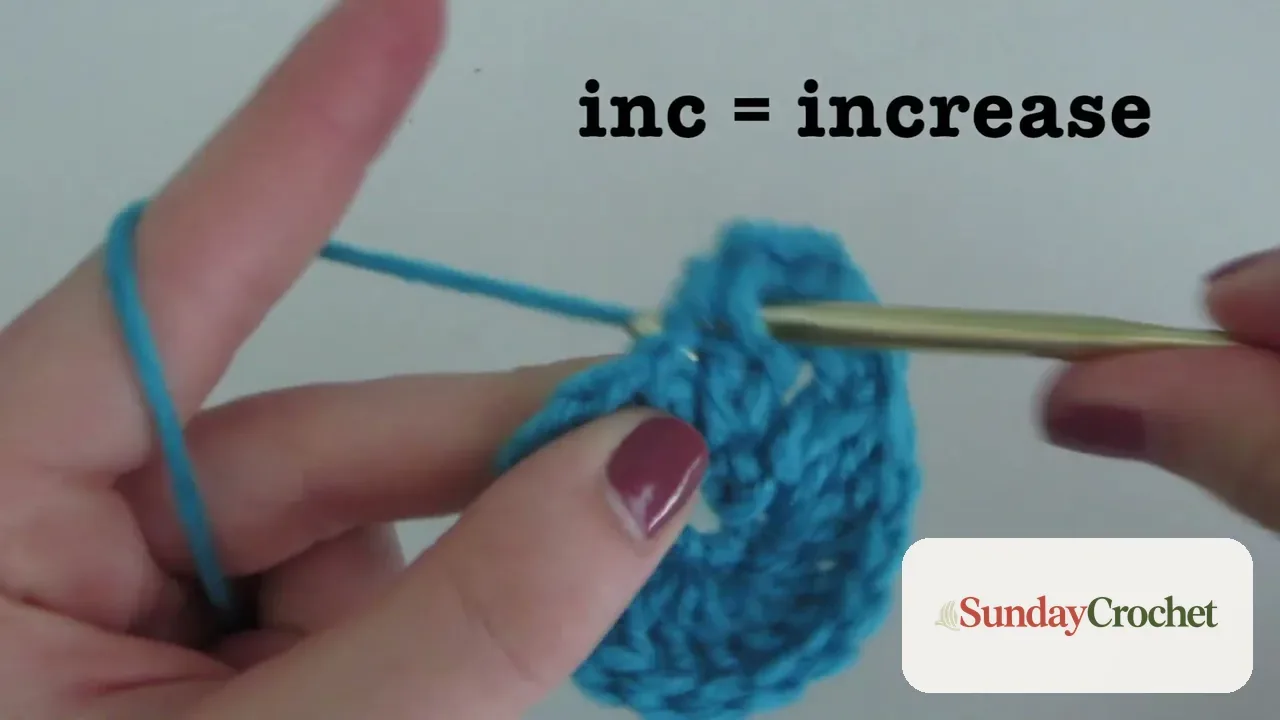
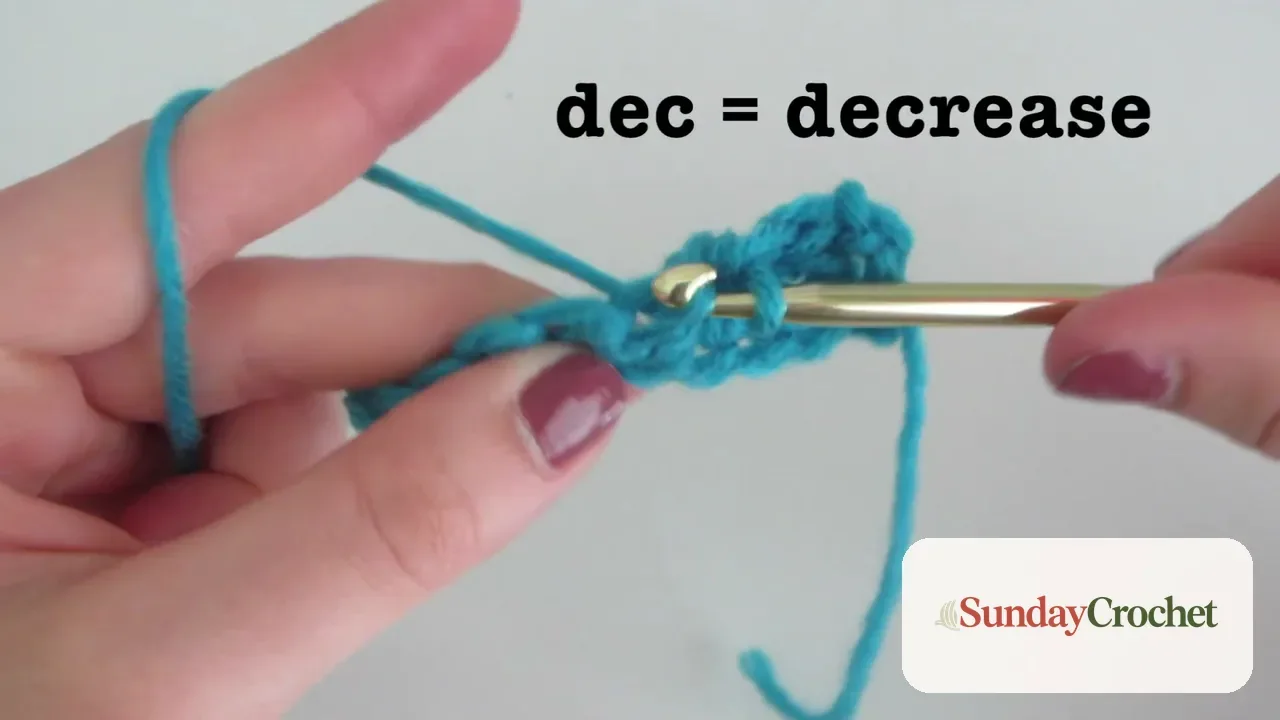
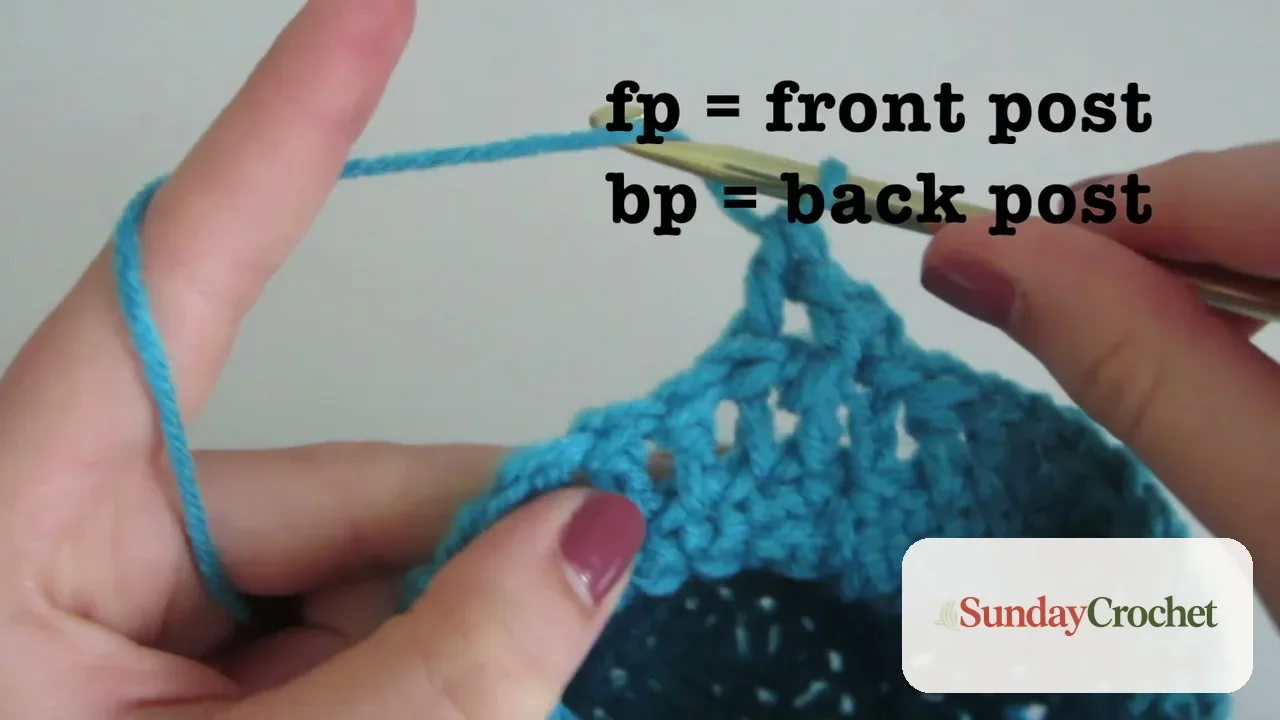
You’ll also see inc for increase, dec for decrease, sk for skip and rep for repeat. A pattern might write “beg” for beginning, “cont” for continue or “tog” for together. Some include fp and bp for front post and back post. These aren’t random codes. Each one points to an action you can do with the hook.
Read “sc in next 3 sts” as one single crochet in each of the next three stitches, three stitches worked altogether. Read “3 sc in next st” differently: put three single crochets into one stitch. That one little word, next, changes where the hook goes. I like to underline numbers until I get used to a new pattern.
Connect the shorthand to what your hands do
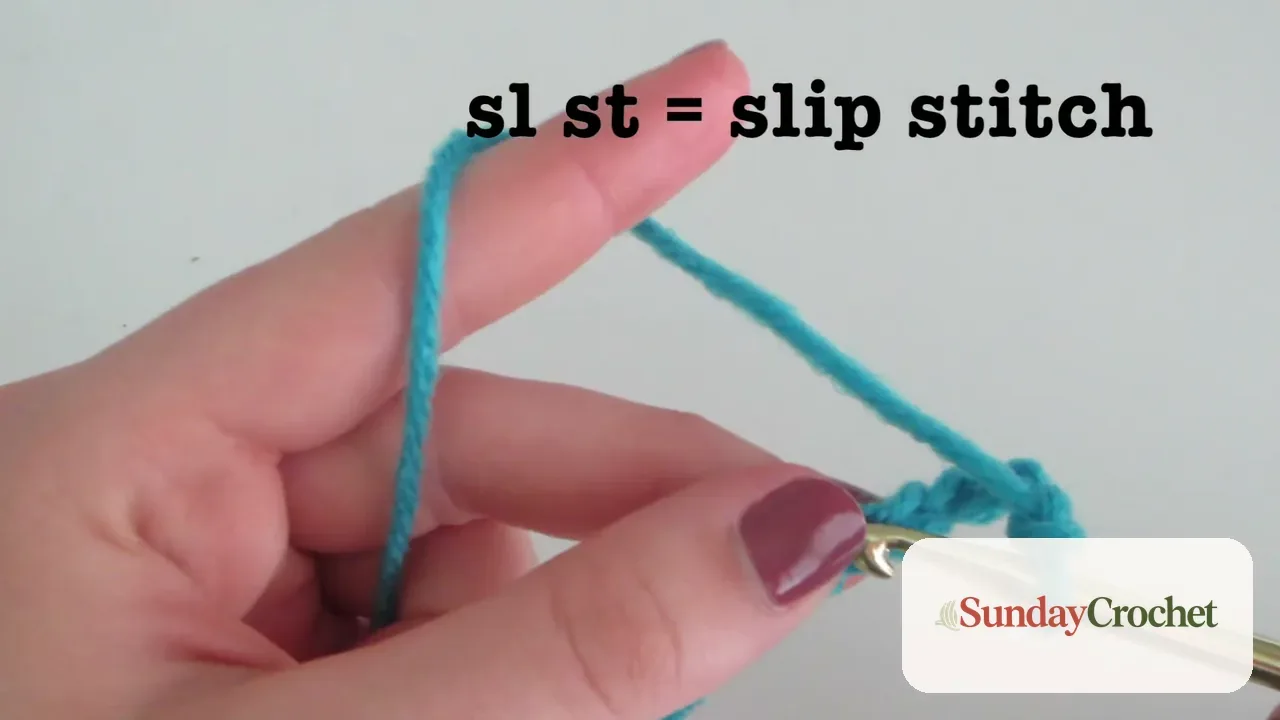
It’s easier to remember letters when you link them to a physical motion. If you see sl st, insert the hook, catch the yarn and pull it through the stitch and the loop already on your hook. You’re joining or traveling, usually without building a tall stitch. The hook should end with one loop.
For hdc, yarn over first, insert the hook into the specified stitch and pull up a loop. You’ll have three loops on your hook. Yarn over once more and draw through all three loops. When I read “hdc in next st,” that entire sequence belongs in one stitch. Then I move to the next instruction.
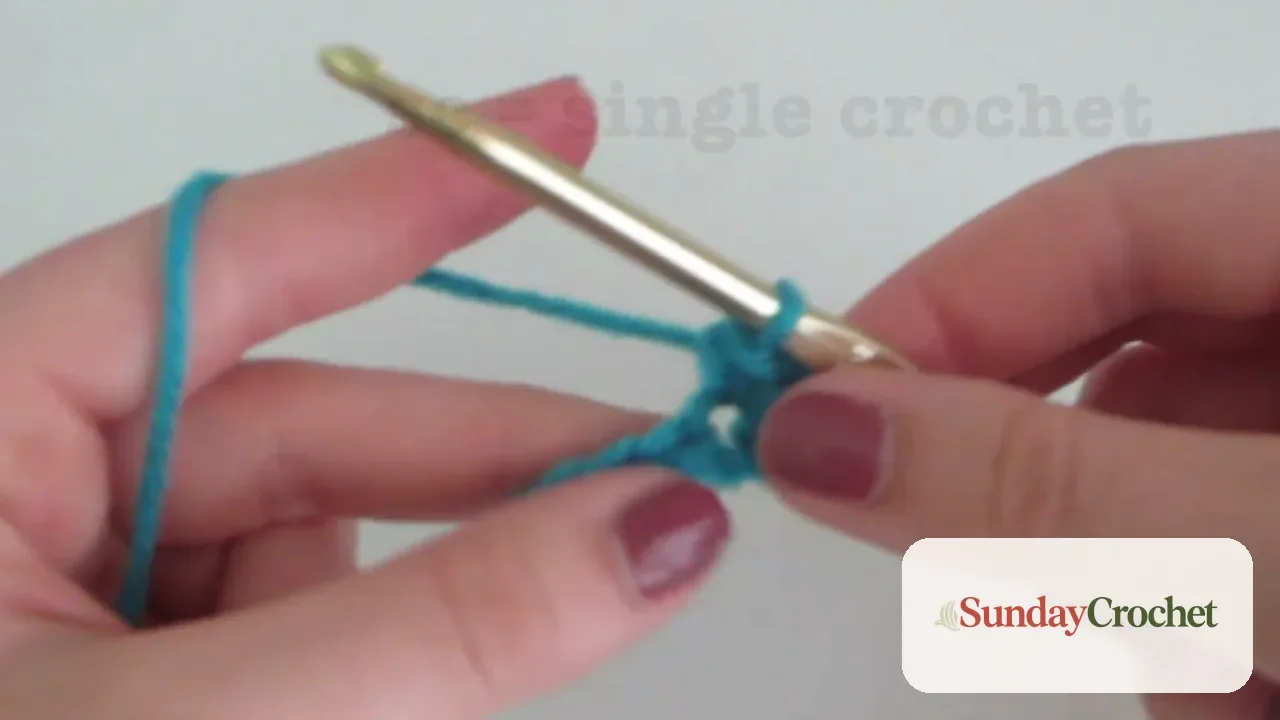
An increase adds stitches. If the instructions say “2 sc in next st,” work the first single crochet, then put the hook back into that same stitch and make another. One old stitch now supports two new ones. A decrease does the reverse, combining stitches so the total becomes smaller. The exact decrease method can vary by stitch and pattern, so follow the special stitch instructions when they are given.
Post stitches have another clue built into their names. A front post stitch reaches around a stitch from the front; a back post stitch reaches around it from behind. Rather than working under the top V, you work around the vertical body of the stitch. If the pattern says fpdc, keep the double crochet motion but change where you insert the hook.
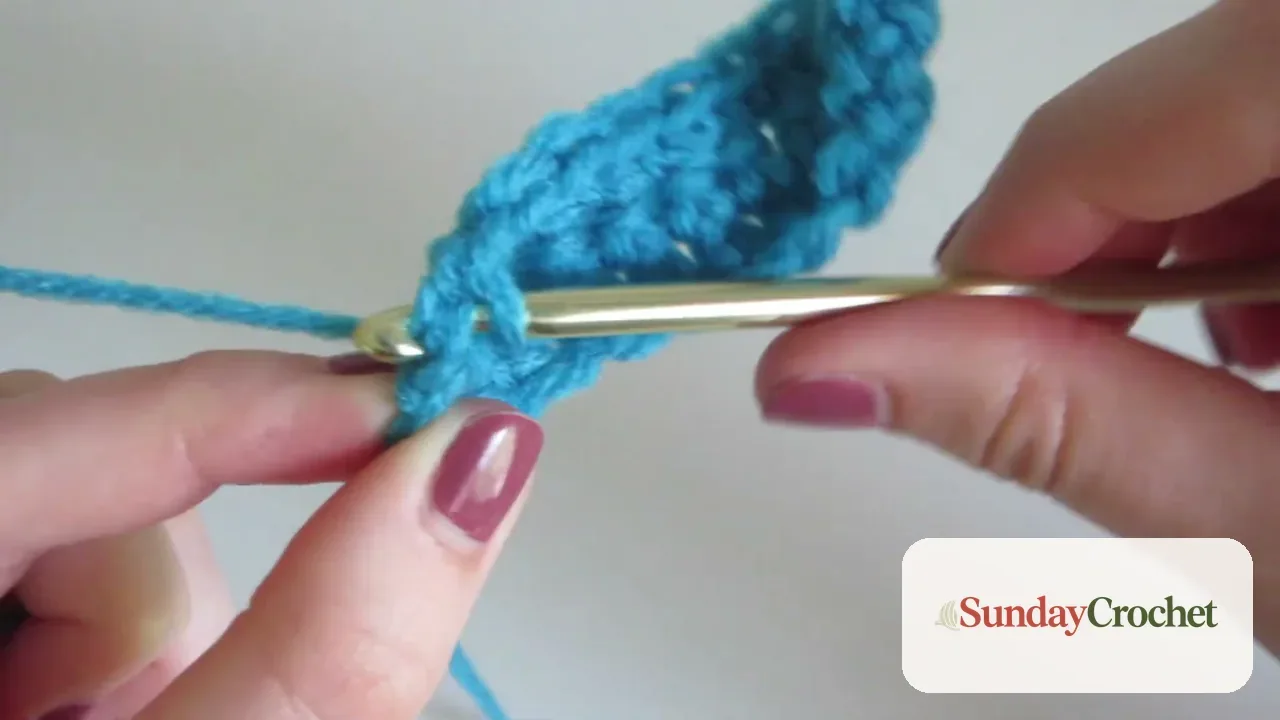
You may also see BLO or FLO: back loop only or front loop only. Look at the V on top of a stitch. Normally I put the hook under both strands. For BLO I catch only the strand farther from me; for FLO only the strand nearer me. This changes the surface of the fabric and often leaves a neat ridge. Check the pattern notes if your work is turned, because “front” and “back” are relative to the side facing you.
Read repeats, brackets and parentheses without losing your place
This is the part that makes many beginners stop. A pattern might say *sc in next st, ch 1, sk 1; rep from *. The asterisk marks the start of a repeat. Work the actions after it, then return to the asterisk and do that group again for as many times as the line tells you. It’s like a small loop inside the larger row.
Parentheses ( ) and square brackets [ ] often group stitches you should repeat or work into one place. A pattern may say (2 dc, ch 1, 2 dc) in next ch-sp. Everything inside those parentheses goes into the same chain space. In another pattern, a bracketed sequence may be repeated across the row. Read the words after the closing bracket to see which meaning applies. The pattern’s own notes take priority because punctuation conventions differ.
A comma usually separates actions. A semicolon often separates the repeat from the instruction that follows it. Some patterns use a dash, a multiplication sign, or “across” to say how long to continue. If a line says “rep from * to last 2 sts, sc in each of last 2 sts”, stop repeating with two stitches still unworked. Then make the two single crochets. Don’t push the repeat into those final stitches.
Here’s my little trick: I read a row aloud in chunks. “Single crochet one. Chain one. Skip one. Repeat that group.” Then I place a finger or a removable marker beside the chunk I’m doing. A long paragraph suddenly becomes one tiny instruction at a time.
Sometimes a repeat sits inside another repeat. In *sc in next 2 sts, [ch 1, sk 1, sc in next st] 2 times; rep from * across, do the bracketed group twice, then go back to the asterisk and repeat that whole larger block. I draw a small box around the inner group and a larger one around everything after the asterisk. It helps me see which instruction belongs to which loop. And a note in parentheses may simply explain something, such as “turning chain counts as first dc” — it is not automatically a repeat.
The repeat rule I keep in mind: locate the opening mark, identify the whole group, find the stop point, and only then start crocheting it.
Let’s decode a written crochet row together
Now let’s make the shorthand useful. Grab smooth yarn and a hook that feels comfortable. We’re going to read a very small sample, not make a perfect square. The point is to practice moving from a line of text to the next place your hook should go.
Foundation: Ch 11. Row 1: Sc in 2nd ch from hook and in each ch across. (10 sc) Row 2: Ch 1, turn. 2 sc in first st, sc in next 8 sts, 2 sc in last st. (12 sc)
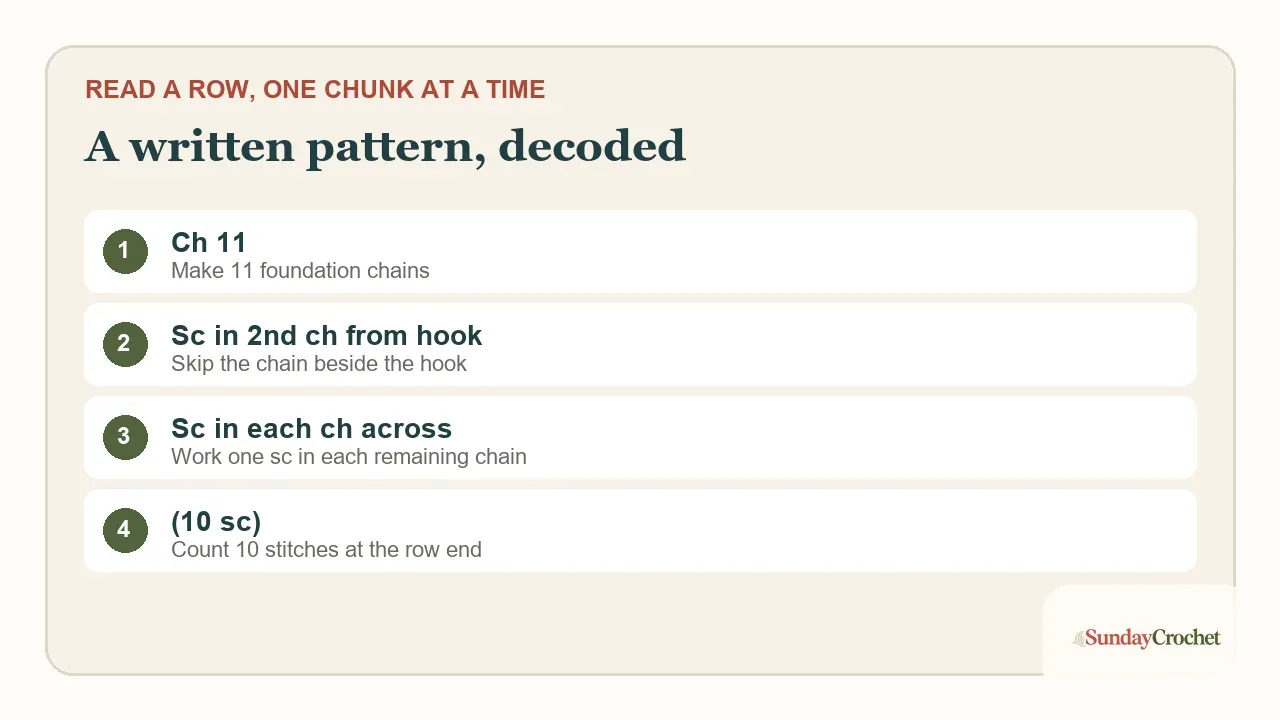
First make eleven chains. The loop on your hook doesn’t count as a chain. For Row 1, count back to the second chain from the hook and work a single crochet into it. Work one single crochet into each remaining chain. You used ten of the eleven chains because the first chain beside the hook was skipped. Count ten completed single crochet stitches along the row. The number in parentheses at the end is your checkpoint.
For Row 2, make one chain and turn the fabric. The pattern then says 2 sc in first st, so put two single crochets into the first actual stitch of the row. Work one single crochet into each of the next eight stitches. In the last stitch, work two single crochets again. The math is 2 + 8 + 2 = 12 stitches. That’s why the row ends with (12 sc).
If you count eleven or thirteen, stop right there. Check that you really used the first and last stitch once as an entry point, and placed two stitches into each. Don’t rush ahead hoping the next row will fix it. A thirty-second count now can save twenty minutes later.
Some patterns put the stitch total in square brackets, after a dash or in a separate note. The idea is the same. A total is a little conversation between the designer and you: “This is how many stitches should be here.” Use it.
What about rows, rounds and symbol charts?
Written patterns may ask you to turn at the end of every row, or to keep working around a circle. If you are working back and forth, notice whether a turning chain counts as the first stitch. The designer should tell you. If it does count, you may need to skip the first stitch below it. If it doesn’t count, your first actual stitch goes into that first stitch. Mixing up those two rules is a very common reason edges grow or shrink.
In rounds, look for the join instruction. “Sl st to first st” closes a joined round. A spiral pattern may tell you not to join at all; in that case place a marker in the first stitch of each round and move it upward as you work. Patterns also mention right side and wrong side. That just tells you which face of the fabric should be facing out or toward you when the next instruction begins.
Some patterns include a crochet chart as well as written instructions. A symbol stands for a stitch, and the chart’s legend tells you which one. Small ovals often mean chains and T-like marks commonly represent tall stitches, but always use the supplied legend. Find the starting point and follow arrows or row numbers. I use the chart to see the shape of a repeat, then check the written line for exact counts. The two views can help each other.
Letters can also label yarn colors. If the materials list names cream as A and sage as B, then “With A, ch 11” means use the cream yarn for that starting chain. Look back at the materials key when a letter appears at the start of a section. And before you set the pattern down, mark the last completed row with a pencil or a movable note. That simple habit keeps you from accidentally working the same row twice.
When a line still makes no sense
Pause and break it apart. I look for four things in this order: where the row starts, the stitch action, where the hook goes, and how many times to do it. For example, “dc in next 3 sts” tells me the stitch action is double crochet, the location is each of the next three stitch tops, and the count is three. If the line says “dc 3 in next st”, the same action happens three times in a single stitch top. Location first, count second.
If the fabric looks wrong but the words seem clear, inspect the previous row. An accidental extra stitch can make a later instruction impossible to place. Count from the last marker, not only from the beginning of the project. If you are in a repeat, mark its first and last stitch; that helps you see whether every group consumes the same number of stitches.
A stitch marker can hold your spot while you check a term. I sometimes rewrite one row in plain language on scrap paper. That isn’t cheating, it’s translating.
And give yourself permission to undo a little work. Pull the yarn back slowly to the point where your count changed, put the hook back through the live loop and try the instruction again. Crochet is generous that way.
Common questions
Do I have to memorize every crochet abbreviation?
No. Learn the common stitch names and keep the pattern’s abbreviation key open. Special stitches and designer-specific shorthand should always be checked in the notes.
Does a turning chain count as a stitch?
Sometimes. Read the pattern notes. If the designer says it counts, include it in your stitch total and place the next stitch accordingly. If it does not count, work the first actual stitch where instructed and do not count the turning chain.
What do the numbers in parentheses at the end of a row mean?
They commonly show the stitch total expected after that row or round. A parenthesized group inside the row may mean something different, so look at where the parentheses appear and check the pattern key.
What if the final stitch count is wrong?
Count again, then check the first and last stitch, increases, decreases and any skipped stitches. If the count first changed in an earlier row, undo to that point and work it again.
Your next pattern will feel smaller
You don’t need to understand an entire project in one glance. Read the notes, translate the abbreviations, find the repeat, work one chunk and check the count. Then do the next chunk. Keep this guide beside you for your first few patterns and let the rhythm build. If the stitch movements still feel new, practice them in How to Crochet for Absolute Beginners. Soon those little letters will start to look like the stitches they describe.


