
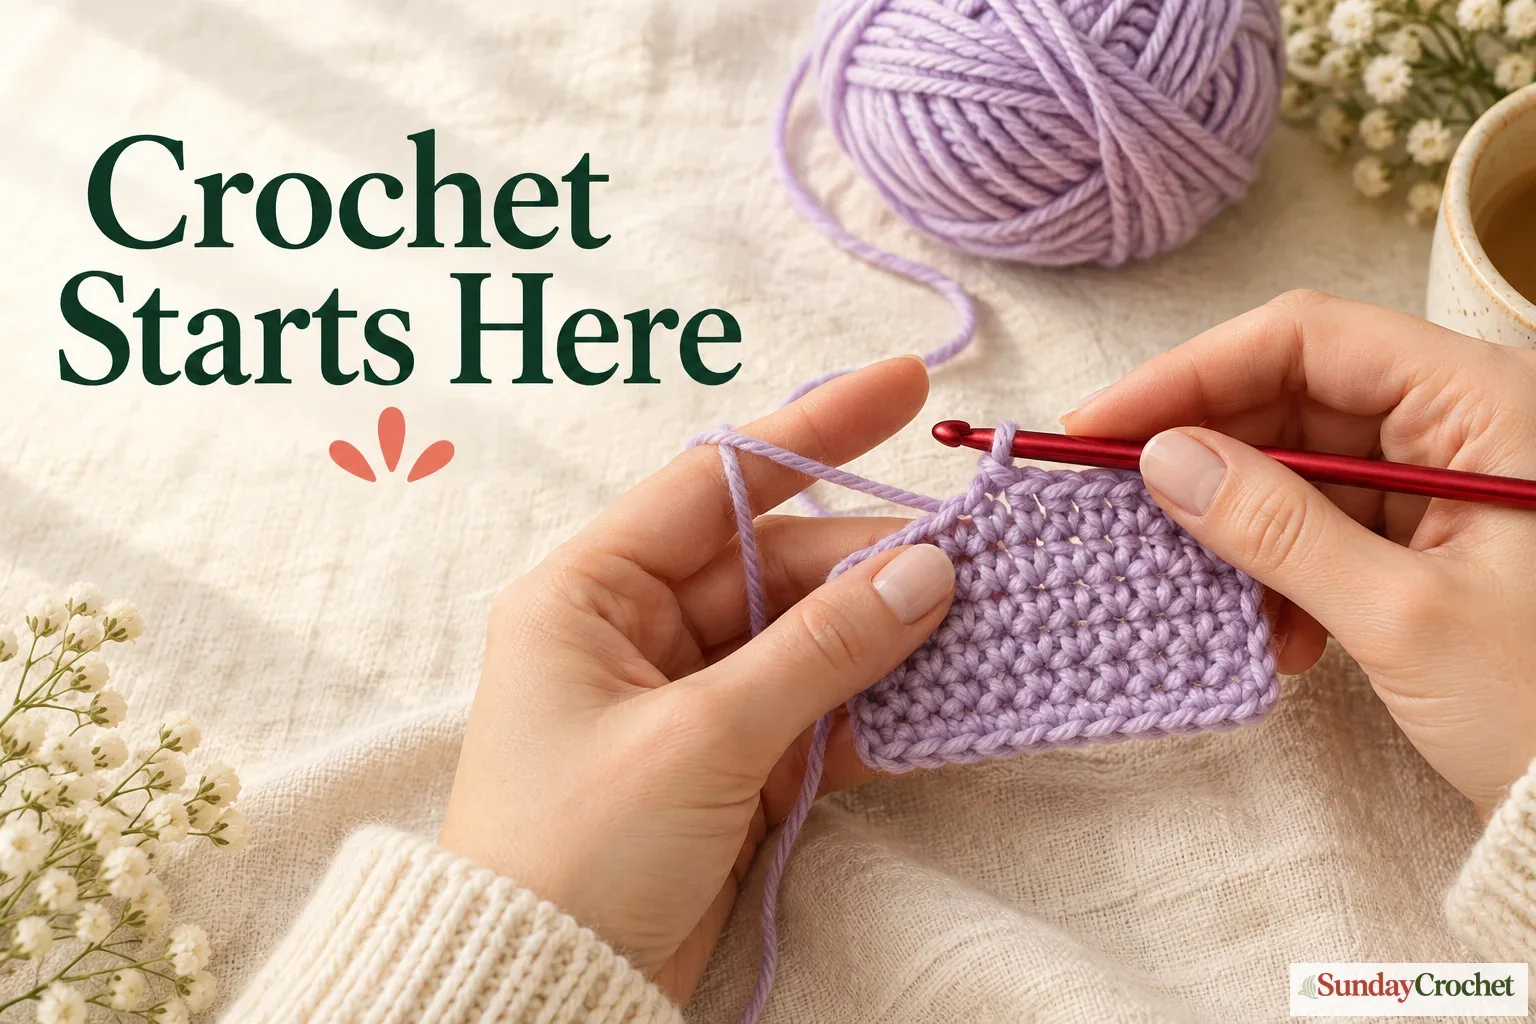
Beginner crochet: lavender yarn, a crochet hook, and a first single-crochet swatch.
In this article
01 · Get comfortable with yarn and hook02 · Make an adjustable slipknot03 · Hold the hook and guide the yarn04 · Make a foundation chain05 · Work your first single crochet06 · Turn the work and build a swatch07 · Undo a stitch when you need to08 · Fasten off and weave in the ends09 · Common questions10 · Keep the first swatchGet comfortable with yarn and hook
Crochet can look complicated when you see a finished blanket or a basket full of stitches. I like to start small. For now, we only need to learn how yarn travels around the hook and through a loop. Once your hands get used to that motion the stitches feel much less mysterious.
Choose a smooth yarn so you can see the loops clearly. A light or medium color helps too. Fuzzy or very dark yarn can hide the exact spot where the hook should go, which makes those first rows harder than they need to be. I often recommend basic acrylic yarn for practice because it’s easy to find and comes in lots of colors. If you already have a smooth yarn at home use that. No need to buy a basketful before you know what you like.
I’ll use a 5.5 mm aluminum hook for our practice swatch. You don’t have to use the same size though. Check your yarn label for its suggested hook range and start there. If the hook is hard to move through the loops try a slightly larger one. If your stitches look very loose try a smaller size. For now I care more about comfort and seeing the stitches than getting a perfect finished measurement.
Keep scissors nearby. A yarn needle with a wide eye will help us tidy the ends at the finish, but you can begin without one. Sit somewhere you can see your hands and let the yarn feed freely from the ball. If it snags or starts to pull tight just pause and sort it out.
- Smooth yarn in a color you can see clearly
- A crochet hook that suits the yarn; I’ll use 5.5 mm
- Scissors for cutting the yarn
- A wide-eye yarn needle for weaving in the ends
Make an adjustable slipknot
First we need a slipknot. It gives us a loop to place on the hook and it should slide when you pull the yarn. Don’t count this as a chain stitch. I’ll leave a tail a few inches long so we have enough yarn to weave in later.
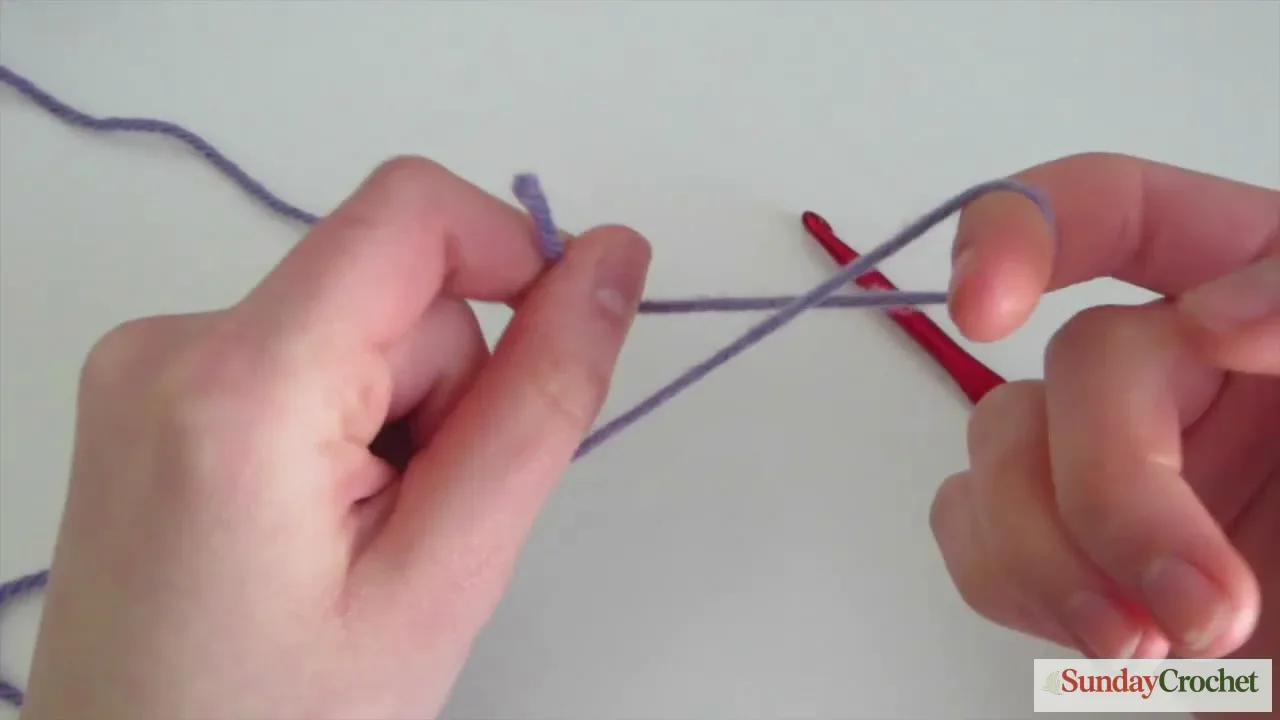
- Hold the yarn tail in one hand and let the working yarn—the strand connected to the ball—rest over your fingers.
- Cross the working yarn over the tail to make a loop. Bring a finger through that loop and catch the working strand.
- Pull a little section through. You should have a new loop in your fingers.
- Put that loop on your hook. Now tug the tail and working yarn gently until it sits around the hook. Keep it loose enough to slide.
Try sliding the loop along the hook. It should glide, not clamp down. If it gets stuck loosen it a little. If it slips right off make it smaller. That’s it, our starting loop is ready.
Hold the hook and guide the yarn
I hold my hook like a pencil or a knife, with my fingers resting around the flatter grip area. Try both and see what feels natural. The main thing is to keep your hand relaxed so the hook can turn. A tight grip makes your hand tired and makes it harder to catch the yarn.
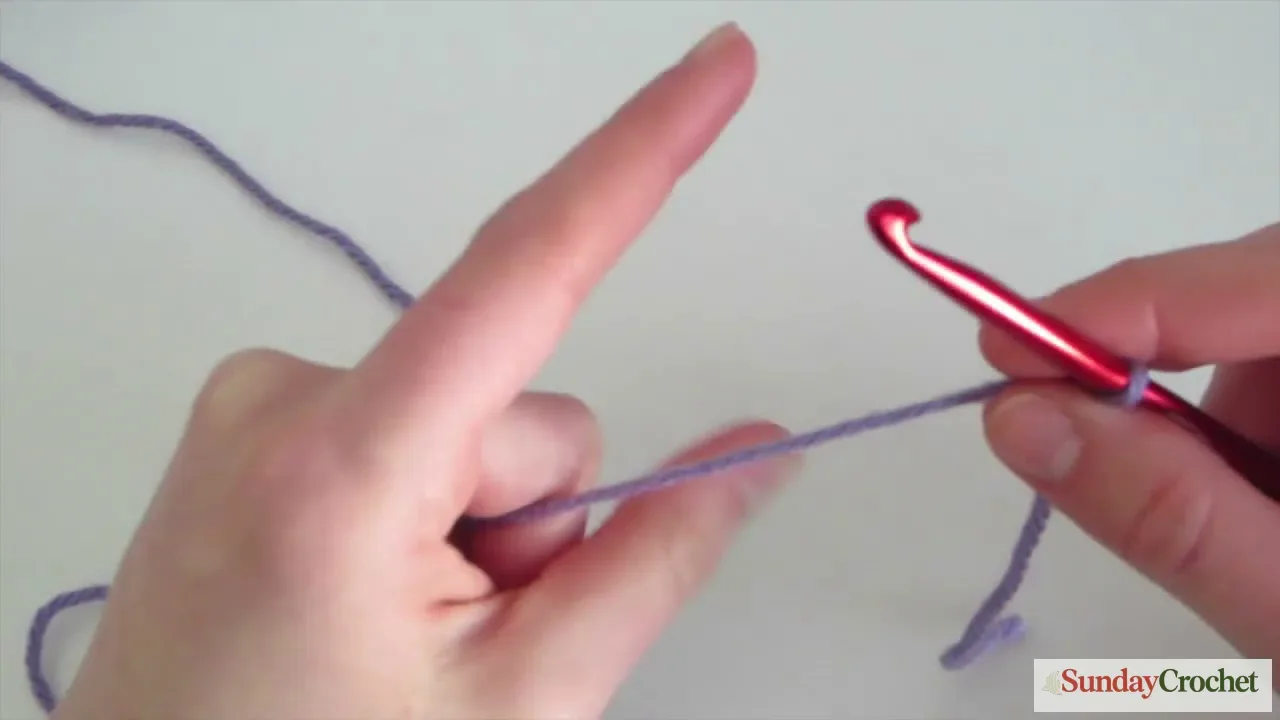
With your other hand guide the yarn and hold the work. I pass the yarn between my fingers and over my index finger, then pinch the fabric near the hook with my thumb and middle finger. That pinch keeps the stitch steady. My raised index finger controls how much yarn feeds forward.
Keep a little tension on the strand but don’t pull it tight. If the loop gets tiny and the hook can’t pass through easily, loosen your yarn hand. If the loops are huge and floppy add a little tension. You’ll find your comfortable spot as you practice. And if your hand starts to ache take a break and shake it out.
Make a foundation chain
A chain is a row of linked loops. It gives you a starting edge to crochet into, and the chain stitch is also used between rows and within many patterns. The motion has two parts: catch the working yarn with the hook, then pull that yarn through the loop already on the hook. This is called yarn over and pull through.
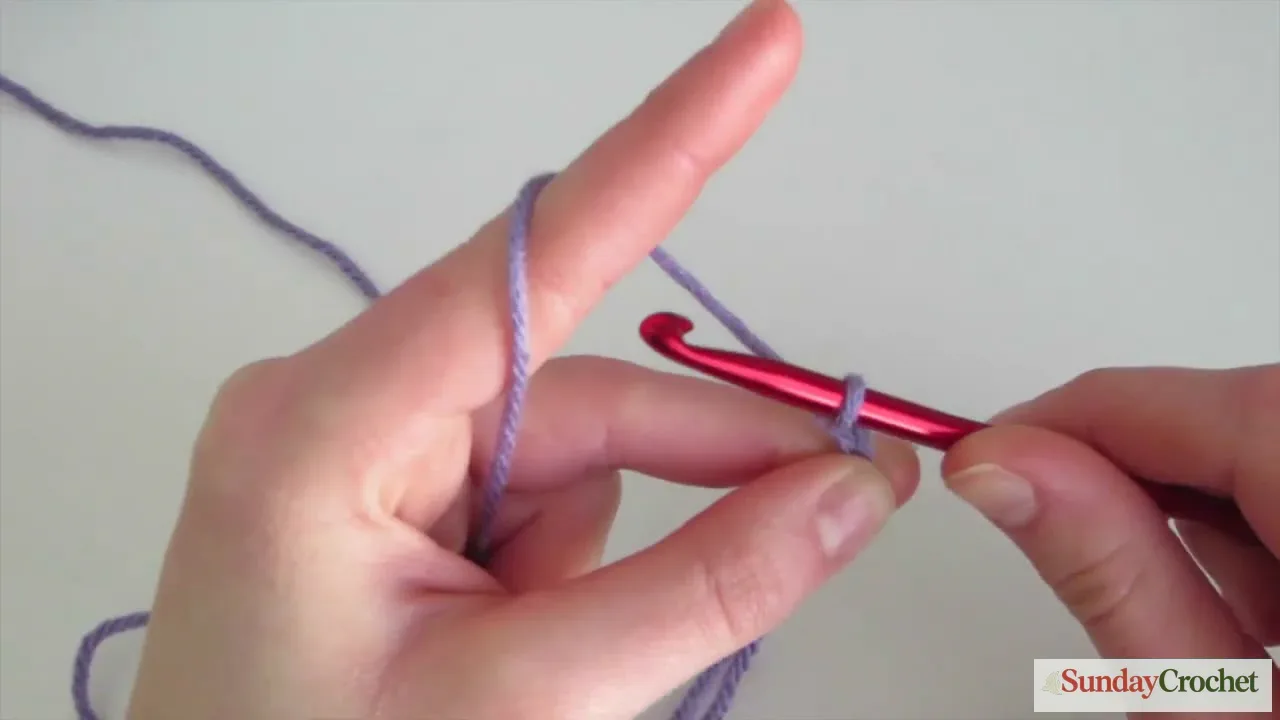
- Hold the slipknot near its base with your thumb and middle finger. Keep the working yarn behind and above the hook.
- Turn the hook so its tip faces away from you. Bring it under the working yarn to catch the strand in the hook’s groove. This is the yarn over.
- Rotate the hook tip toward you so the strand stays in the groove. Draw it through the loop on the hook. You have made one chain stitch; a new loop remains on the hook.
- Repeat the same motion, moving your pinch forward as the chain grows. Let the new chain hang naturally rather than pulling each stitch tight.
Let’s make a chain of 11. Count the little V shapes, not the loop sitting on your hook. If you lose count lay the chain flat and touch each V as you count. If it curls or feels stiff you may be pulling too tightly. Try again with a looser hand, or move up a hook size for the foundation chain.
Take a look at the chain before we move on. Each V has a top loop and a bottom loop. We’ll put the hook under the top loops for the first row. The chain may twist while you work so turn it until the Vs face you and make sure the hook goes through the same side of each one.
Work your first single crochet
Now I’ll teach you single crochet, usually shortened to sc in US patterns. It makes a firm fabric and the stitch has just two movements. First we pull up a loop through the chain. Then we pull yarn through both loops on the hook.
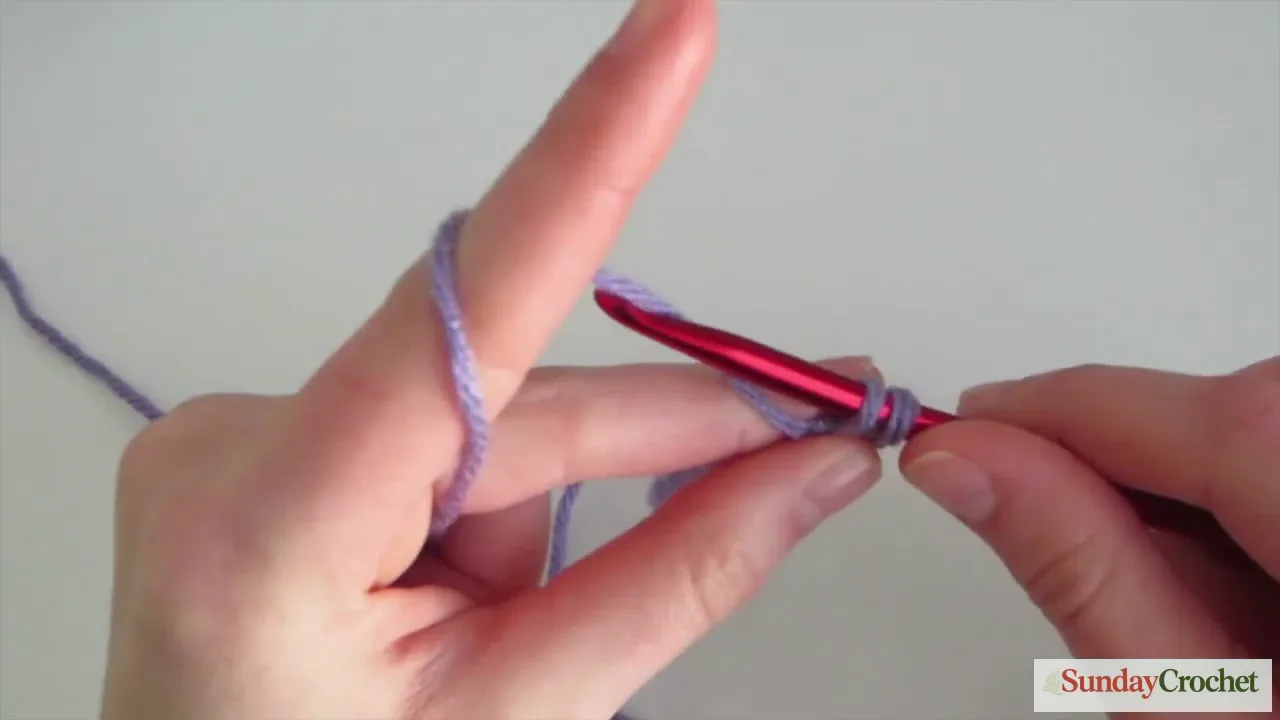
- Starting from the hook, skip the first chain link. It acts as a turning chain at the edge, so your first stitch goes into the second chain.
- Insert the hook under the top loops of that chain V. Yarn over, then draw the hook back through the chain. There are now two loops on your hook.
- Yarn over again and pull the strand through both loops. One loop remains on the hook, and you have completed one single crochet.
- Insert into the next chain V and repeat: insert, yarn over and pull up a loop; yarn over and pull through both loops.
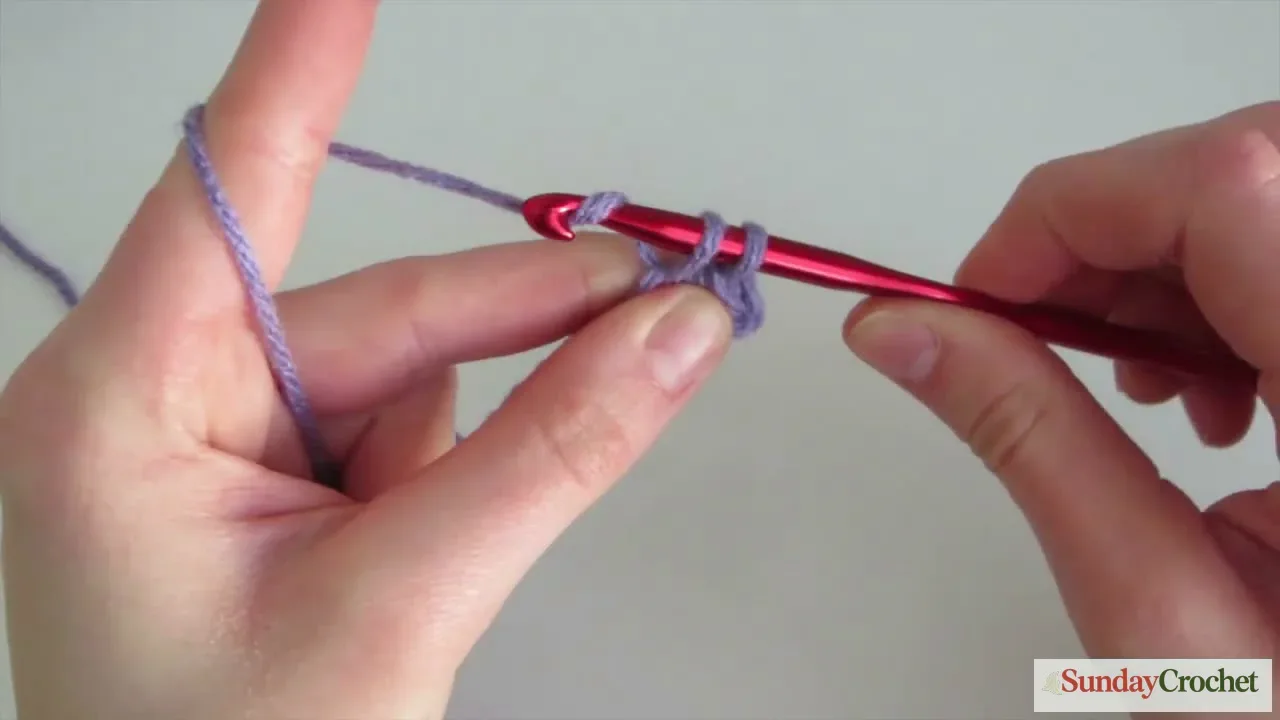
Keep going across the chain. We started with 11 chains, skipped one turning chain, and worked 10 single crochets. Count the little V-shaped stitch tops as you go. If you have 11 stitches or only nine stop and find the missed or doubled chain before starting the next row.
Keep the row loose enough that you can get your hook into each stitch. But don’t pull the loops so large that the row looks open and uneven. Try to make each stitch about the same height. Your first swatch may look a little wobbly and that’s fine. Your hands are learning.
Turn the work and build a swatch
When you reach the end of the row make one chain. This is your turning chain. Turn the work around so you can crochet back across it. For this row we’ll insert the hook under both top loops of each stitch and make one single crochet in every V.
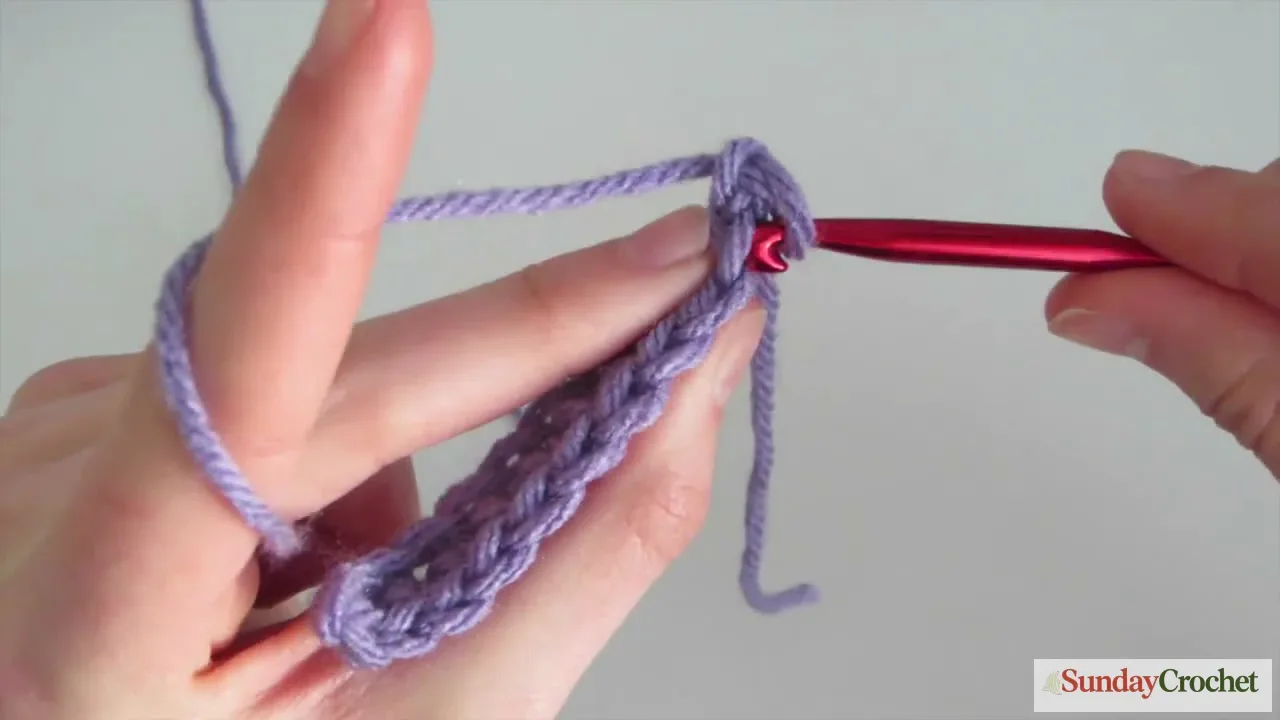
- At the row end, yarn over and pull through the loop on your hook once to make one turning chain.
- Turn the work so the row you just made faces you. The turning chain creates a little height at the edge; it is not one of the ten single crochet stitches.
- Find the first V at the row’s edge. Insert under both loops of that V, draw up a loop, then yarn over and pull through both loops.
- Continue with one single crochet in each V to the end. Count the stitch tops to keep ten stitches in the row.
- At the end, chain one, turn, and work back across in the same way.
Keep repeating the rows to make a small practice swatch. I like to make twelve rows with ten single crochet stitches in each one. You can make fewer or more while you practice. We’re learning to recognize the stitch tops and keep the count steady. The exact size doesn’t matter here.
After a few rows, pause and inspect the edges. A widening swatch often means an extra stitch was worked into the turning chain or edge; a narrowing swatch often means the first or final V was missed. Count before you begin each new row. Placing a removable marker in the first and last stitch can help you find the edges, especially when the fabric is still small.
Your first swatch may lean, curl, or look uneven. That is useful information, not a failed project. Check that the stitch count is consistent, relax your grip if stitches are tight, and practice another row. As your hands repeat the same sequence, the yarn tension and hook movement become more familiar.
Undo a stitch when you need to
Everyone makes mistakes while learning, and crochet has a simple undo button. If you spot an error a stitch or two back, remove the hook from the active loop and gently pull the working yarn. The stitches will unravel one at a time. Stop when you reach the place you want to correct, put the hook back through the live loop, and work again.
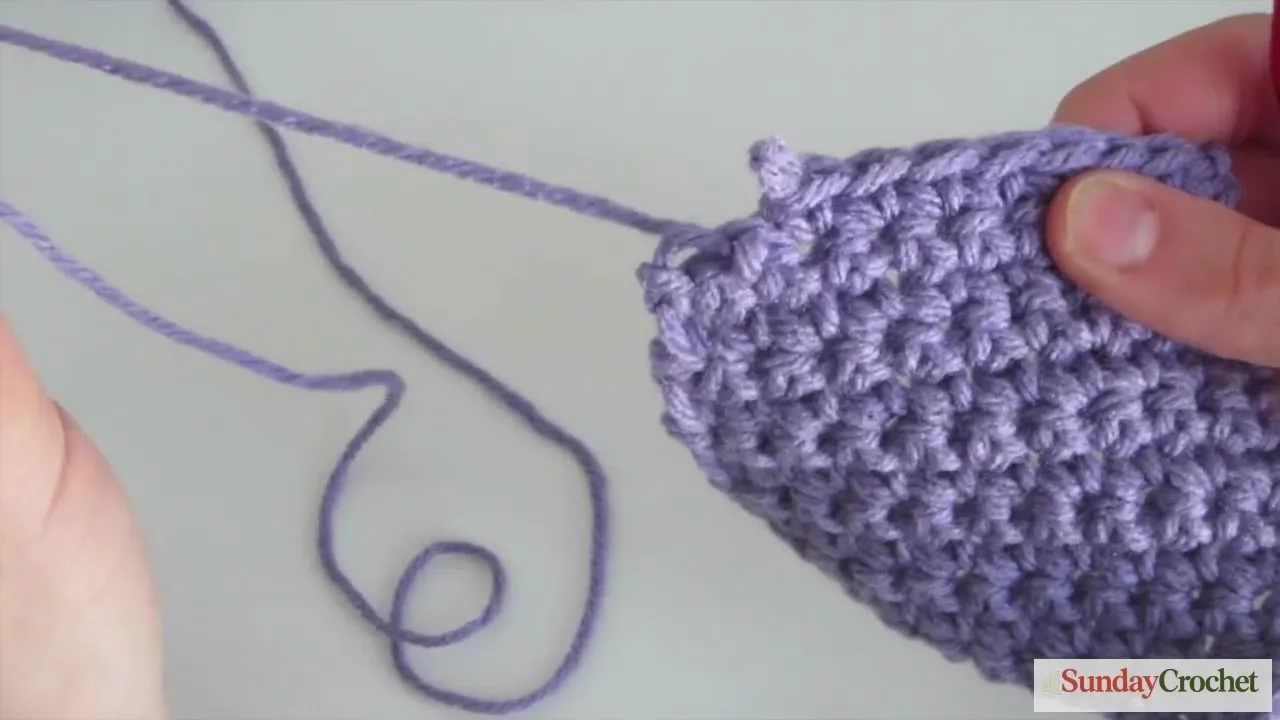
Pull slowly so you do not lose the loop you need to resume. If the yarn catches, wiggle the fabric and ease the strand out rather than tugging hard. Count your stitches again once the correction is made. Undoing a short section to fix the stitch count is often simpler than carrying an extra or missing stitch through several rows.
Fasten off and weave in the ends
When your swatch is long enough, finish the final row and make one chain. Pull the hook upward to enlarge the loop, then remove the hook and cut the yarn, leaving a tail long enough to sew through the fabric. Pull the cut end through the enlarged loop and snug it gently. This fastens the last stitch so the row will not unravel.
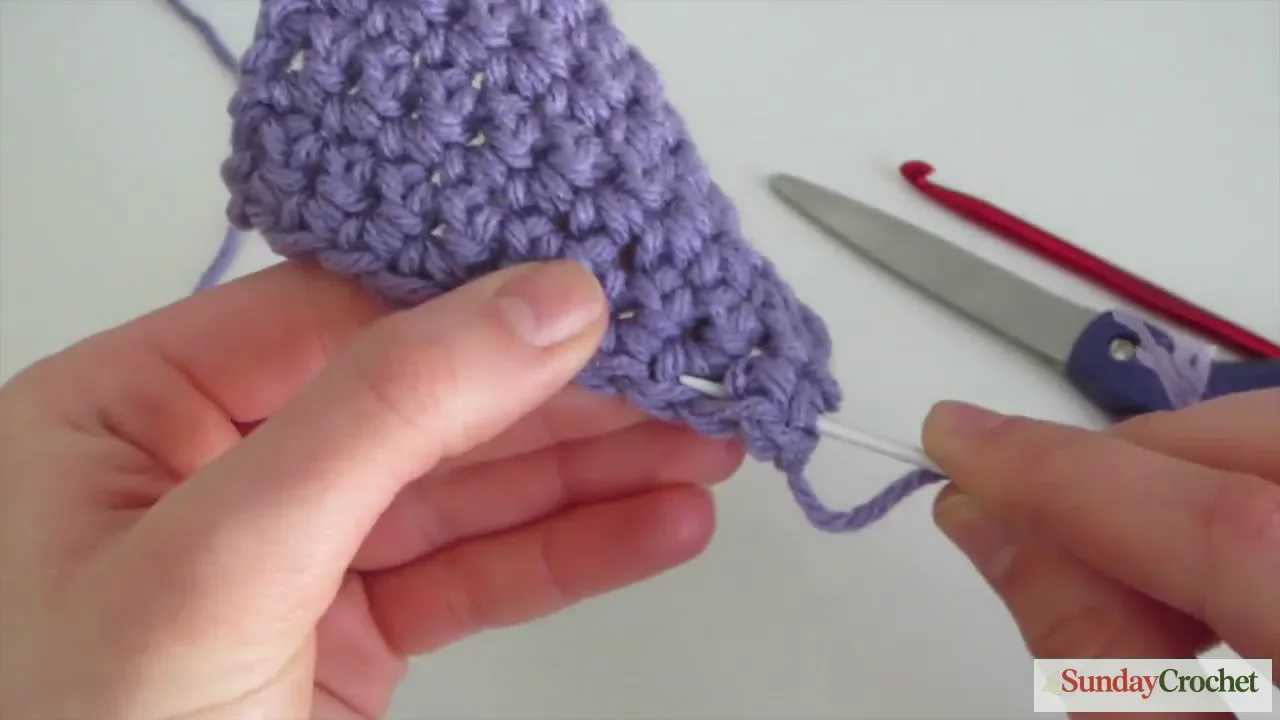
Thread the tail through the wide eye of a yarn needle. On the back of the swatch, pass the needle under several stitch bars, following the direction of the stitches. Change direction for a short stretch so the tail is less likely to slip loose. Keep the yarn relaxed; pulling too firmly can pucker the fabric. Trim the remaining tail close to the work without cutting into the stitches.
Repeat with the starting tail. Weaving in both ends gives the swatch a tidy finish and lets you handle it without the beginning or end loosening. The finished practice piece is small, but it contains the essential motions: a chain foundation, rows of single crochet, turning, and a secure finish.
Common questions
Why can’t I pull the yarn through the loop?
The loop may be too tight, or the hook tip may be facing the wrong way. Relax the working yarn, rotate the hook so the yarn sits in its groove, and pull gently. Make a fresh chain if your foundation is too tight to work into.
How do I know where the next stitch goes?
Look for the V-shaped top of each single crochet. Insert under both strands of the V for this swatch’s return rows. At row ends, the turning chain can look like a stitch, so count the actual stitch tops and use a marker at the edge if needed.
Why does my swatch have more or fewer stitches than the first row?
Count the stitch tops before beginning another row. The turning chain is separate from the ten single crochet stitches in our swatch. Check that you have not worked into it by mistake or skipped the last V at the edge.
Do I need to use a 5.5 mm hook?
No. I’m using a 5.5 mm hook with my yarn, but check the label on your own yarn and choose a size that feels comfortable. This swatch is for practice so we don’t need to match an exact finished measurement.
Keep the first swatch
Save this little piece even if the edges aren’t perfect. It shows where you began and lets you see how your tension changes as you practice. Once the chain, single crochet, and turning row feel familiar you can use those same skills to begin dishcloths, scarves, and plenty of other projects. Go slowly, count as you work and give your hands time to learn the movements.


