· Sunday Crochet
In this pattern
01 · Before you begin02 · Yarn & tools03 · Pattern notes04 · Abbreviations05 · Progress photos06 · The pattern07 · Border and assembly08 · Common questionsBefore you begin
A little evergreen tree worked into a granny-stitch square makes a cheerful block for a seasonal blanket, pillow front, or wall hanging. The tree is built with color changes inside the cluster rows, while the pale background keeps the motif easy to see. If you are planning a set of Christmas crochets, this square can be repeated in one color palette or mixed with other seasonal blocks.
I’ll show you how I work through the square, keep the color changes tidy, and add a simple border. The pattern uses US crochet terms. It is written from the demonstrated 25-chain foundation and keeps the yarn colors and steps clear. A finished measurement, yarn quantity, gauge, and complete whole-row stitch totals for every colorwork row are not specified, so those details are called out instead of guessed. Use the cluster and space counts listed here, and compare your fabric with the progress photos as you go.
Yarn & tools
The colors can be changed to suit your project. Keep the brown for the narrow trunk, green for the tree, and white or cream for the surrounding field. A smooth acrylic yarn makes the cluster shapes easy to see. Yardage is not specified, so have enough of each shade for one block and keep a note of how much remains if you plan a larger blanket.
Pattern notes
This pattern is worked back and forth in rows. A granny cluster is three double crochets into one space. The starting chain 3 counts as one double crochet when the directions say so. US terms are used throughout: double crochet is the US stitch, not the taller UK treble crochet. The green, white, and brown strands are changed by stopping before the final yarn-over pull-through of the last double crochet in a cluster, then completing that pull-through with the new color.
The yarn is floated across a small number of stitches when shown, then crocheted over to secure it. Keep carried strands behind the work and do not pull them tight; the fabric needs room to lie flat. When two colors meet at a space, separate them with your fingers so the strand you are not using stays to the back.
The square’s gauge and finished size are not given. If you need multiple blocks to match, crochet one complete square first and measure it after it relaxes. Keep the same yarn, hook, and tension for the rest. A written pattern’s abbreviations and repeats are easier to follow when you check each instruction against a cluster count; this crochet pattern reading guide explains that notation in plain language.
Abbreviations
- ch: chain
- dc: double crochet
- hdc: half double crochet
- sc: single crochet
- sl st: slip stitch
- st(s): stitch(es)
- sp: space
- yo: yarn over
Progress photos
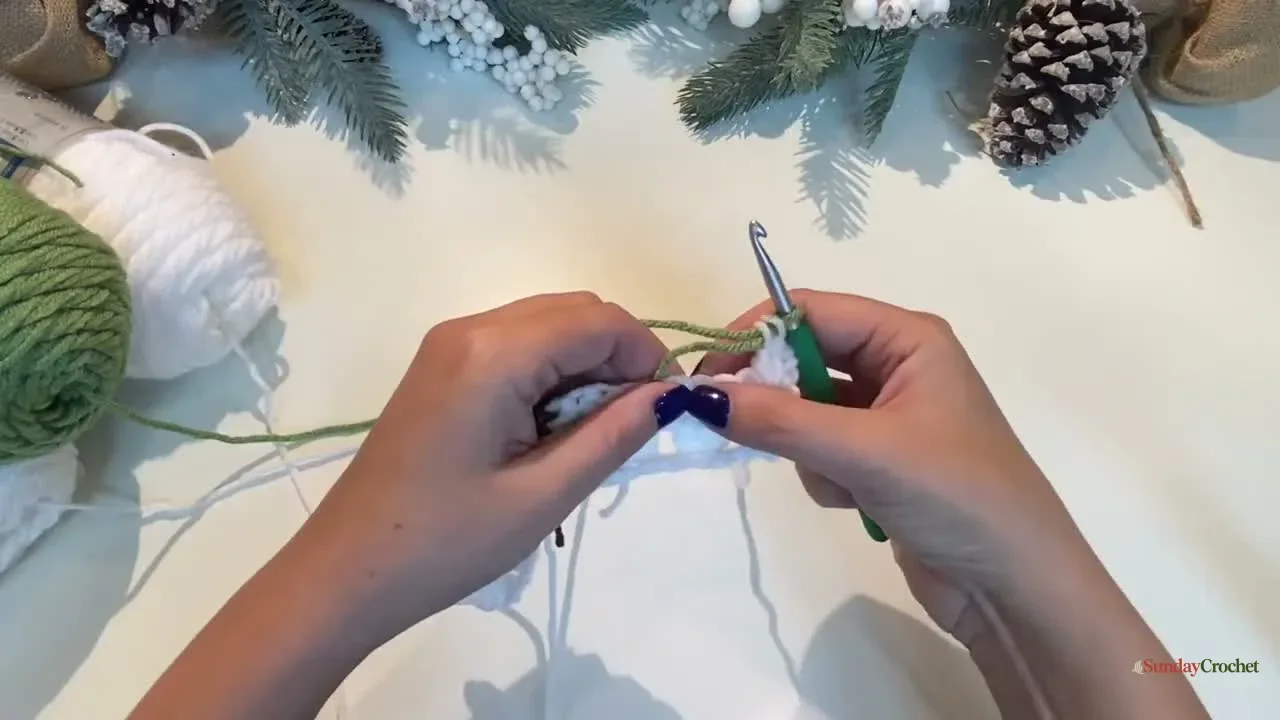
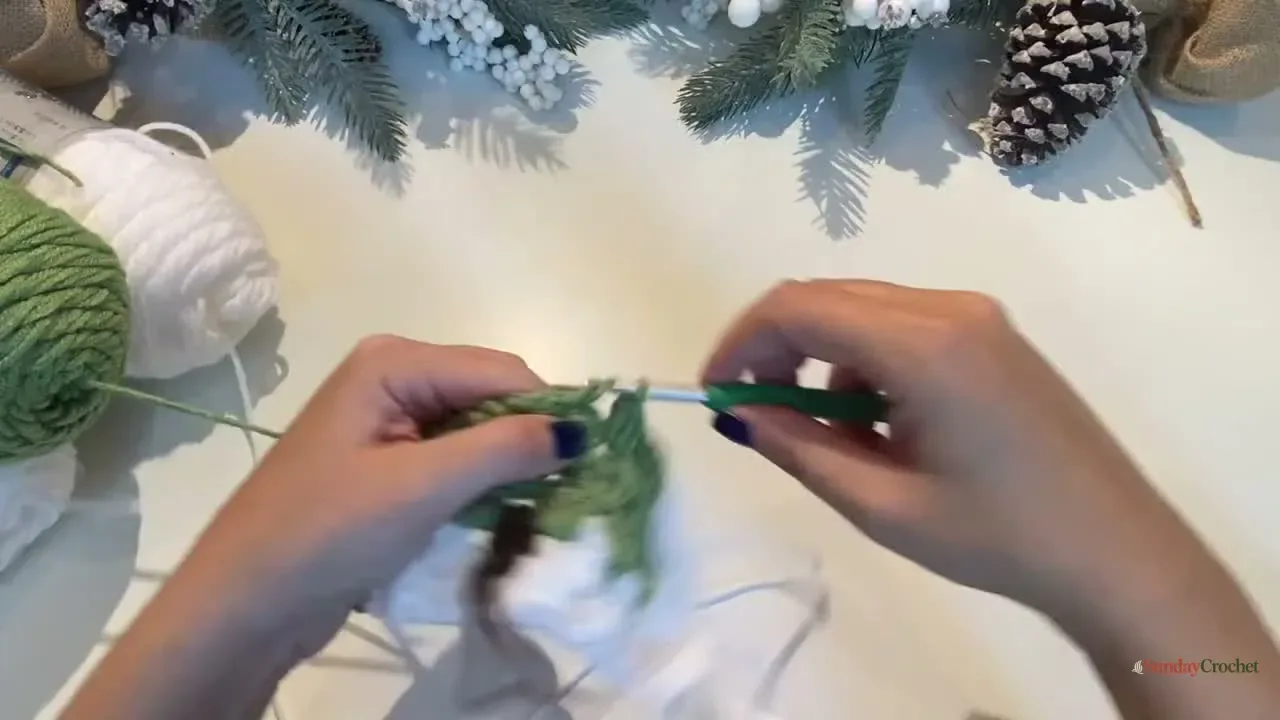
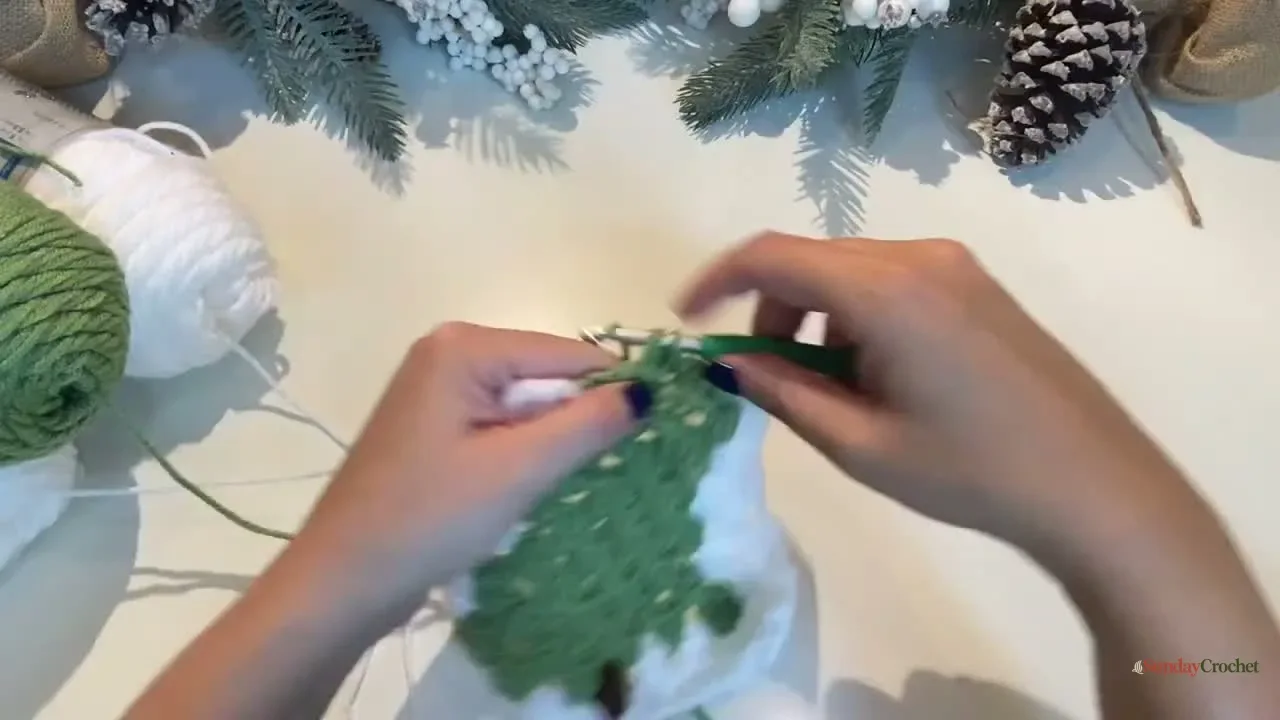
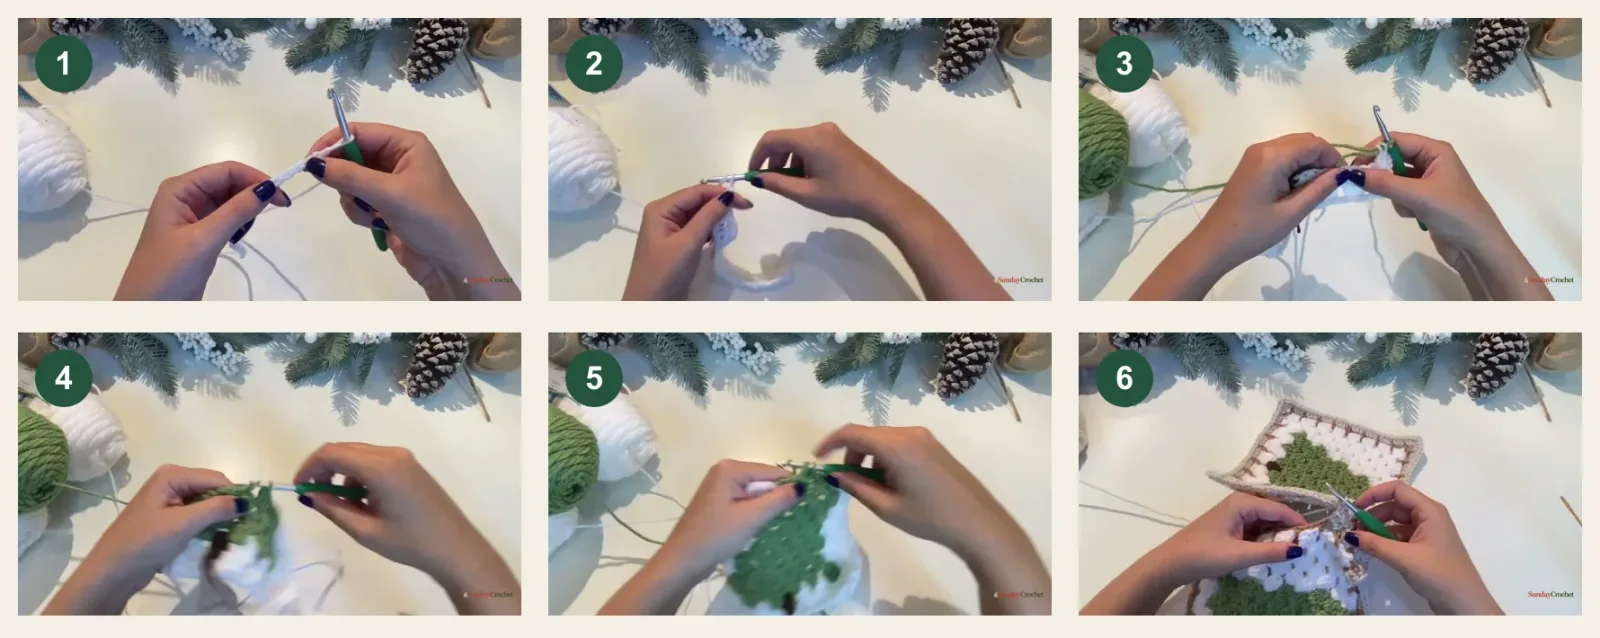
The pattern
Place a marker or use a removable clip at the edge of each row if it helps you keep track. Row 1 is explicitly counted as eight clusters. For later colorwork rows, the directions count the green clusters and spaces as they are worked but do not state a whole-row stitch total. Each full granny cluster contains 3 dc; count the turning ch 3 as one dc where stated, and count a separate edge dc separately. This keeps the written counts honest while you follow the exact spaces in your fabric.
Row 1
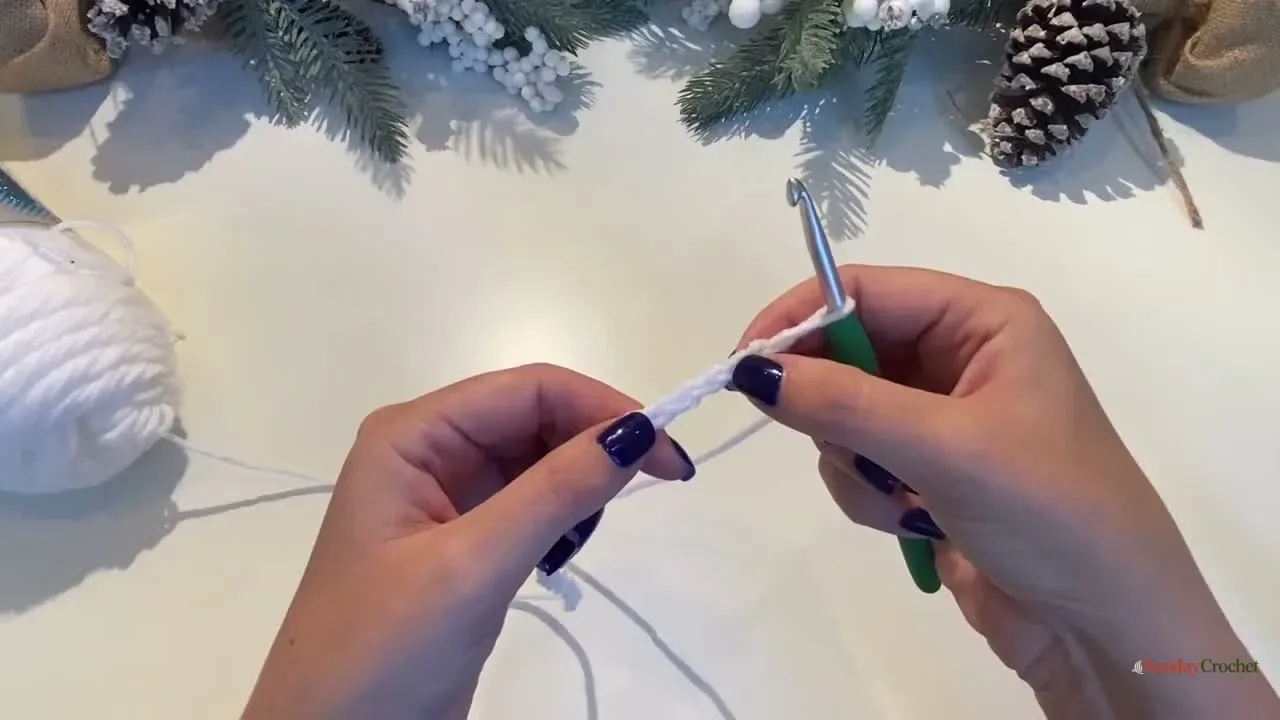
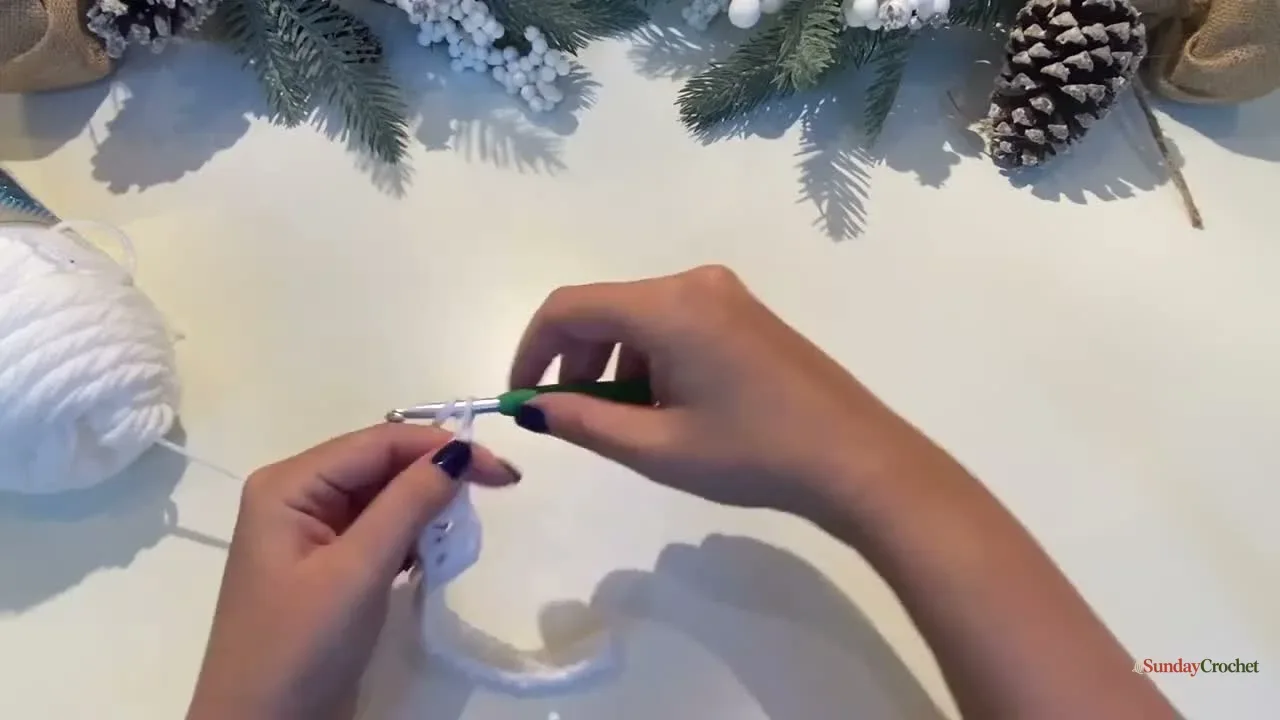
With white, make a slip knot and ch 25. Work 3 dc into the fourth chain from the hook. The skipped chains count as the first dc, so this first group is a three-dc cluster. Skip the next 2 chains, then work 3 dc into the next chain. Repeat the skip-2, 3-dc cluster sequence across. Work the final 3 dc into the last chain. Count 8 clusters total, or 24 dc-equivalent stitches including the starting chain counted as a dc.
Row 2
Ch 3 and turn. Work a 3-dc cluster in each available chain space, carrying the white yarn through the center area. In the middle section, change to brown for one cluster to form the trunk: begin the final dc of the preceding cluster, stop with 2 loops on the hook, and pull the brown through to finish. Work the brown cluster, then change back to white on its last dc. Keep the two white tails on either side of the brown section at the back and crochet over the tails for a few stitches to secure them. Finish the far edge with the single dc placed directly into the beginning chain space, to even the sides. to even the sides. Count the full clusters you made and the separate edge dc; the tutorial does not give a combined end-row total.
Row 3
Ch 3 and turn. Work 2 dc into the first space to complete the starting group. Change from white to green on the last pull-through, then work 6 green clusters of 3 dc across the tree section. At the brown trunk spaces, separate the brown and white strands with your fingers and place the green clusters into the spaces as directed. Float the white strand across the short gap shown, keeping it behind the fabric, and crochet over it in the next green cluster. Change back to white on the last green dc and finish the row with a white cluster in the edge space. Count the 6 green clusters stated for this row; the complete row total is not stated.
Row 4
Ch 3 and turn. Begin with a white cluster in the first space, changing to green on the final dc. Work 5 green clusters between the spaces, then change back to white on the last green dc. Keep the strands to their correct sides as they meet so the white does not show through the tree. Finish with the white cluster at the opposite edge and the single dc between the edge spaces that evens the row. Count 5 green clusters; the edge correction is an extra dc, and no full-row total is supplied.
Row 5
Ch 3 and turn. Work the white starting group, then change to green on its last dc. Carry the green clusters across the middle, changing back to white on the final green cluster. When the green strand tries to sit on the wrong side of the motif, use a fingertip to move it behind the work before making the next white cluster. Finish the row with the white end group and the edge dc shown. The directions count the green section as 4 clusters in this row; keep a separate tally for the white groups and edge stitch.
Row 6
Ch 3 and turn. Work the white cluster at the start, change to green, then continue the green section across the center spaces. The directions carry the green through the next 4 spaces before changing back to white. Complete the final white group and the edge correction. Count the 4 green spaces named in the repeat, plus the starting group where the color change begins; the tutorial does not state the combined row total.
Row 7
Ch 3 and turn. Start with the white cluster and change to green on its final dc. Work the green clusters through the next 4 spaces. On the final green cluster, change back to white and finish the edge with the white group and a single dc into the indicated space. Keep the inactive yarn behind the work rather than pulling it taut. Count the 4 green spaces in the row’s repeat, and count the separate edge dc.
Row 8
Ch 3 and turn. Work the white edge group, then change to green. Make 3 green clusters across the center and change back to white on the last green dc. Work the remaining white clusters and the edge dc to level the side. Count 3 green clusters; the complete row total is not specified.
Row 9
Ch 3 and turn. Work the white starting clusters, then change to green. Make the green clusters across the middle section, changing back to white on the final green group. The directions call for 4 green clusters in this row. Move the short green float behind the work before completing the white edge. Finish with the white clusters and the single dc into the indicated edge space.
Row 10
Ch 3 and turn. Work 2 white clusters before changing to green. Make 3 green clusters across the center and change back to white on the last green dc. Finish with the white clusters along the edge and the single dc that squares the side. Count 3 green clusters; keep the edge stitch separate from the cluster count.
Row 11
Ch 3 and turn. Work the white clusters to the tree section, then make 2 green clusters. Change back to white on the last green dc and finish the row with the remaining white clusters and the edge dc. Count 2 green clusters in the center.
Row 12
Ch 3 and turn. Work 2 white clusters, then change to green and make 3 green clusters. Change back to white on the last green dc and complete the row in white. Count 3 green clusters. Keep the white and green strands on opposite sides as you work over the color changes.
Row 13
Ch 3 and turn. Work the white starting section, then make 2 green clusters in the center. Change back to white and finish the edge. Count 2 green clusters.
Row 14
Ch 3 and turn. Work one centered green cluster to finish the tree tip. Fasten off the green strand with a tail long enough to weave in, and keep white attached for the top background row.
Row 15
Ch 3 and turn. Work white granny clusters all the way across the top edge. At the last cluster, ch 1, fasten off, and pull the cut end through. A final cluster total is not specified; count each 3-dc group as you work across.
Border and assembly
Weave in the color-change tails before adding the border. Thread each tail through the back of nearby stitches in more than one direction, then trim the excess. Doing this now prevents a thick bundle of loose ends from collecting along the edge.
For the first border round, join toasted almond in a side space. Work the demonstrated single-crochet and chain-3 loop repeat along the edge, placing a corner group of sc, ch 3, sc in the corner spaces. At the bottom, work into the first V stitch rather than the loose strand at the very edge of the foundation chain. Continue the same loop repeat around, use the corner spaces rather than the larger gaps, then slip stitch into the starting stitch and fasten off. No overall stitch total is provided for this edging round because the number of side spaces depends on the edge you have.
To join a second block as you work the final border, start with one completed square. With linen, attach in a corner chain-3 space of the new square, make a single crochet and ch 1, then add 2 hdc to complete the first three-hdc corner group. Work 3 hdc into each side chain space. At the matching corner, make 3 hdc and ch 1, then slip stitch into the corner space of the finished square to connect the blocks. Ch 1 and make 3 more hdc in the new square’s corner. Along the joined edge, work 3 hdc into each chain space and slip stitch into the matching space between the hdc groups on the completed block. Repeat this join across the side. At a corner, make the corner hdc group, ch 1, slip stitch into the neighboring block’s corner, ch 1, and complete the corner group. Continue the same approach for each additional square. Work the joining method only after one full block is finished.
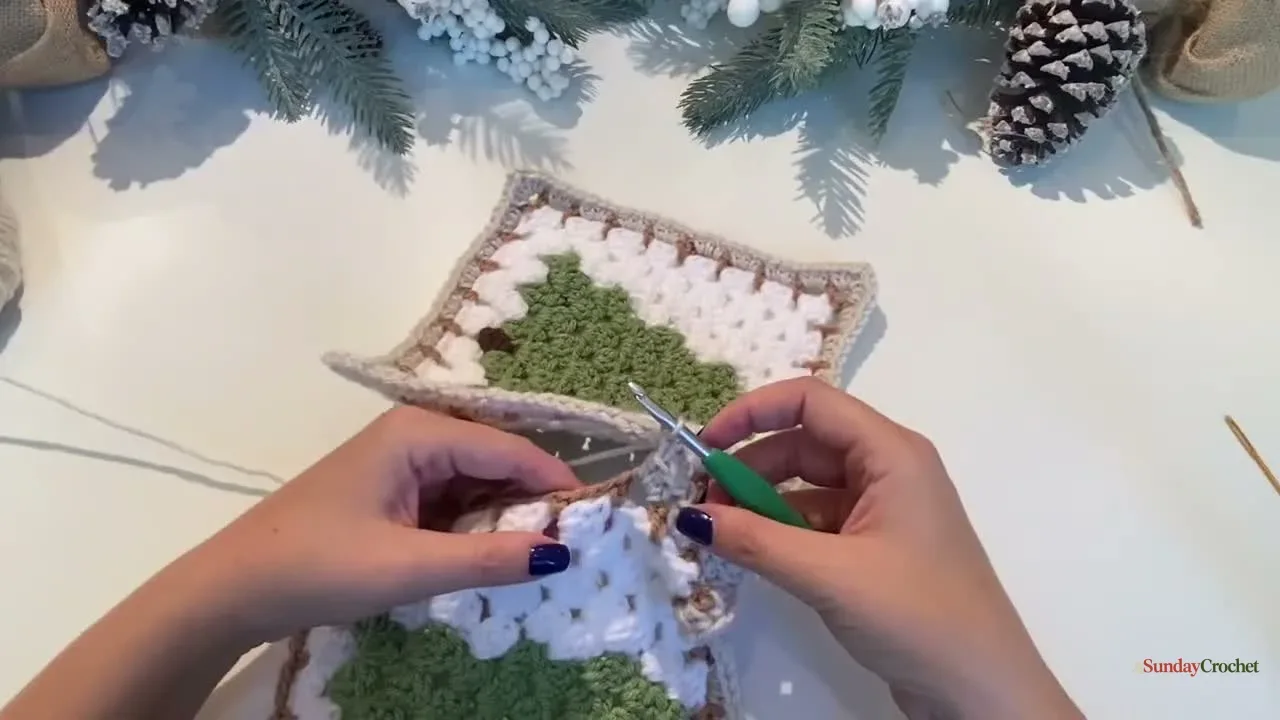
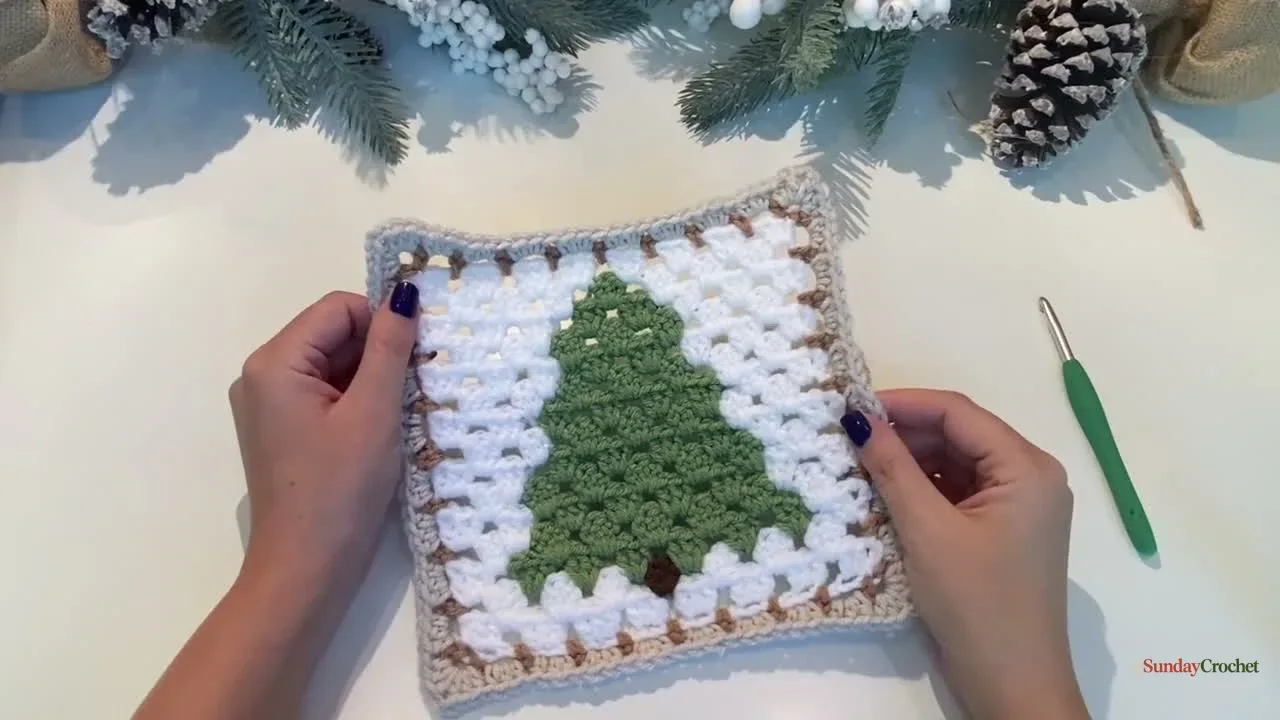
For a blanket, lay the blocks out before joining so the trees all face the same way. The demonstrated layout is five squares across and seven high, for 35 blocks. You can choose another arrangement and color mix. If you are matching multiple projects or substituting yarn, use the same weight and hook across the set; this guide to crochet yarn weights explains why a change in yarn thickness alters the size and drape.
Common questions
Is this written in US or UK terms?
It uses US terms. The pattern’s dc is a US double crochet. If you usually follow UK patterns, remember that the UK treble crochet is the corresponding stitch.
What is the gauge and finished square size?
Neither is stated. Crochet one sample square with your chosen yarn and hook, then measure it before making a full set. Keep the same materials and tension for each block.
How many stitches should I have at the end of each colorwork row?
The first row is explicitly counted as 8 clusters, or 24 dc-equivalent stitches. The later row directions give color-section and space counts but no complete row totals. Count each full cluster as 3 dc, include the turning chain when it counts as a dc, and count any single edge dc separately. Do not use the green-cluster count alone as the total row count.
Can I skip the join-as-you-go method?
Yes. The border can be finished on each block without attaching another square. The join-as-you-go edge is an optional way to connect a new square while crocheting its last border row.