
· Sunday Crochet
In this pattern
01 · A beginner raglan that starts at the neckline02 · Yarn & tools03 · Before you begin04 · The pattern05 · Fit and gauge notes06 · Common questionsA beginner raglan that starts at the neckline
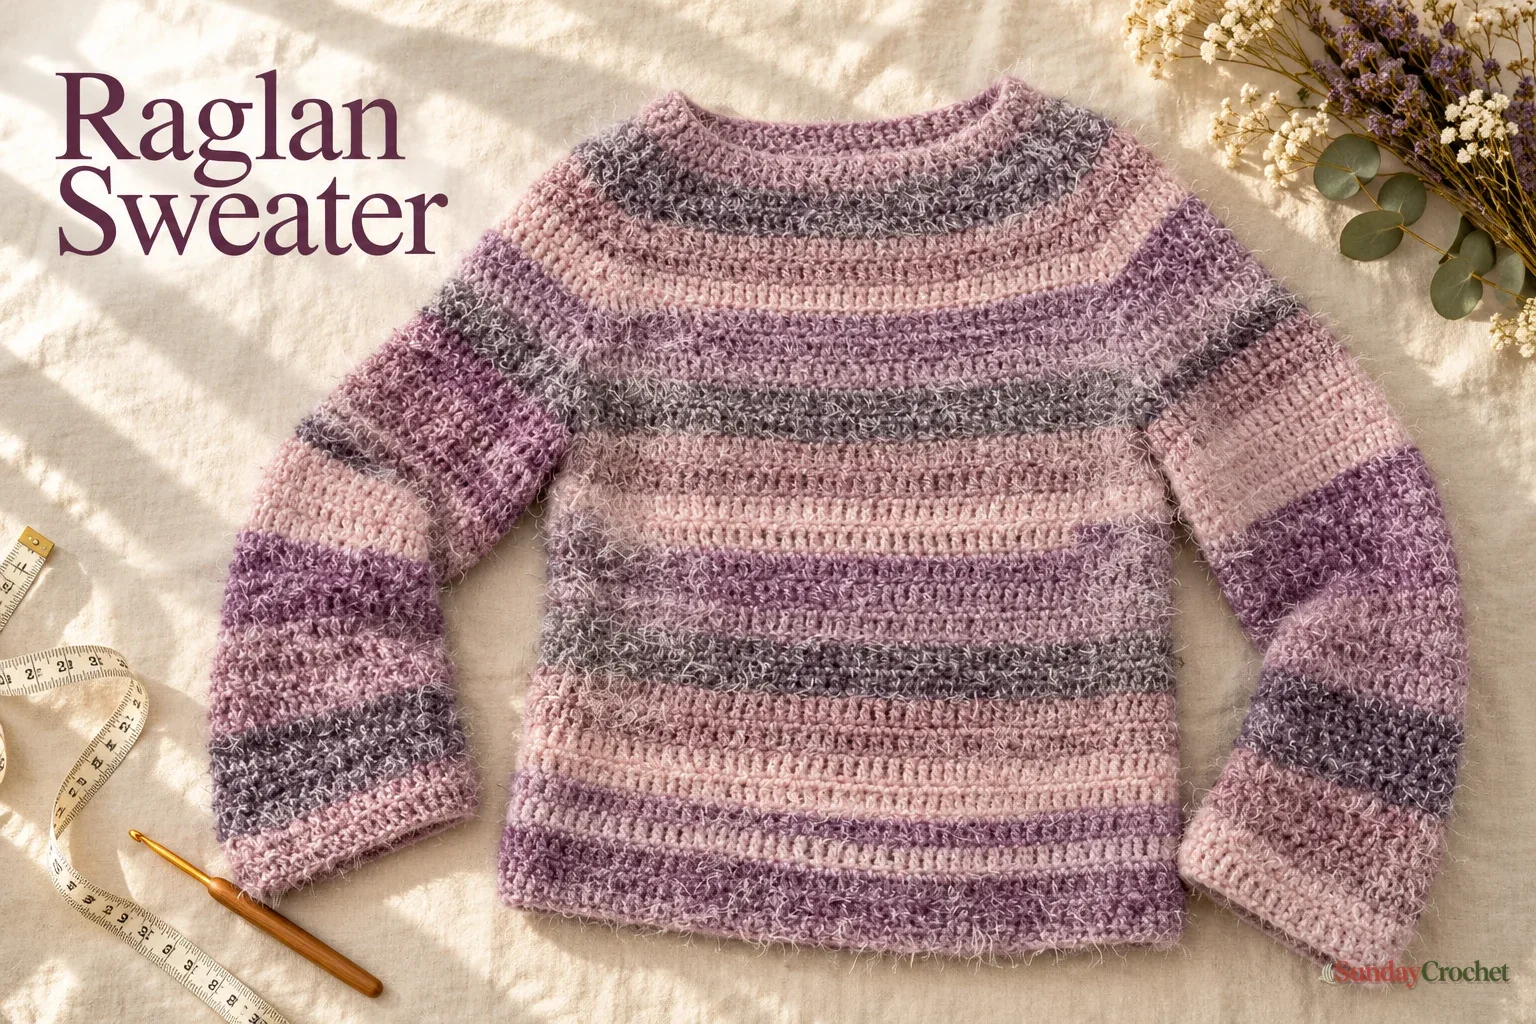
This easy crochet raglan sweater is worked from the top down, so you can check its fit before committing to a long body or two sleeves. Four marked increase points shape the yoke, then two underarm chains separate the sleeves from the body. The sample begins with an 84-chain neckline and uses a soft, fuzzy bulky yarn, but the construction is made to measure rather than tied to a fixed size chart.
I’ll show you how I do this from the first chain through the sleeve repeats. The pattern uses US terms, and the stitch counts below distinguish the sample numbers from totals that vary with your own measurements.
Yarn & tools
The yarn’s halo makes a soft fabric, but it can hide the tops of stitches. The yarn label suggests a 6.5 mm hook and gives a reference gauge of 15 stitches and 12 single-crochet rows per 4 inches. That is not the gauge for this sweater: the sample uses a 5 mm hook and tall stitches. If you substitute fibers, the way cotton and acrylic crochet fabrics behave can help you choose a drape you like.
Before you begin
This pattern is written in US crochet terminology. Some patterns call the US treble crochet a “triple crochet”; here it is abbreviated tr. A UK treble is a different, shorter stitch, so follow the US instructions below.
- ch: chain
- sl st: slip stitch
- tr: treble crochet
- st / sts: stitch / stitches
- inc: increase at a raglan point
For the first increase, work 1 tr, ch 1, and 1 tr into the marked stitch. On following rows, work 1 tr into each side of the existing V and place 2 tr, separated by ch 1, in its center chain space. The ch-1 spaces are not included in the tr totals below. The chain 4 at the start of each row counts as 1 tr.
This made-to-measure pattern has no stated pattern gauge, graded size chart, or fixed number of yoke, body, or sleeve rows. You will use the sample measurements as checkpoints and record the stitch totals your own fit creates. A quick pattern-reading routine can help you keep the increase repeats straight.
The pattern
Foundation chain and neckline
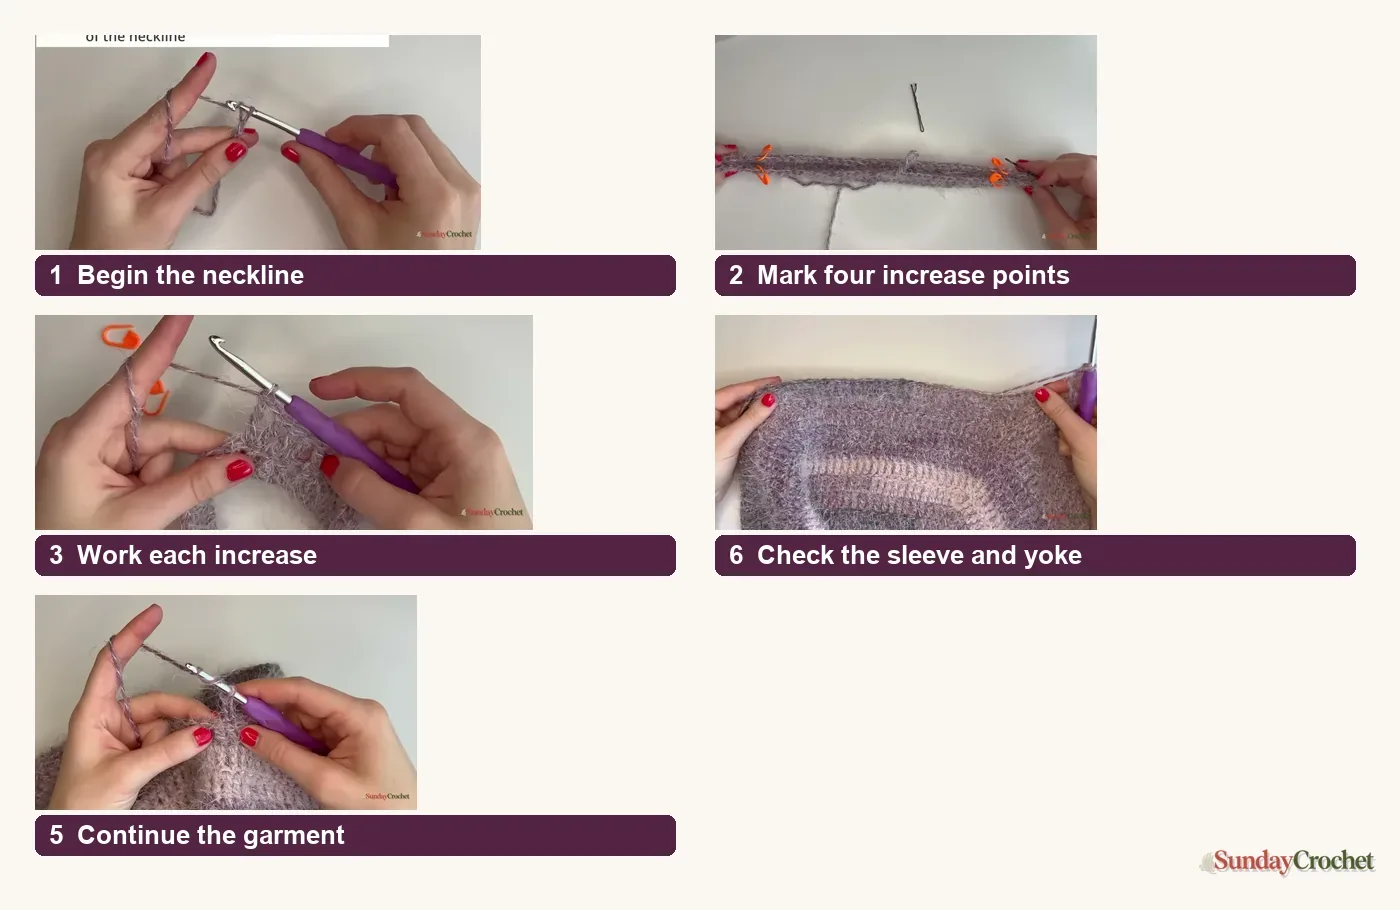
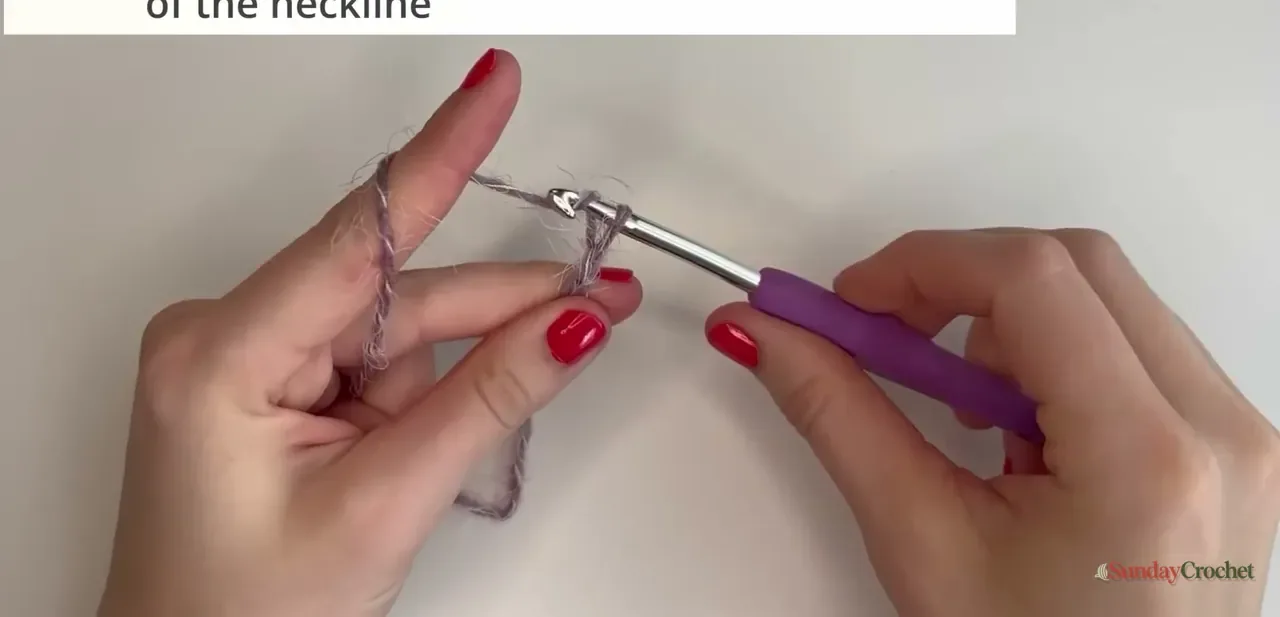
Make a slip knot and chain the length you want around your neckline. The sample uses 84 chains measuring about 26 inches. A longer chain makes a wider, more boat-shaped neckline. Count your chain carefully, then join with a slip stitch into the first chain to make a loop. Check that the loop fits comfortably over your head before continuing.
Row 1: Establish the neckline
Ch 4. This turning chain counts as the first tr. Work 1 tr into each remaining chain around the loop. When you return to the beginning, sl st into the top of the ch 4 to join. Keep the seam at the center back as you work.
Sample stitch count: 84 tr, including the ch 4. For a custom neckline, the total is the number of chains you made, counted with the ch 4 as one tr.
Place the four raglan markers
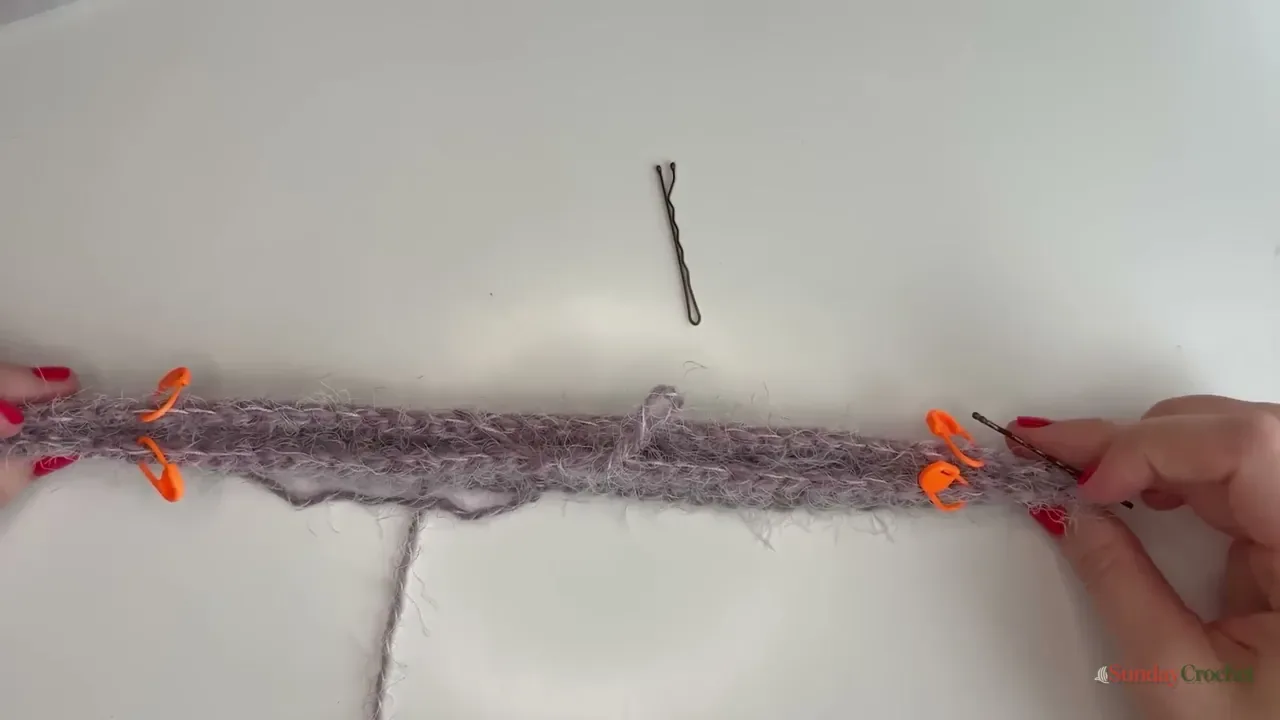
Lay the joined row out with the seam at the center back. Use two bobby pins as shoulder reference points, one on each side. Place four increase markers symmetrically around the neckline, about 2 inches (roughly 6 stitches in the sample) inward from the shoulder reference points. Take your time dividing the spaces evenly. The markers set the boundaries between the front, back, and sleeve sections.
Row 2: Make the first increase row
Ch 4 and turn. Work 1 tr into each stitch until you reach the first marker. Remove it and work 1 tr into that marked stitch, ch 1, then work another tr into the same stitch. Continue in tr to each of the other three markers and repeat the same increase. Place a marker in each new ch-1 space so you can find the increase points on the next row. Finish with tr to the end, then sl st into the top of the ch 4 to join.
Sample stitch count: 88 tr, counting the four new tr and not the four ch-1 spaces. In general, this row adds 1 tr at each of the four markers, for a total increase of 4.
Row 3: Build the raglan V spaces
Ch 4 and turn. Work 1 tr into each stitch until you reach a marked ch-1 space. Work 1 tr into the right side of the V, then 2 tr into the marked chain space with ch 1 between them. Work 1 tr into the left side of the V. Move the marker to the new ch-1 space. Repeat at all four increase points, tr between them, then join to the top of the starting ch 4.
Sample stitch count: 96 tr. Each of the four increase points adds 2 tr on this row. The marker stays in the new center chain space.
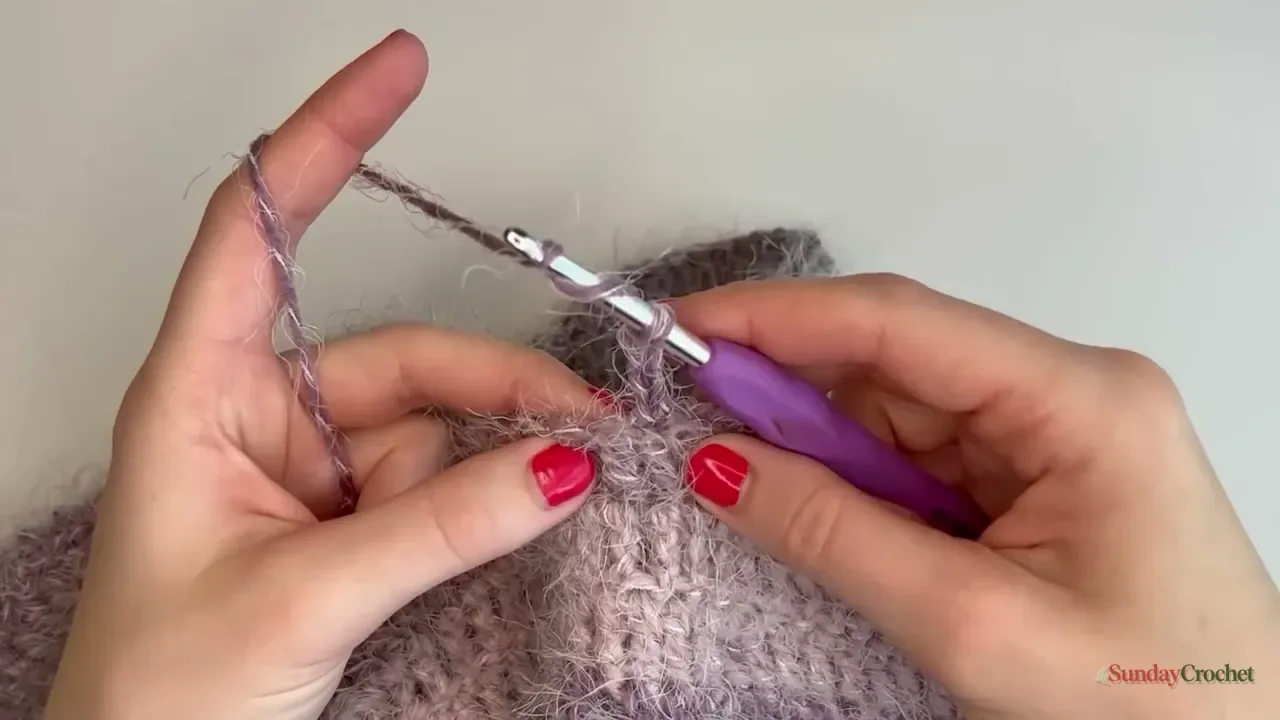
Row 4 and later yoke rows: Repeat the V increase
For every following yoke row, repeat Row 3: ch 4, turn, work tr across to each marked V, work 1 tr into its right leg, 2 tr into its ch-1 space with ch 1 between them, and 1 tr into its left leg. Move the marker into the new ch-1 space each time. Work tr between markers, join to the top of the ch 4, and turn.
Stitch counts: Row 4 has 104 tr, Row 5 has 112, and Row 6 has 120 for the 84-chain sample. After Row 2, each repeat adds 2 tr at each of four markers, or 8 tr total. For a starting chain count of C, Row 1 has C tr, Row 2 has C + 4, and each row from Row 3 onward adds 8 tr. These totals exclude the ch-1 spaces.
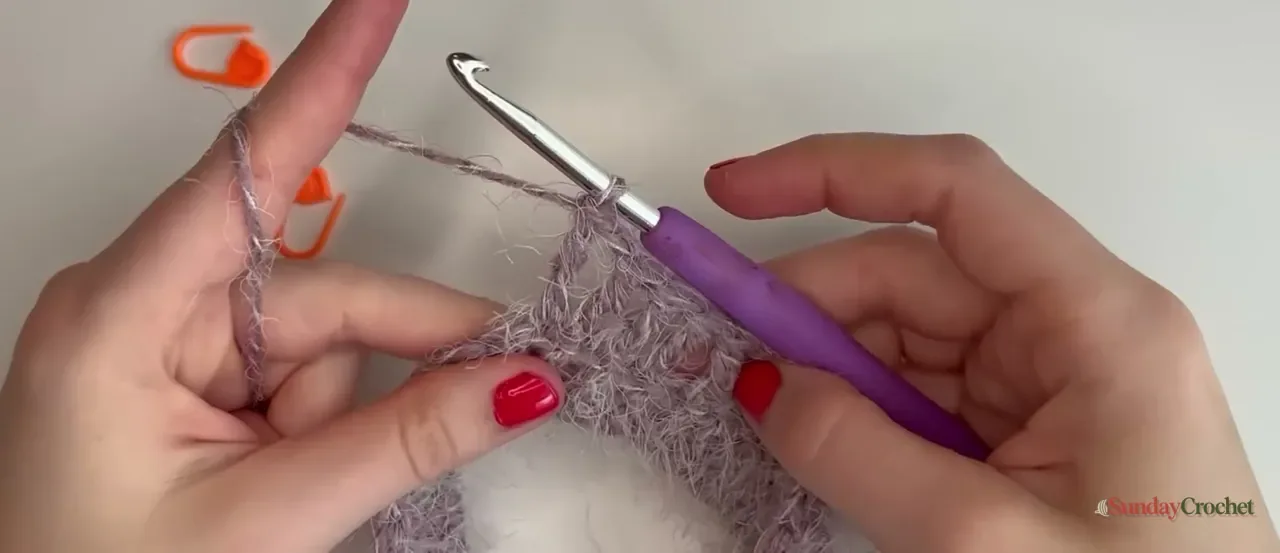
Continue the yoke rows until the fabric reaches a little below your armpit. The demonstrated yoke measures about 9 inches from the center neckline to the last row. Try it on as you work, checking that the neckline still fits over your head and that the yoke reaches comfortably below the underarm. There is no fixed row number because row height and fit vary.
Underarm separation row
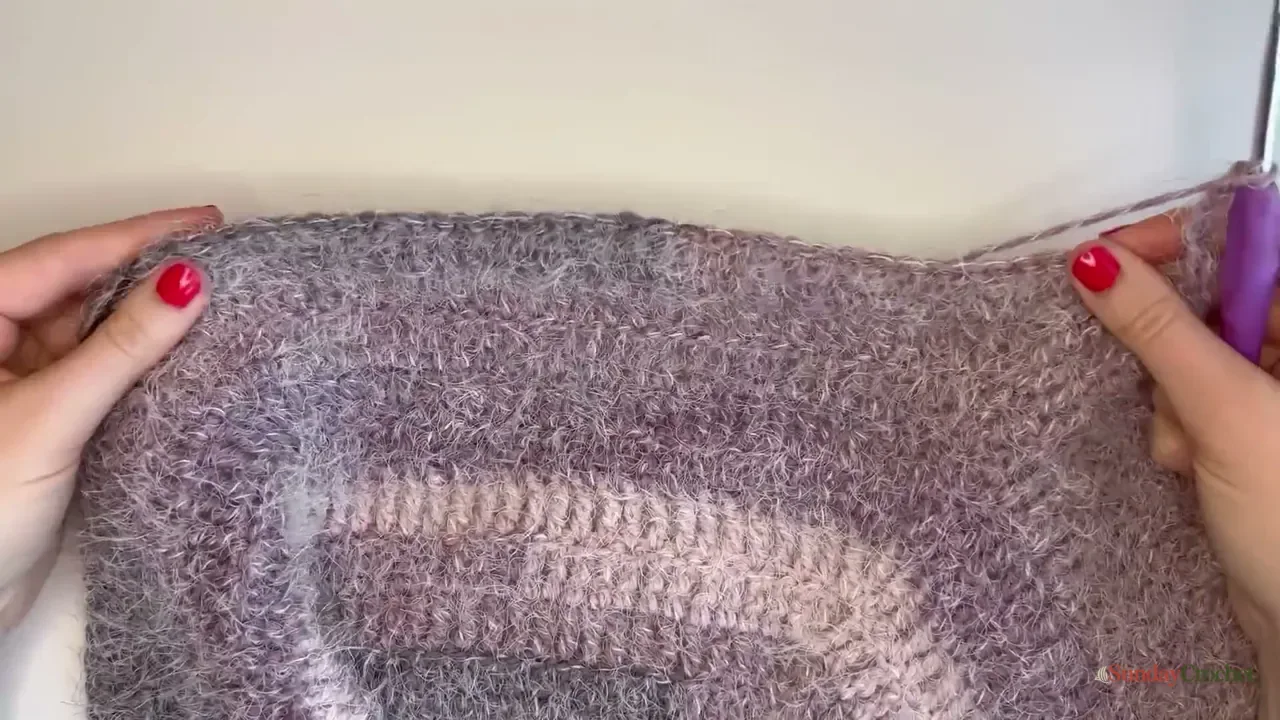
Start the row as usual and work in tr to the first marker. Work 1 tr into the right side of its V, then chain 8 to make the underarm bridge. At the matching marker on the other side of that sleeve section, line up the V and work 1 tr into its left side. The stitches between those markers are left unworked for the sleeve opening. Continue in tr to the next sleeve section and repeat, using the same number of chains for the second underarm. The sample uses 8 chains, but you can add more for a roomier opening.
Finish the row by working tr to the end and joining with a slip stitch into the top of the ch 4. The underarm chains bridge the body sections, so no separate panel sewing is needed.
Body rows
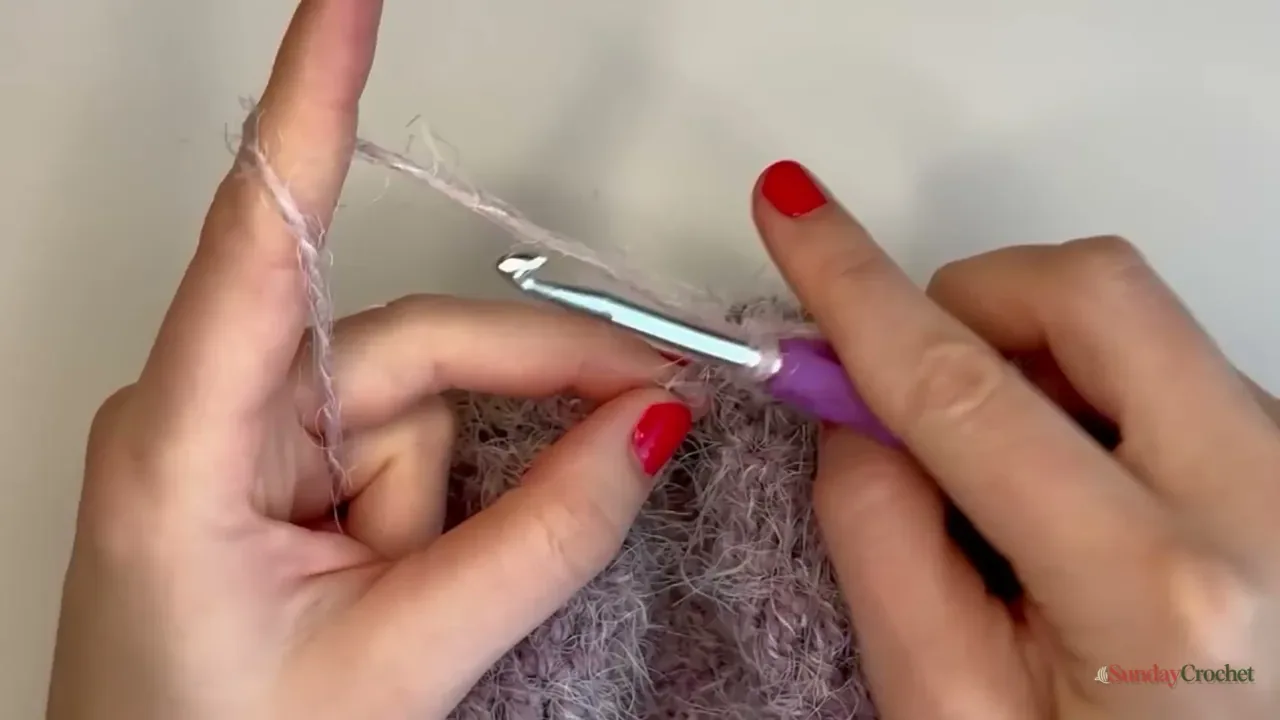
Ch 4 and turn. Work 1 tr into every stitch across the first body section, 1 tr into each chain of the first underarm bridge, tr across the second body section, then 1 tr into each chain of the second bridge. Continue in tr to the end and join to the ch 4. On each following row, ch 4, turn, and work 1 tr into every stitch without further increases.
Stitch count: The number depends on how many stitches you assigned to the front and back when you divided the yoke. Count the first complete body row, including the ch 4 and the stitches across both underarm chains, and use that same total for each later body row. With two 8-chain bridges, the bridges contribute 16 tr to that total. The sample body is about 18 to 19 inches wide at the fit check and about 20 to 21 inches long from the neckline to the hem. A cropped sample is about 16 inches long. Stop at the length you prefer.
Sleeve rows
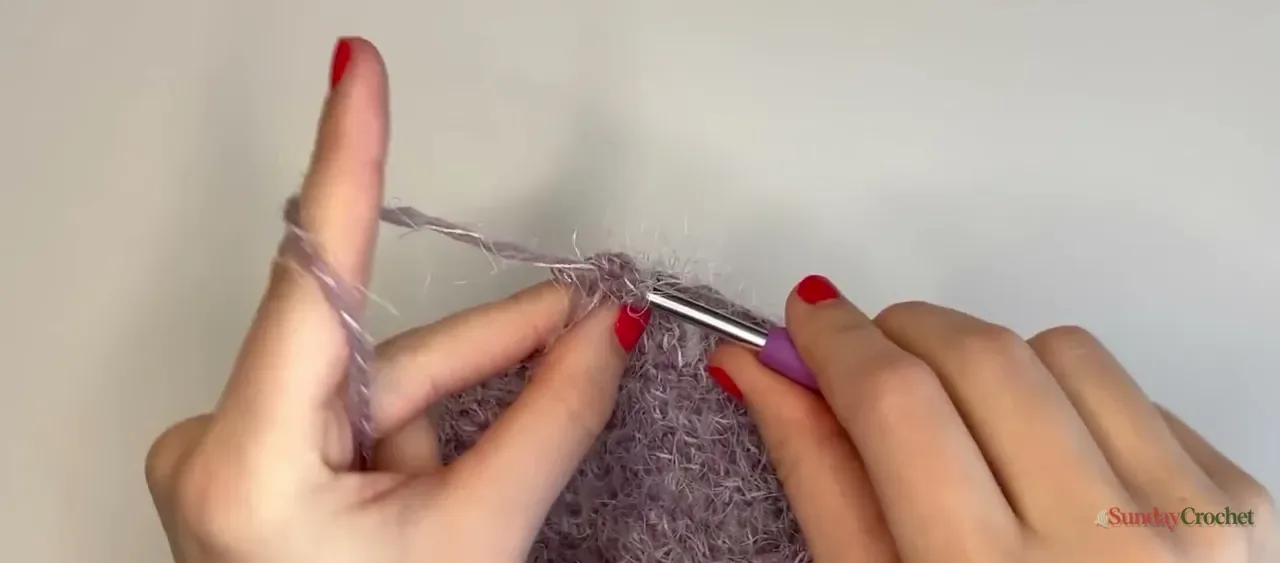
With the sweater positioned so the underarm bridge sits at the bottom, join the yarn at the center of that bridge, on the underside of the sleeve. Work tr around the opening, spacing stitches into secure parts of the edge if the fuzzy fabric makes the loops hard to see. Join with a slip stitch to the ch 4, then ch 4 and turn. Work 1 tr into every stitch around and join each row the same way.
Sleeve stitch count: Count the tr around the first armhole, including the underarm chain stitches, and call that total S. Each plain sleeve row ends with S tr. Use the same count around the second sleeve so both sleeves match.
For a straight sleeve, keep working plain rows until the sleeve reaches your preferred length. The sample makes about 15 plain rows before deciding whether to flare. For a gentle flare, place a marker at the halfway point across the sleeve, opposite the underarm seam. On an increase row, work 2 tr into the first stitch at the seam, tr to the marker, work 2 tr into the marked stitch, then tr to the end and join. This adds 2 tr, so the count becomes S + 2. Mark the first stitch of each increase pair to find the seam again.
The sample first tried one plain row between increases, then changed to two plain rows between increase rows because the sleeve widened too quickly. That schedule added about an inch of width. Repeat an increase row followed by two plain rows if you want the same gradual flare. For sleeve row counts, plain rows keep the current total; each increase row adds 2 tr. Write down the first sleeve’s repeat so you can mirror it on the second.
Finish
Work the second sleeve to match the first. Fasten off and use a tapestry needle to weave in the loose ends. The sweater is constructed from the neckline down, so it has no separate body panels to sew together and nothing to stuff. The underarm chains create the joins, and both sleeves are crocheted directly into their openings.
Fit and gauge notes
This is a made-to-measure recipe, not a graded size pattern. The demonstrated measurements are a useful reference, but use your own body and try-on checks to decide when to divide the sleeves, stop the body, and finish each sleeve. No pattern-specific stitch and row gauge is stated. Its yarn label shows 15 stitches and 12 single-crochet rows in 4 inches using a 6.5 mm hook; the sample sweater instead uses a 5 mm hook and US treble crochet. Treat the label number as yarn guidance, not as a sweater gauge. If you change yarn or hook, make a small swatch and compare its width and height before relying on the sample measurements.
Common questions
Can I use a different yarn?
Yes. The pattern allows different yarn, but changing yarn weight or fiber changes the fabric, stitch visibility, and measurements. The sample uses most of two 8.8-ounce cakes, about 15 ounces total. Buy enough for the body and both sleeves, and check your own yarn label for yardage and care. A smooth yarn may make it easier to see the stitches than a fuzzy cake yarn.
How many yoke rows should I make?
There is no fixed count. Repeat the raglan increase row until the yoke sits a little below your armpit; the sample measures about 9 inches from the center neckline. Row height changes with yarn, hook, and tension, so use the fit check rather than copying a row number.
How do I make the neckline wider?
Start with a longer foundation chain. The sample uses 84 chains, about 26 inches around. A longer chain makes a wider, more boat-shaped neckline. Try the loop over your head before working Row 1 so you can adjust the chain before the yoke grows.
Do I sew the sleeves to the sweater?
No separate sleeve pieces are sewn on. The underarm chain bridges the body when you divide the yoke, and you work each sleeve around its opening. After both sleeves are finished, weave in the ends with the needle.
Why are the increase stitches hard to see?
The halo can cover the V legs and chain spaces. Keep the markers in the center ch-1 spaces, slow down at each increase, and feel for the secure stitch loops before inserting the hook. Around the armhole, if a single loop feels too loose, choose a secure part of the edge for the hook instead of pulling at the loose loop.


