· Sunday Crochet
In this article
01 · A granny square that stays flat and tidy02 · Yarn & tools03 · Before you begin04 · The pattern05 · Seven tips for a neater square06 · Finishing and joining07 · Common questionsA granny square that stays flat and tidy
A granny square can look wavy, loose, or slightly twisted even when every stitch is technically correct. The center may open over time, the join can leave a bump, or the sides may start to spiral as the square grows. A few small choices make a noticeable difference: how you start the center, where you put the yarn tails, and how you work each round.
I’ll show you seven practical ways I keep a granny square even, then walk through four rounds in clear US terms. The walkthrough begins with a chain ring and grows with double-crochet clusters, changing colors between rounds. If the starting chain or double crochet is new, these basic crochet motions are all you need to practice first. The same shaping habits work for other granny-square motifs too. The exact yarn weight, hook size, gauge, and finished measurements are not specified, so use the yarn and hook you have and keep your tension consistent.
Yarn & tools
Before you begin
This is a confident-beginner tutorial. You should know how to make a chain, a slip stitch, and a US double crochet. The written directions use US terminology. The square is worked in joined rounds, and you turn the work at the end of each round. The chain three at the beginning of a round counts as one double crochet. Stitch totals below count double crochets only; the four chain-two corner spaces are listed separately.
The exact gauge and finished size are not given. Granny squares are often joined into larger projects, so matching the size of your other squares matters more than reaching an invented measurement. Check that each side has the same number of clusters and that the fabric lies reasonably flat before blocking.
Abbreviations
- ch: chain
- dc: double crochet
- sl st: slip stitch
- sp: space
- sk: skip
- rep: repeat
- st(s): stitch(es)
The pattern
The sample begins with a chain ring, then grows with groups of three double crochets. Two chains make each corner. Between corners, skip the previous round’s cluster and work into the open space along the side. Do not add a chain between side clusters in this version.
Round 1
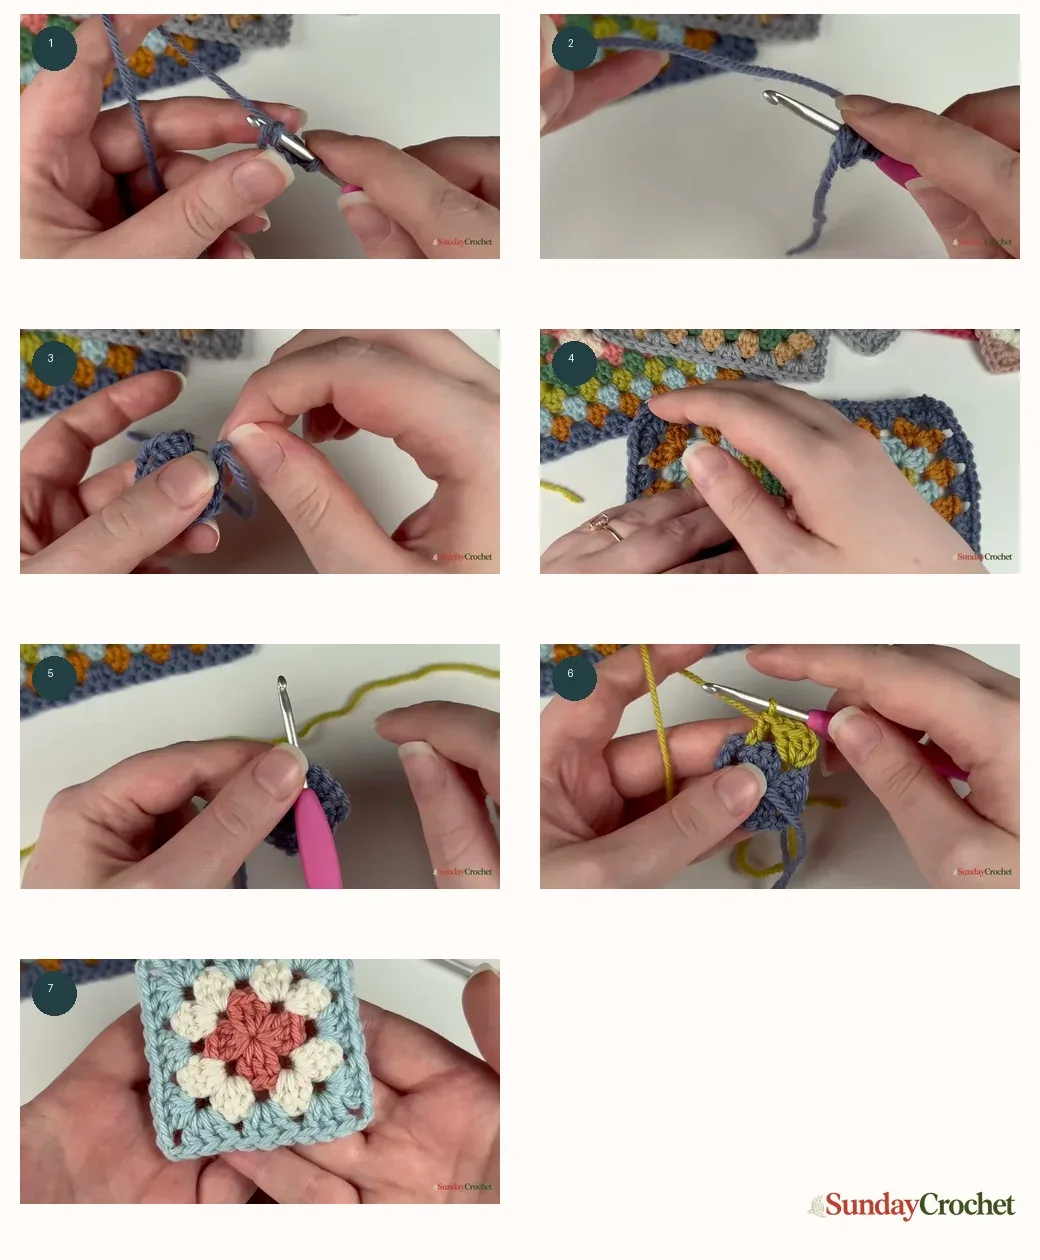
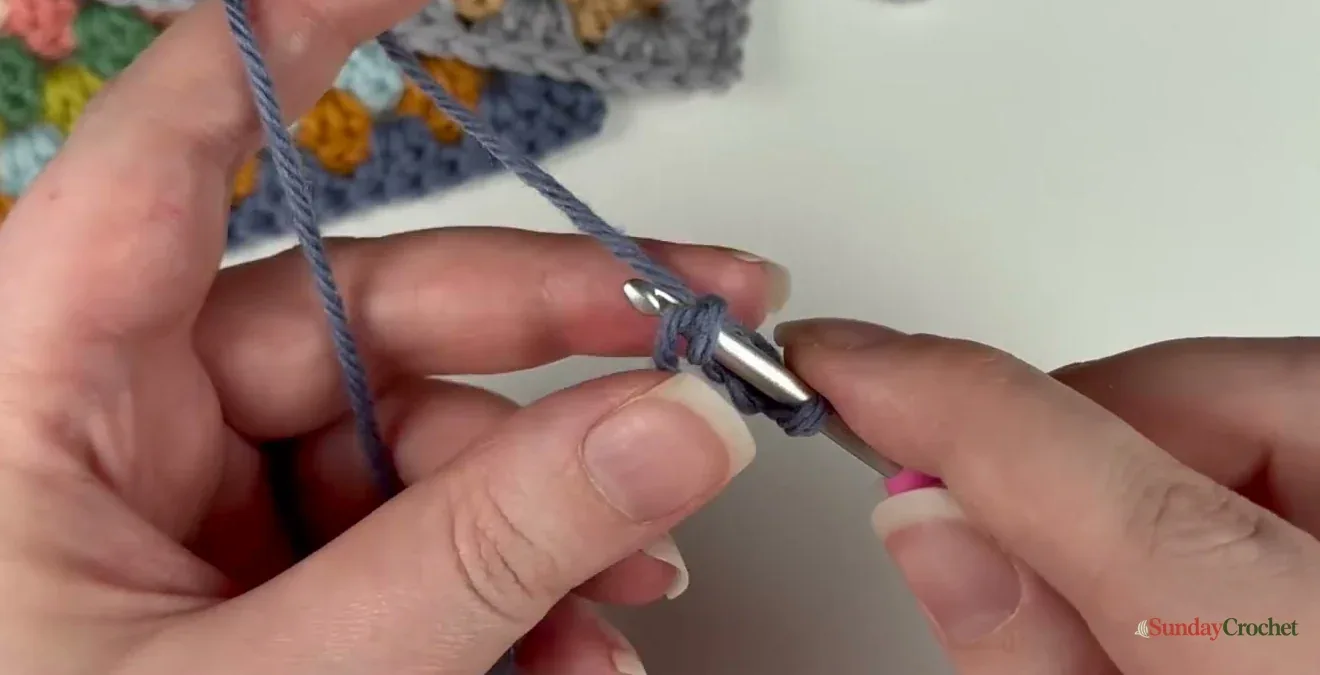
Ch 4 and join with a sl st in the first chain to make a ring. Ch 3, counting this as the first dc. Work 2 dc into the center of the ring to complete the first group of 3 dc. Ch 2. Work 3 dc into the ring, ch 2; repeat from * two more times. Join the round invisibly as described below, leaving a tail long enough to weave in.
Count: 12 dc in four groups of 3, with 4 ch-2 corner spaces.
Round 2
Turn the square. Join the next color in a corner ch-2 space, choosing a corner different from the one where the previous round ended. Ch 3, counting as 1 dc, then work 2 dc into the same space. At that corner, ch 2 and work 3 dc into the same space again. Repeat the corner group in each of the remaining three corner spaces: 3 dc, ch 2, 3 dc. Fasten off with an invisible join.
Count: 24 dc in eight groups of 3, with 4 ch-2 corner spaces.
Round 3
Turn the square and join the next color in a different corner space. Ch 3, counting as 1 dc, then work 2 dc in the same corner space. Work 3 dc into each open space along the side, skipping over the 3-dc groups from the previous round. At each corner ch-2 space, work 3 dc, ch 2, 3 dc. Continue around, placing a 3-dc group in every side space and a corner group in each corner. Fasten off with an invisible join.
Count: 36 dc in twelve groups of 3, with 4 ch-2 corner spaces.
Round 4
Turn the square and join the next color in a corner space other than the previous fastening-off corner. Ch 3, counting as 1 dc, then work 2 dc into that corner. Work 3 dc into every open space between the previous round’s 3-dc groups along the side. In each corner ch-2 space, work 3 dc, ch 2, 3 dc. Repeat around and fasten off invisibly.
Count: 48 dc in sixteen groups of 3, with 4 ch-2 corner spaces.
To make the square larger
Keep turning after every round. Add one more 3-dc group to each side by working into each open gap between neighboring clusters. At all four corners, continue to work 3 dc, ch 2, 3 dc into the corner space. The double-crochet total for a round made this way is 12 times the round number: 60 dc in Round 5, 72 dc in Round 6, and so on. That count assumes the same four-corner construction and no chain stitches along the sides.
Seven tips for a neater square
1. Start with a chain ring
A magic ring is quick, but the center of a square takes repeated use and can loosen if its tail shifts. A chain ring gives the first round a firm base. Ch 4, join the chain, and work into the center opening. The ring should be snug, but leave enough room to insert your hook comfortably.
2. Crochet over the starting tail
Lay the starting tail alongside the ring as you work Round 1. Catch it under every double crochet so it is secured across the back of the round. When the round is complete, turn the square over and gently pull the tail to close the center opening. Weave the end in securely afterward; the tail helps close the hole, but it still needs a proper finish.
3. Use an invisible join
A slip-stitch join can leave a small ridge at the end of every round. For a flatter finish, cut the yarn with a tail of about 5 or 6 inches. Pull the tail through the final loop. From the back, pass the hook under both top loops of the stitch next to the starting chain, catch the tail, and draw it through. Then pass the hook under the back loop of the second chain in the corner and pull the tail through. For a more secure finish before another round, draw the tail through the back loop of the join once more and snug it gently.
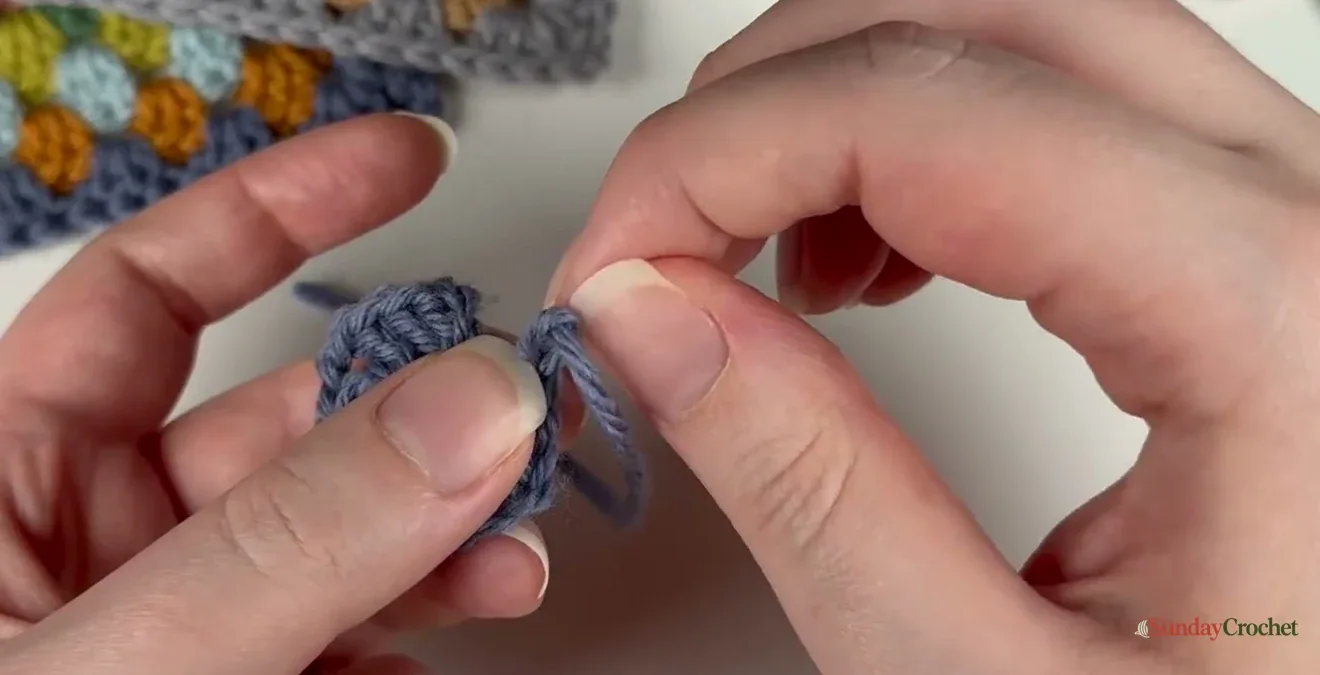
4. Turn at the end of every round
Double crochet stitches lean slightly in the direction they are worked. If every round faces the same way, that lean can accumulate and make the center appear to spiral. Turn the square before each new round. Alternating the direction helps balance the slant and keeps the sides more even, especially as the motif grows.
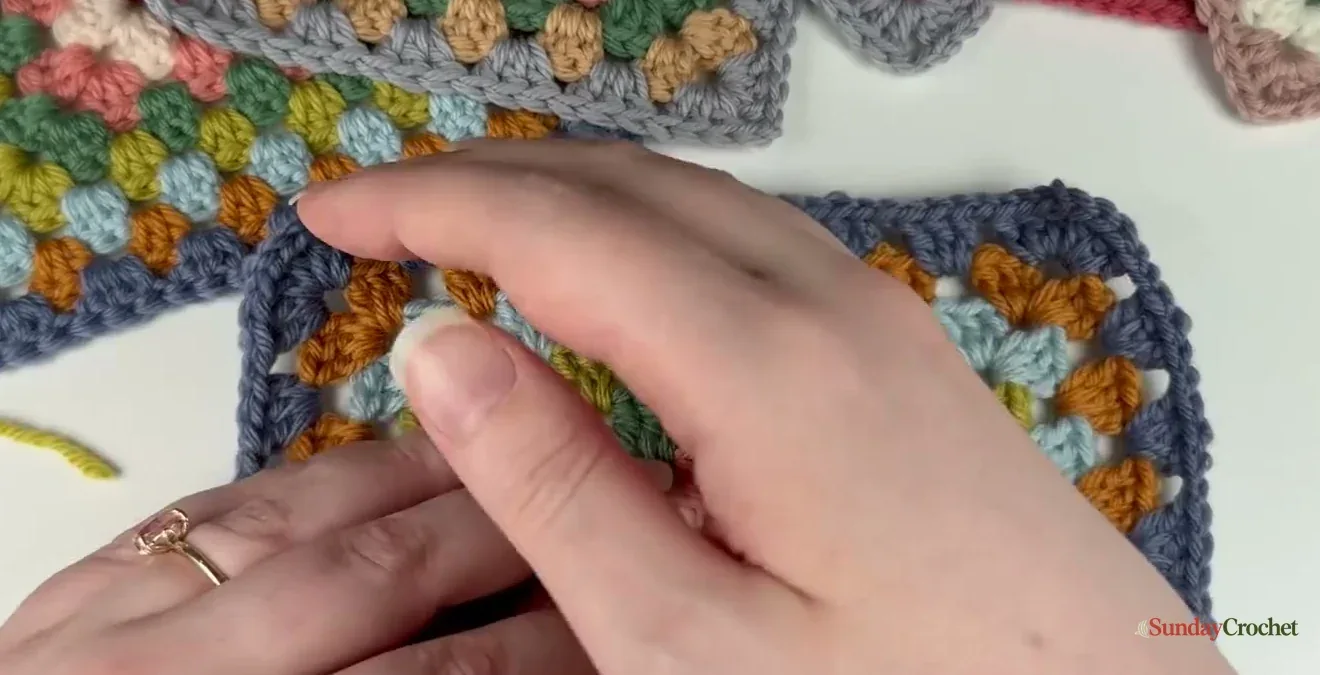
5. Begin each round in a corner
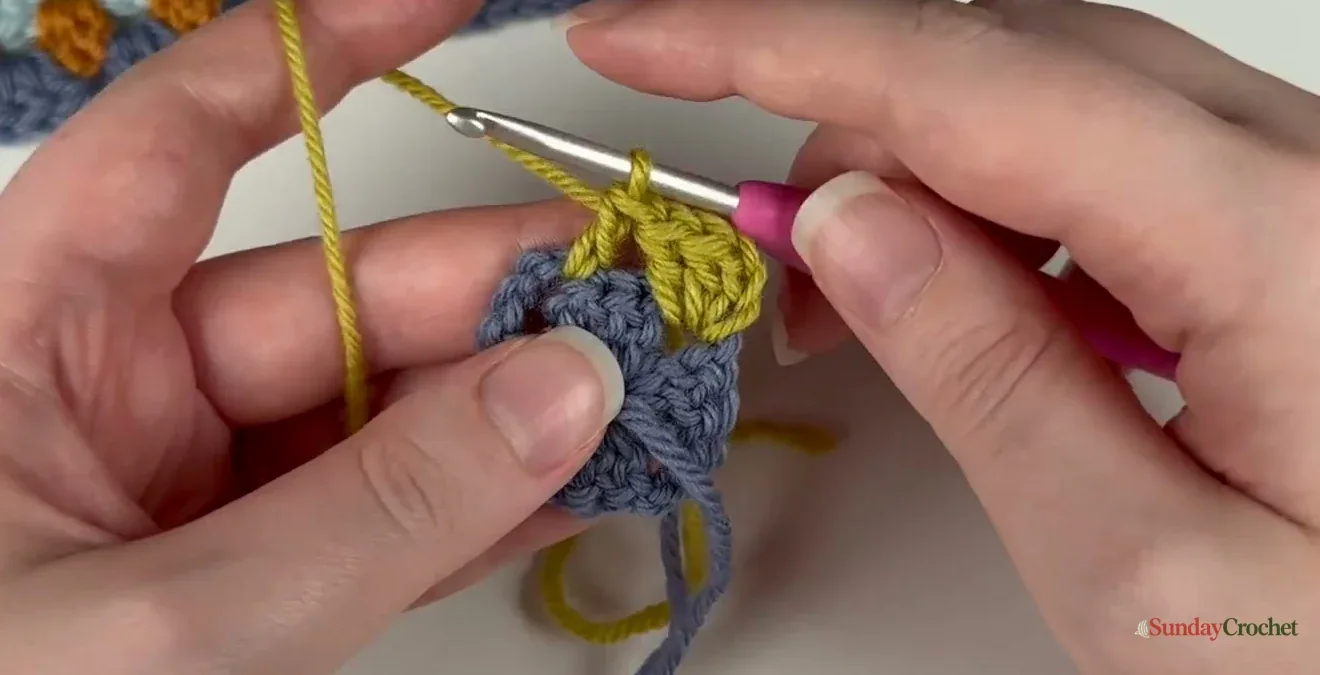
Join the next color in a corner space rather than halfway along a side. The starting chain and join then sit where the square naturally changes direction, so they are less noticeable. When changing colors, choose a different corner from the previous round’s join. That spreads the yarn ends around the square instead of stacking them in one spot.
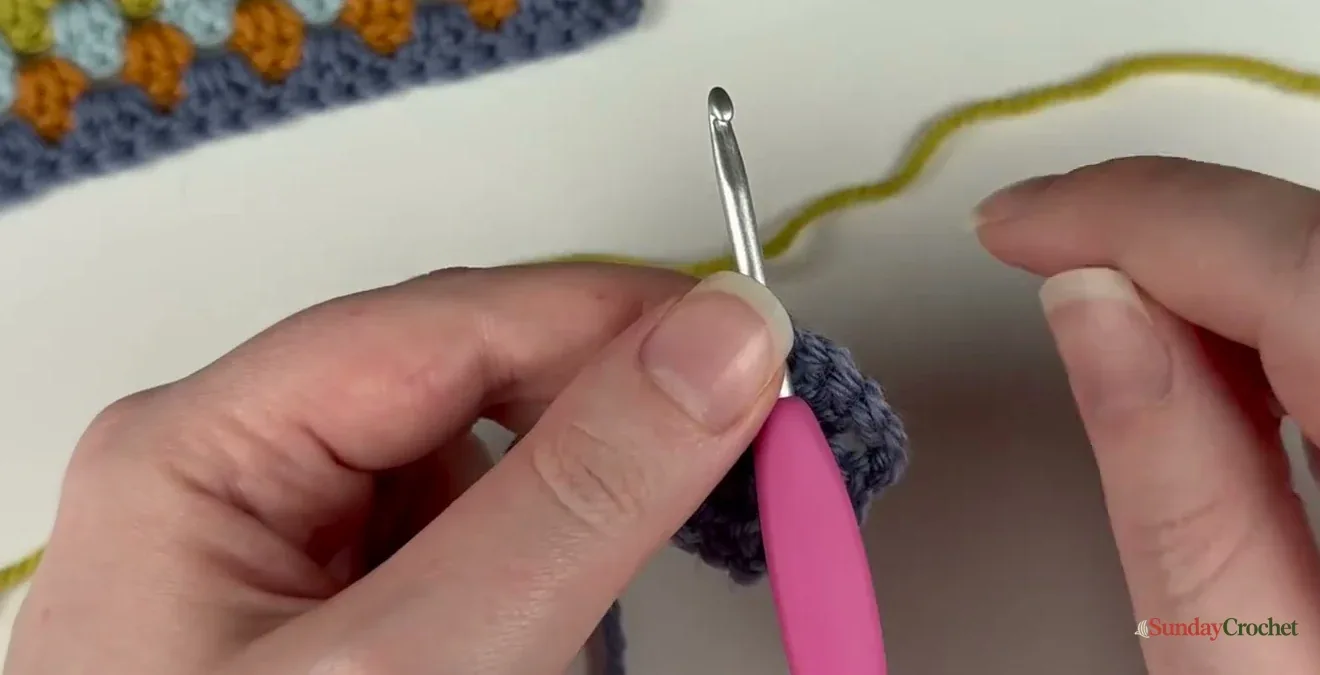
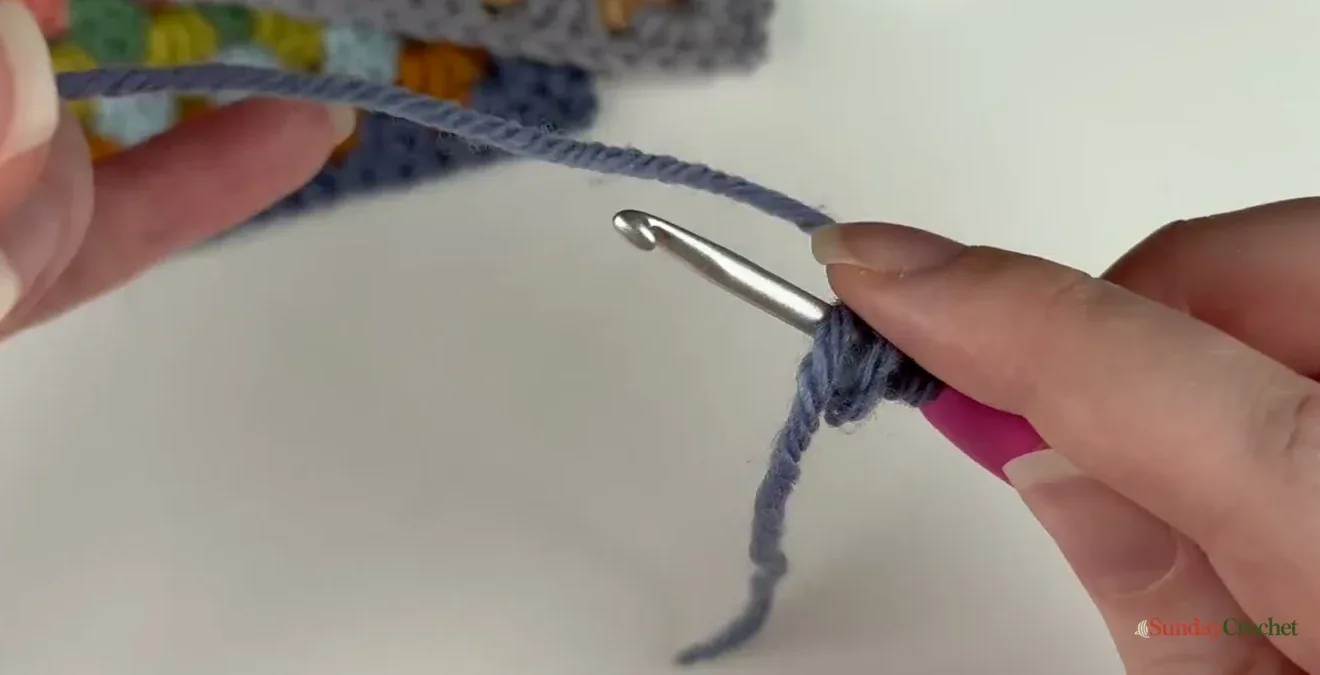
When you attach a new color, lay its tail over the hook as you make the first chain. This helps position the tail so the first stitches can catch it neatly.
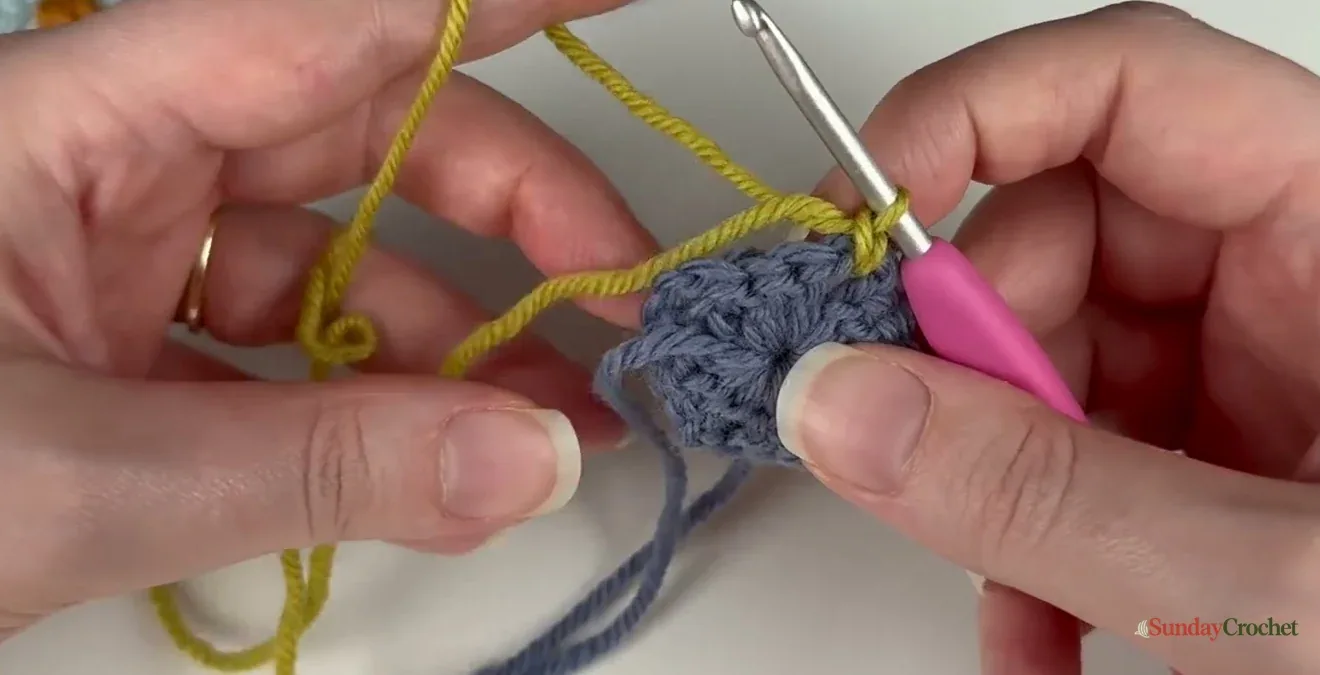
6. Keep the corners to two chains and skip chains along the sides
Use ch 2 at each corner. Three chains can make a looser opening, while two give the corner a more compact shape and leave a practical space when you later join squares. Along the sides, skip the previous cluster and work directly into the gap between clusters without adding a chain one. That keeps this version from becoming overly open and stretchy. If you are following a different pattern that calls for side chains, keep those instructions consistent rather than mixing the two constructions.
7. Block the finished square
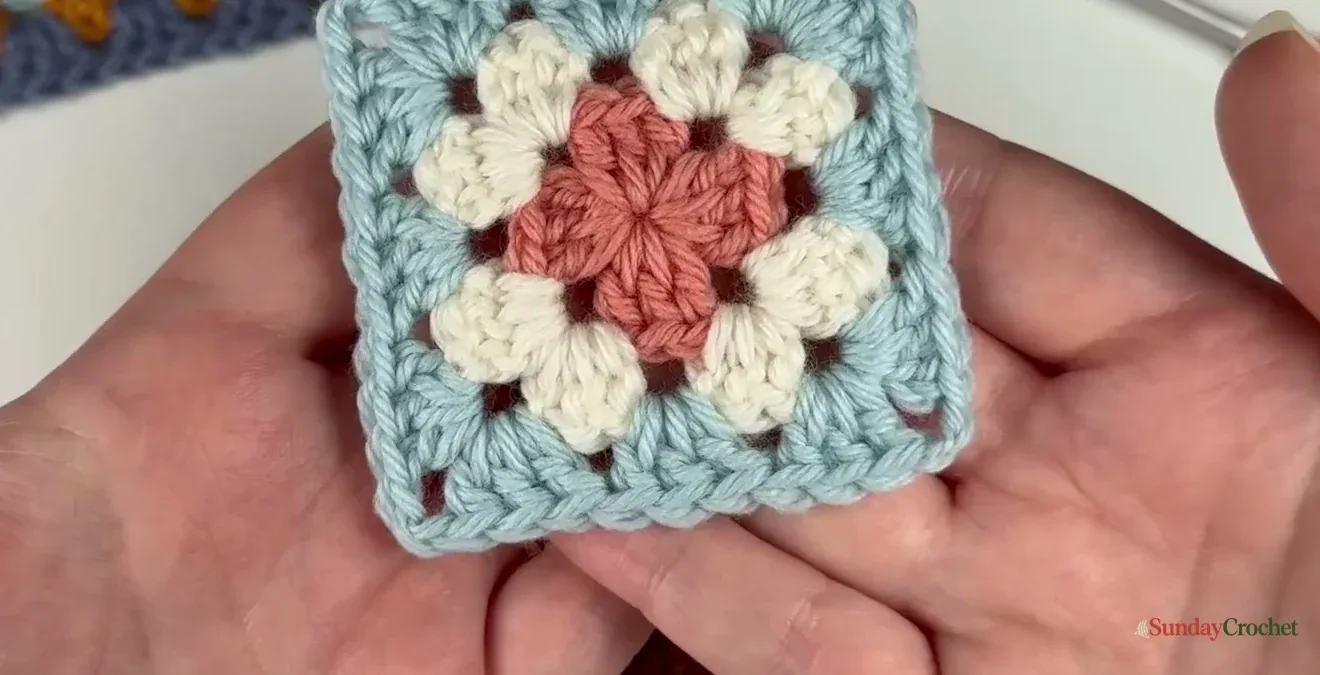
A freshly crocheted square can have rounded corners or slightly curled edges. Blocking helps the motif relax into a flatter shape and gives the corners a clearer right angle. The exact blocking method is not specified here, so use one suited to your yarn fiber and let the square dry fully in shape.
Finishing and joining
Weave in every tail after you have tightened the center and completed the invisible joins. Keep the yarn needle on the wrong side and pass the tail through several stitches in more than one direction so it stays secure. Avoid pulling so tightly that the edge puckers. This is a single flat square, so it has no separate parts to sew or stuffing to add. If you are making a blanket or bag, block the squares to matching dimensions before joining them. This tutorial does not specify a joining seam, so choose one that suits your project and keep it consistent. For a character motif, the same neat corners and even rounds help frame a small Halloween center.
Common questions
Why does my granny square curl?
Check whether the side spaces and corner spaces are being worked consistently, and turn the work at the end of each round. A very tight tension can also pull the sides inward. Blocking can improve the finished shape, but it cannot correct missing clusters or uneven stitch counts.
Should I always use two chains at a corner?
This walkthrough uses two chains to make a compact corner. Other patterns may use a different number to create a more open corner or match a joining method. Follow one pattern’s corner spacing throughout the square.
Do I need to change colors every round?
No. The sample changes colors between rounds to make the construction easy to see. You can keep one color and follow the same corner and side-space placement.
Is a gauge swatch needed?
No gauge is supplied for this square, and the motif can be enlarged by adding rounds. If you are making several squares for one project, crochet a few rounds first and compare their width and drape so the motifs match.