
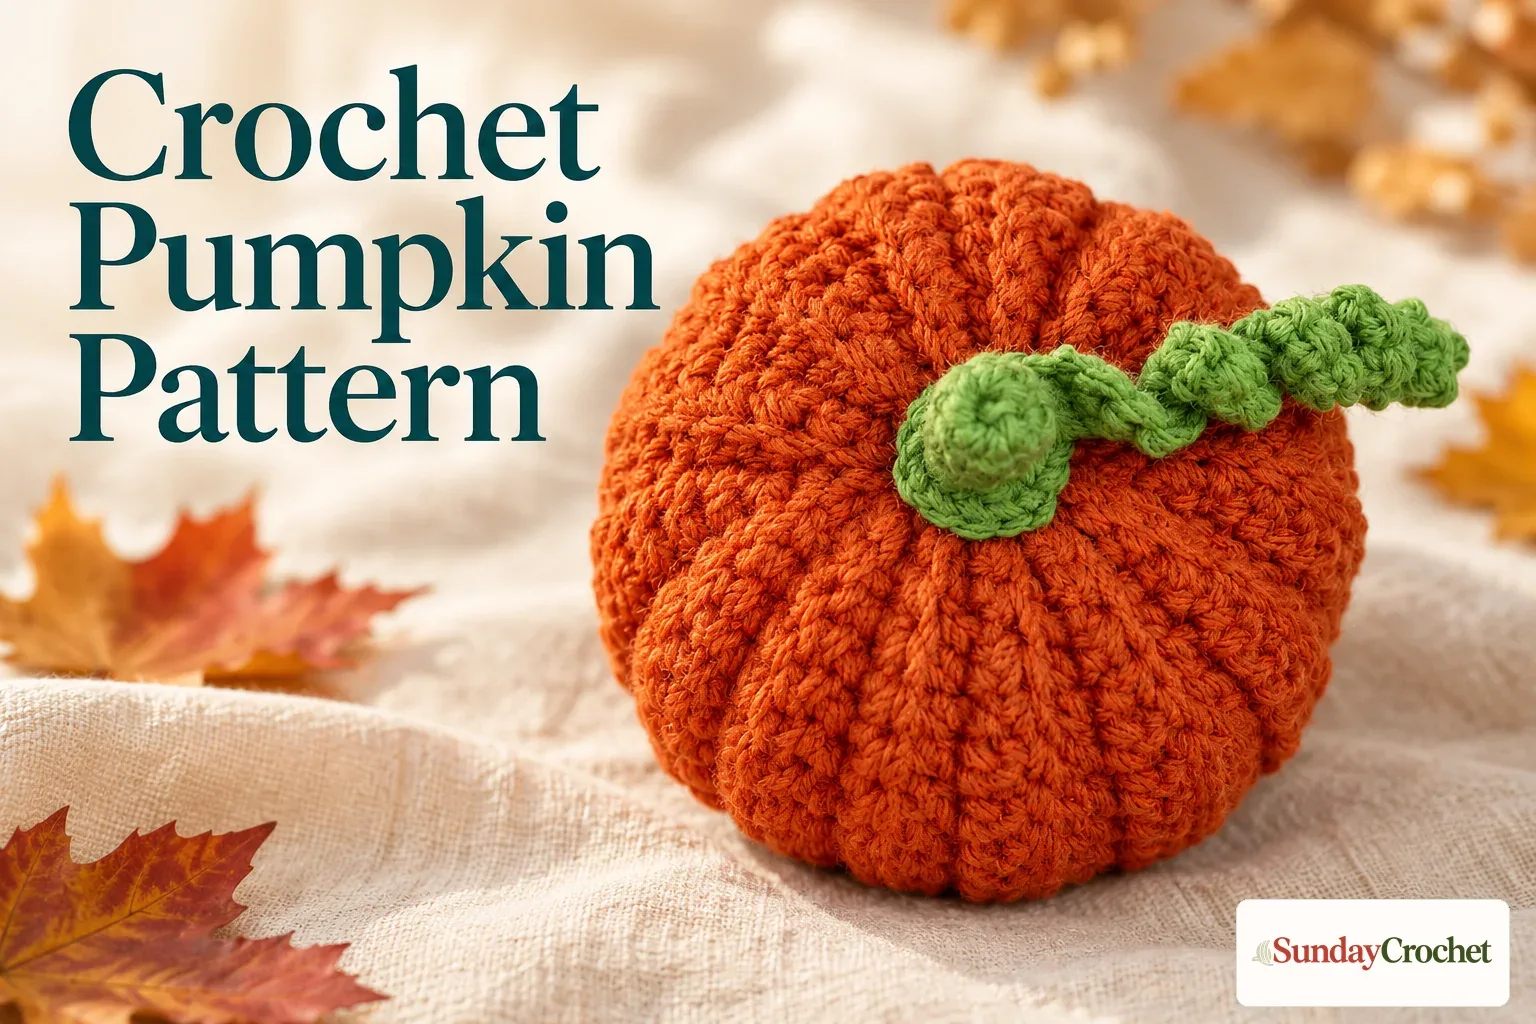
A ribbed crochet pumpkin with a green curled stem, made from a flat strip and gathered into shape. · Sunday Crochet
In this pattern
01 · A ribbed pumpkin, built from a rectangle02 · Yarn & tools03 · Before you begin04 · The pattern05 · Make the green stem06 · Attach the stem and shape the ribs07 · Common questions08 · A little pumpkin for your fall displayA ribbed pumpkin, built from a rectangle
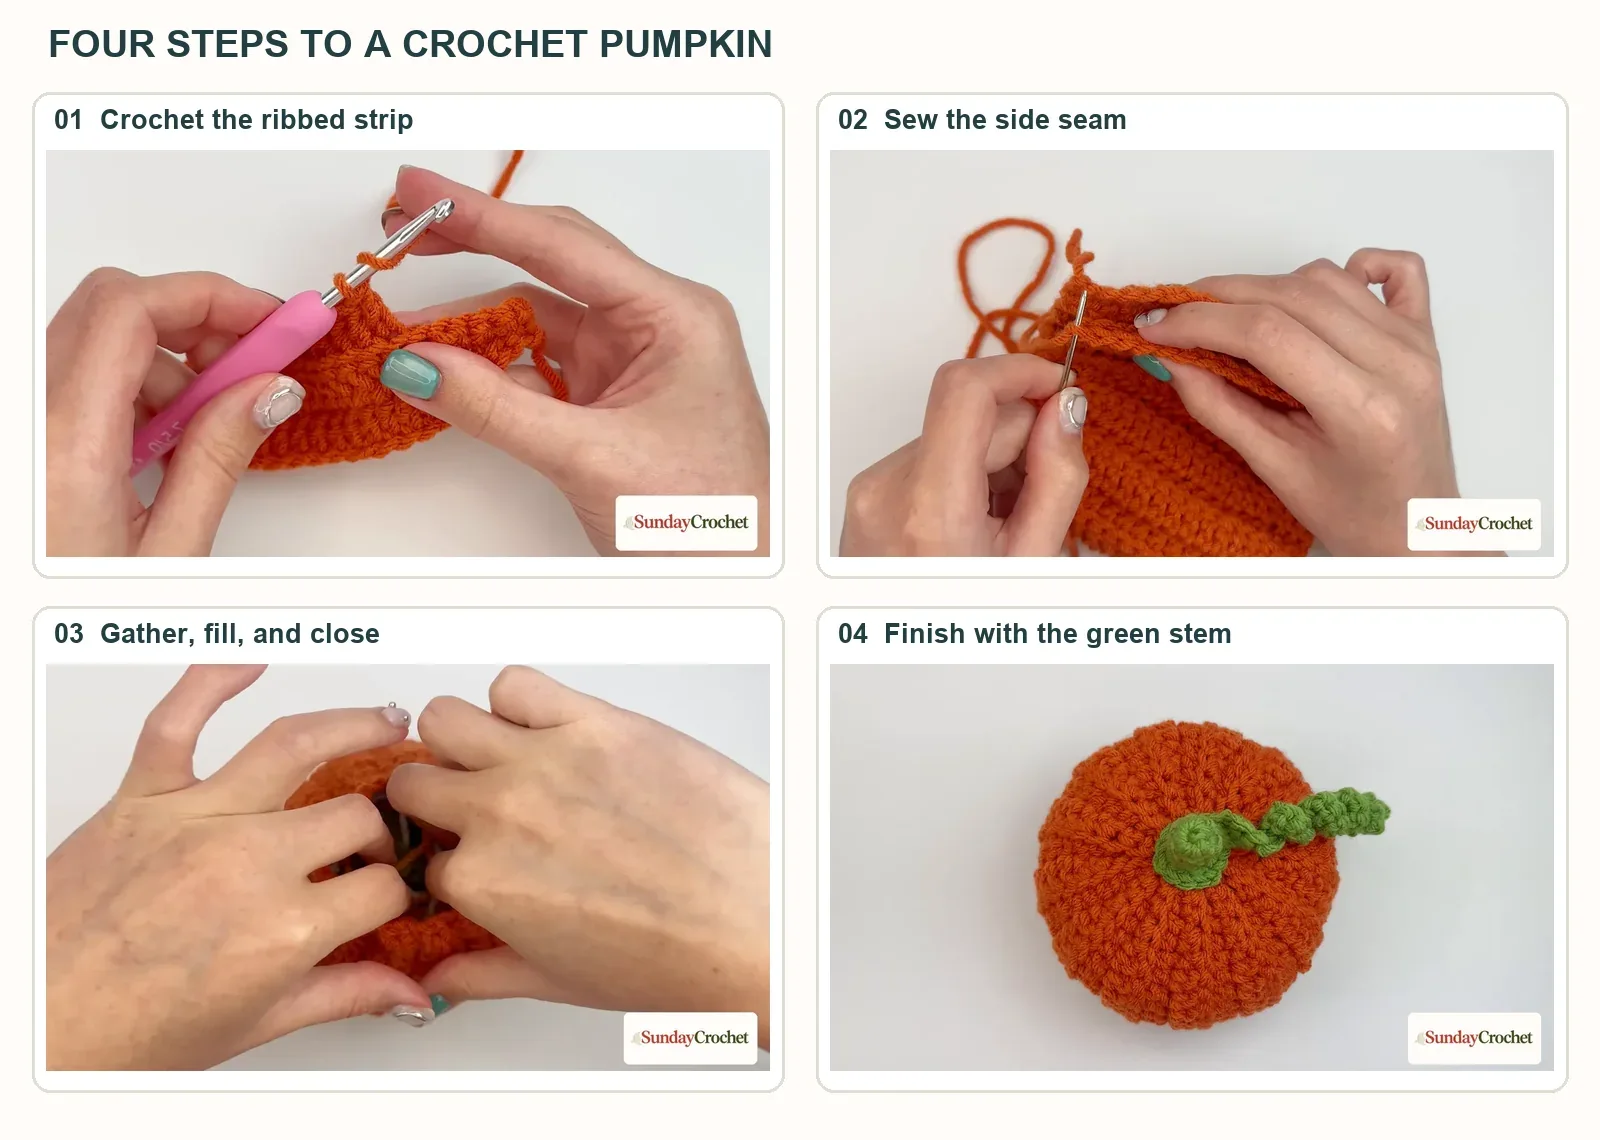
This easy crochet pumpkin takes a different route from a project worked in continuous rounds. You make a textured strip, sew its short ends together, gather the bottom and top, then add stuffing and a small green stem. The foundation chain and number of rows let you adjust the size, so the same simple structure can become a little shelf decoration or a fuller autumn pumpkin.
I’ll show you how I make the strip, close it into a tube, shape the stuffed body, and finish the optional curly vine. The instructions use US crochet terms and keep the row repeat visible as you work.
Yarn & tools
The amount of yarn is not specified, so have enough orange yarn for a panel that reaches your chosen size and enough green for the stem. Scraps make a useful filling option, while polyfill creates a softer, lighter center. Either filling works with this gathered construction.
The sample uses a 21-chain foundation and 25 rows, but its finished measurements are not given. A larger starting chain adds stitches across the pumpkin’s height. More rows make the strip longer, which increases the circumference once the ends are joined. Fold the panel in half as it grows to preview the approximate shape before you finish it.
Before you begin
This pattern uses single crochet, half double crochet, and double crochet. If you are learning those stitches, a quick review of the basic crochet motions can make the shaped row easier to follow. The abbreviations below are in US terms.
- ch: chain
- sc: single crochet
- hdc: half double crochet
- dc: double crochet
- BLO: back loop only
- sl st: slip stitch
- st(s): stitch(es)
The first row establishes a shallow curved shape. Rows after that repeat the same stitch heights into the back loops only. This creates ridges that become the pumpkin’s raised sections after the strip is gathered. Count the stitches along the row rather than counting the turning chain; the chain 1 at the beginning of each repeat row does not count as a stitch.
For the sample, chain 21. The extra chain is the turning space for Row 1, so the row itself contains 20 stitches. To increase the foundation size, use 31, 41, 51, or 61 chains. Keep the three single crochets and two half double crochets at each end, and work double crochets through the middle until five chains remain for the final two half double crochets and three single crochets.
The pattern
Pumpkin body: Row 1
With orange yarn, make a slip knot and chain 21. For a taller pumpkin, use 31, 41, 51, or 61 chains instead. Skip the first chain from the hook and work across the remaining chain as follows:
- Sc in the next 3 chains.
- Hdc in the next 2 chains.
- Dc across the middle chains. With a 21-chain foundation, make 10 dc. With a longer foundation, continue until 5 chains remain.
- Hdc in the next 2 chains.
- Sc in the final 3 chains.
For the 21-chain sample, this gives 20 stitches: 3 sc, 2 hdc, 10 dc, 2 hdc, and 3 sc. For a larger foundation, the extra chains are worked as additional dc in the middle. The edges stay the same, giving the strip a balanced shape.
Pumpkin body: Row 2
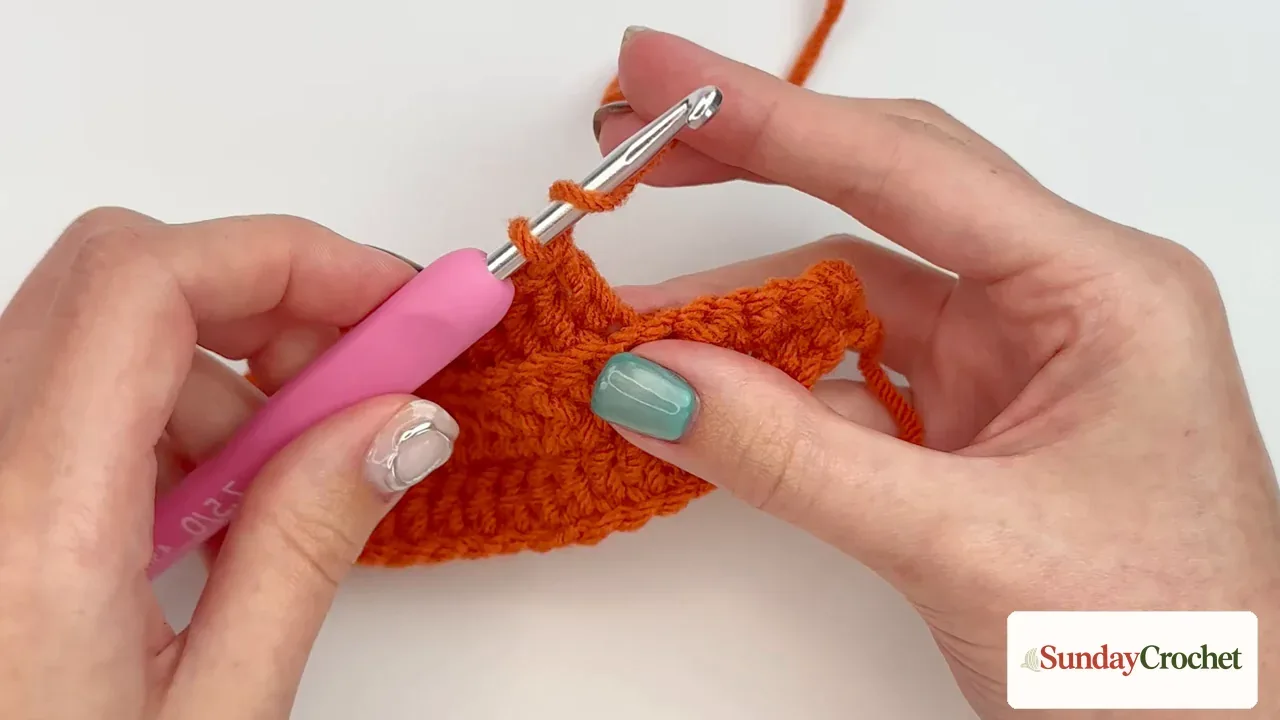
Chain 1 and turn. This turning chain does not count as a stitch. Repeat the shaped sequence from Row 1, now working into the back loop only of every stitch:
3 sc, 2 hdc, dc across the middle stitches, 2 hdc, 3 sc.
For the 21-chain sample, that means 10 dc in the middle and 20 stitches in the row. Keep the same stitch count as the row before. The strip may curl while you work, which is expected here; flatten it gently as you go so the stitches stay easy to see.
Pumpkin body: Repeat rows
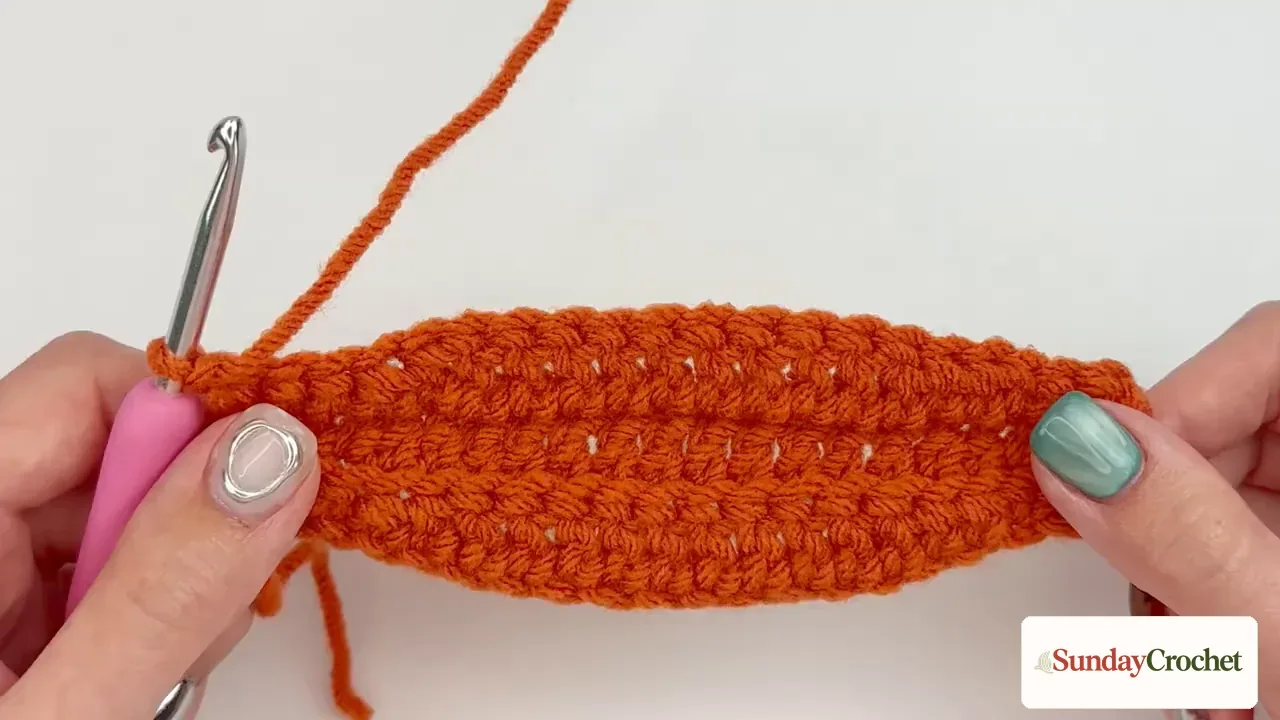
Repeat Row 2, chaining 1 and turning at the start of each row. Continue to 25 rows for the sample size. If you made a larger foundation, add rows until the panel folds into the size you want. More rows lengthen the strip and make a wider pumpkin when it is joined into a tube. Folding the work in half during crocheting gives you a useful visual check before you fasten off.
When the panel is wide enough, chain 1 and leave a long orange tail before cutting the yarn. Pull the tail through the last loop to fasten off. Keep this tail long enough to sew the first and last rows together and begin gathering one end.
Join the panel and gather the base
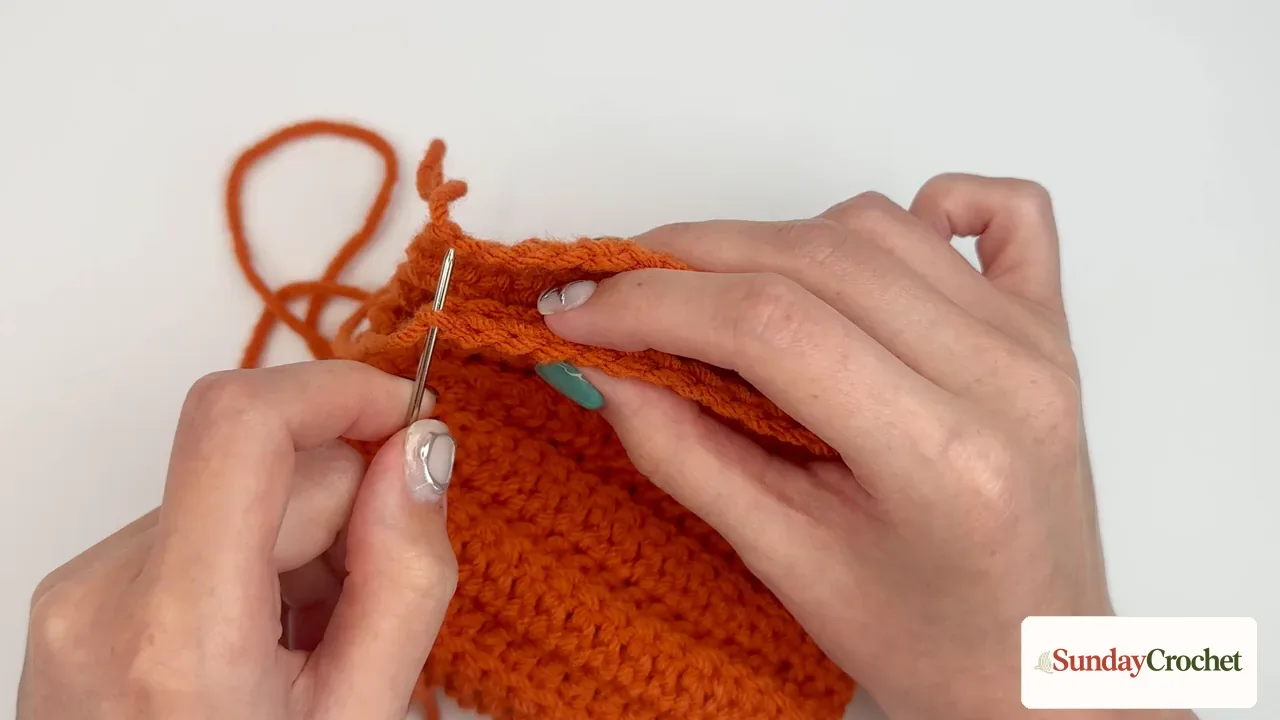
Fold the panel so the first and last rows meet. Thread the long tail onto a tapestry needle. Sew the edges together by passing through the back loop of the final row and the remaining loop along the foundation chain. Repeat down the edge to make a tube, keeping the ridge rows aligned.
Use the same tail to gather the bottom. Pass the needle in and out around the open edge, skipping one or two stitches between passes. When you have gone all the way around, pull the yarn to close the opening. If a small hole remains, sew across it a few times, then secure the yarn and weave the end into the body.
Stuff and close the top
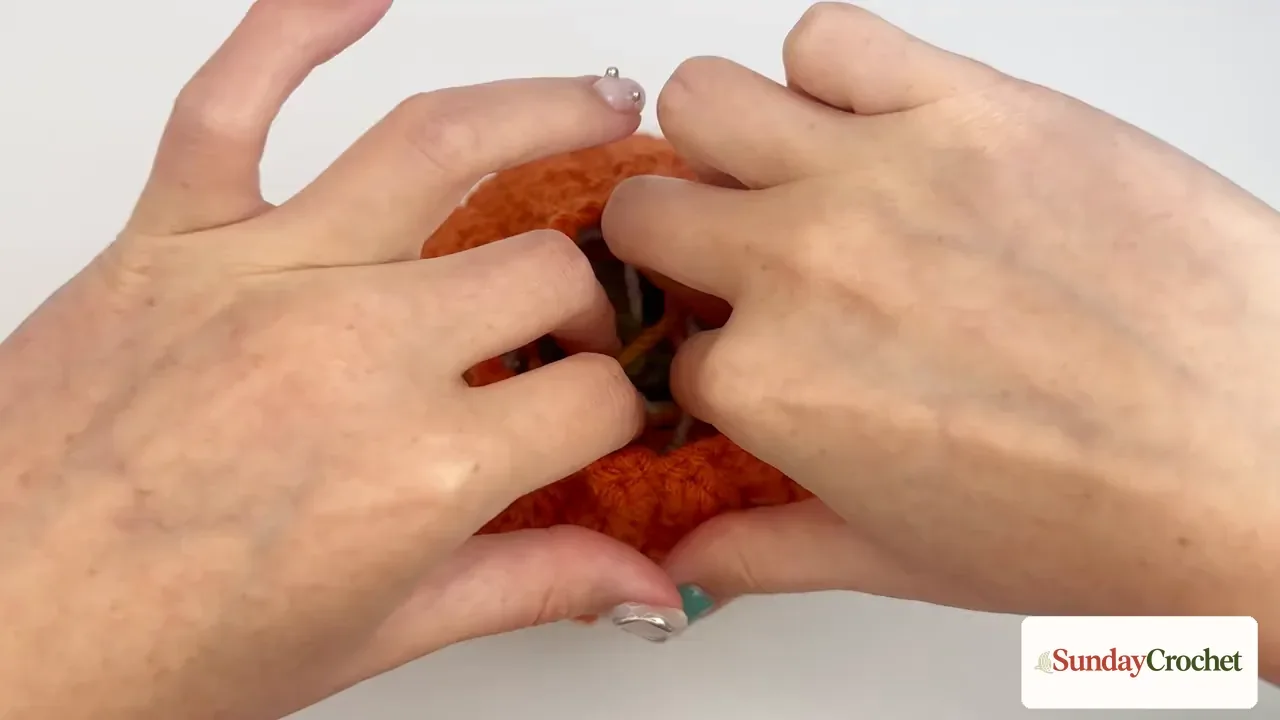
Add polyfill or yarn scraps a little at a time, shaping the body as you fill. Stop before it feels so full that you cannot comfortably close the top. A softly filled pumpkin is easier to draw together and keeps the raised ribs visible.
Thread another length of orange yarn onto the tapestry needle, attach it anywhere along the open top edge, and tie it securely. Weave in and out around the opening, again skipping one or two stitches between passes. Pull the yarn to gather the top. Close any remaining gap with a few stitches across the center, tie the yarn securely, and weave in the tail.
Make the green stem
The stem is a small tube worked in joined rounds. You can begin with a magic ring, or use the beginner-friendly closed-chain start below. The sample stem is five rounds tall, but you can work fewer or more rounds to make it shorter or taller.
Stem: Round 1
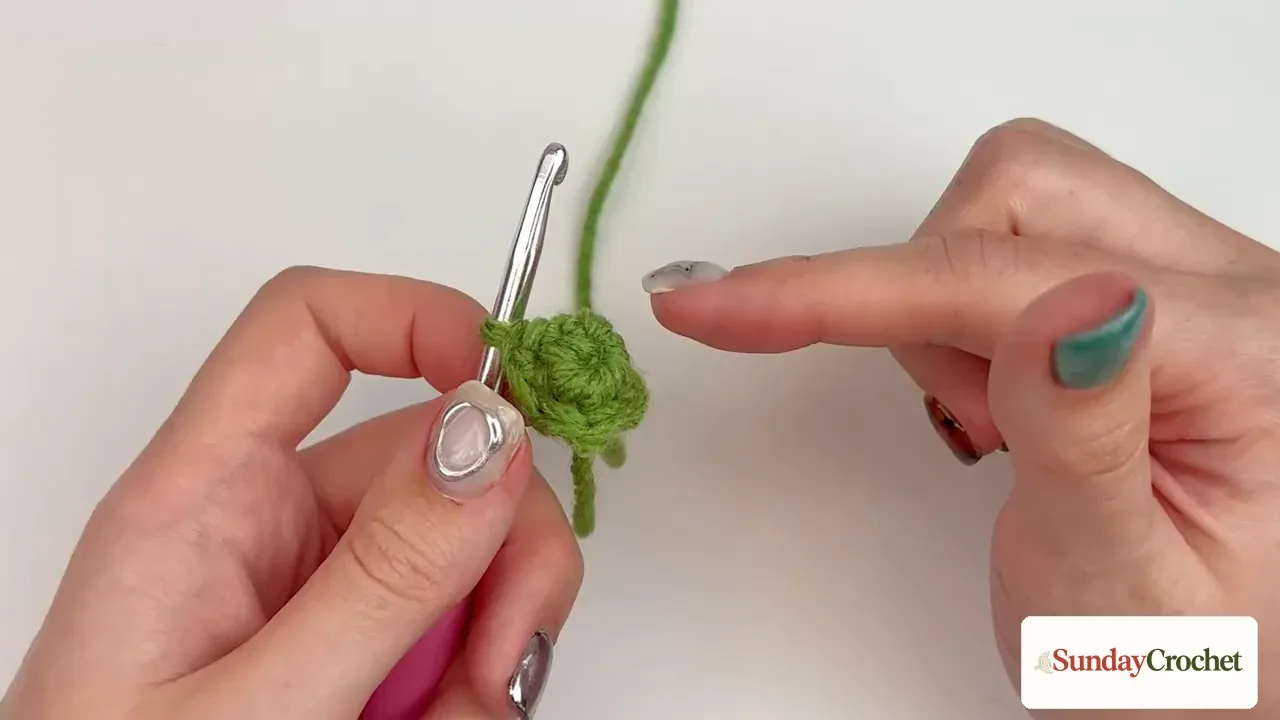
With green yarn, chain 4. Make a slip stitch into the first chain to form a small ring. Work 6 sc into the center of the ring, gently pull the starting tail to close the center, then slip stitch into the first sc to join.
Stem: Round 2
Chain 1, then work 1 sc into each of the 6 stitches around. Slip stitch into the first sc to join the round. Repeat Round 2 until the stem reaches your preferred length. The example uses five rounds in total.
Optional curly vine and stem base
To add the curl, chain 20 from the stem. For a longer or shorter vine, change the chain length. Starting in the second chain from the hook, work 2 sc into every chain back toward the stem. The increases naturally curl the narrow chain.
To finish the base, work back around the bottom of the stem. Make 2 sc into each of its 6 stitches for 12 sc total, then slip stitch into the vine. Fasten off and weave in the green tail. If you do not want a vine, skip it and finish the stem base after the stem rounds.
Attach the stem and shape the ribs
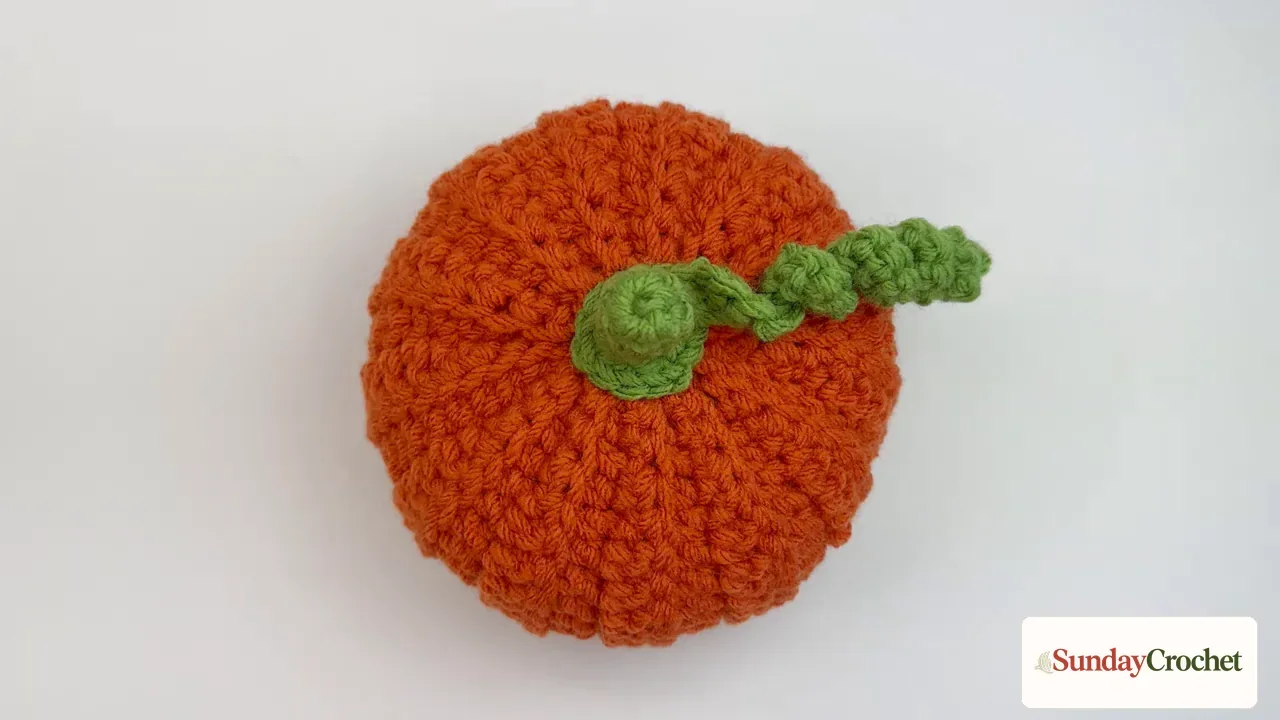
Place the stem over the gathered top. Sew it in place with green yarn, or use a small amount of hot glue if that is your preferred finishing method. If you choose glue, handle it carefully and let it cool fully before displaying the pumpkin.
The raised rows naturally divide the surface into ribs; there is no extra pumpkin-segment sewing step in this construction. The finished piece is a soft seasonal decoration for a shelf, table, or fall display.
Common questions
Can I make the pumpkin larger?
Yes. Start with 31, 41, 51, or 61 chains rather than 21, then keep the same edge stitches and work double crochet across the wider center. Add more rows to lengthen the strip and increase the pumpkin’s circumference. Fold the piece as you work to judge the size; exact finished measurements are not specified.
Why are the ridges raised?
After Row 1, the stitches are worked into the back loop only. That leaves the front loop visible as a ridge. When the strip is joined and gathered, those ridges form the pumpkin’s textured sections.
What filling can I use?
Use polyfill or yarn scraps. Add a little at a time and stop while the opening can still be pulled closed. The pattern does not specify a stuffing weight or a measured finished size, so adjust the amount by feel rather than packing the body tightly.
Can I skip the curly vine?
Yes. The vine is optional. Finish the stem base after its joined rounds and attach the stem without making the 20-chain curl. You can also vary the stem length by repeating its six-stitch round fewer or more times.
Is there another way to shape a stuffed crochet project?
Yes. Some stuffed projects are worked in joined rounds rather than made from a flat panel. For example, a small amigurumi shape worked in joined rounds uses a round-based construction, while this pumpkin is seamed from a strip.
A little pumpkin for your fall display
Once the steps are familiar, the pattern is easy to adjust: choose a foundation chain for the height, repeat rows for the circumference, and decide how tall to make the green stem. Keep the stitch counts steady, leave enough yarn for gathering, and close the top before attaching the stem. That simple rectangle-to-pumpkin transformation makes a satisfying seasonal project, whether you make one small decoration or a whole collection in different sizes.


