
· Sunday Crochet
In this pattern
01 · A little bat for Halloween makes02 · Yarn & tools03 · The pattern04 · Make it your own for Halloween05 · Common questions06 · One small shape, lots of seasonal characterA little bat for Halloween makes
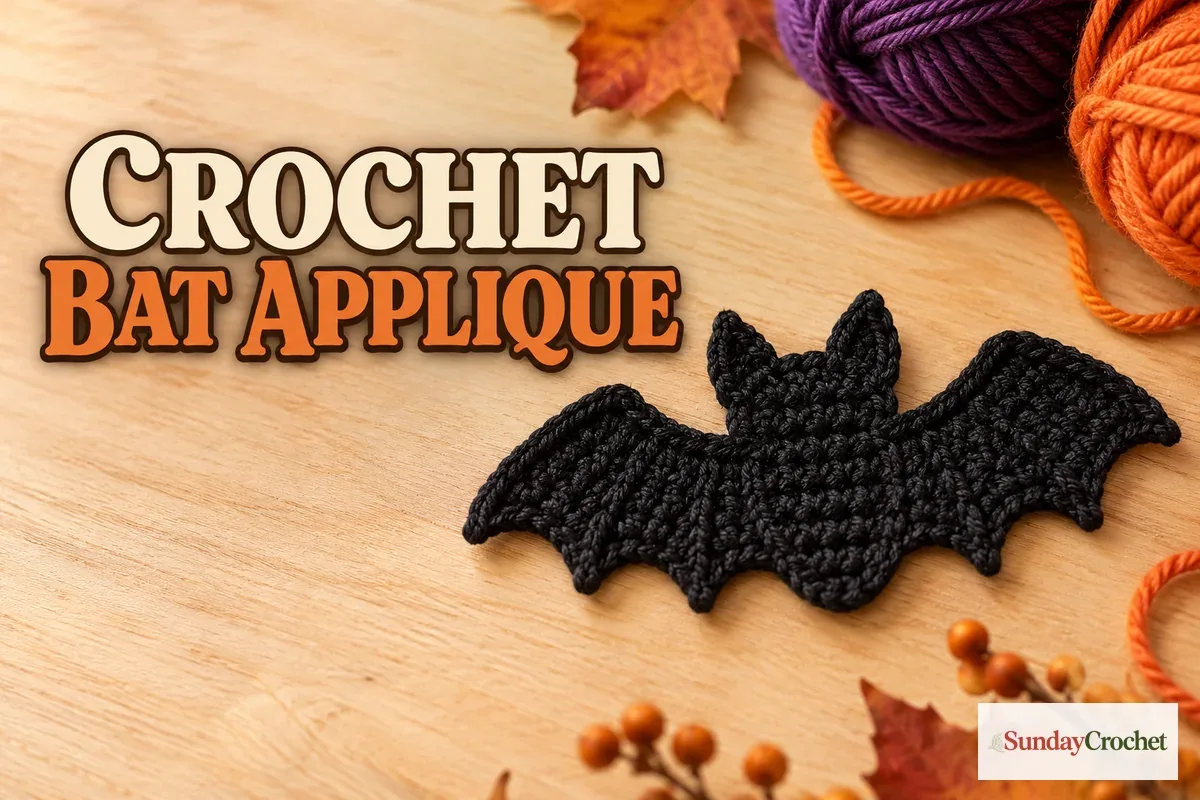
A tiny crochet bat is a satisfying seasonal project: just a few rows of shaping turn a foundation chain into wings, ears, and a recognizable silhouette. This flat applique works in classic black, but a brighter yarn makes each stitch easier to see while you learn. Make a few in different colors for a playful Halloween display, or add one to a larger handmade project.
I’ll show you how I work the shape from one chain, add the little pointed ears, then finish the opposite edge with small picot details. The pattern is written in US terms and follows the sample’s stitch sequence. It uses double and treble crochet to build the first curved side, then single and half-double crochet to shape the second. The exact finished measurement and gauge were not given, so expect the size to change with your yarn, hook, and tension.
Yarn & tools
The sample uses sport/baby-weight yarn and a 3 mm hook. You can choose another yarn if that is what you have; the bat will simply come out larger or smaller, and the stitch texture may look different. Purple is useful while learning because the stitches show clearly. Once the shape feels familiar, black makes a classic Halloween bat, while orange gives you another seasonal option.
Abbreviations
- ch — chain
- sl st — slip stitch
- sc — single crochet
- hdc — half double crochet
- dc — double crochet
- tr — treble crochet
- st(s) — stitch(es)
These are US crochet terms. If you normally use UK terms, US sc is UK dc, US hdc is UK half treble, US dc is UK treble, and US tr is UK double treble. Read the terminology note before you start so the stitches are the intended height. If you need a refresher, the basic movements in How to Crochet for Absolute Beginners cover the chains and stitches used here.
The pattern
Before you begin
Make a slip knot and chain 15. The loop on your hook does not count as a chain. When you work into the foundation, insert the hook under one loop of each chain rather than both. That leaves the opposite side of the chain easier to see when you come back across it with slip stitches. Keep the chain relaxed; if it is very tight, the return pass can be hard to work into.
The bat is built continuously around this starting chain. First you make one side of the outline with different stitch heights. Then you travel back along the exposed chain loops, form two small ears, and use the existing stitches for the shaped edge. The long stitches create the wing peaks, while the tiny chain picots define the points.
Shape the first side
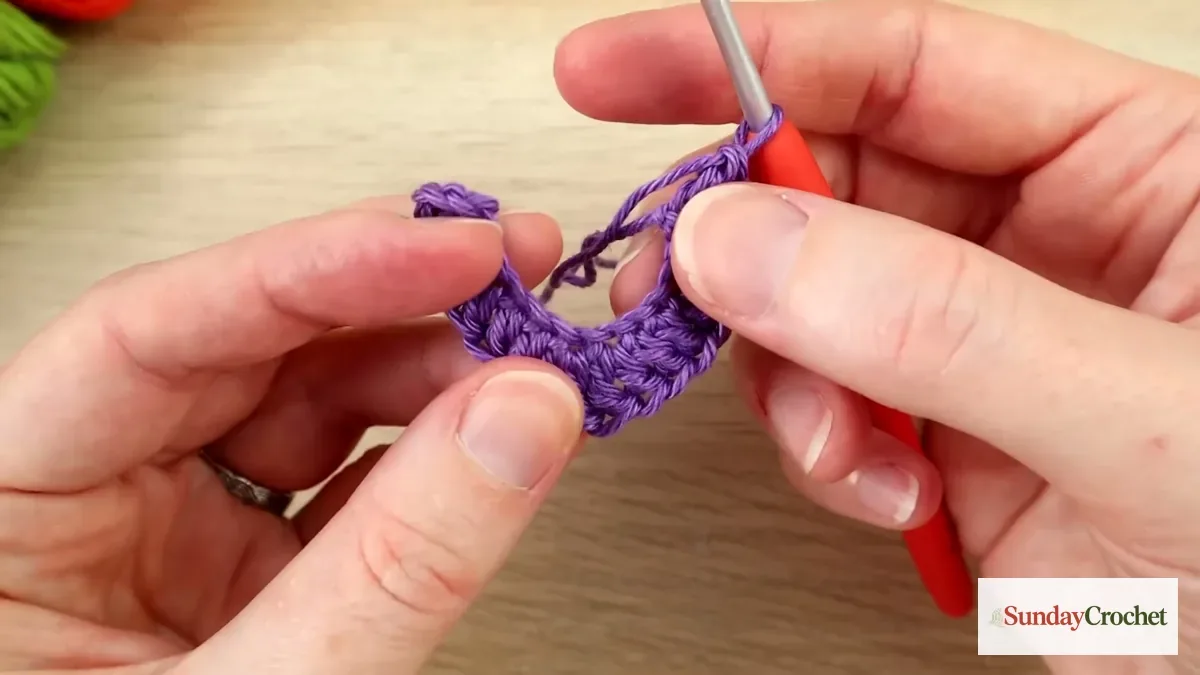
Starting in the fourth chain from the hook, work 1 dc. Work 1 dc in each of the next two chains, then work 2 dc in the following chain. Put 1 dc in each of the next two chains.
In the next chain, work 1 dc and 1 tr into that same chain. In the following chain, work 1 tr and 1 dc into it. These paired taller stitches make the raised center of the outline. The tr is intentionally higher than the dc beside it; that change in height gives the bat its shape.
Work 1 dc in each of the next two chains. In the next chain, work 2 dc into the same chain. Work 1 dc in the next chain, then finish this side with 2 dc in the last chain. You should see a shallow V or crescent-like outline with a taller section near the center. Do not worry if it looks a little unusual at this stage; the opposite side and ears make the bat easier to recognize.
Travel back and make the ears
At the far end of the first side, work a sl st about halfway up the last dc, then sl st into the final foundation chain. Now use slip stitches to move along the remaining exposed chain loops toward the two adjacent chains where the tr stitches sit. Keep these stitches tidy and even. They are a travel path, not another tall row, so try not to pull them so tight that the chain curls.
At the first chain containing a tr, chain 3. Count from the hook and sl st into the second chain. Work 1 sc in the last chain, then sl st back into the same foundation chain where that tr begins. This makes a tiny pointed picot ear. Repeat the same sequence in the next foundation chain that holds the other tr: ch 3, sl st in the second ch from the hook, 1 sc in the final chain, and sl st back into that same foundation chain.
The two ears sit side by side at the top of the bat. If one leans over, check that the slip stitch returns to the same foundation chain where its small chain began. Gently arrange the points with your fingers before continuing; there is no separate ear piece to sew on.
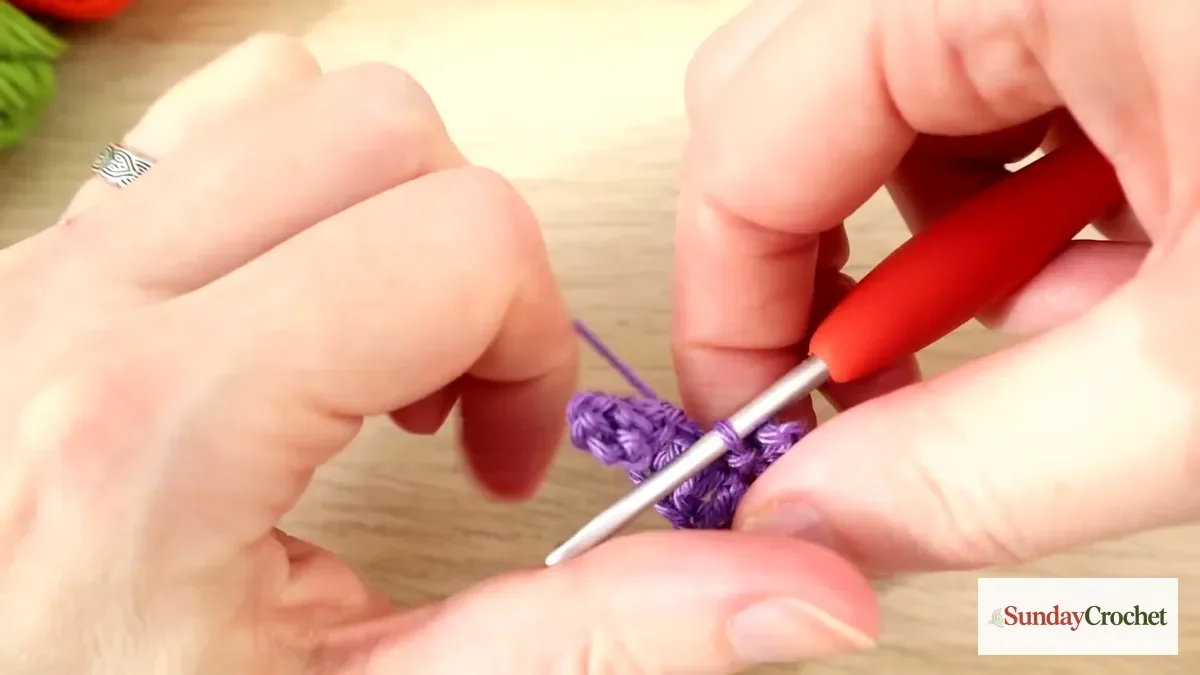
Continue with sl st along the remaining foundation chains to the far end. At the end, slip stitch neatly into the three exposed chain loops there, stopping before the adjacent dc. Turn the work clockwise so the tops of the completed stitches face you. You are now ready to shape the remaining outline directly into those stitches.
Shape the opposite edge
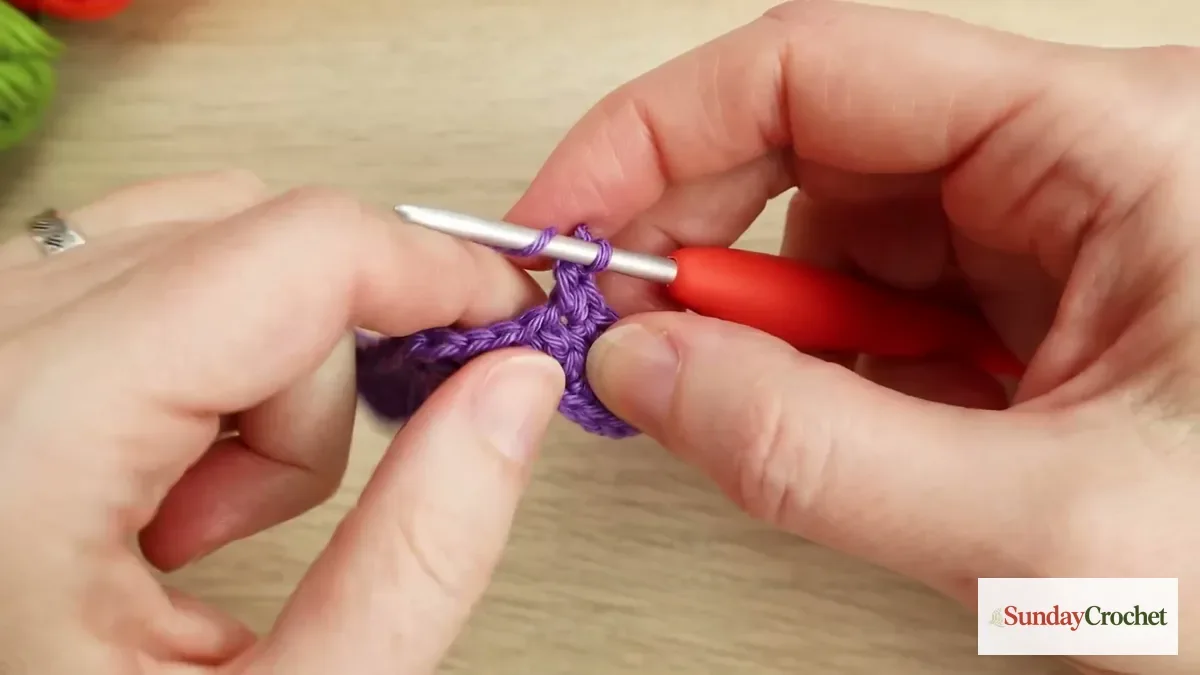
Begin in the first dc at the end. In that one stitch, work 1 sc, 1 hdc, ch 2, then sl st into the top of the hdc you just made. This little chain-and-slip-stitch detail is a picot. Still in the same base stitch, work another hdc and finish with 1 sc. Several stitches share that one base stitch; that is what creates a small scalloped point instead of a flat edge.
Work 1 sc in each of the next two stitches. In the next stitch, repeat the small outer point: sc, hdc, ch 2, sl st into the top of that hdc, hdc, and sc, all in the same stitch. Work 1 sc in each of the next three stitches to travel toward the middle.
At the stitch opposite the ears, work 1 hdc and 1 dc into that stitch. Chain 2 and sl st into the top of the dc to make a slightly taller picot. In the next stitch, work 1 dc and 1 hdc together. The two taller stitches shape the central notch beneath the ears. Keep the picot relaxed so the point remains visible.
Work 1 sc in each of the next three stitches. In the next stitch, make the small outer point again: sc, hdc, ch 2, sl st into the top of the hdc, hdc, and sc in the same stitch. Work 1 sc in each of the next two stitches, then make one more small picot point in the next stitch with sc, hdc, ch 2, and a sl st into the top of the hdc. Move to the final stitch and work 1 hdc and 1 sc into it to finish the edge.
The edge alternates short single crochets with taller points. If the bat seems to lose its shape, pause and check that the picot points are placed in the stitches described and that each group of extra stitches goes into one base stitch. The small openings and changes in height are part of the outline, not mistakes to fill in.
Finish the applique
Cut the yarn, pull the tail through the final loop, and thread it onto a tapestry needle. Weave the end neatly through nearby stitches on the back, pass through the yarn a couple of times so it is secure, and trim the excess. Tidy the starting tail in the same way. Turn the bat to the front and check that both ears, the center, and the wing points are visible.
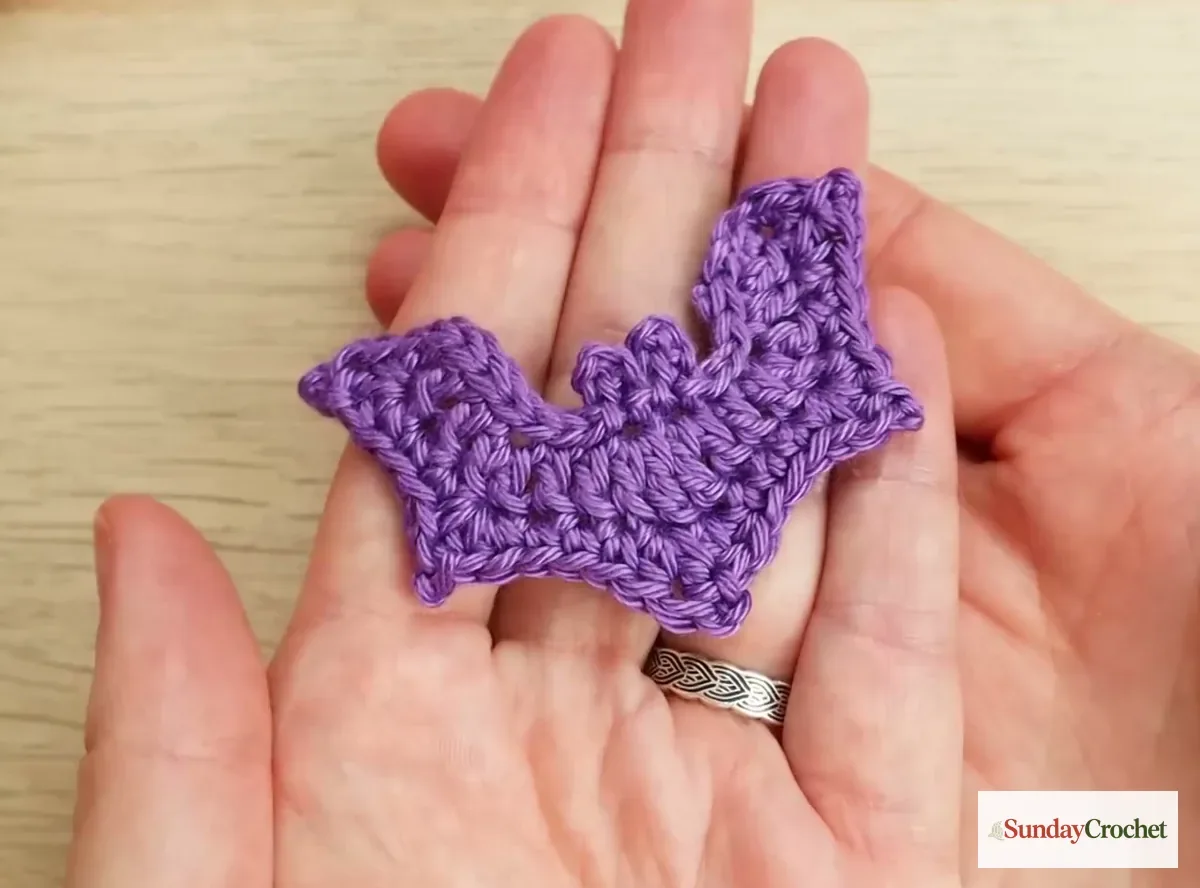
There is no gauge or exact finished size to match. The important checkpoints are the 15-chain foundation, the pair of taller tr stitches near the middle, two chain-three ears, and the repeated small picot points along the shaped edge. If you are used to following written patterns, my guide to reading crochet patterns and stitch counts explains how to track each instruction without losing your place.
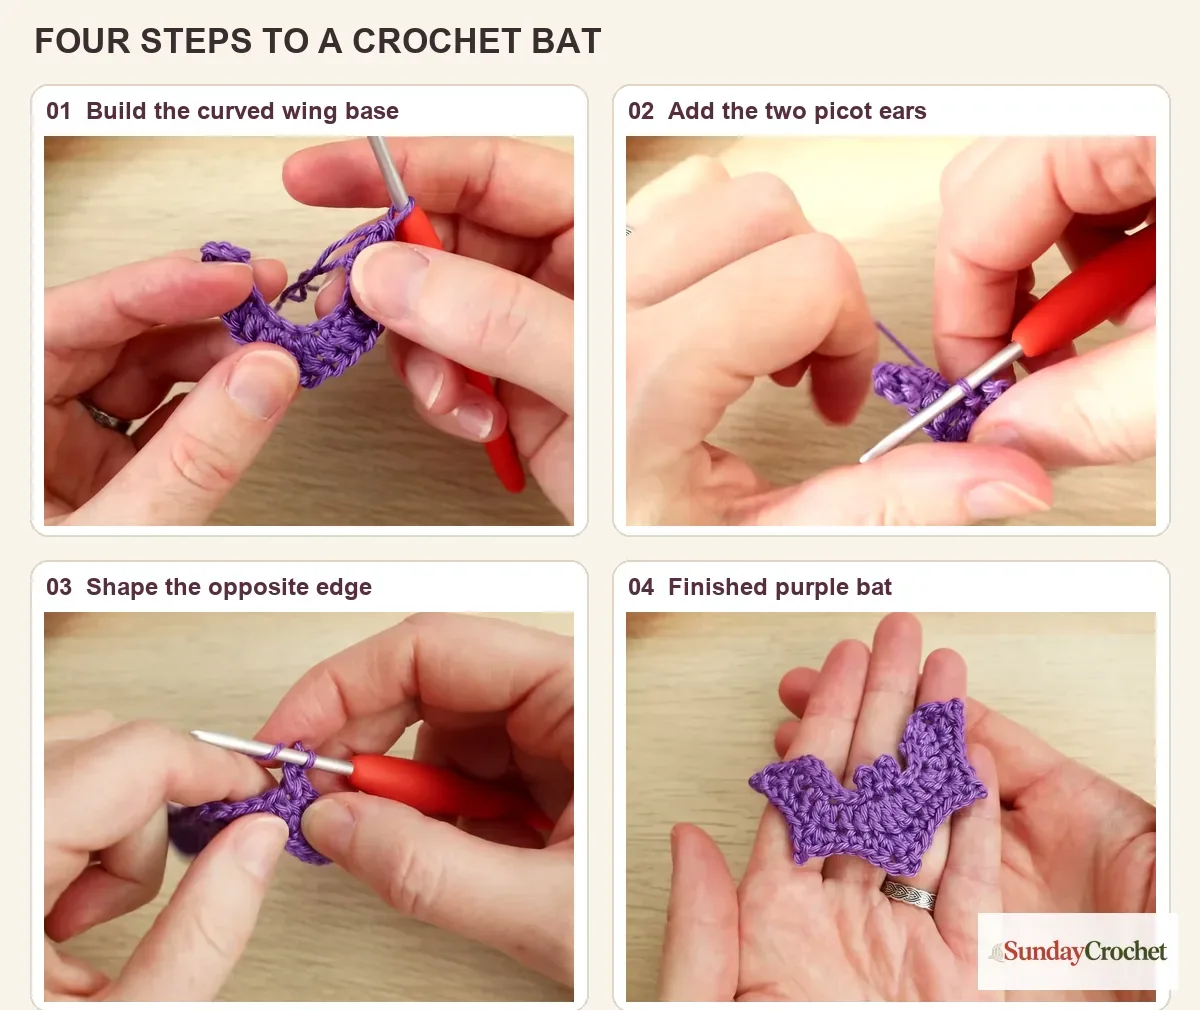
Make it your own for Halloween
The sample is worked in purple so every stitch can be seen, while the finished black bat shows how the same shape reads in a classic Halloween color. Try orange for a brighter seasonal accent, or make a small group with a mix of black, purple, and orange. The pattern also lends itself to bunting or pennant-style decorations: repeat the applique in colors that suit your space, then attach each finished piece using a method that works for the backing or display you choose.
Because this is a flat applique, you can also plan it as a decorative accent on a suitable crochet project. Decide how you want to attach it before weaving the last tail if that makes positioning easier. The exact attachment method depends on the fabric and use, so secure it in a way that suits the finished item rather than relying on a one-size-fits-all direction.
For a coordinated spooky-season set, a bat pairs naturally with a Halloween ghost granny square or the small crochet witch ghost. Their shapes and construction are different, but the same black, purple, and orange palette helps them feel like part of one collection.
Common questions
Is this crochet bat applique suitable for a beginner?
It uses familiar stitches, but you will switch between US sc, hdc, dc, and tr, and place picots into specific stitches. A beginner who is comfortable with chains and basic stitch placement can take it slowly. The color sample is intentionally bright so the structure is easier to see.
Can I use a different yarn or hook?
Yes. The sample uses sport/baby-weight yarn and a 3 mm hook, and the instructions allow other yarn. The finished size and stitch definition will change with the yarn, hook, and your tension. The pattern does not specify a gauge, so focus on keeping the stitches even and the outline recognizable.
Which side of the foundation chain should I work into?
Work the first side under one loop of each chain. The untouched loops on the other side make it easier to travel back along the foundation and keep the base visible. That is why the first pass uses only one loop per chain.
Does the bat need eyes or a separate body?
No extra face or body pieces are included in this silhouette pattern. The ears, wing points, and central dip are made as part of the continuous crochet shape, so there are no small features to sew on.
One small shape, lots of seasonal character
This bat is all about placing a few taller stitches in the right spots, then slowing down for the chain-three ears and the little picot points. Keep the foundation loops visible, count the starting chain carefully, and let the stitches make the outline. A bright practice version is a helpful first try; after that, a black bat or a colorful little flock is ready for your Halloween crochet plans.


