
· Sunday Crochet
In this pattern
01 · A tiny pumpkin with a soft, plush finish02 · Yarn & tools03 · Before you begin04 · The pattern05 · Shape the pumpkin06 · Add the optional face07 · Common questionsA tiny pumpkin with a soft, plush finish
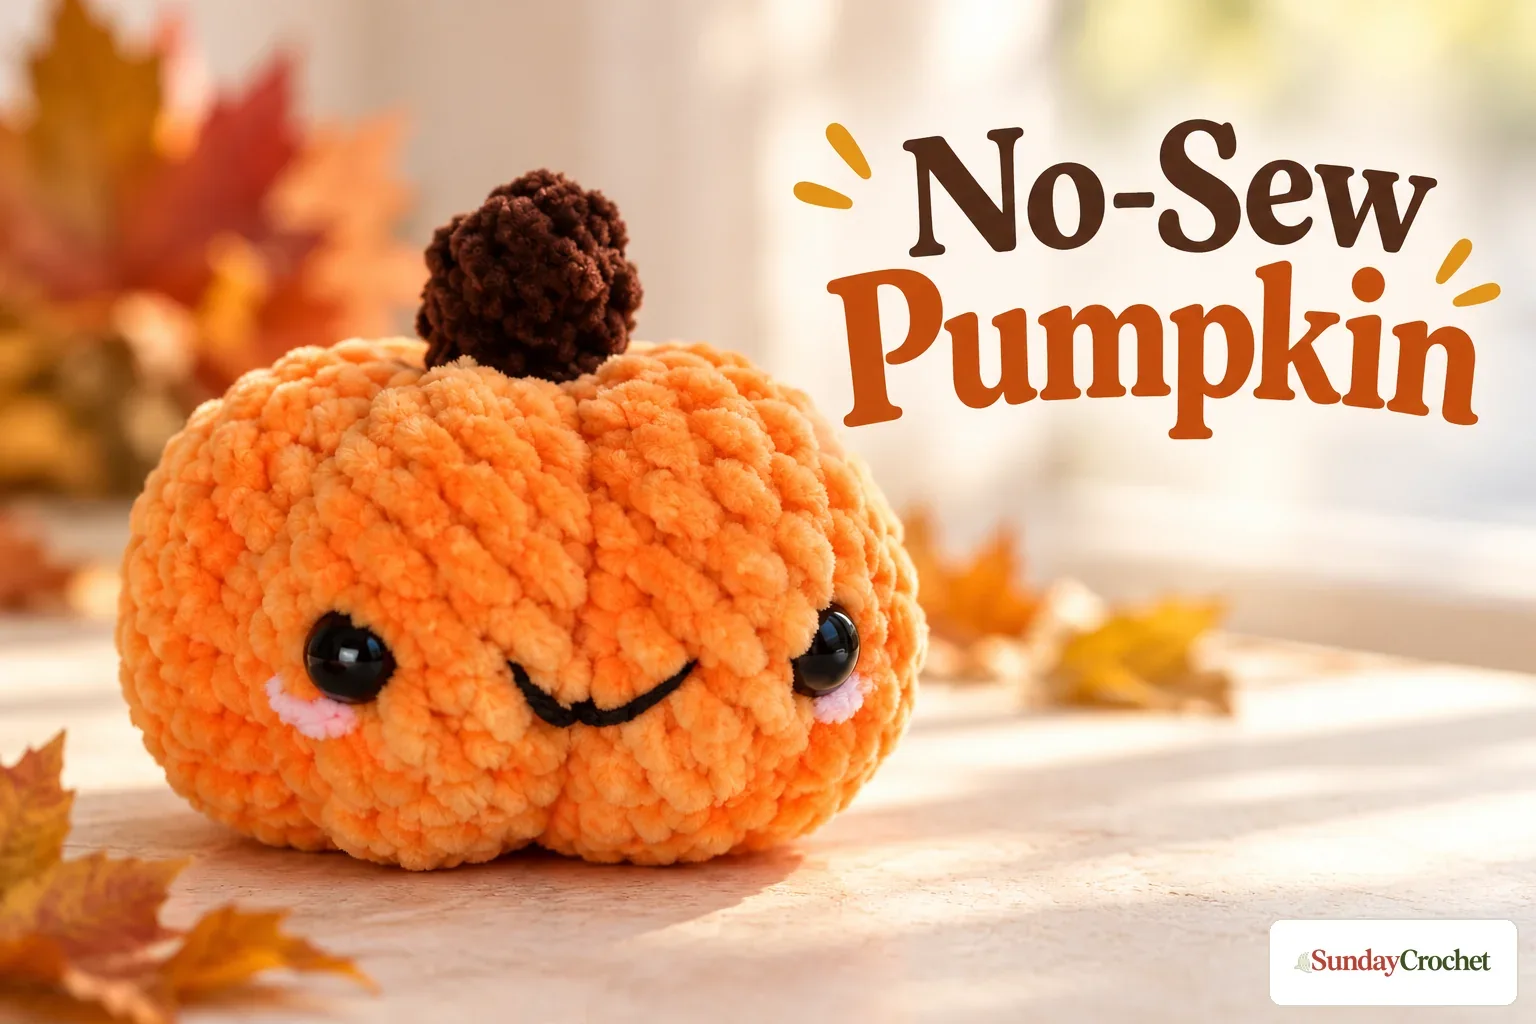
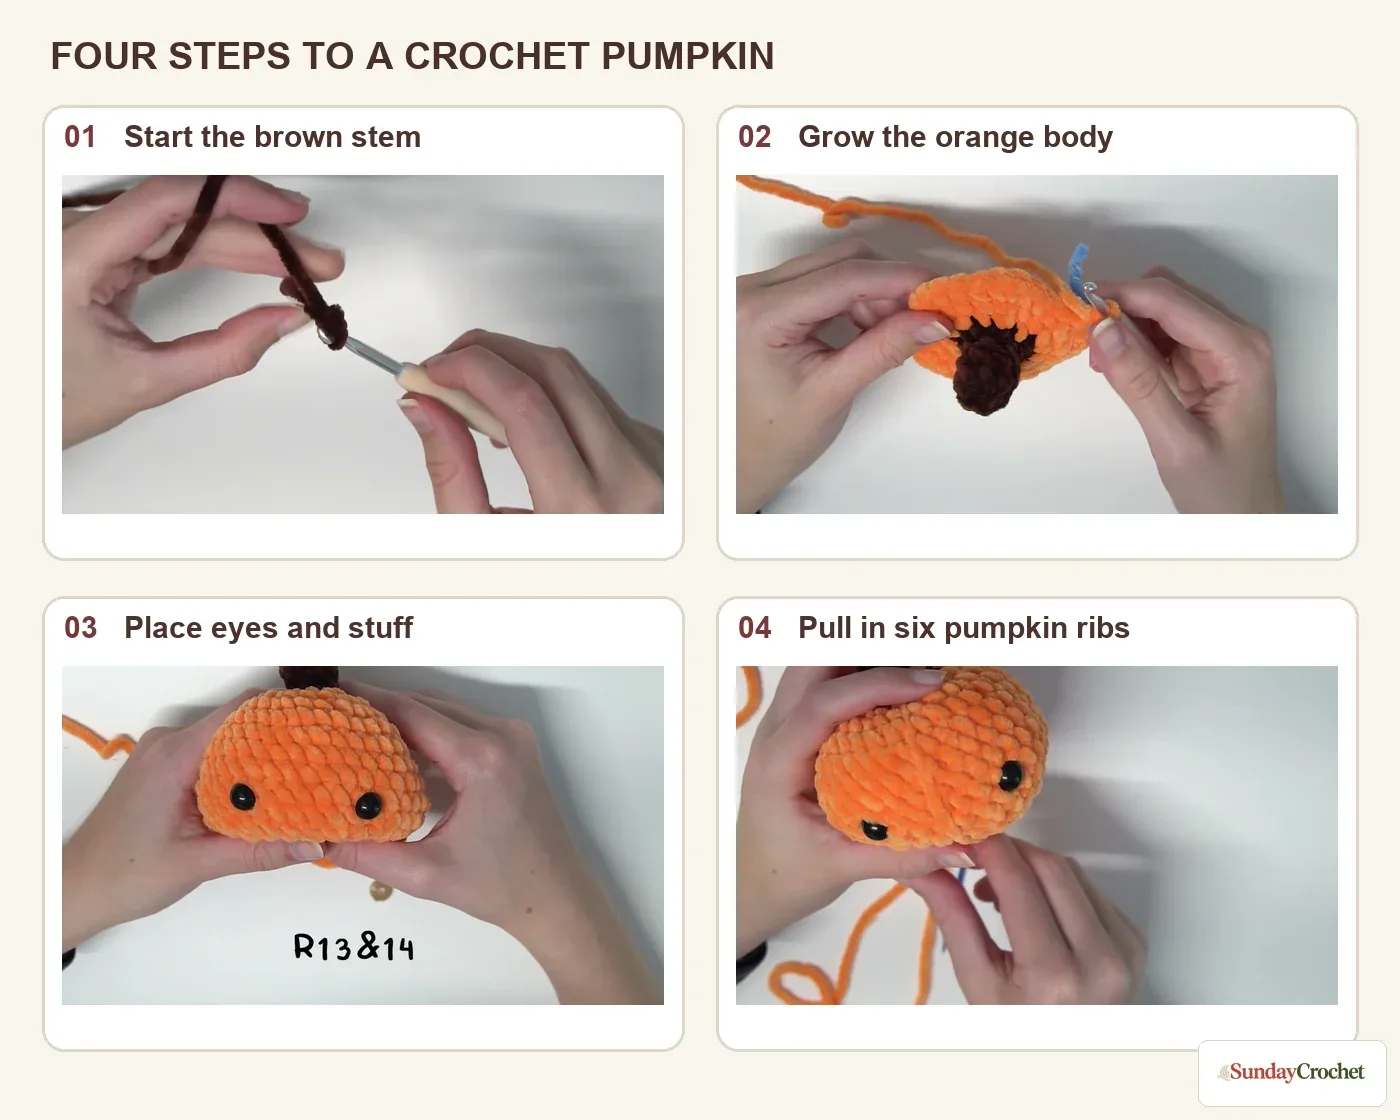
This little crochet pumpkin begins with a short brown stem and grows straight into a round orange body, so there is no separate stem piece to sew on. After the body is closed, a yarn needle draws in six gentle sections to create the familiar pumpkin shape. The face is optional: black safety eyes, an embroidered smile, and small embroidered cheeks turn it into a friendly Halloween decoration, while the plain pumpkin works for fall displays all season.
I’ll show you how I follow the rounds from the stem through the shaping. The written pattern uses US crochet terms and keeps the count visible at the end of each round. One note about the name: the stem and body are crocheted continuously, but you will use a needle to close the bottom and pull in the ribs. Those finishing steps are part of the demonstrated construction, even though the stem itself is not sewn on.
Yarn & tools
The sample uses Premier Parfait Chunky yarn. The amount of yarn is not specified, so have enough of each color to complete a small plush. A 5 mm hook is used with the thick chenille yarn. If you choose a different yarn, the pumpkin's size and stitch definition will change. A quick check of the information on a yarn label can help you compare fiber and recommended hook sizes before substituting.
Abbreviations
- ch: chain
- sc: single crochet
- inc: increase, work 2 sc in the same stitch
- dec: decrease, work 2 stitches together
- st(s): stitch(es)
Use the two-chain ring start below: chain twice, then work the first four single crochets into the first chain. Keep the opening small enough for the stem to close neatly. The pattern is in US terms. If you are newer to reading repeats, a guide to written pattern abbreviations and brackets explains how to move through the round notation.
Before you begin
The brown stem is the starting point. You increase it to twelve stitches, change to orange in the final increase of Round 6, and continue without cutting the orange yarn. This makes the stem and pumpkin one continuous piece. Tie the brown and orange yarn tails together as shown, trim the brown tail, and tuck it inside the work before the orange rounds grow around it.
Use a marker at the beginning of the orange rounds. Thick chenille can make the first stitch difficult to spot, and the marker helps you keep track while the fabric gets wider. Count each completed round before moving on, especially in the increase and decrease sections. If you need a quick reminder of the basic hand motions, the beginner crochet stitch guide covers the common stitches used here.
The pattern
Round 1: Start the stem
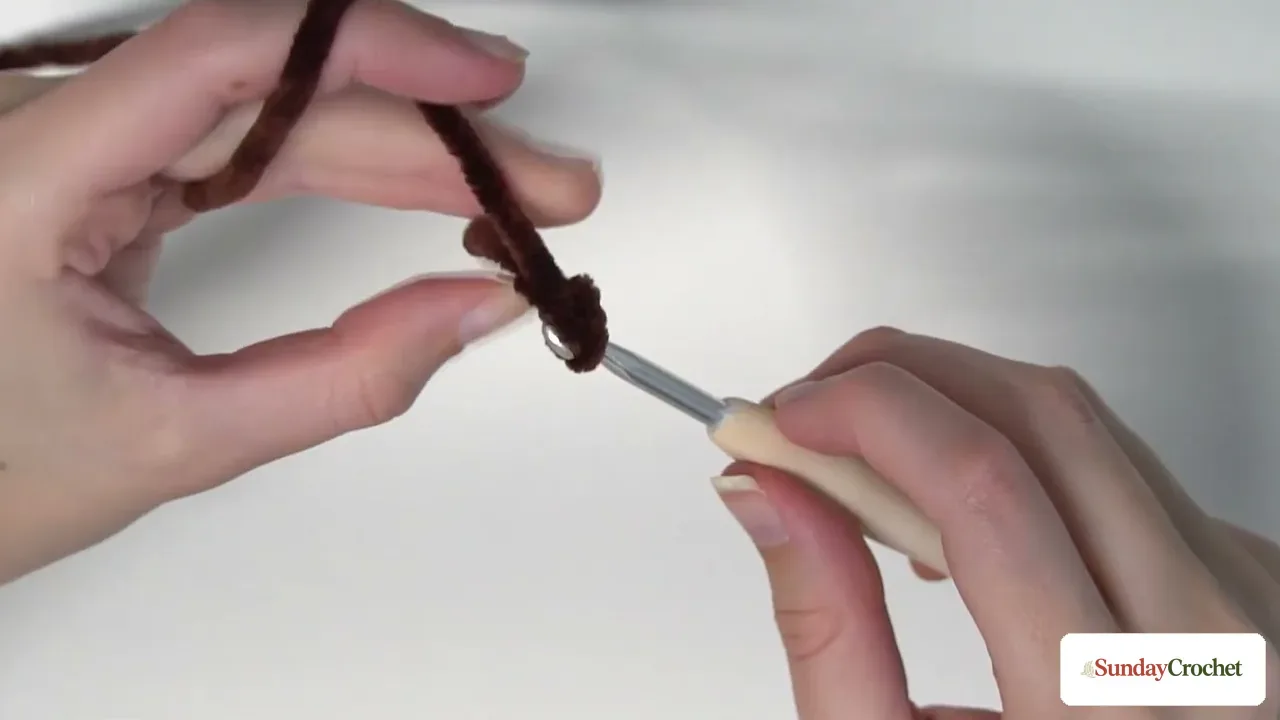
With brown yarn, ch 2. Work 4 sc into the first chain. 4 sts.
Keep the stitches close together around the small starting chain. The opening will be tightened as you build the stem, so do not pull so hard that the stitches become difficult to work into.
Round 2
Work (sc, inc) 2 times around. 6 sts.
Round 3
Work 1 sc in each stitch around. 6 sts.
Round 4
Work 1 sc in each stitch around. 6 sts.
Round 5
Work 1 sc in each stitch around. 6 sts.
These three even rounds lengthen the brown stem. Keep the cylinder fairly compact and check that you still have six stitches before the next increase round.
Round 6: Change to orange
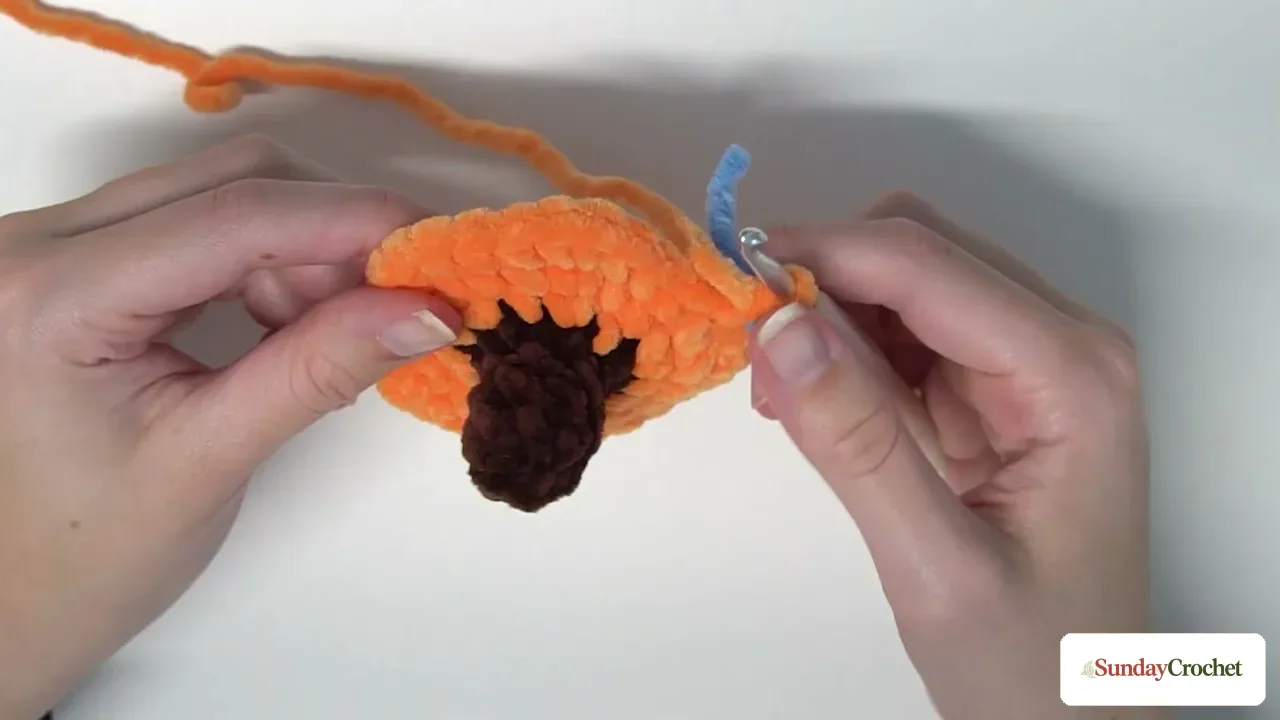
Work 6 inc around. 12 sts. On the last increase, switch to orange yarn to finish the final stitch. Tie the brown and orange tails together in a double knot, trim the brown tail, and tuck it inside the stem.
Round 7
With orange, work (sc, inc) 6 times around. 18 sts. Place a marker in the first stitch of this round.
Round 8
Work (2 sc, inc) 6 times around. 24 sts.
Round 9
Work (3 sc, inc) 6 times around. 30 sts.
Round 10
Work (4 sc, inc) 6 times around. 36 sts.
The body grows evenly from the stem. Each increase round adds six stitches, widening the orange fabric without a sudden change in the count. If the thick yarn hides the stitch tops, feel for each V with your fingers and move the marker as you go.
Round 11
Work 1 sc in each stitch around. 36 sts.
Round 12
Work 1 sc in each stitch around. 36 sts.
Round 13
Work 1 sc in each stitch around. 36 sts.
Round 14
Work 1 sc in each stitch around. 36 sts.
These four even rounds form the widest middle of the pumpkin. The sides should begin to look like a short, rounded tube. The stitch marker remains the start of each new round; it does not count as a stitch.
Round 15
Work (4 sc, dec) 6 times around. 30 sts.
Round 16
Work (3 sc, dec) 6 times around. 24 sts.
Round 17
Work (2 sc, dec) 6 times around. 18 sts.
The top of the body begins to narrow. Add stuffing now, filling the orange pumpkin body evenly. The sample does not pack the narrow stem heavily; concentrate the stuffing in the orange section so it holds its round shape without stretching the stitches open.
Round 18
Work (sc, dec) 6 times around. 12 sts.
Round 19
Work 6 dec around. 6 sts. Fasten off with a long tail, about five times the length of your hand, so you have enough yarn for closing and shaping.
Thread the tail onto a yarn needle. Pass it through the front loops of the six remaining stitches and pull the opening closed. This closes the base securely. Keep the tail attached because it also creates the pumpkin ribs.
Shape the pumpkin
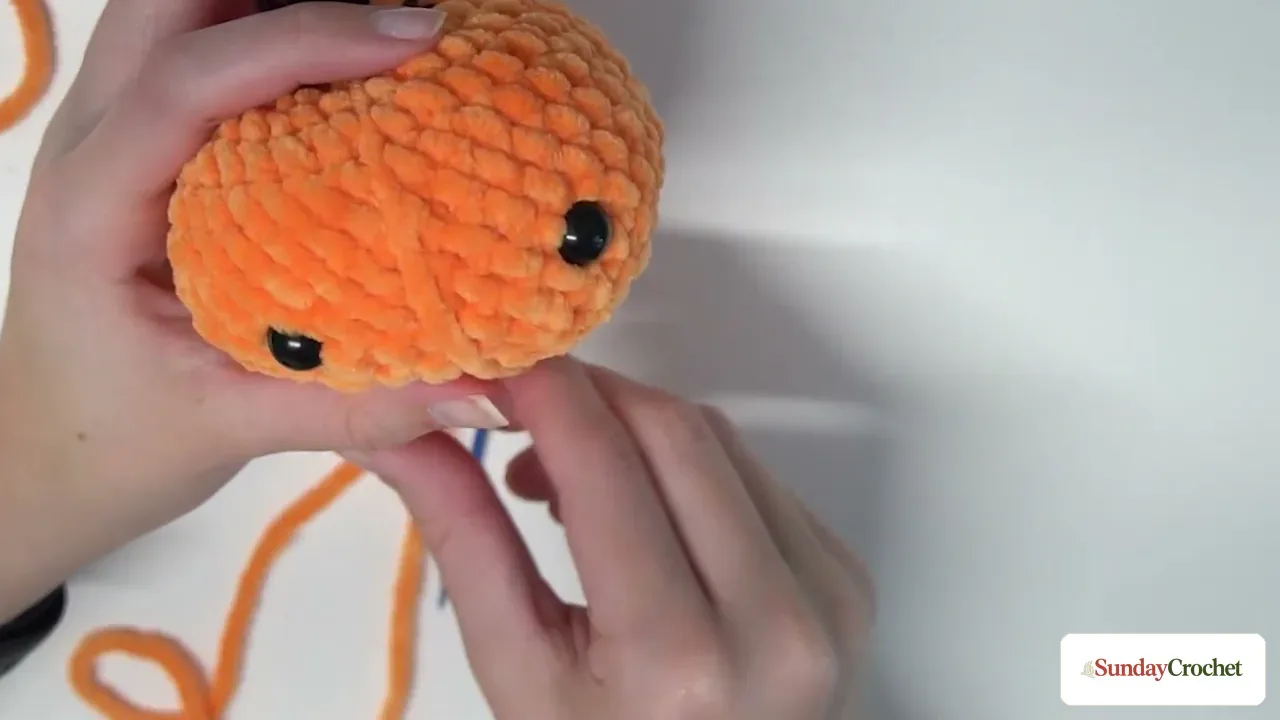
To form the lobes, bring the yarn needle from the closed base up the center line between the eyes to the top beside the stem, then take it back down to the base. Pull the yarn firmly to draw that line inward. Repeat this path around the pumpkin: make a line just outside each eye, add a line on each side, and finish with one down the back. There should be six indented lines in total.
Work one line at a time and check the pumpkin from the front and sides. The ribs should be spaced around the body, not gathered into one side. If a line sits too close to an eye or the stem, loosen it slightly and reposition before pulling tight. When the six sections look balanced, pass the yarn through the base a few times to secure it, bring it out at a random point on the body, and trim the remaining tail.
Add the optional face
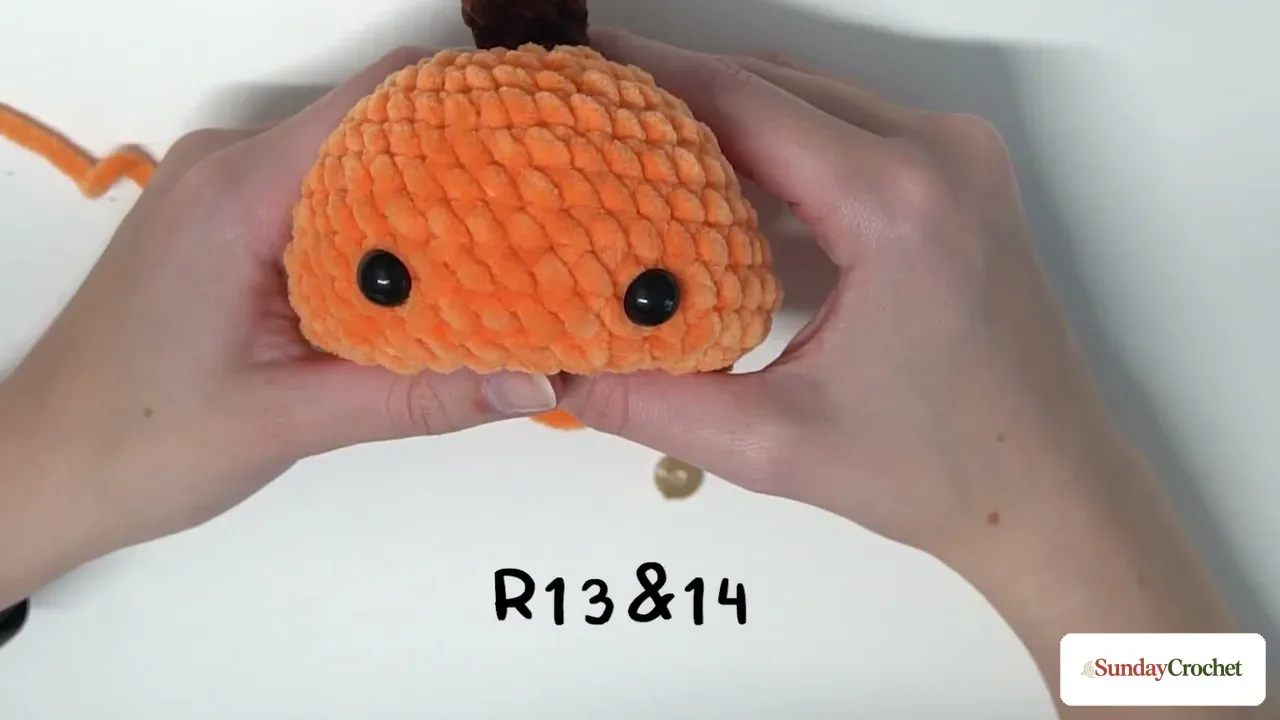
The eyes are optional. If you use them, place the 12 mm safety eyes between Rounds 13 and 14, about six stitches apart. The shaping begins after the eyes are positioned, and the remaining rounds close the stuffed pumpkin around them.
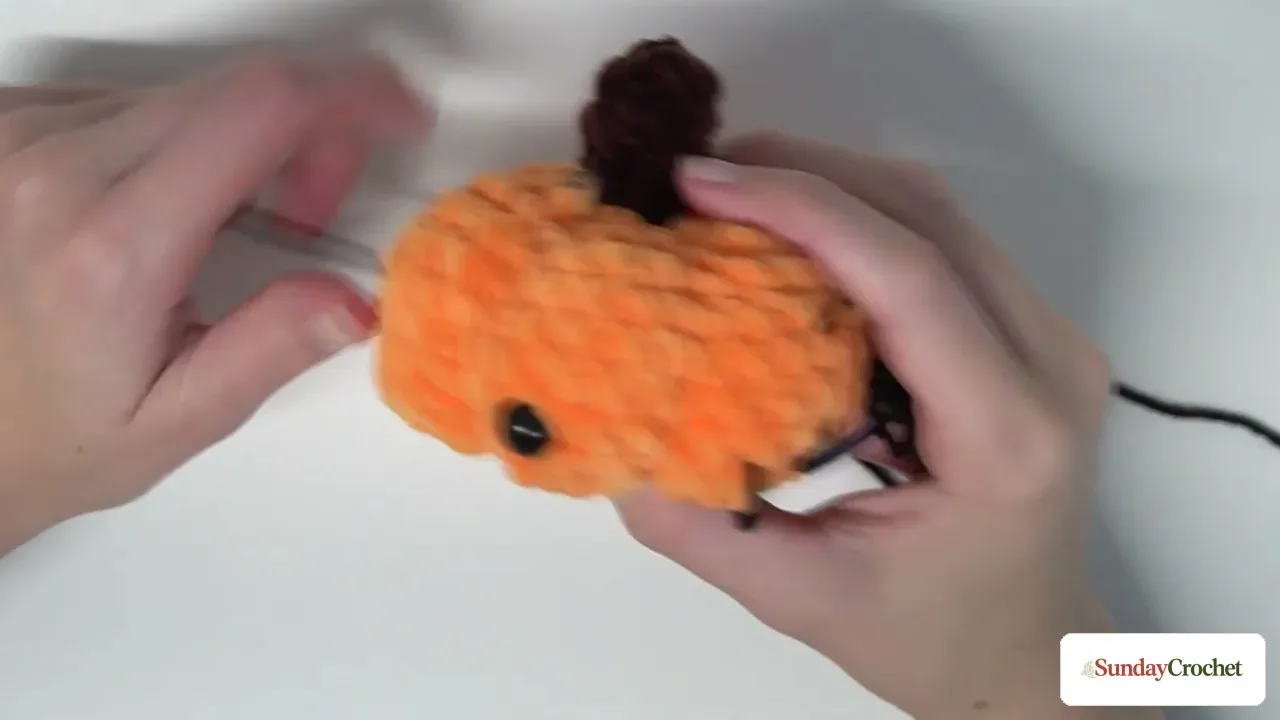
For the smile, use thin black yarn and a yarn needle. Bring the yarn out between the eyes. Make a short horizontal stitch, then take the needle to a stitch just below its center. Pass the needle under the horizontal strand and pull gently to create a small curved V. Return the yarn to its starting point, tie the two ends together on the inside, and tuck them into the stuffing. Small pink embroidered stitches below and just beside each eye make the cheeks. Both details can be skipped for a simple pumpkin.
If you are making a small Halloween display, this plush pairs naturally with a little crochet ghost or a crochet bat applique. The projects use different construction methods, but the same orange, brown, and cream palette makes a coordinated seasonal set.
Common questions
Is this pumpkin completely no-sew?
The stem and body are crocheted continuously, so there is no separate stem to attach. A yarn needle is still used to close the bottom, draw in the six ribs, and embroider optional face details. “No-sew” here describes the joined construction, not a project with no finishing needlework at all.
Can I leave off the face?
Yes. The safety eyes, embroidered smile, and cheek details are optional. Finish the body and shaping for a plain orange pumpkin with a brown stem.
Where do the safety eyes go?
Place the 12 mm eyes between Rounds 13 and 14, about six stitches apart. Check their alignment from the front before continuing the decreases.
What size will the finished pumpkin be?
A finished measurement is not specified. The sample uses weight 6 chenille yarn and a 5 mm hook, and your size will vary with yarn and tension.
How do I make the pumpkin look segmented?
Use the long tail after closing Round 19. Run it from the base to the top beside the stem and back to the base six times at evenly spaced positions, pulling each pass snug enough to indent the fabric.


