
· Sunday Crochet
In this pattern
01 · A sweater that starts as two hexagons02 · Yarn & tools03 · Before you begin04 · The pattern05 · Join the panels and shape the neckline06 · Add length to the sleeves07 · Work the ribbed cuffs08 · Optional extra length at the hem09 · Fit checks that make the project easier10 · Common questions11 · A wearable built one repeat at a timeA sweater that starts as two hexagons
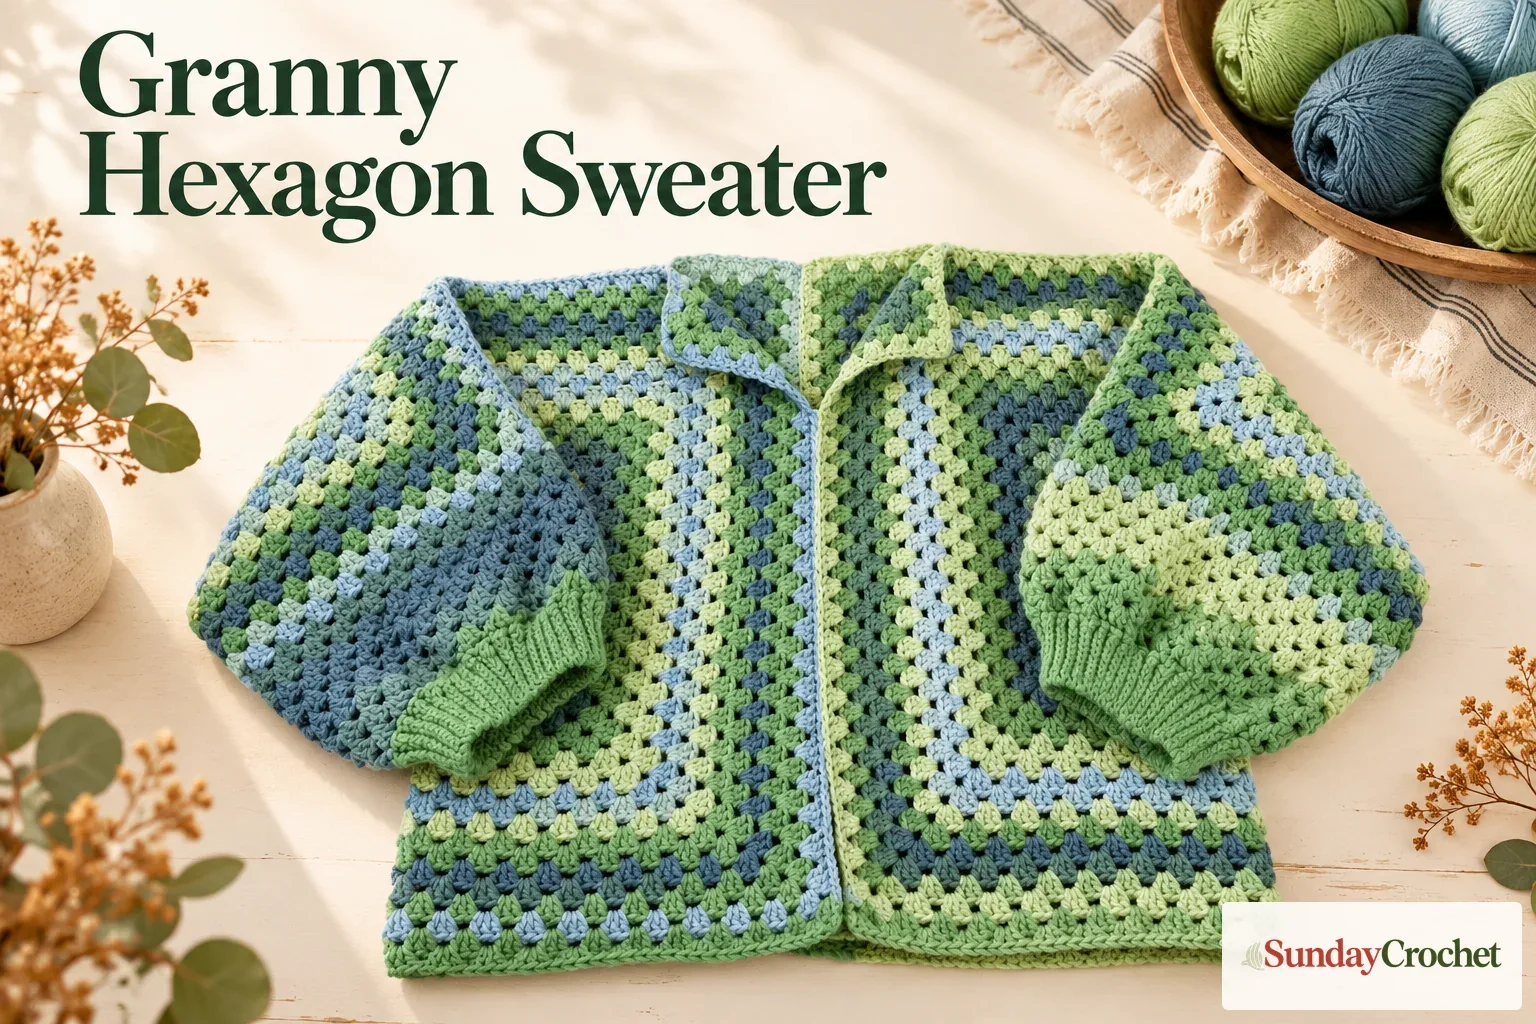
This granny hexagon crochet sweater starts with two matching six-sided panels. Each panel grows in joined rounds, then folds into the shape that forms half of the body and one sleeve. Once the pair is joined, you can choose how open to leave the front neckline, add sleeve length, and work a stretchy-looking ribbed cuff. The fit is adjusted as you go rather than chosen from a fixed size chart.
I’ll show you how to make the hexagons, check their folded measurement, join the sweater, and finish both sleeves. The pattern uses familiar granny clusters of three double crochets, so the main rhythm is easy to see after the first few rounds. It is written in US terms and includes a beginner-friendly chain ring as an alternative to a magic ring.
Yarn & tools
The sample uses several shades of green and blue. You can work in one color or choose your own palette; no round-by-round color sequence is specified. A yarn-weight guide can help you compare category labels, while a fiber comparison may help you decide how you want the finished sweater to feel.
Stitches and abbreviations
These instructions use US crochet terms:
- ch: chain
- sl st: slip stitch
- dc: double crochet
- BLO: back loop only
- ch-2 space: the gap made by chaining two at one of the six hexagon corners
- cluster: three double crochets worked into the same space
If you want to refresh the basic movements before you start, this beginner stitch refresher can help. For reading abbreviations and repeats, keep this written-pattern guide nearby.
Before you begin
Measure across your shoulders from one shoulder point to the other. The sample adds about 2 to 3 inches on either side for a looser, dropped-shoulder fit. Decide how relaxed you want the sweater before you start, and write that target width down. The more ease you add, the roomier the shoulder and body will feel.
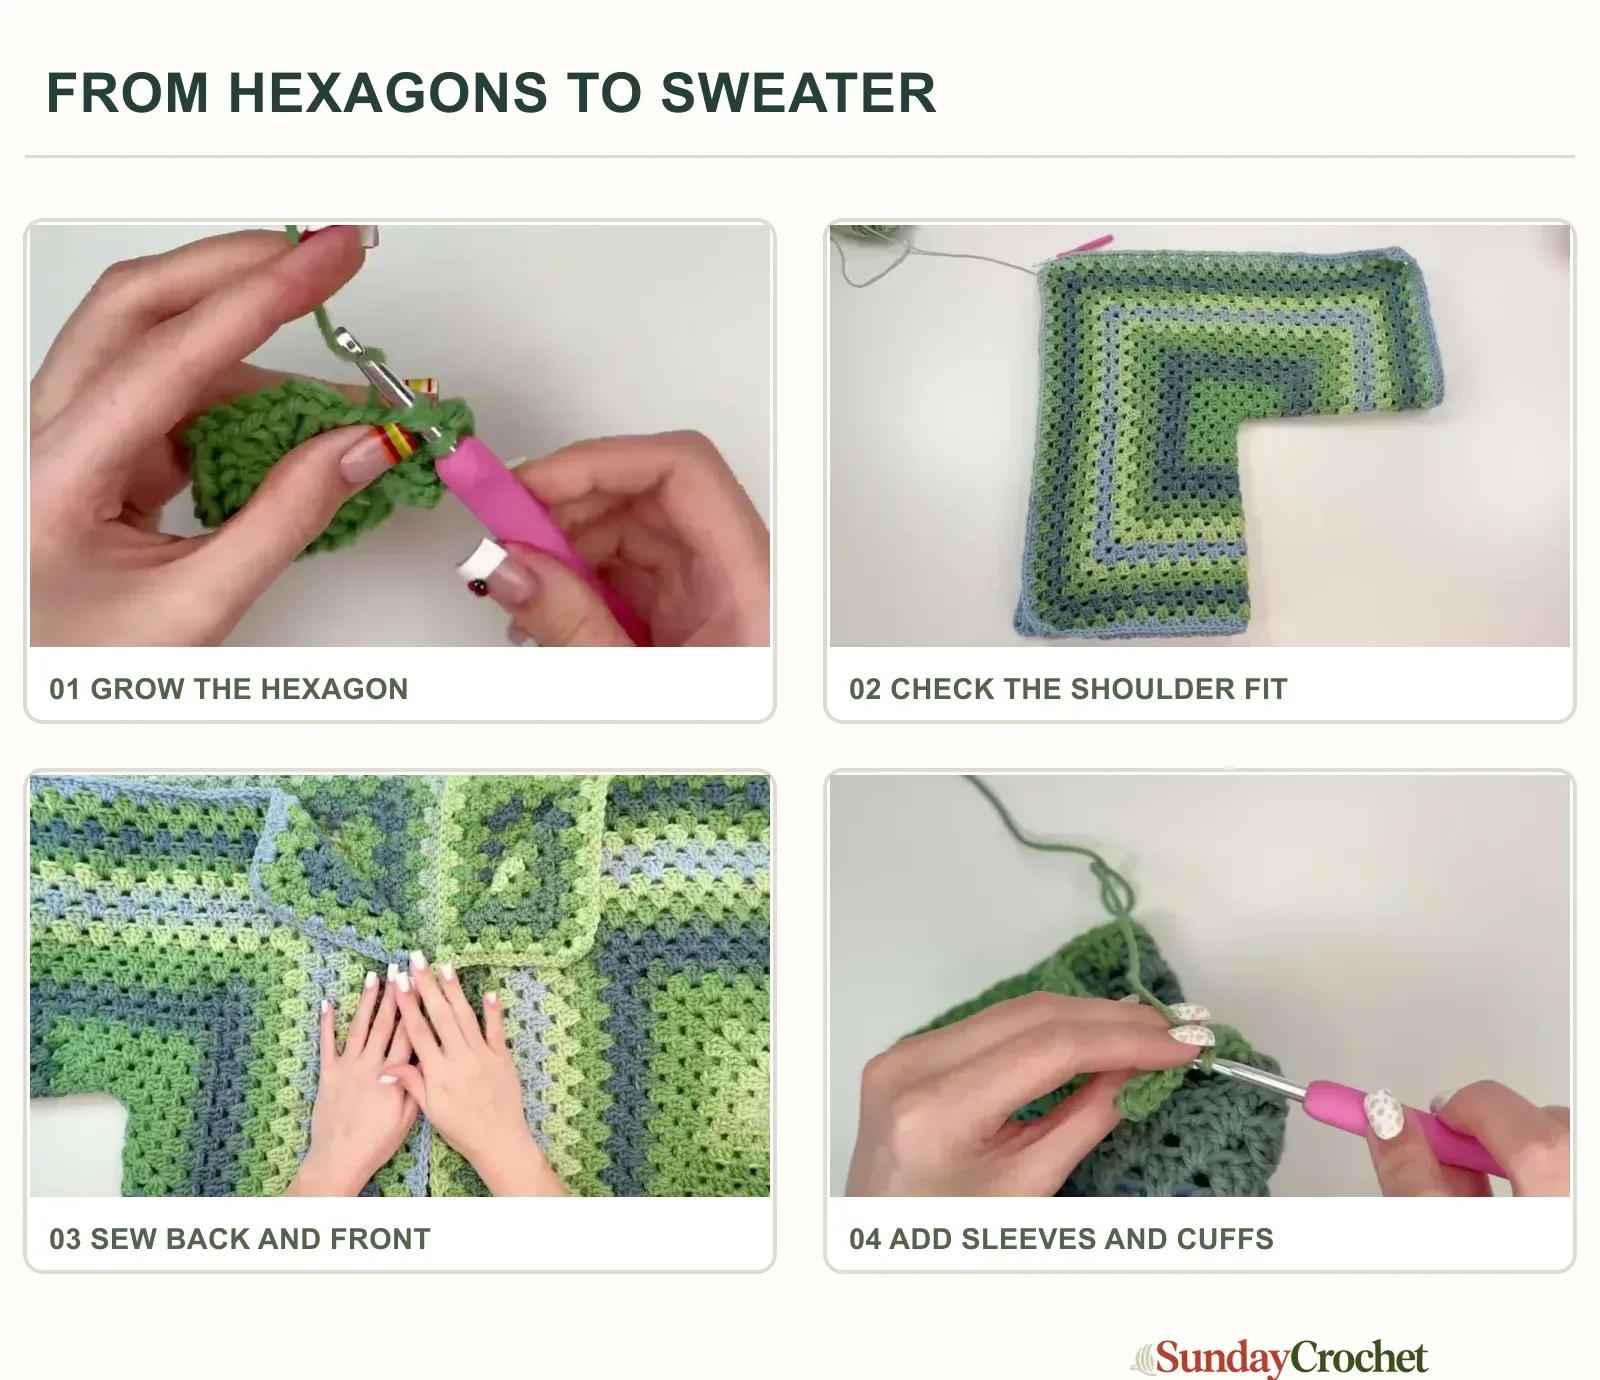
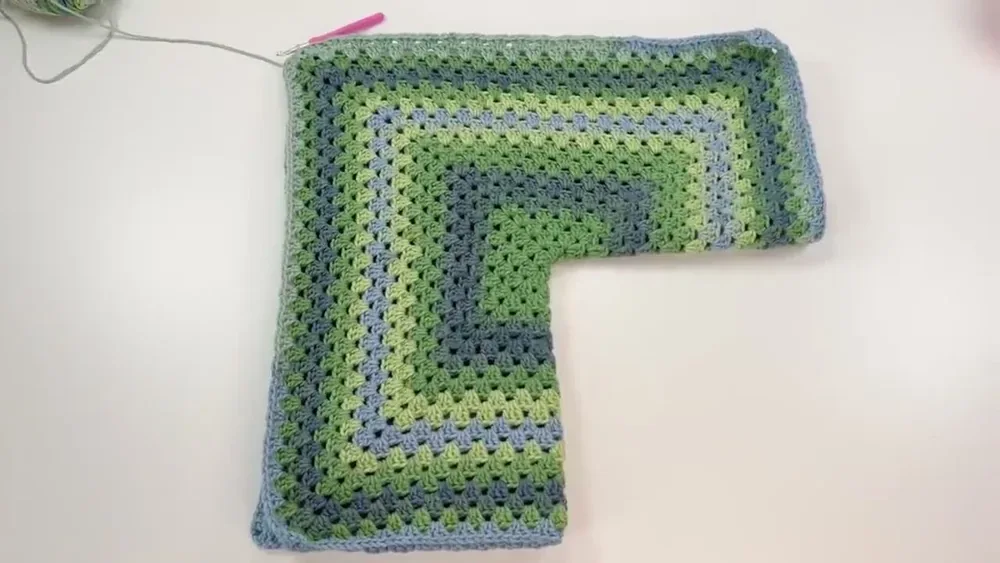
Each hexagon is folded in half during the fit check. The short side of the folded piece should measure about half of your planned shoulder width. In the sample, that short side is around 11 inches, but that is only one person’s fit, not a standard size. The number of rounds needed depends on your yarn, hook, tension, and chosen measurements. No gauge or full finished measurements are specified, so keep checking the panel against your own body rather than relying on a round count.
The hexagons can curl upward as they grow. That is expected: the shape is meant to fold. Lay a panel flat and fold it in half to check the shape and measurement. Make the second hexagon with the same number of rounds as the first so the shoulders and sleeves line up when you join them.
The pattern
Hexagon: Foundation ring
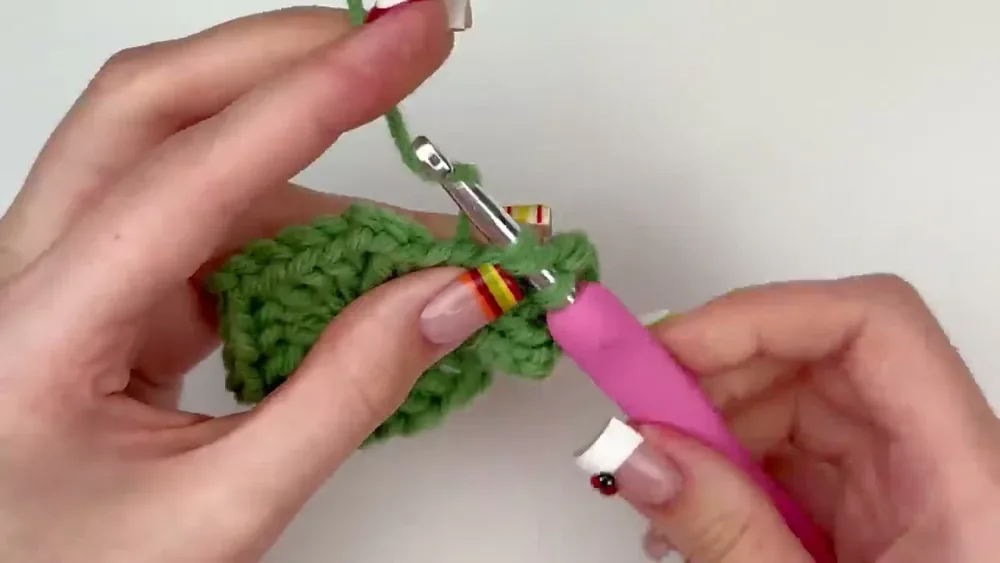
Make a slip knot and chain 4. Join the first and last chains with a slip stitch to form a small ring. This is a beginner-friendly faux magic ring. If you already know how to make a magic ring, you can use that instead. Leave the starting tail long enough to pull the center closed after the first round.
Round 1
Chain 3. This counts as the first double crochet. Work 2 dc into the center of the ring to complete the first 3-dc cluster. Chain 2, then work 3 dc into the ring. Continue around, making a chain-2 gap and a 3-dc cluster each time, until you have six clusters total, with a ch-2 space between each. After the sixth cluster, chain 2 and join with a slip stitch to the top of the starting chain 3. Pull the starting tail to close the center of the ring.
Round 2
Before starting a new round, slip stitch across the tops of the stitches until you reach the nearest ch-2 space. Chain 3; it counts as the first dc of the corner. Work 2 dc into that same space, chain 2, then work 3 more dc into it. This makes a corner: 3 dc, ch 2, 3 dc in one ch-2 space.
Make the same corner in each of the remaining five ch-2 spaces. In this round every chain space from the previous round becomes a corner, so you will not have plain clusters between the corners yet. Join to the top of the beginning chain 3 with a slip stitch. Slip stitch across to the nearest ch-2 space before you begin the next round.
Round 3
Start in the nearest corner space with a slip stitch if needed, then chain 3. Complete the corner with 2 dc, ch 2, and 3 dc in that same space. Move to the next space along the side and work one 3-dc cluster there. At the next ch-2 corner space, make another corner: 3 dc, ch 2, 3 dc.
Continue around, alternating a corner in each ch-2 space with one plain 3-dc cluster in each space between those corners. Join to the beginning chain 3 with a slip stitch, then slip stitch over to the nearest corner space to start again.
Round 4 and following rounds
Work the same corner at all six points: 3 dc, ch 2, 3 dc in each ch-2 space. Between corners, work one 3-dc cluster in every space. Round 4 has two plain spaces between each pair of corners; each new round adds one more plain space along each side. Do not put a corner into these middle spaces.
Repeat this round rhythm until the folded short side measures about half of your planned shoulder width. Always begin at a ch-2 corner space, work the corner, fill every middle space with one 3-dc cluster, and join to the first chain 3. Make a second hexagon to match. If a written repeat is easier to follow than prose, the pattern-reading guide explains how to track repeated instructions.
Join the panels and shape the neckline
Fold each hexagon in half to make the sweater shape. Lay the two pieces beside one another, matching their folded edges and rounds. This is a useful moment to compare them: the panels should be the same size and their corners should line up.
Use a tapestry needle and a length of yarn to sew the center back seam. Work through the loop nearest you on one panel, then the matching loop farthest from you on the other panel, keeping the two sides aligned as you go. Continue along the back seam. If you prefer, you can join the seam with slip stitches using your crochet hook instead.
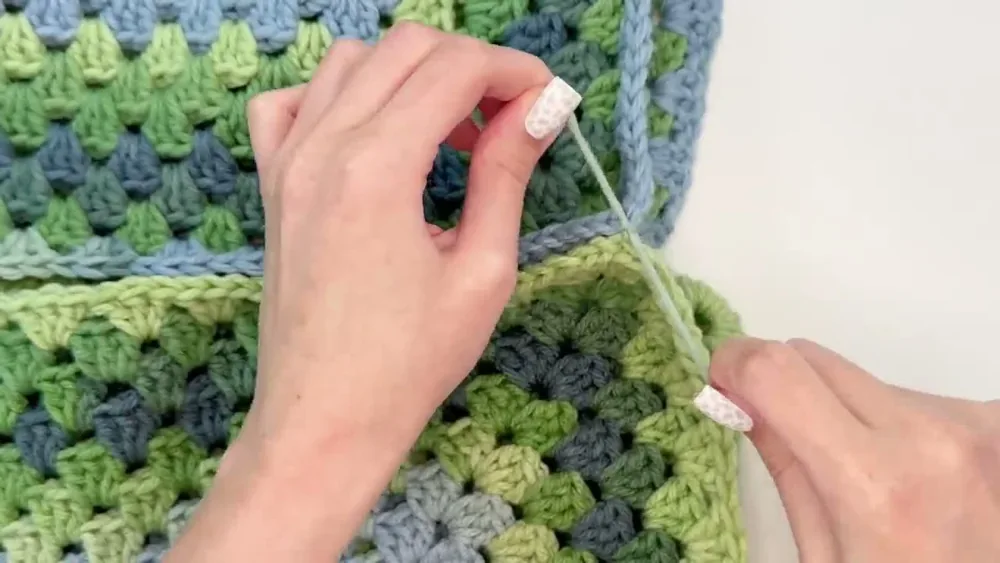
Turn the sweater so the front faces you. Sew the center front from the lower edge upward, stopping where you want the neckline to begin. Leaving more of this edge open makes a deeper neckline; sewing farther upward makes the opening smaller. Try the sweater on before securing the seam so you can settle on the opening you like.
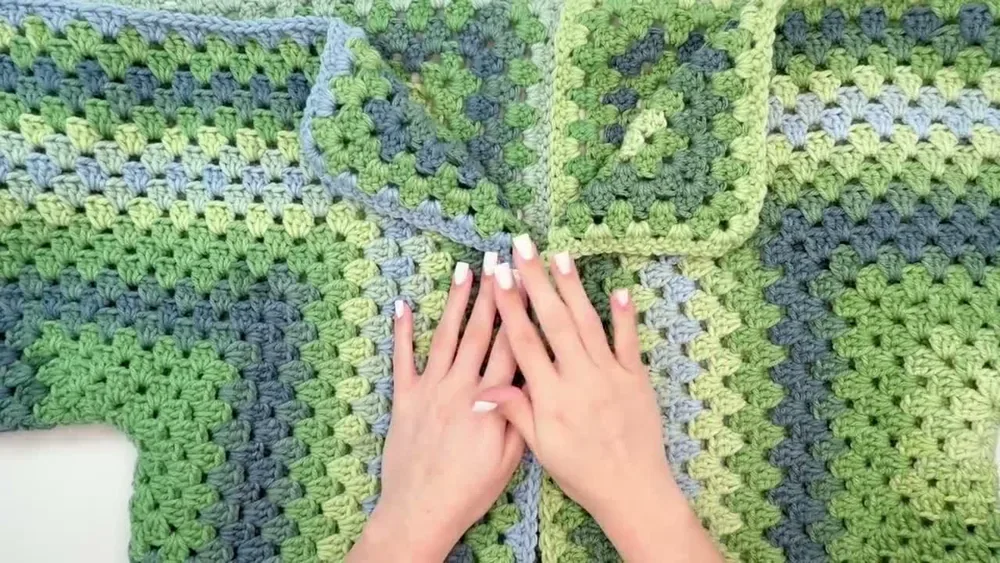
Next, sew the top edges of the sleeves toward the neckline on each side. Stop when the neckline is as wide as you want it. The front seam depth and the gap between the shoulder seams work together to shape the opening, so try the garment on and adjust before weaving in the tails.
Add length to the sleeves
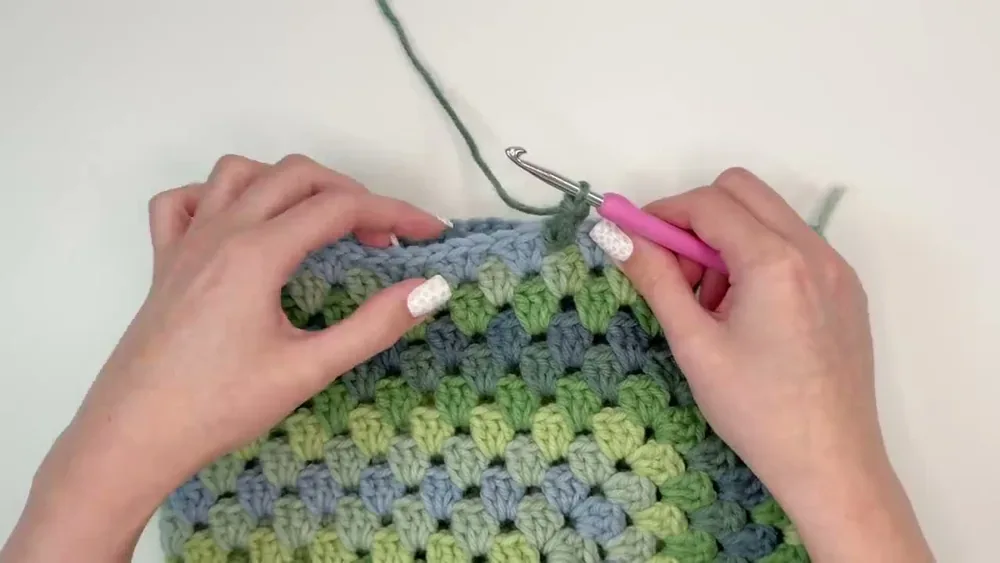
Attach yarn in any space around the open end of a sleeve. Chain 3, which counts as the first double crochet, then work 2 dc into the same space. Work 3 dc into every space around the sleeve opening. Join with a slip stitch to the top of the beginning chain 3. Slip stitch across to the nearest space to begin the next round.
Repeat the same round to add length. Try the sweater on as you go, and stop when the sleeve reaches the length you want before the cuff. Keep track of the number of rounds and repeat the same length on the second sleeve. The fabric can be extended one round at a time, which makes the sleeve easy to adjust without changing the hexagon pattern.
Work the ribbed cuffs
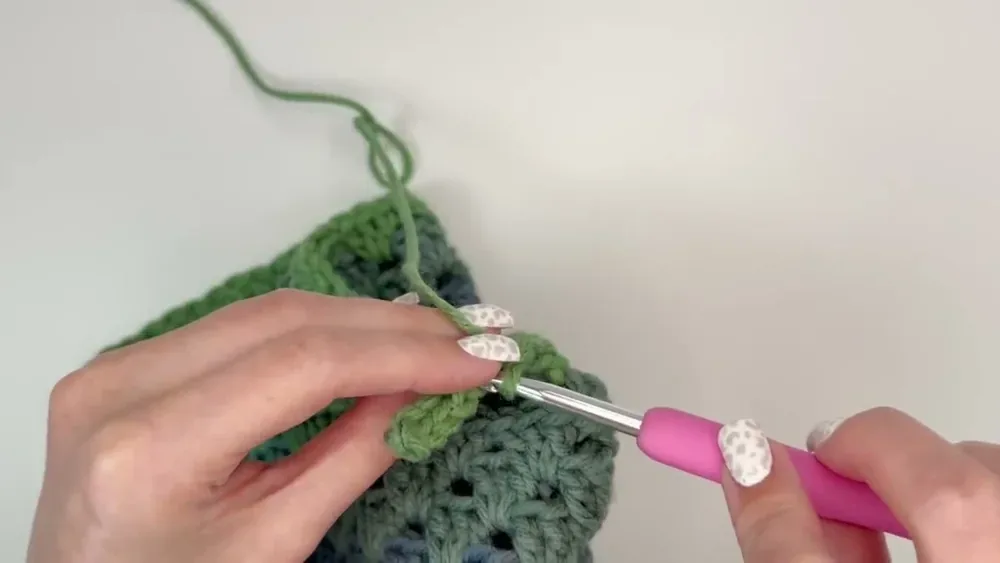
Do not fasten off when the sleeve is the length you want. Chain 10 for the sample cuff width. Starting in the second chain from the hook, slip stitch back along the chain. You will have 9 slip stitches. Keep them loose enough that you can work into the back loops on the next pass. A shorter or longer foundation chain changes the cuff width.
Slip stitch into the next 2 stitches along the sleeve edge, then chain 1 and turn. Skip over those 2 joining slip stitches and work slip stitches in the back loops only across the cuff row. Chain 1 and turn again; work back across in the back loops only. Each time you reach the sleeve edge, slip stitch into the next 2 sleeve stitches to attach that rib and move along the opening.
Repeat this back-and-forth ribbing around the sleeve. When the cuff reaches the full circumference, align its first and last rows and slip stitch them together. Fasten off and weave in the tail. Make the second cuff with the same starting chain and repeat count so the pair matches.
Optional extra length at the hem
If you want a longer body, add rounds along the lower edge. Join yarn in a space between double-crochet clusters, chain 3, and work 2 dc into that same space. Then work 3 dc into each space around the hem and join to the top of the chain 3. Slip stitch to the nearest space and repeat the round until the body reaches your preferred length. This extension is optional; the sweater can be finished without adding hem rounds.
Fit checks that make the project easier
- Measure before the panel gets large. The folded short side is the practical check. Compare it to half of your chosen shoulder width rather than copying the sample’s 11 inches.
- Match both hexagons. Stop the first panel at a count you can repeat. The two pieces need the same rounds so the seams meet evenly.
- Keep corners in the ch-2 spaces. The corner repeat never changes. Put one cluster in each middle space and reserve the 3-dc, ch-2, 3-dc sequence for the six points.
- Try on before closing the neckline. The front seam and top sleeve seams determine the opening. Leave the seam tails unsecured until the fit feels comfortable.
- Make both sleeves alike. Track the body rounds and the cuff chain length. The sleeve length is adjustable, but matching the pair keeps the sweater balanced.
The sample is made in worsted acrylic with a 5.5 mm hook and uses about 1,300 yards. Your yarn needs may differ, especially if you make a larger fit, longer sleeves, or a longer hem. The pattern does not provide a gauge, standard sizing, or a guaranteed yardage for every body. A yarn label guide can help you compare fiber and yardage information before you choose your skeins.
Common questions
Can I make this sweater in a different size?
The panels are made to measure rather than worked to a fixed size. Choose your shoulder width, add the ease you want, and keep folding the hexagon to check that its short side reaches about half of that target. The sample measurement is not a size chart.
How many rounds should each hexagon have?
There is no set number because the number depends on your measurement, yarn, hook, and tension. Continue the repeat until the folded panel reaches the shoulder fit you want, then make the second panel with the same count.
Can I make the sleeves shorter or longer?
Yes. Work fewer or more joined rounds before beginning the cuff, and try on the sweater as you go. Repeat the same number of rounds on the other sleeve. The cuff adds a little more length at the wrist.
Is the ribbed cuff required?
The sample finishes with a ribbed cuff, but the sleeve length is set before the cuff begins. The cuff width comes from the starting chain, and its circumference is made by working back and forth while attaching each row to the sleeve edge.
A wearable built one repeat at a time
A granny hexagon sweater looks intricate, but its shape comes from a steady set of six corners and simple clusters between them. Make two matching panels, fold and measure them, then decide how to join the back, front, and neckline for a comfortable fit. The sleeves and cuffs use the same patient rhythm: add a little, try it on, and continue until the garment feels right for you.


