
· Sunday Crochet
In this pattern
01 · A little leaf with lots of uses02 · Yarn & tools03 · Stitches and abbreviations04 · The pattern05 · Reading the shaping as you crochet06 · Troubleshooting your leaf07 · Ways to use a crochet leaf08 · Common questionsA little leaf with lots of uses
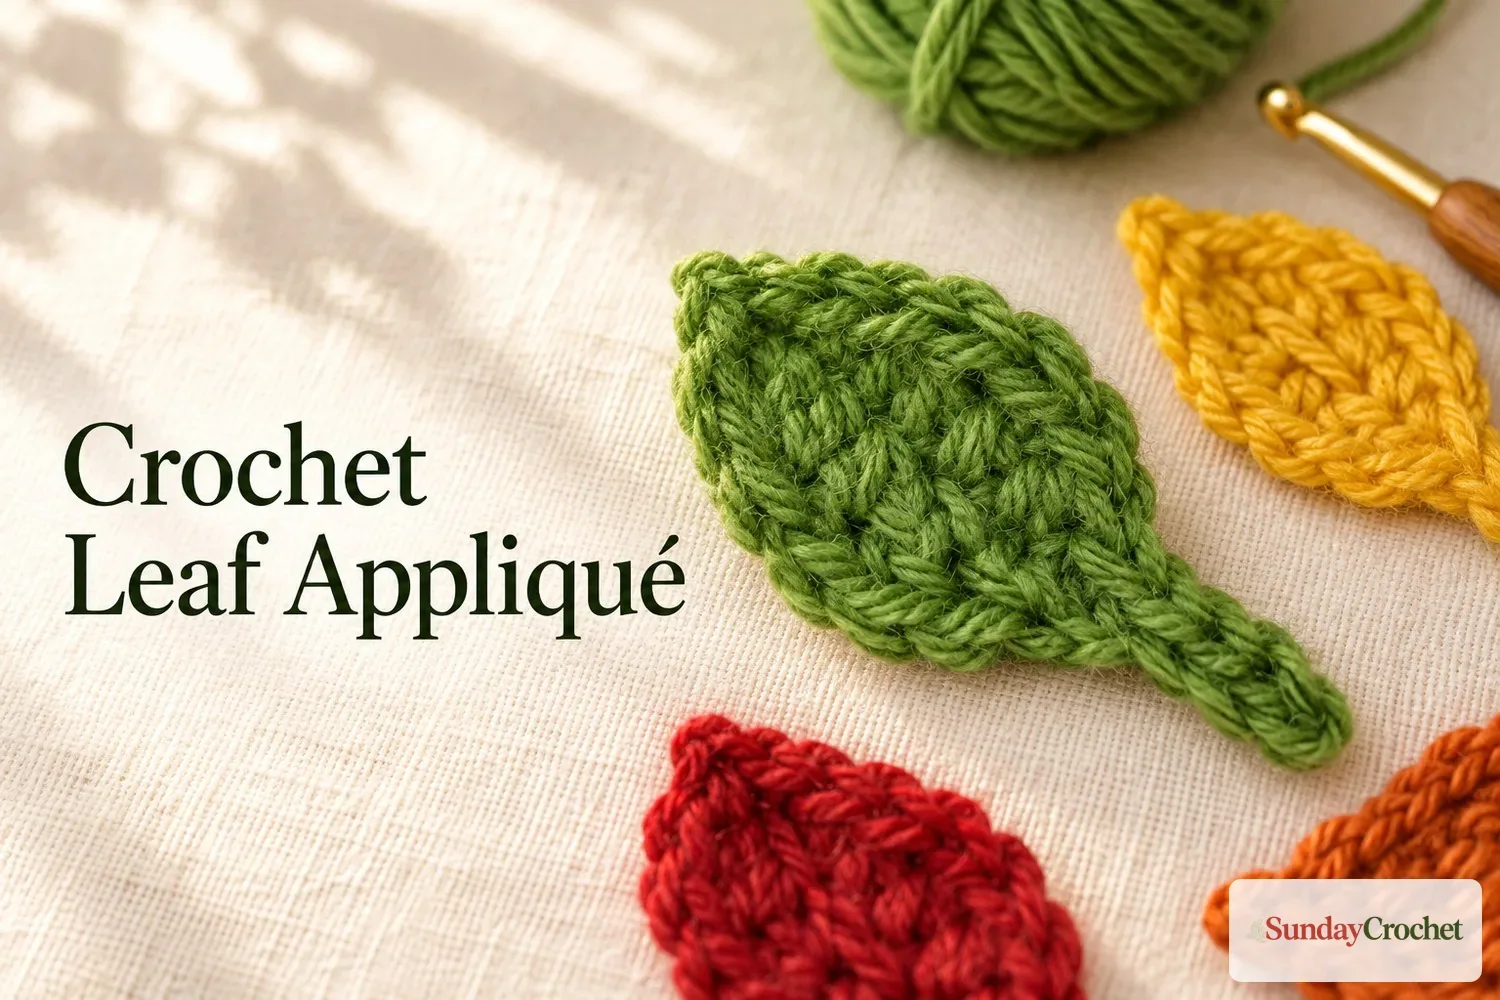
A small crochet leaf is a handy motif to keep in your pattern basket. Sew one beside a flower, add it to a handmade gift, or use it as a simple seasonal accent. This flat leaf begins with a short chain, builds its shape with a few familiar stitches, and is worked back along the other side of the foundation chain. The changing stitch heights create the taper and the taller center point.
The sample uses medium-weight yarn and a 4 mm hook, but the motif is flexible: a different yarn and its matching hook will change the finished scale. There is no gauge or finished measurement to match. You will find the stitch counts and the shaping sequence below, so you can focus on where each stitch goes instead of guessing at the curves.
I’ll show you how I make the stem, shape both sides of the leaf, and finish the yarn ends. The directions use US crochet terms.
Yarn & tools
The sample is made in green. The tutorial also shows leaf motifs in other colors, so feel free to choose a shade that suits the project you have in mind. It calls for worsted-weight acrylic or cotton yarn and a 4 mm hook; if you substitute yarn, choose a hook appropriate for that yarn and expect the leaf to change size. No yardage is specified, and this little motif uses only a small amount.
Stitches and abbreviations
- ch — chain
- sl st — slip stitch
- sc — single crochet
- hdc — half double crochet
- dc — double crochet
- tr — treble crochet
- st(s) — stitch(es)
All stitch names here are US terms. The US treble crochet begins with two yarn overs; in UK terminology it is called a double treble. If you are new to the basic motions, the beginner crochet instructions cover the slip knot, chain, and single crochet. A quick review of written pattern abbreviations can also make the sequence easier to scan.
The pattern
Before you begin
The leaf is made in one continuous pass around a 12-chain foundation. You work the first side from the second chain from the hook toward the far end, then chain one and turn. The second side travels back down the opposite side of that same foundation chain. The first four slip stitches form the narrow stem; the taller stitches expand into the leaf blade, and the treble crochet marks its high point.
The stitch placement is more important than the exact finished size. Keep the chain relaxed enough to insert your hook into it, and pause to count the chains before starting. A tight foundation can make the first row difficult to work and may pull the leaf out of shape.
Foundation chain
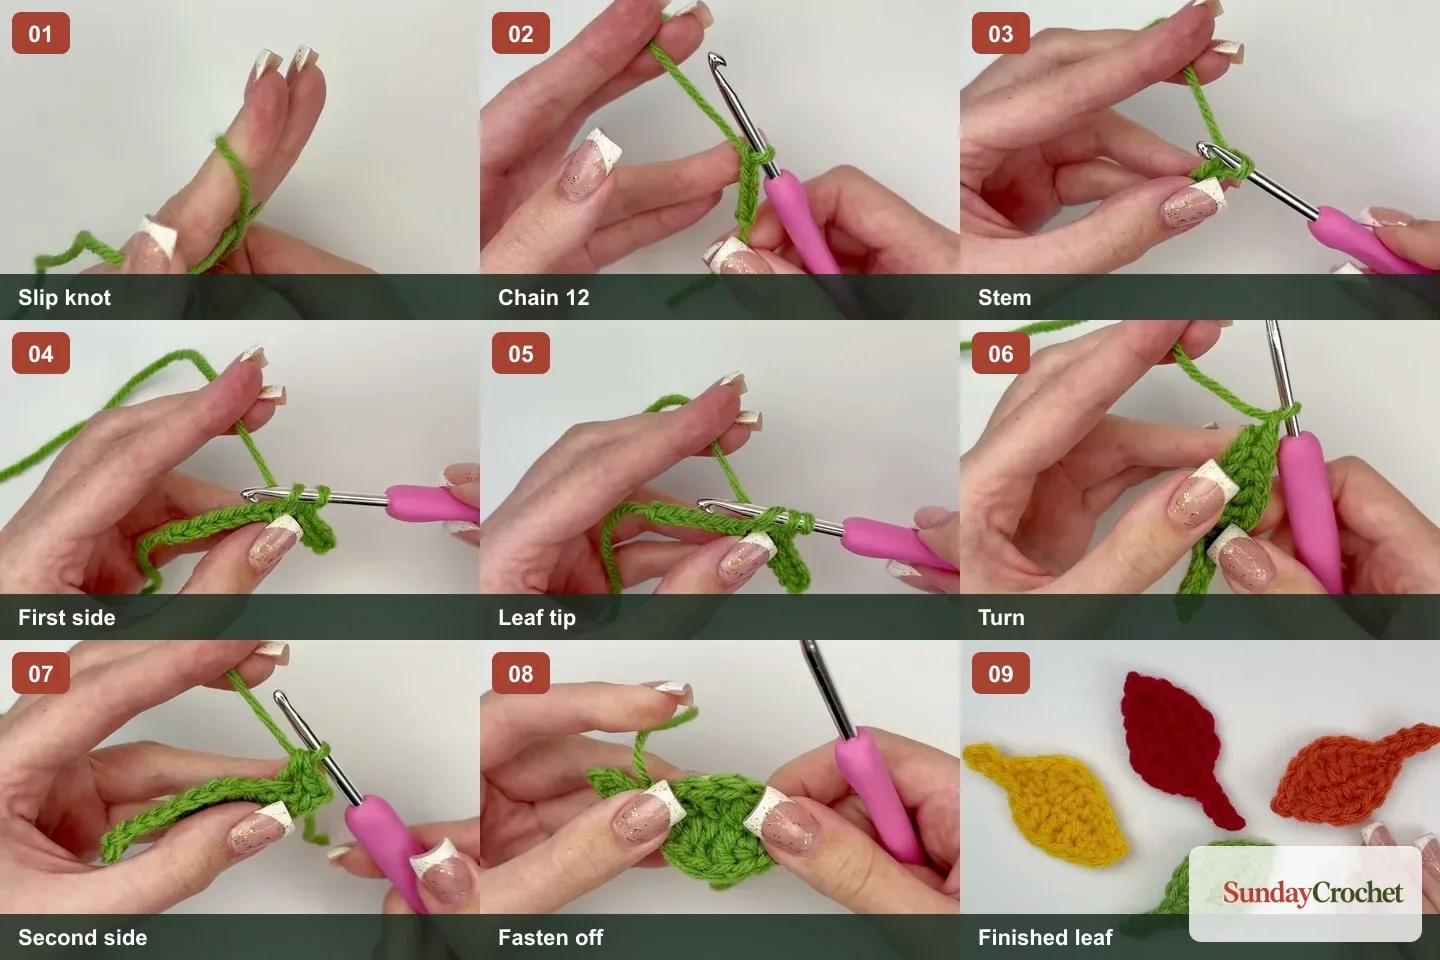
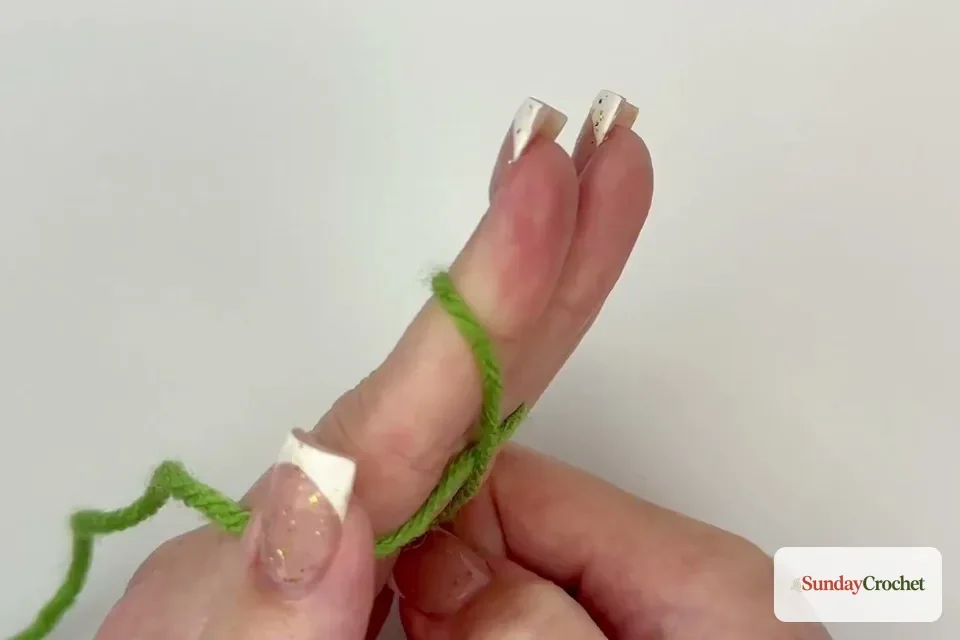
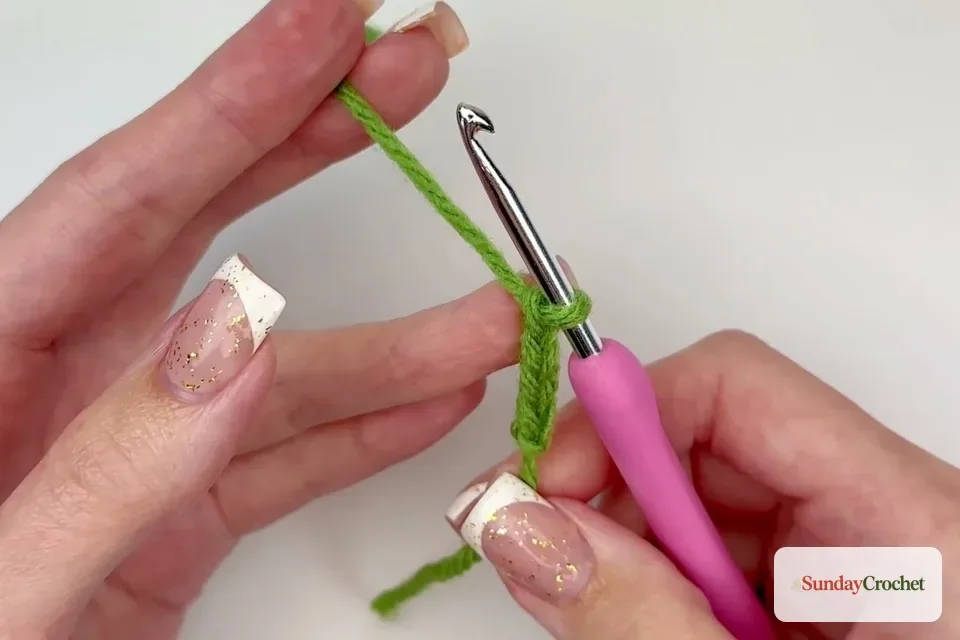
Make a slip knot and place it on the hook. Chain 12. Count the loop on the hook as your active loop, not as a chain. When the chain is complete, look for the V-shaped links and identify the second chain from the hook; that is where the first row begins.
First side of the leaf
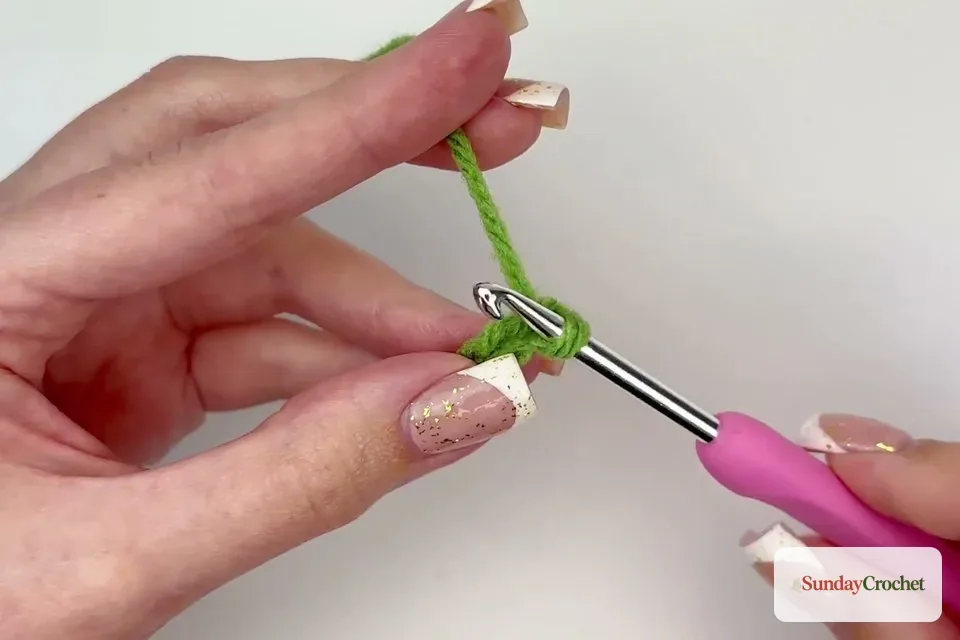
Starting in the second chain from the hook, work the following sequence along the foundation chain:
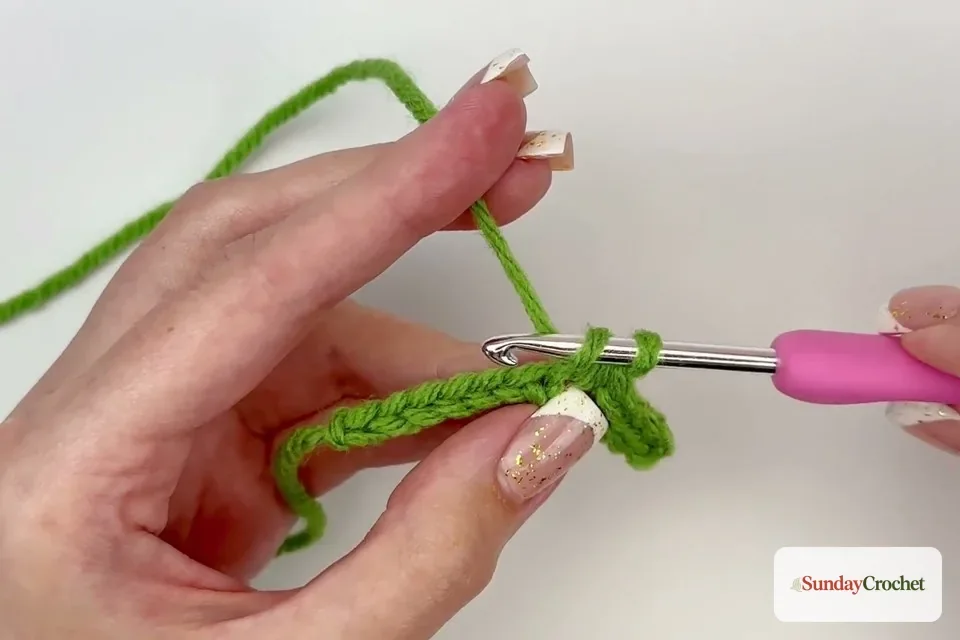
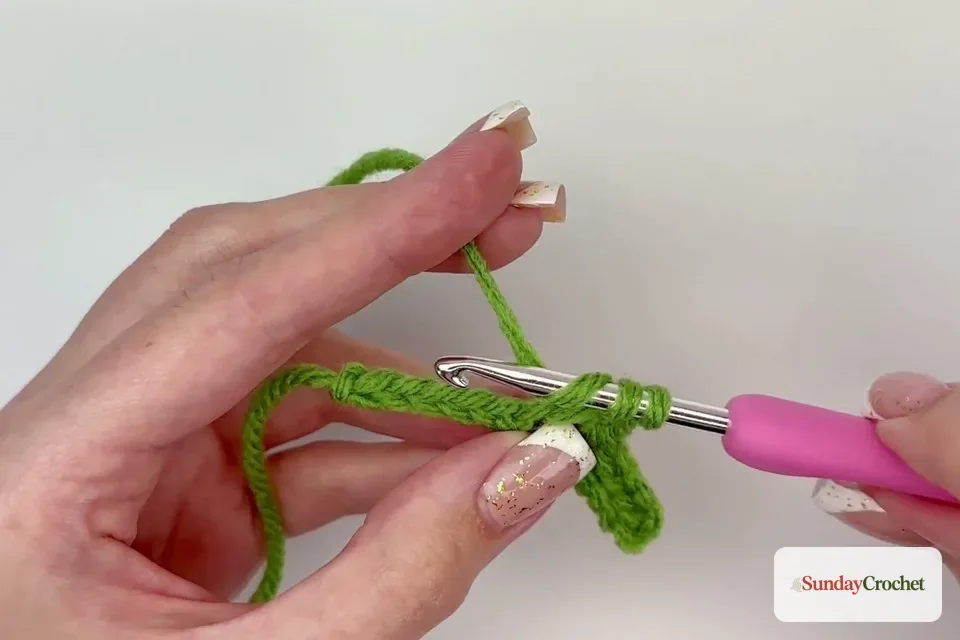
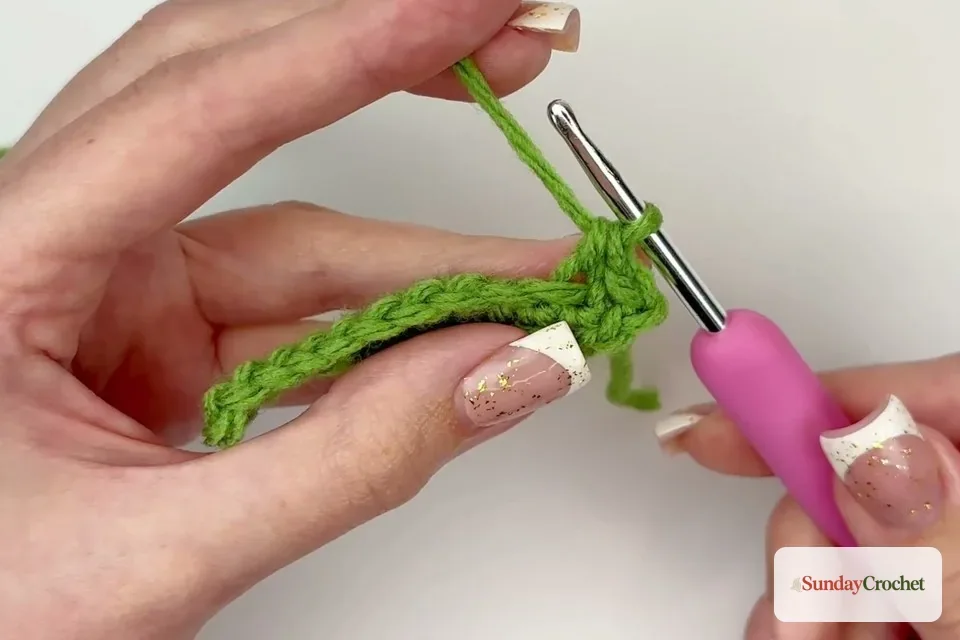
4 sl st, 1 hdc, 8 dc in the next chain, 1 tr in the next chain, 1 dc in the next chain, 1 hdc in the next chain, 1 sc in the next chain, 1 sl st in the final chain.
The eight double crochets are all worked into a single chain. That cluster creates the broadest part of the leaf. The treble crochet comes after that cluster and gives the center edge its tallest point. The remaining stitches step down in height toward the far tip. The count refers to stitches in each chain: the first four chains each receive one slip stitch, while the next chain receives one half double crochet and the following chain holds all eight double crochets.
To make a slip stitch, insert the hook into the chain, yarn over, and pull the yarn through the chain and the loop already on the hook. For a half double crochet, yarn over, insert the hook, yarn over and pull up a loop (three loops on hook), then yarn over and pull through all three. A double crochet also begins with a yarn over and a loop pulled up; yarn over and draw through two loops, then yarn over and draw through the last two.
For the treble crochet, yarn over twice before inserting the hook into the chain. Yarn over and pull up a loop (four loops on hook), then work through two loops at a time three times. The single crochet at the far end is shorter: insert the hook, yarn over and pull up a loop, then yarn over and pull through both loops on the hook.
Turn and work the opposite side
After the final slip stitch, chain 1 and turn the work. You are not beginning a new row across the tops of the stitches. Instead, look along the other side of the original foundation chain for the unused loops. Work into those loops, traveling back toward the stem end.
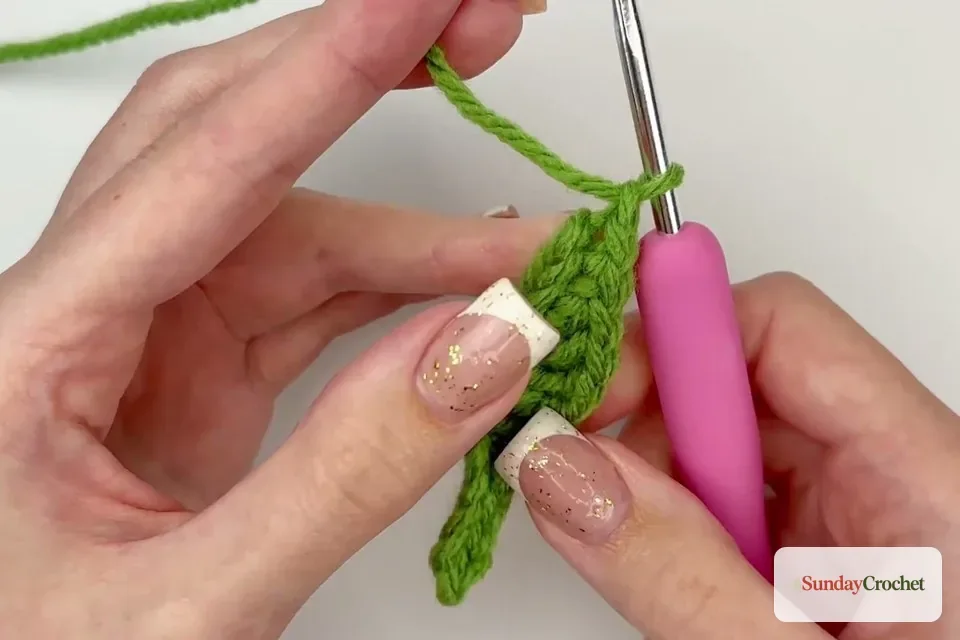
Make a second sl st in the same end chain where you just completed the last slip stitch. Then work one stitch in each next loop, in this order: 1 sc, 1 hdc, 1 dc, 1 tr, 1 dc, 1 hdc. The order walks back down the chain, with the treble crochet as the tallest stitch in the middle of the leaf. Make a final slip stitch into the next loop to close the narrow end. Keep these return stitches even, but do not pull them so tight that the leaf curls inward.
Fasten off
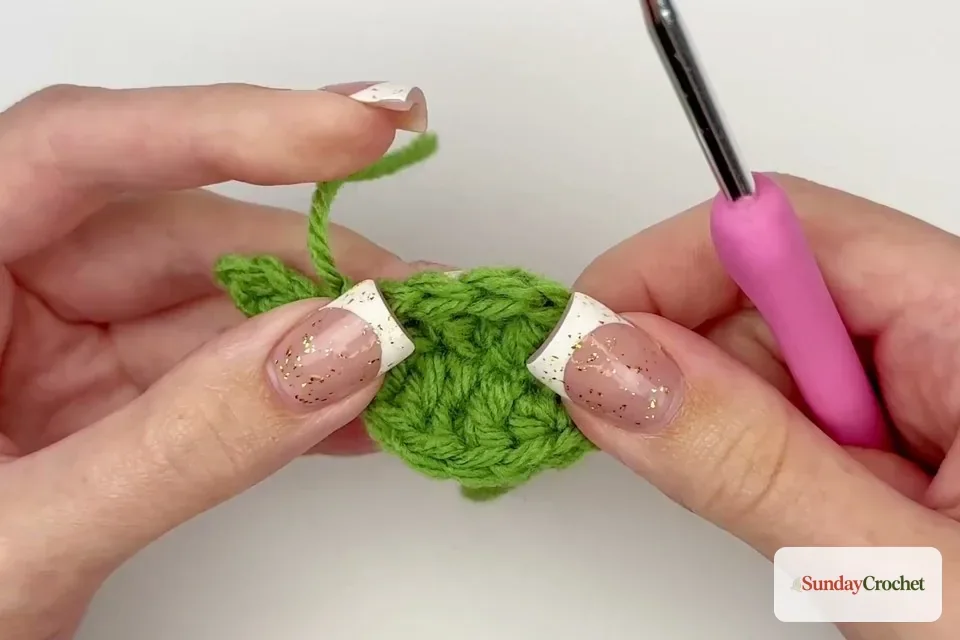
Chain 1, cut the yarn, and pull the cut end through the new chain to secure it. Weave in the two yarn tails on the back of the appliqué. Smooth the leaf flat with your fingers and check that the chain-stitch stem and pointed end are easy to distinguish. No separate edging round is needed.
Reading the shaping as you crochet
The shape is easiest to understand if you treat the foundation chain as a path with two sides. The first half moves from the short stem toward the end of the chain. Four slip stitches keep the stem narrow. The half double crochet and large double crochet group widen the leaf, then the treble crochet rises above that section. The last few stitches step down again. Once you turn, the shorter return sequence follows the opposite chain edge and closes the outline.
If you lose your place, count the chain links before continuing. After the four stem slip stitches, the next chain should hold one half double crochet. The following chain should contain the full group of eight double crochets. If those eight stitches spread across several chains, the edge will not form the same broad curve. A removable marker can help you identify the cluster chain before you begin working into it.
It can help to pause after the first side and lay the work down. You should see a slim chain stem leading into a widening blade, with the tall stitch near the widest area. After turning, take a moment to locate the unused loops along the back of the chain. The return pass should fill that opposite edge rather than the tops of the stitches you just made.
Troubleshooting your leaf
The foundation chain is hard to work into. The chain may be too tight. On the next attempt, make the chain stitches with a little more room, while keeping them consistent. A larger hook for the foundation chain can also make its loops easier to see, though that may slightly change the edge size.
The leaf looks narrow or bunched. Check that all eight double crochets are placed in one chain, not one stitch in each of eight chains. Also check that the return pass is going into the unused loops on the back of the foundation chain. Tight return stitches can draw the two sides together, so keep your working tension comfortable.
The center point does not stand out. Find the treble crochet in the sequence. It is taller than the surrounding stitches and should be worked in its own next chain on the first side, then again in the corresponding return sequence. Be sure to complete the treble by pulling through two loops three times; stopping early makes a shorter stitch.
Your leaf is larger or smaller than the example. The finished dimensions are not specified, and the yarn and hook determine the scale. The sample uses worsted-weight acrylic or cotton with a 4 mm hook. Changing either can make the motif larger or smaller without changing the stitch sequence. For more on choosing a substitute, the yarn fiber comparison explains how acrylic and cotton behave differently in crochet projects.
Ways to use a crochet leaf
A finished appliqué can sit beside a crochet flower, decorate a handmade card or gift wrap, or add a small botanical detail to a larger textile. The motif is flat and lightweight, so it works best where a stitched-on decoration is useful. It also works as a standalone leaf or as a possible accent for other projects; this pattern does not prescribe a particular attachment method or finished item.
Make a few leaves in different greens to give a flower arrangement more variation, or use autumn shades for a seasonal accent. Since the motif is small, it is also a useful way to practice the difference between slip stitch, single crochet, half double crochet, double crochet, and treble crochet in one compact piece. For another small motif, you can use the same careful stitch counting when making a simple applique shape.
Common questions
Is this leaf beginner friendly?
Yes. It uses a short foundation chain and several basic stitches, and the instructions include their loop counts. The main thing to watch is where the eight double crochets go: they all belong in one chain on the first side.
How many chains do I make?
Chain 12. Start the first side in the second chain from the hook. The initial loop on the hook is not counted as a chain.
Which yarn and hook should I use?
The sample uses worsted-weight acrylic or cotton yarn and a 4 mm hook. Another yarn and matching hook can work, but will change the finished size. Yardage and gauge are not specified.
Does the pattern have a separate stem?
The stem is formed by the first four slip stitches along the foundation chain. It is crocheted as part of the leaf rather than made as a separate piece.
Do I need to add an edging?
No additional edging round is included. After the return side and closing slip stitch, chain one, fasten off, and weave in the ends.
This little leaf comes together from one chain and a clear sequence of taller and shorter stitches. Once you know where the eight-stitch cluster and center treble sit, the shaping is easy to follow, and the finished motif is ready to add a small handmade detail wherever you need one.


