
· Sunday Crochet
In this pattern
01 · A soft snake with a length you can choose02 · Yarn & tools03 · Before you begin04 · The pattern05 · Finish the tail06 · Add an optional forked tongue07 · Common questionsA soft snake with a length you can choose
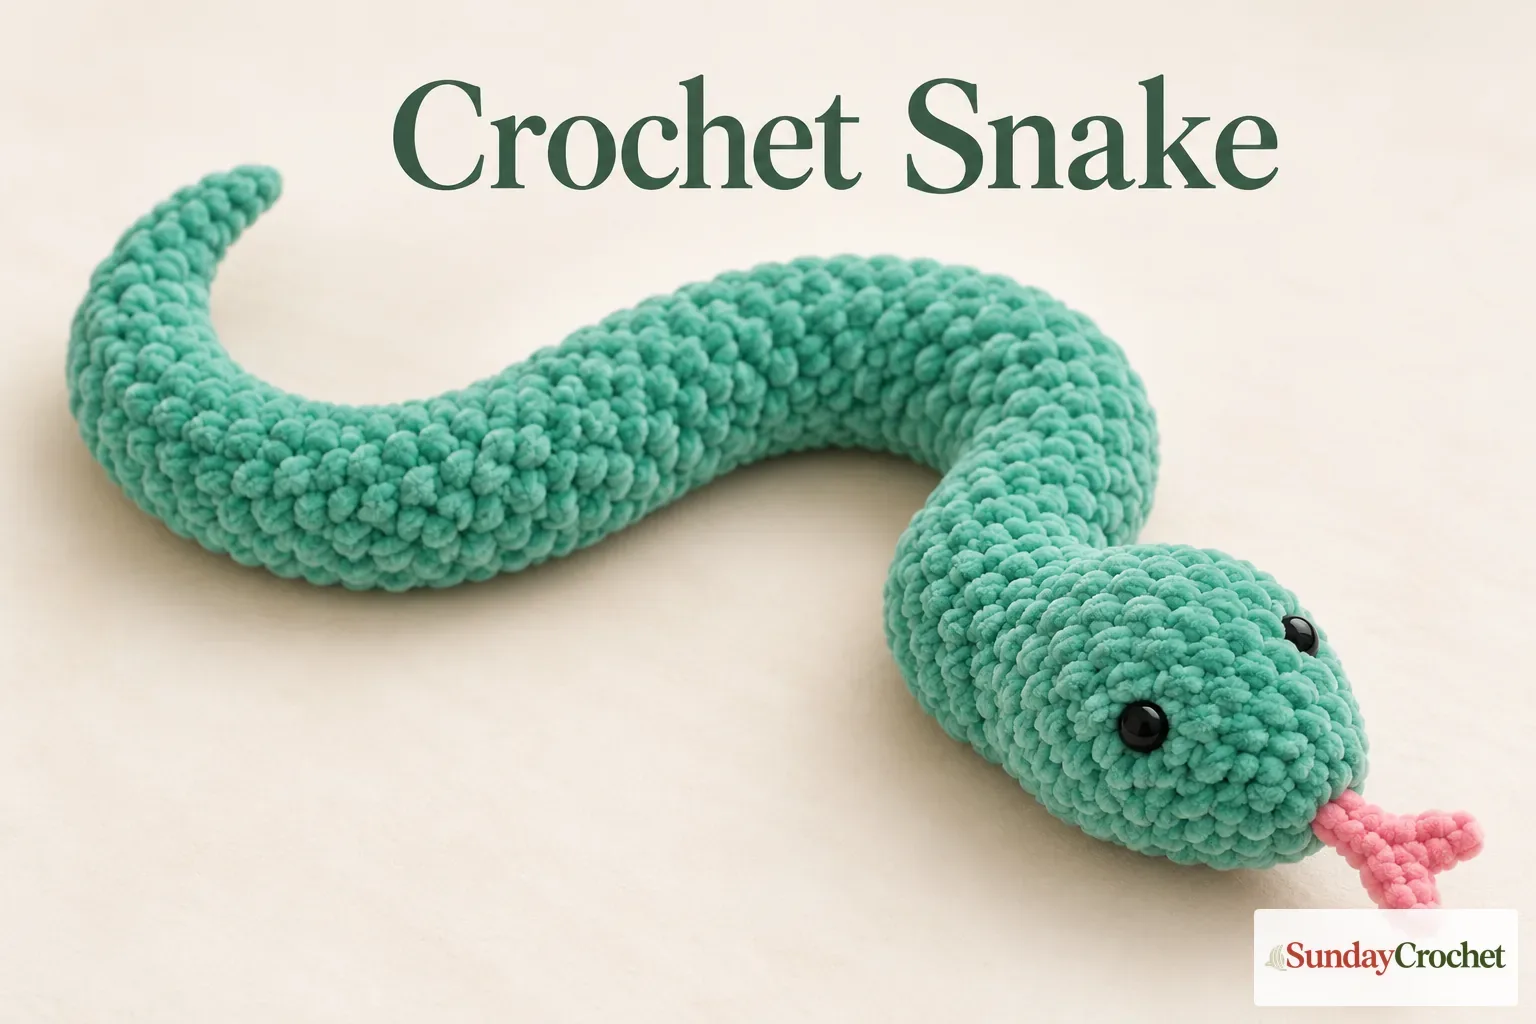
This crochet snake amigurumi starts at the narrow tail tip, grows into a rounded head, and then continues as a long, gently bendable body before tapering closed at the tail. It is worked in one piece, so there are no separate fins or limbs to attach. The face is simple: a pair of safety eyes, with a small forked tongue as an optional finishing touch.
I’ll show you how I follow the shaping and keep track of the stitches. The head and both ends use increases and decreases, while the long middle section is a single-crochet repeat. The sample uses 50 body rounds, but you can make that section shorter or longer to suit the snake you want. The instructions use US crochet terms and list the stitch count after each round so you can check your work as you go. If pattern repeats are new to you, my written-pattern guide explains how to read the abbreviations and counts.
Yarn & tools
The sample is made with plush chenille yarn, which gives the snake a soft, rounded surface. The exact yarn quantity and finished measurement are not specified, so the final size will vary with your yarn, tension, and chosen number of body rounds. The sample uses a 5 mm hook with weight 5 yarn. If you choose another yarn, check its label for the recommended hook and expect a different size and texture. My yarn-label guide shows where to find those details.
Abbreviations
- ch: chain
- sc: single crochet
- inc: increase, work 2 single crochets in the same stitch
- dec: decrease, combine 2 stitches into 1
- st(s): stitch(es)
- [ ]: stitch count at the end of the round
- ( ) x 4: repeat the stitches inside the parentheses four times
Before you begin
Work in continuous rounds rather than joining each round with a slip stitch. Place a marker at the round boundary and move it along as you crochet. The marker is especially helpful on the head: the increases create its wider upper area, and the marker gives you a reference point for placing the decreases along the underside.
For the starting ring, use the method you prefer. The sample uses a two-chain start: make a slip knot, chain 2, then work the first six single crochets into the first chain. An adjustable magic ring is also suitable if that is the method you already use. Keep your stitch count visible and pause after each shaping round to make sure the total matches the number in brackets.
The snake grows from the tail tip into the head and continues straight into the body. That order affects when you add stuffing and eyes. Put the eyes in before the head opening gets too small, stuff the head before the long body is underway, and add small amounts to the body as you work. Once the body is long, it is difficult to move stuffing back toward the head.
The pattern
Start with the narrow tail end. The stitches gradually widen into the head, then decrease under the face before the long body begins. Use the marker to keep the shaping oriented, especially where the pattern places several increases or decreases together on one side.
Round 1
Ch 2. Work 6 sc into the first chain. [6]
Round 2
Work 2 sc in each stitch around. [12]
Round 3
Repeat (2 sc, inc) 4 times. [16]
Round 4
Sc in each stitch around. [16]
Round 5
Sc in each stitch around. [16]
Round 6
Repeat (3 sc, inc) 4 times. [20]
Round 7
Work 8 sc, 4 increases, then 8 sc. [24]
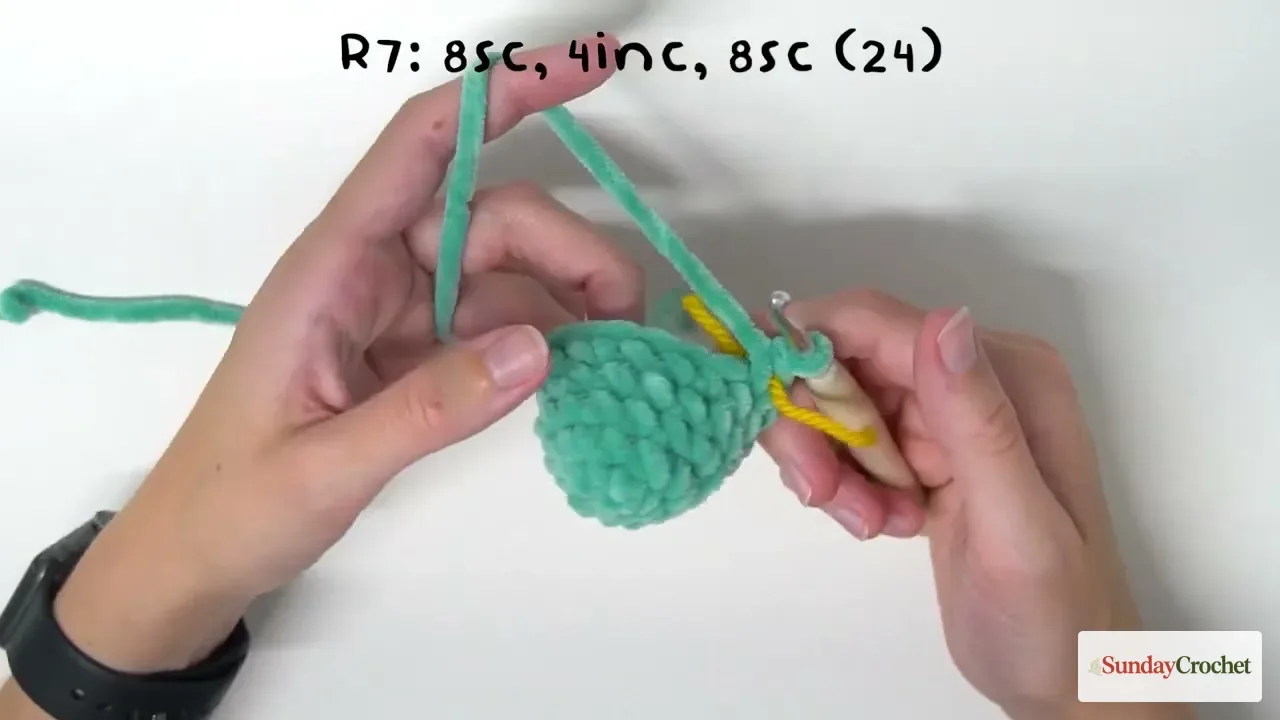
The four increases in this round sit across the upper side of the head, opposite the marker. Keeping them on the same side creates the wider, rounded top rather than spreading the shaping evenly around the full circle.
Round 8
Sc in each stitch around. [24]
Round 9
Sc in each stitch around. [24]
Round 10
Work 8 sc, 4 decreases, then 8 sc. [20]
Round 11
Repeat (3 sc, dec) 4 times. [16]
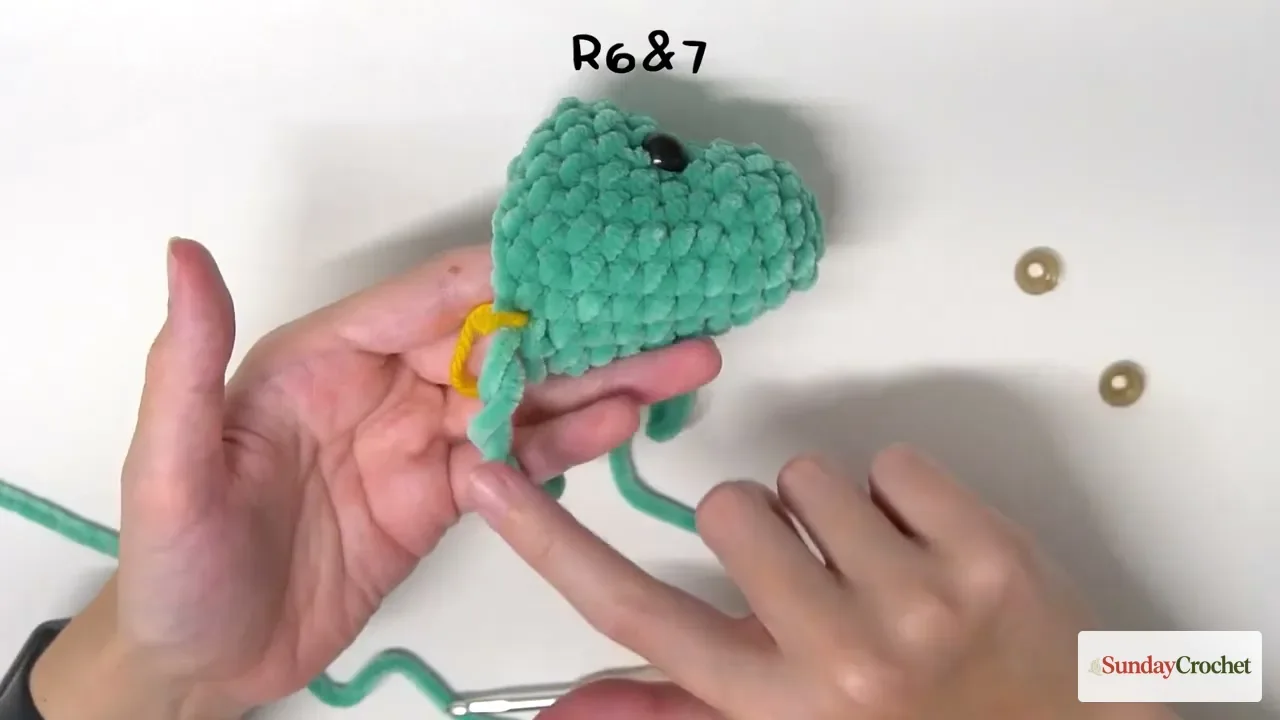
Before Round 12, place the 12 mm safety eyes between Rounds 6 and 7, on either side of the widened top of the head. Keep them opposite the stitch marker, then look at the face from the front and side before securing the backs. A quick alignment check now is easier than trying to adjust them after the head is stuffed.
Round 12
At the underside of the head, work 2 decreases followed by 12 sc. [14]
Pause after this round and stuff the head firmly while the opening is still accessible. The firm head helps it keep its rounded shape. Add enough stuffing to fill the front, since you will not be able to reach back into this area once you have crocheted the long body.
Round 13
Sc in each stitch around. [14]
Round 14
Sc in each stitch around. [14]
Round 15
Sc in each stitch around. [14]
Round 16
Sc in each stitch around. [14]
Round 17
Sc in each stitch around. [14]
Round 18
Sc in each stitch around. [14]
Round 19
Sc in each stitch around. [14]
Round 20
Sc in each stitch around. [14]
Round 21
Sc in each stitch around. [14]
Round 22
Sc in each stitch around. [14]
Round 23
Sc in each stitch around. [14]
Round 24
Sc in each stitch around. [14]
Round 25
Sc in each stitch around. [14]
Round 26
Sc in each stitch around. [14]
Round 27
Sc in each stitch around. [14]
Round 28
Sc in each stitch around. [14]
Round 29
Sc in each stitch around. [14]
Round 30
Sc in each stitch around. [14]
Round 31
Sc in each stitch around. [14]
Round 32
Sc in each stitch around. [14]
Round 33
Sc in each stitch around. [14]
Round 34
Sc in each stitch around. [14]
Round 35
Sc in each stitch around. [14]
Round 36
Sc in each stitch around. [14]
Round 37
Sc in each stitch around. [14]
Round 38
Sc in each stitch around. [14]
Round 39
Sc in each stitch around. [14]
Round 40
Sc in each stitch around. [14]
Round 41
Sc in each stitch around. [14]
Round 42
Sc in each stitch around. [14]
Round 43
Sc in each stitch around. [14]
Round 44
Sc in each stitch around. [14]
Round 45
Sc in each stitch around. [14]
Round 46
Sc in each stitch around. [14]
Round 47
Sc in each stitch around. [14]
Round 48
Sc in each stitch around. [14]
Round 49
Sc in each stitch around. [14]
Round 50
Sc in each stitch around. [14]
Round 51
Sc in each stitch around. [14]
Round 52
Sc in each stitch around. [14]
Round 53
Sc in each stitch around. [14]
Round 54
Sc in each stitch around. [14]
Round 55
Sc in each stitch around. [14]
Round 56
Sc in each stitch around. [14]
Round 57
Sc in each stitch around. [14]
Round 58
Sc in each stitch around. [14]
Round 59
Sc in each stitch around. [14]
Round 60
Sc in each stitch around. [14]
Round 61
Sc in each stitch around. [14]
Round 62
Sc in each stitch around. [14]
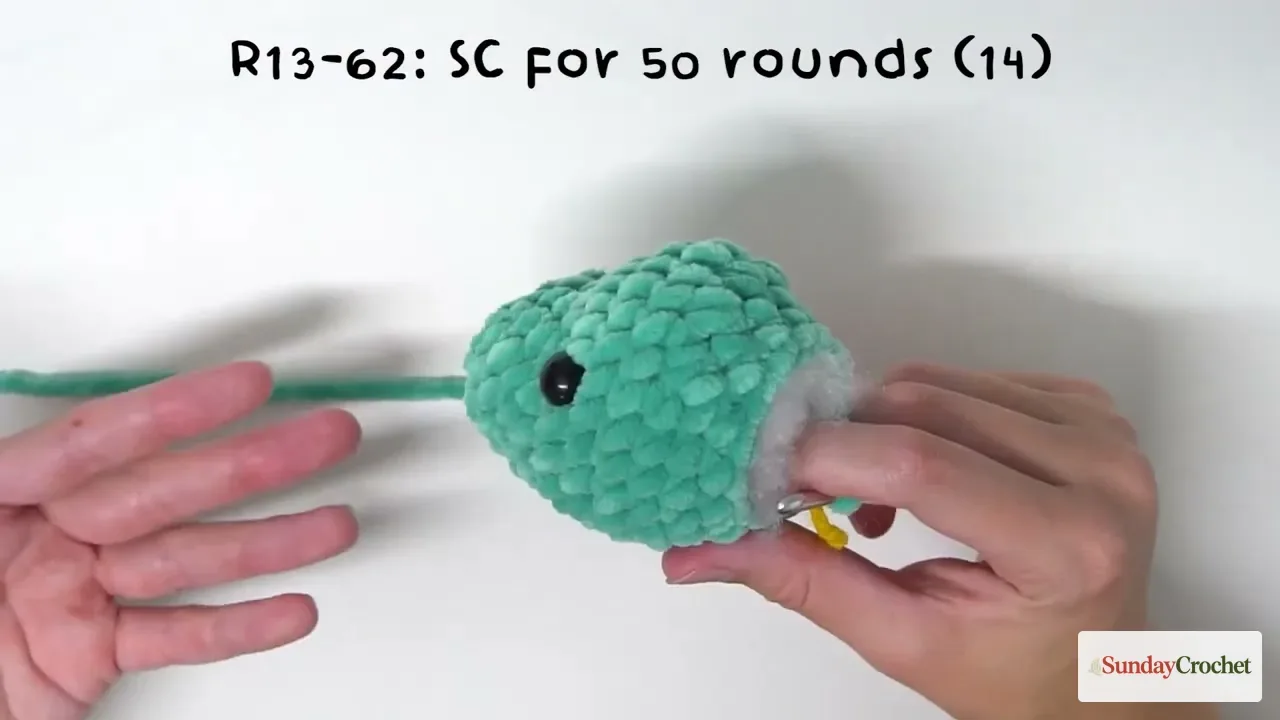
The sample uses 50 plain rounds for the body, but the length is adjustable. If you prefer a shorter snake, stop after fewer repeats; for a longer one, continue the same 14-stitch round before beginning the tail decreases. A few extra rounds change the overall length without changing the stitch count.
Round 63
Repeat (5 sc, dec) 2 times. [12]
Round 64
Sc in each stitch around. [12]
Round 65
Sc in each stitch around. [12]
Round 66
Repeat (sc, dec) 4 times. [8]
Round 67
Sc in each stitch around. [8]
Round 68
Sc in each stitch around. [8]
Round 69
Repeat (2 sc, dec) 2 times. [6]
Round 70
Sc in each stitch around. [6]
Round 71
Sc in each stitch around. [6]
Round 72
Repeat (sc, dec) 2 times. [4]
Finish the tail
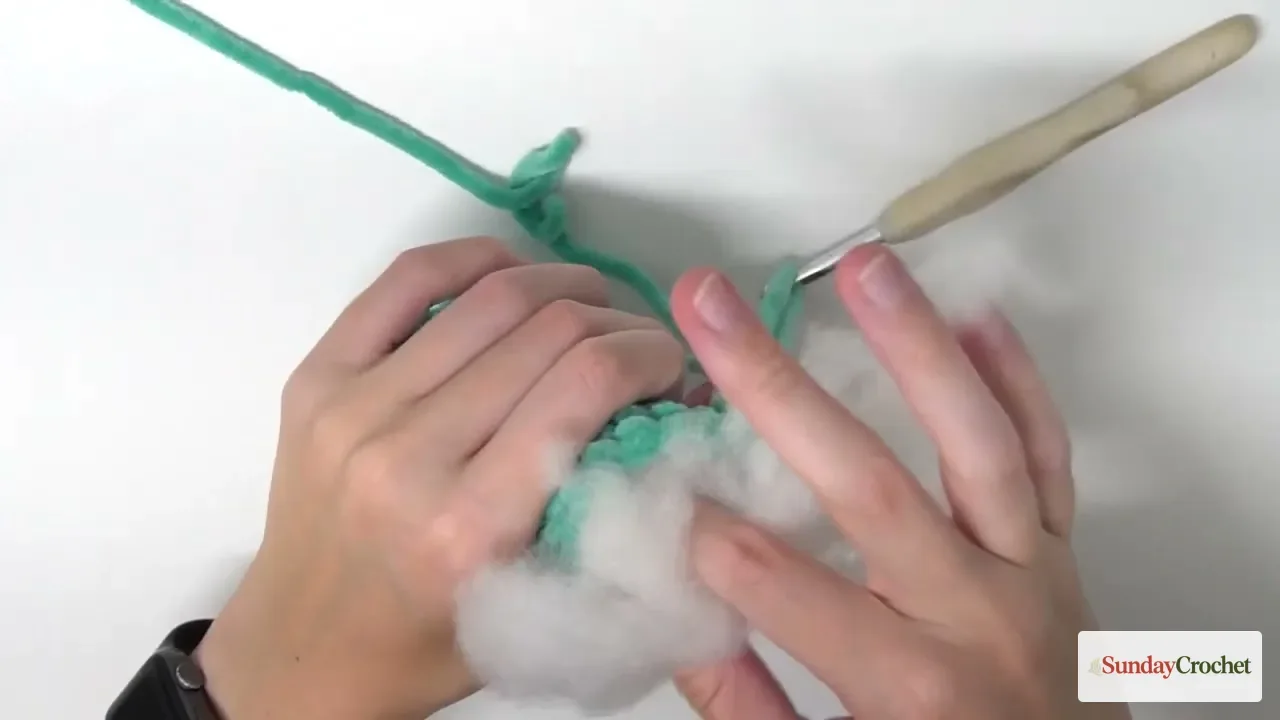
Add the last small amount of stuffing before the opening is too narrow to reach. Keep the long body lightly filled so it can curl and bend; packing it firmly can make the snake stiff. The head is the part that should feel firm. The body and tail need a softer hand, with stuffing added gradually as you crochet.
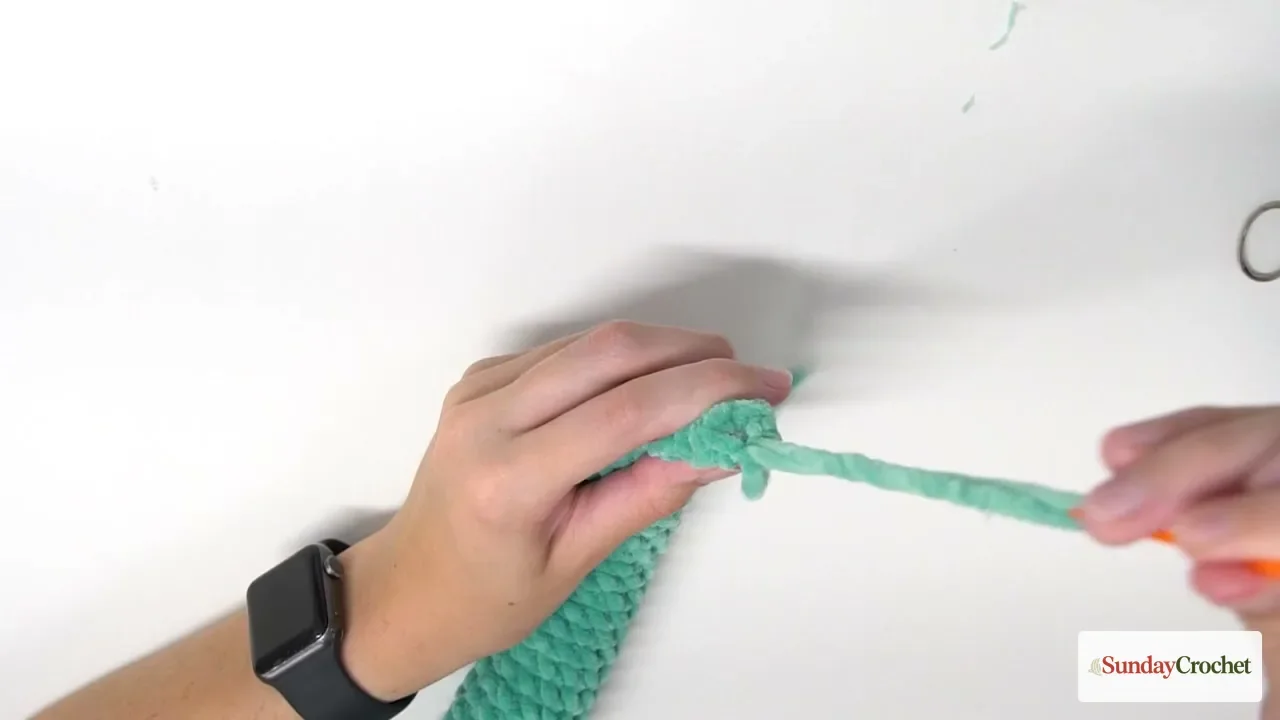
After Round 72, cut the yarn leaving a long tail and pull it through the final loop. With a yarn needle, pass the tail through the front loop of each of the four remaining stitches. Pull the yarn snug to close the small opening, then weave the tail through the fabric a few times and trim the excess. If the last section feels hollow, add a little stuffing before tightening the closure.
Add an optional forked tongue
A pink tongue is a small optional detail. Leave a long starting tail in the pink yarn, make a slip knot, and attach it at the center of the original magic-ring opening, one stitch above the center point. Chain 5, work 2 single crochets back along the chain, chain 2 to form the second fork, then work 4 single crochets back down toward the snout. Slip stitch just below the first attachment to secure the base.
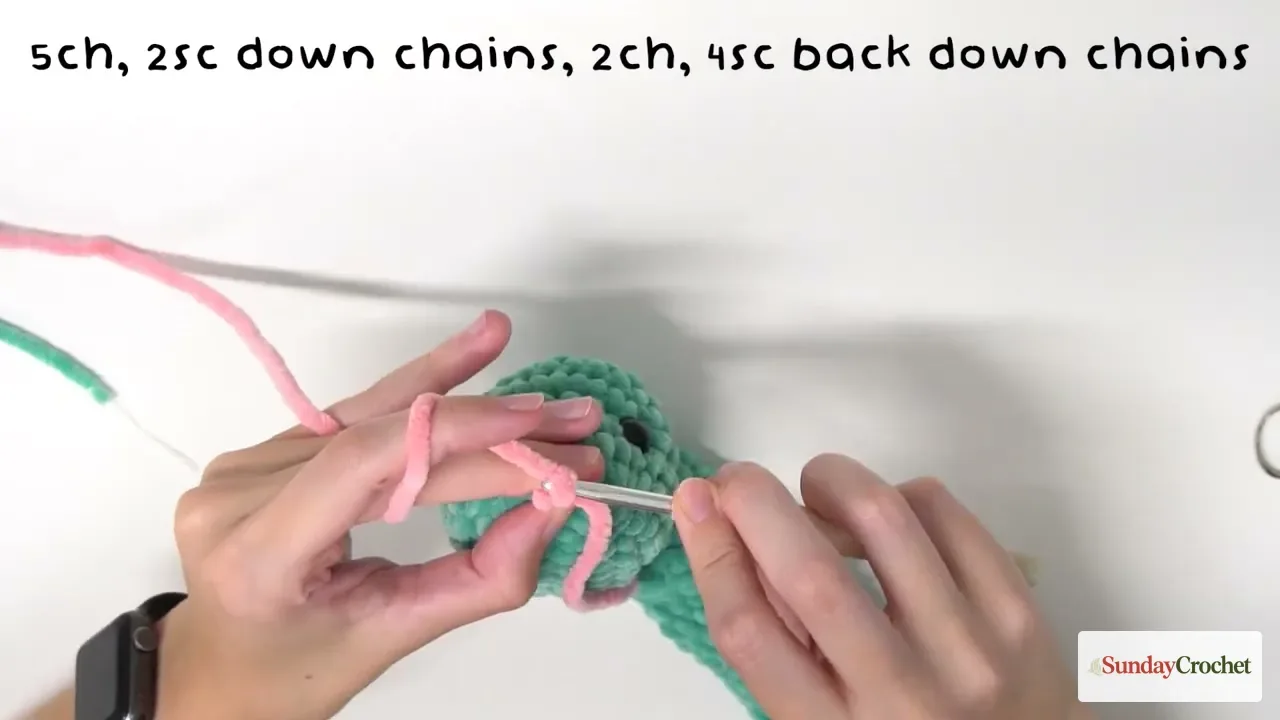
Leave a second tail, thread both ends onto a yarn needle, bring them to the inside, and tie the two tails together. Trim the ends and tuck them into the head. The tongue can be left off entirely if you prefer a simpler face.
Common questions
How long will my crochet snake be?
The finished measurement is not specified. The sample includes 50 body rounds, and the length depends on your yarn, hook, tension, and whether you change that round count. The head and tail shaping stay the same while you adjust the straight middle.
Can I make a shorter snake?
Yes. The middle is a repeated 14-stitch single-crochet round. Stop when the body reaches the length you want, then continue with the tail shaping. Fewer rounds make a smaller snake without requiring a different head pattern.
How much stuffing should I use?
Stuff the head firmly before the body begins. For the long body and tail, add smaller amounts as you go, roughly every eight rounds, and keep the filling light enough for the snake to curl. Add the last bit before closing the tail.
Do I have to add the pink tongue?
No. The tongue is an optional detail. The snake is complete once the tail is closed and the yarn ends are secured. If you prefer stitched facial details to detachable eyes, the face on this small ghost amigurumi offers another simple approach to toy features.
What does “inc” or “dec” mean?
An increase places two single crochets in one stitch. A decrease combines two stitches into one. The count in brackets is the number of stitches after the whole round is complete. If you are new to the stitch movements themselves, this beginner crochet guide covers the foundational chain and single crochet.


