
· Sunday Crochet
In this pattern
01 · A little mushroom for your lip balm02 · Yarn & tools03 · Before you begin04 · The pattern05 · Make the chain tether06 · Shape the mushroom cap07 · Embroider the spots08 · Attach the tether and finish09 · Common questions10 · A practical little mushroomA little mushroom for your lip balm
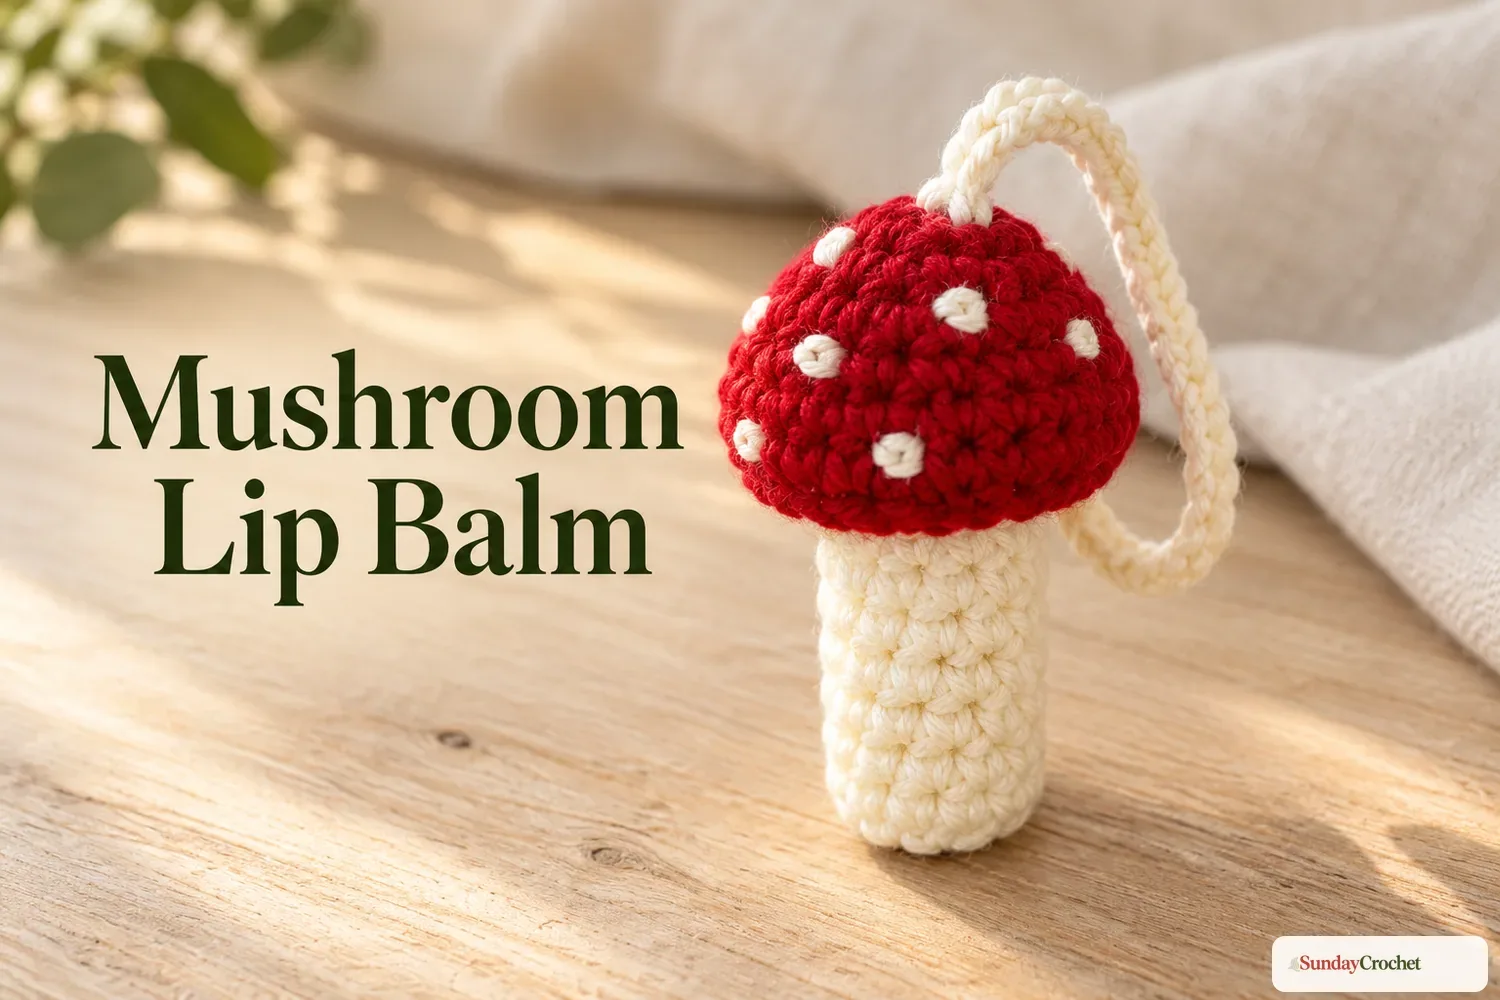
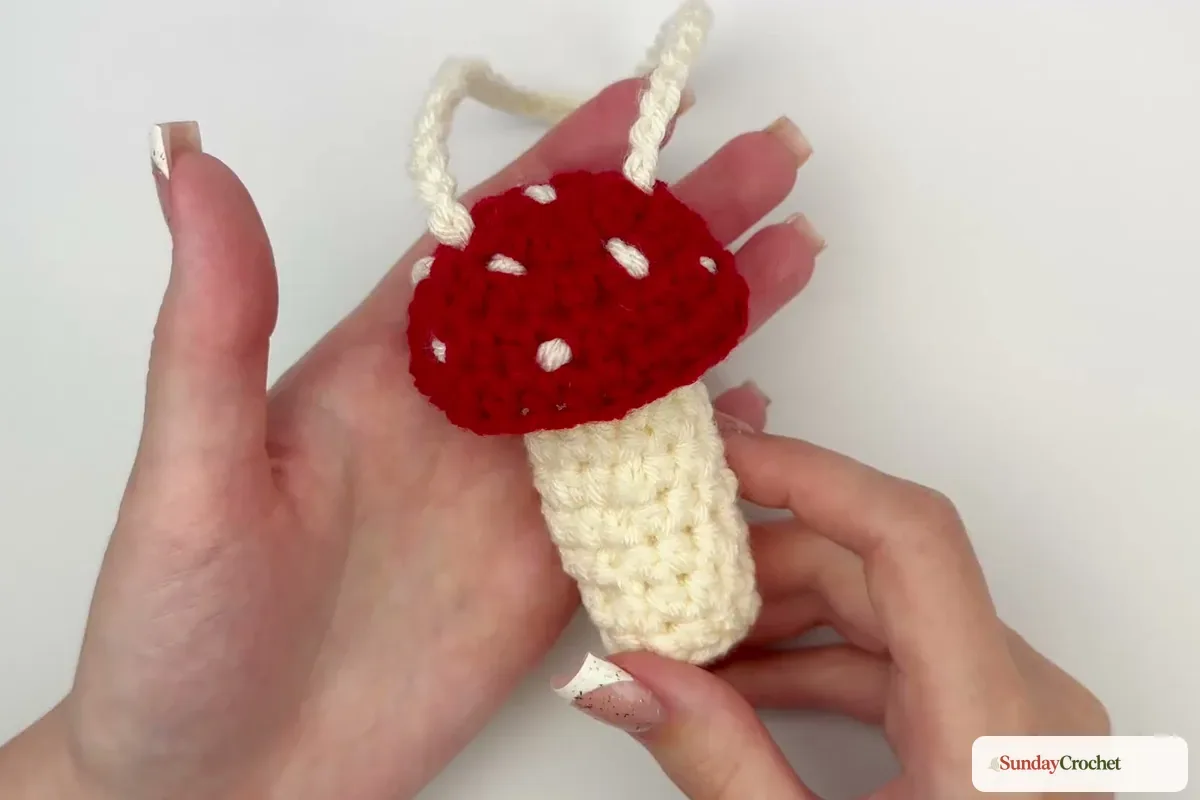
Keep lip balm close with a small crocheted sleeve shaped like a woodland mushroom. The cream pouch is worked from the bottom up, and a red cap with embroidered cream spots sits over the opening. A chain tether connects the two pieces, so you can lift the cap to take out your lip balm and pull it back down when you are finished. The chain can be made as a short bag charm or lengthened to wear around your neck.
I’ll show you how I make the base, build the pouch sides, shape the cap, and connect everything. The instructions use US terms and worsted-weight acrylic or cotton yarn with a 4 mm hook. The sample sleeve is 10 rounds tall, and its bag-charm tether is 40 chains. Both measurements are adjustable; the exact finished size depends on your yarn and tension.
Yarn & tools
The sample uses cream for the pouch and tether, red for the mushroom cap, and the cream yarn again for the spots. You can swap those colors, but a light spot color stands out clearly against the cap. No stuffing or separate keychain hardware is needed for this pouch.
Abbreviations
- ch: chain
- sl st: slip stitch
- hdc: half double crochet
- BLO: back loop only
- st(s): stitch(es)
- inc: increase; work 2 hdc into the same stitch
This pattern is written in US terminology. In a half double crochet, yarn over, insert the hook into the stitch, yarn over and pull up a loop, then yarn over and pull through all three loops on the hook. If you want a refresher on that motion, the a beginner crochet lesson explains it in context. A beginner guide to reading stitch abbreviations can also help as you work the repeats.
Before you begin
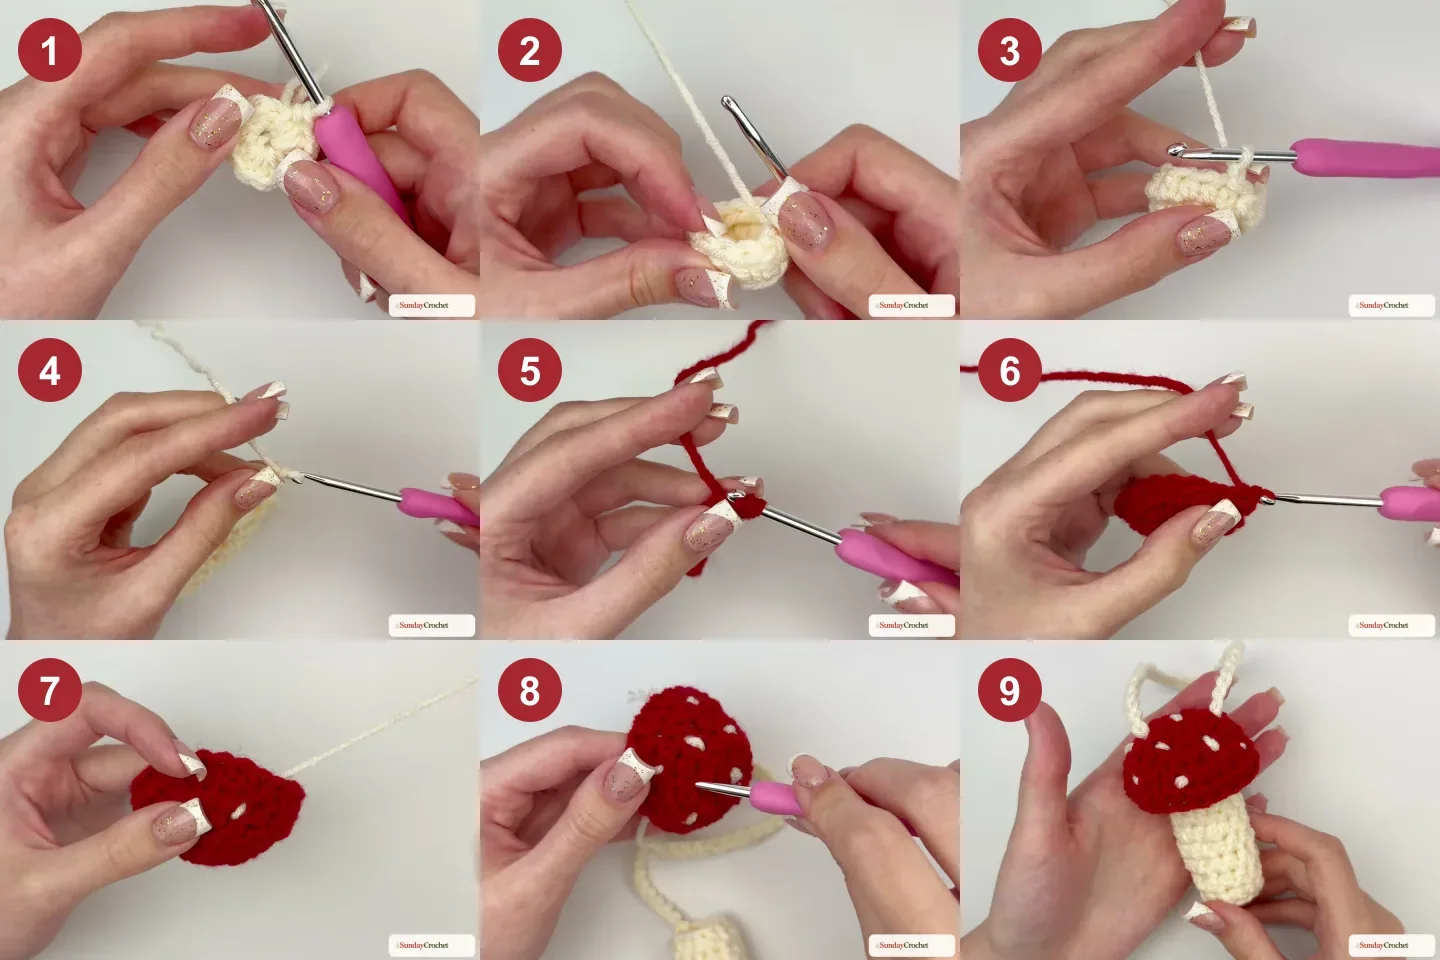
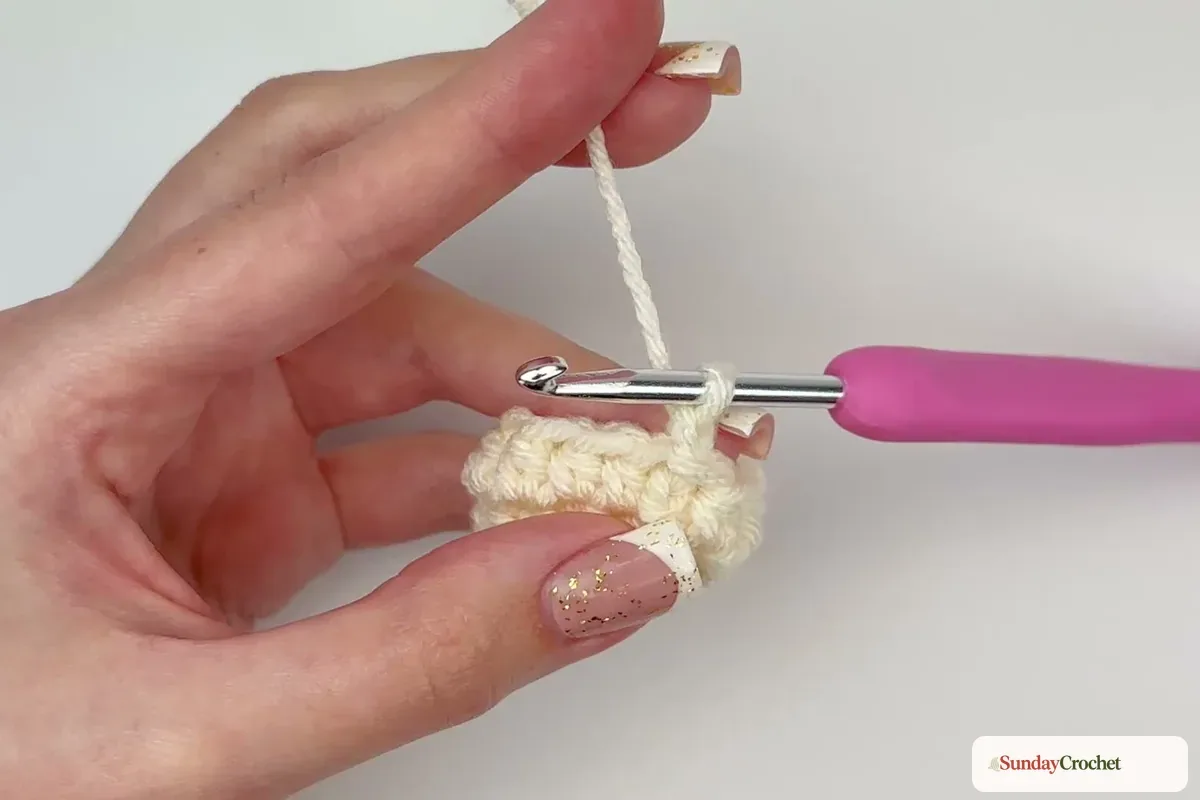
The holder has three parts: a cream tube, a chain tether, and a red cap. The tube begins with 12 half double crochets worked into the first chain of a two-chain start. This is a closed, faux-ring start; you may use a regular magic ring instead if that is already comfortable for you. Round 2 is worked through the back loops only, which helps the base turn into the walls of the pouch. From Round 3 onward, work into both loops and keep the count at 12.
Each round begins with chain 1, which does not count as a stitch, and ends with a slip stitch into the first half double crochet. The sample body has 10 rounds total, counting the base and the first back-loop round. If you want a taller or shorter sleeve, try it against your own lip balm and change the number of plain rounds while keeping the 12-stitch count.
The pattern
Round 1
With cream yarn, make a slipknot and chain 2. Work 12 hdc into the first chain (the chain farthest from the hook). Slip stitch into the first hdc to join. Pull the starting tail to close the center opening. You should have 12 stitches. Slide the stitches around the starting loop as needed so they sit evenly and the base lies flat.
Round 2
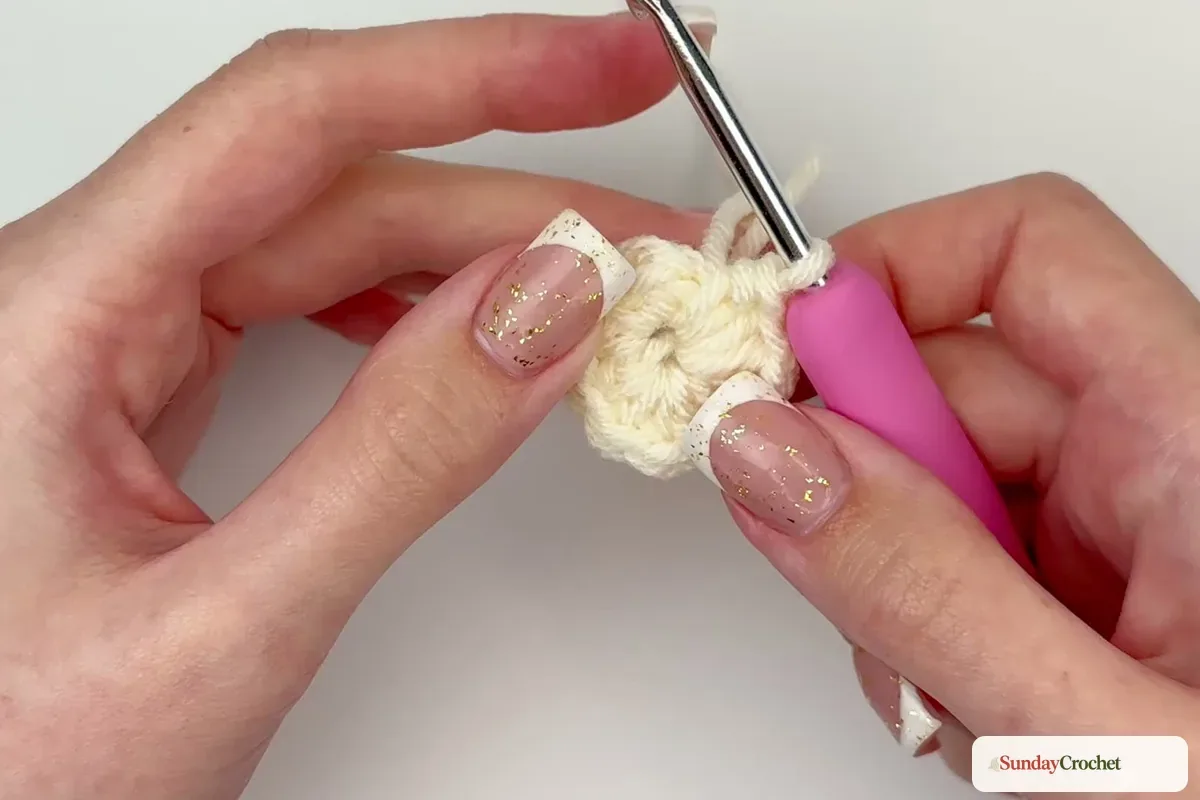
Chain 1; it does not count as a stitch. Work 1 hdc in the back loop only of each stitch around, for 12 hdc. Join with a slip stitch to the first hdc. The unused front loops form a visible line around the base, and the sides should begin to lift upward. When you identify a stitch, its top looks like a small V: the loop farther from you is the back loop.
Round 3
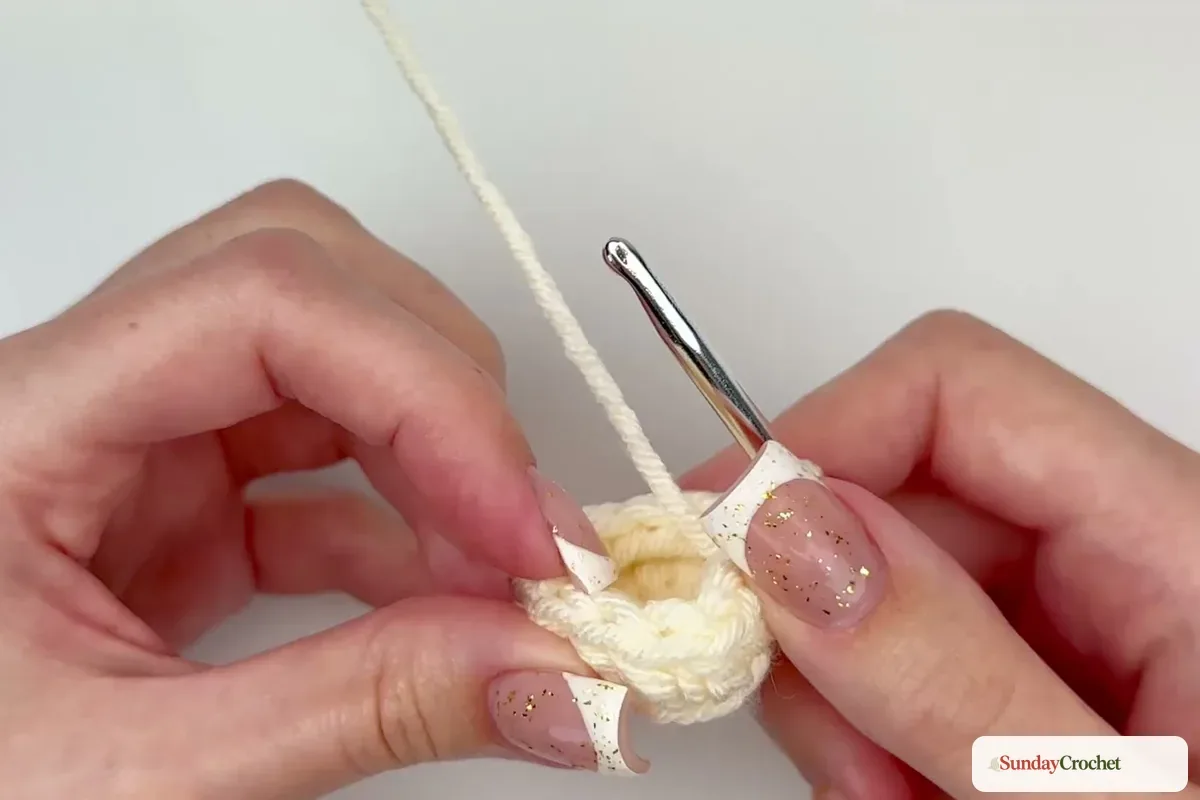
Chain 1. Work 1 hdc in both loops of every stitch around, then join to the first hdc with a slip stitch. Keep 12 stitches. This plain round builds the tube above the base.
Round 4
Repeat Round 3: chain 1, work 1 hdc in both loops of each stitch around, and slip stitch to join. Count 12 hdc.
Round 5
Repeat the same plain round, keeping 12 hdc. The pouch sides grow without widening, so the lip balm can slide into the sleeve.
Round 6
Chain 1, work 1 hdc in each stitch around, and join with a slip stitch to the first hdc. Keep the count at 12.
Round 7
Work another plain round of 12 hdc, placing each stitch under both loops. Join with a slip stitch, then check the height against your lip balm tube.
Round 8
Repeat the plain round for 12 hdc. If you are following the sample height, keep going until you have 10 rounds total. For a different lip balm or a preferred amount of coverage, adjust the number of plain rounds while maintaining the same stitch count.
Round 9
Work 1 hdc in each stitch around for 12 hdc, then join with a slip stitch. Keep the edges even as you crochet; the joined rounds create a slight seam line that will sit at the back of the finished holder.
Round 10
Work the final sample body round as before: chain 1, 12 hdc, and a slip-stitch join. The sample has 10 rounds in all, but the pouch can be shortened or lengthened by repeating the plain round more or fewer times.
Make the chain tether
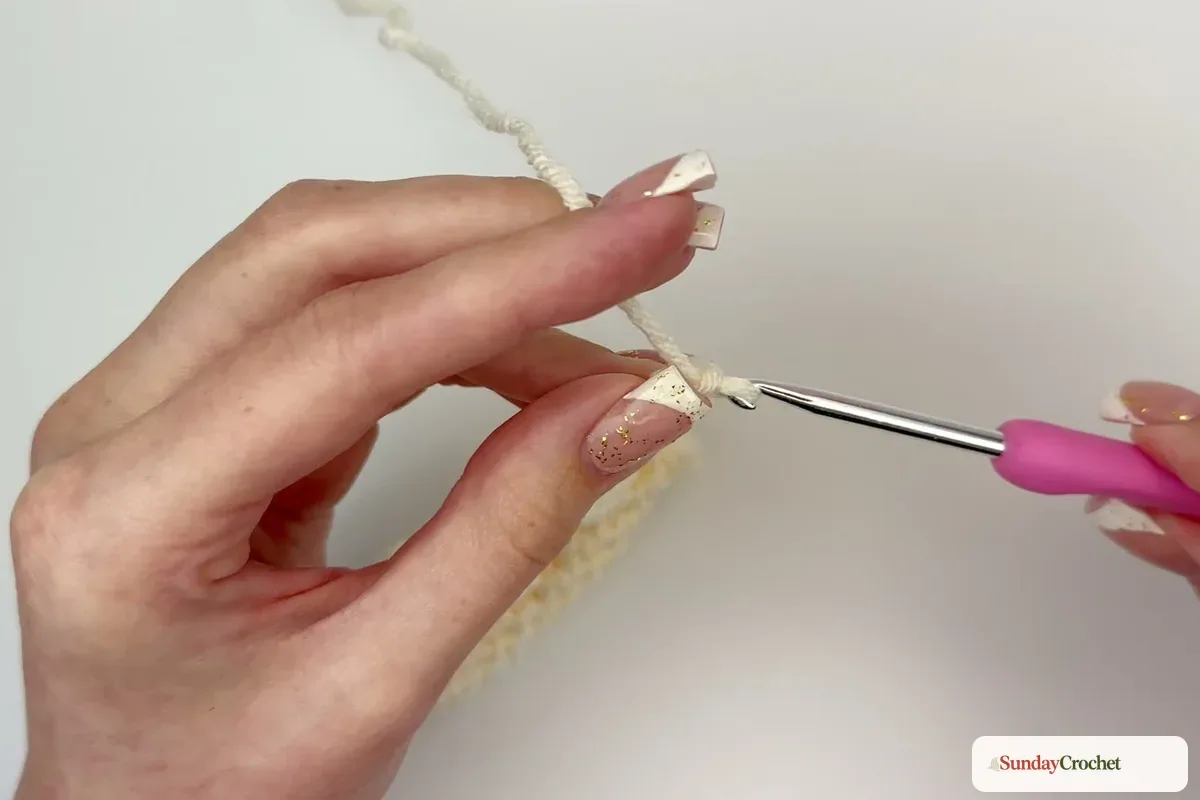
From the working loop after the final body join, chain 40 for a bag-charm length. Test the chain length against the place you want to hang the holder before fastening off. A shorter chain keeps it close to a zipper or strap; a longer one can be made to wear like a necklace. When the length feels right, cut the yarn and pull the tail through the last chain. Leave a tail long enough to attach this end securely to the opposite side of the pouch. Set the body and chain aside while you make the cap.
Shape the mushroom cap
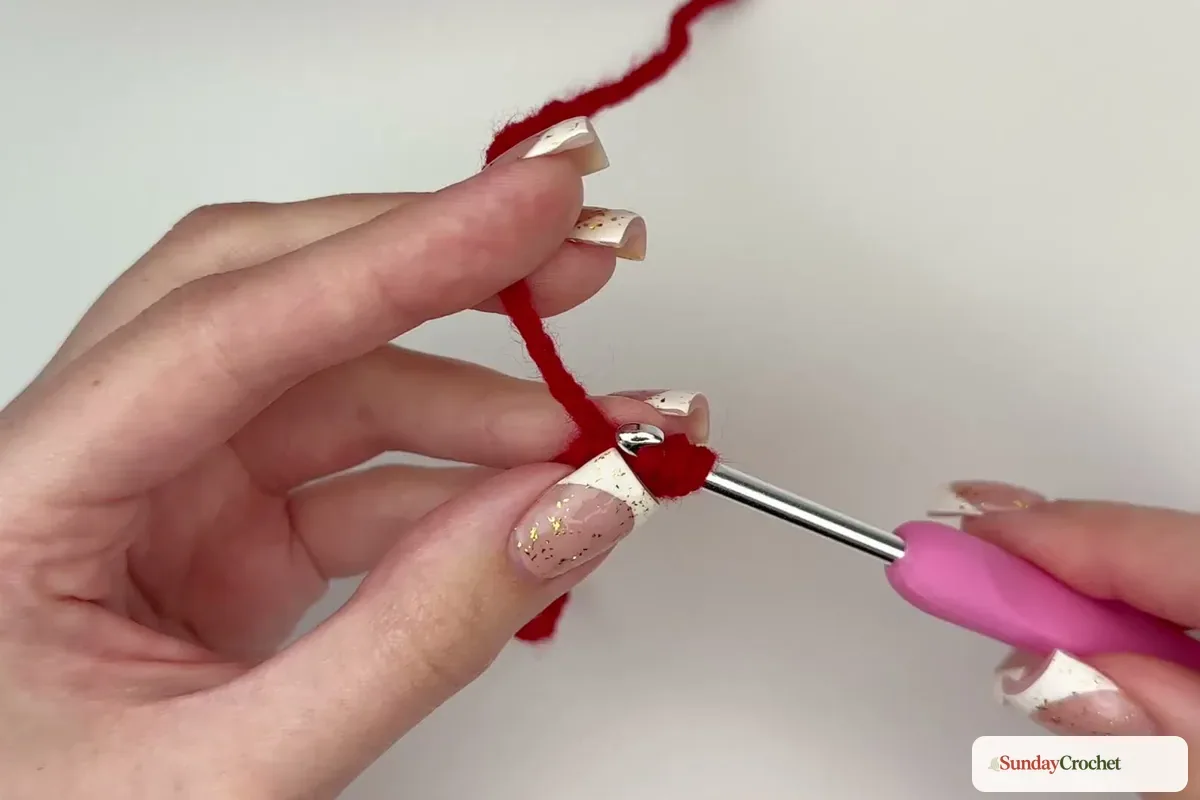
The cap is a small red dome worked in joined rounds. As with the pouch, the starting ring can be made by chaining 2 and placing the stitches into the first chain; a magic ring is also an option if you prefer it. Start each round with chain 1, which does not count, and join to the first hdc with a slip stitch.
Cap Round 1
With red yarn, make a slipknot and chain 2. Work 6 hdc into the first chain, then slip stitch into the first hdc to join. Pull the starting tail to close the center. You have 6 stitches.
Cap Round 2
Chain 1 and work 2 hdc in each stitch around. Join with a slip stitch. The count doubles to 12 stitches.
Cap Round 3
Chain 1. Repeat 2 hdc in the next stitch, 1 hdc in the following stitch around. This is six repeats and gives 18 stitches. Join with a slip stitch to the first hdc.
Cap Round 4
Chain 1. Repeat 2 hdc in the next stitch, then 1 hdc in each of the next 2 stitches around. The six repeats bring the round to 24 stitches. Slip stitch to join.
Cap Round 5
Chain 1 and work 1 hdc in each stitch around for 24 stitches. Slip stitch into the first hdc to join. The cap should form a shallow cup that fits over the top of the holder. Fasten off, pull the tail through, and weave in the red end.
Embroider the spots
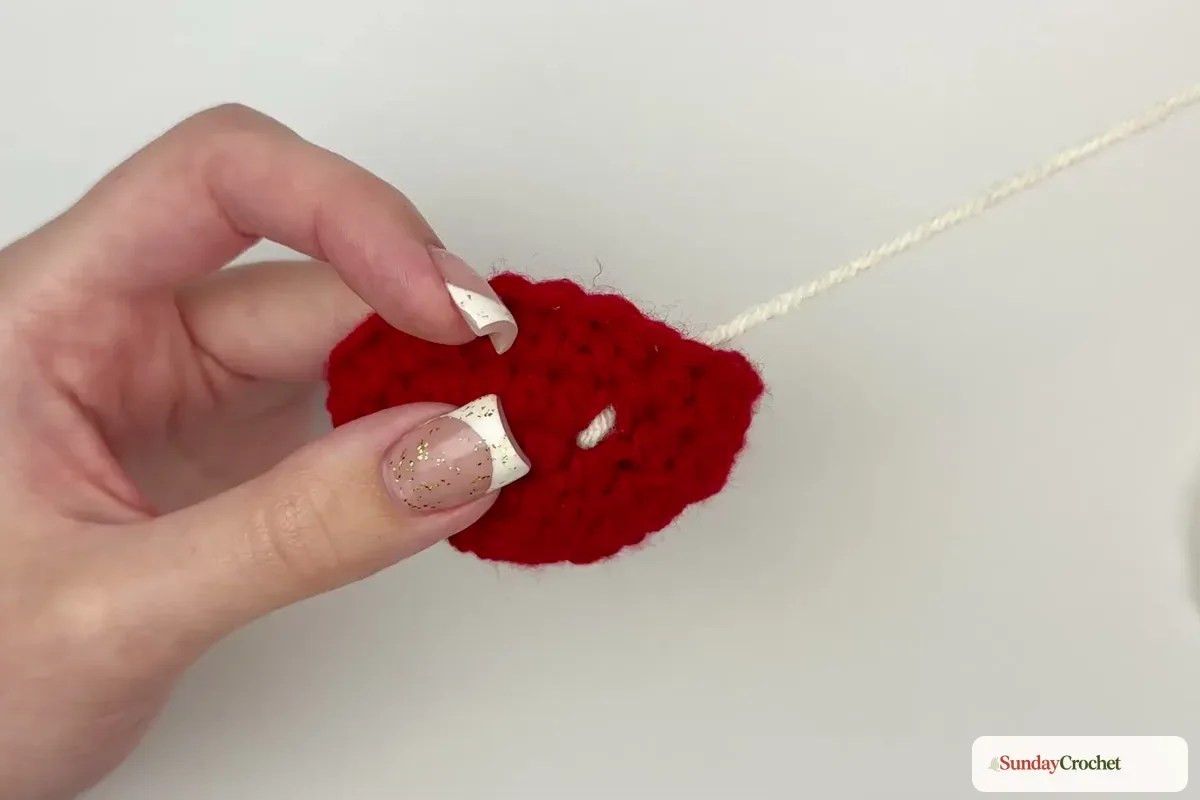
Thread the tapestry needle with cream yarn and bring it up from the underside of the red cap wherever you want the first spot. Take the needle back down about one stitch away, making a short bar of cream yarn across the surface. Go over that same spot as many times as needed to make it stand out. Repeat around the cap, spacing the marks by eye. The placement and number of spots are decorative, so the sample does not require an exact count.
On the underside, tie the two cream ends together at least twice to keep the embroidery from loosening. The spots do not need to be identical; small differences help the cap look handmade. Weave or trim the tails on the inside once the knots feel secure.
Attach the tether and finish
Place the cap over the pouch opening and decide which side you want to be the back. Use the chain tail to attach one end of the tether to the underside of the cap, just outside its second round. The sample pulls the tail through a stitch with a crochet hook, then ties it securely. Attach the other end of the chain to the opposite side of the pouch body, again choosing a stitch across from the first attachment so the cap hangs evenly.
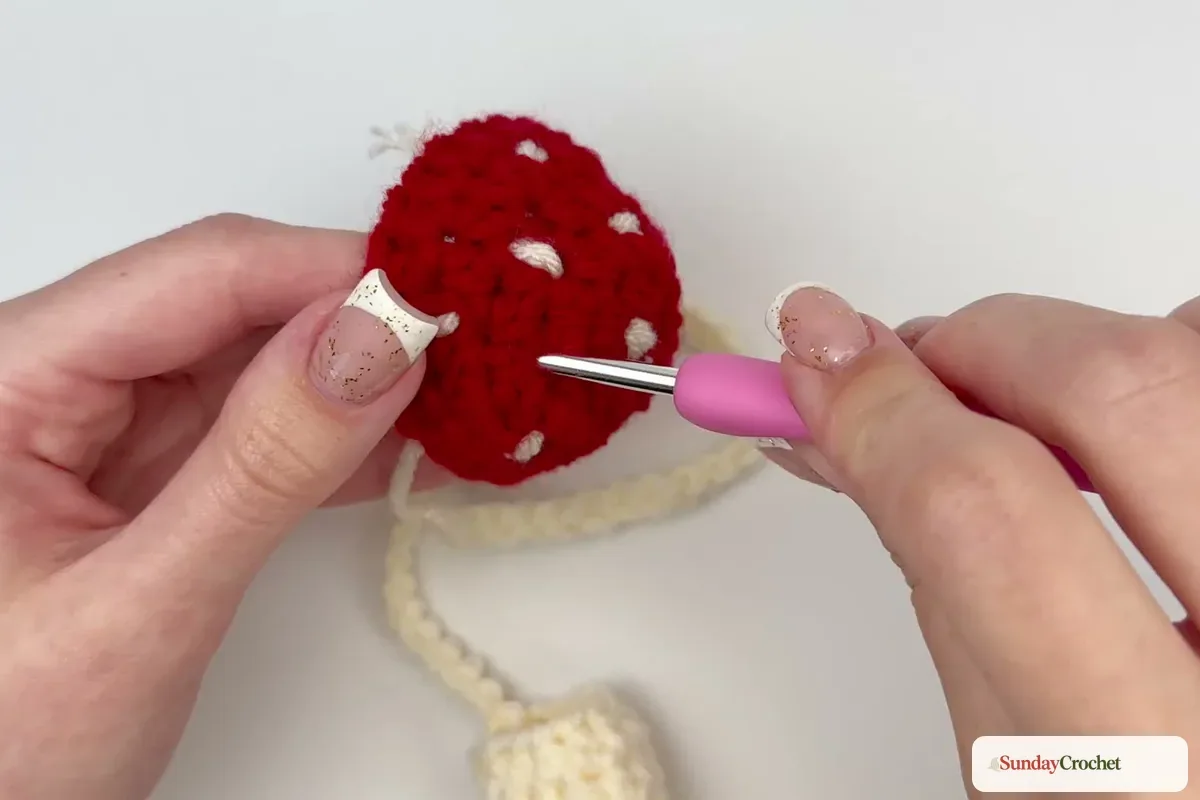
Fasten each tail securely and weave in the remaining ends with the tapestry needle. Test the tether by lifting the cap gently: it should rise enough to remove the lip balm while staying connected to the pouch. Let the cap fall back into place when you are finished. The two-point chain connection keeps it attached without sewing the cap edge down, so the top remains easy to open.
Common questions
Do I need to use a magic ring?
No. The start described here uses a slipknot and two chains, with the round’s stitches worked into the first chain. Pull the tail to close the small center opening. If you already know how to make a magic ring, you can use one for either starting circle instead.
How tall should I make the holder?
The sample body is 10 rounds total. Since lip balm tubes and crochet tension vary, try the sleeve against your tube as you work and add or remove plain rounds to suit it. Keep the body at 12 stitches around.
How long is the chain tether?
The sample uses 40 chains for a bag charm. The length is adjustable; check it against the strap, bag, or lanyard use you have in mind before fastening off.
Does the cap close over the opening?
The cap sits over the top of the sleeve and remains connected by the chain tether. It is not stitched around the pouch opening, which lets you lift it to remove the lip balm and lower it again afterward.
Can I use acrylic or cotton yarn?
Both worsted-weight acrylic and cotton are used for this project. The hook size is 4 mm. Different yarns and tension can change the finished size, so check the sleeve fit as you go.
A practical little mushroom
The project combines a simple 12-stitch tube with a shaped cap, a few embroidered details, and a useful chain tether. Once you have the first two rounds of the holder set, the rest of the body is a steady repeat. The cap’s increases are counted out to 24 stitches, and the tether can be adjusted for the way you plan to carry it. Small accessory projects like this are also a nice way to practice shaping before trying a small handmade charm.


