
· Sunday Crochet
In this pattern
01 · A little heart for a handmade gift02 · Yarn & tools03 · Before you begin04 · The pattern05 · Shape and finishing checks06 · Common questions07 · A small motif with plenty of usesA little heart for a handmade gift
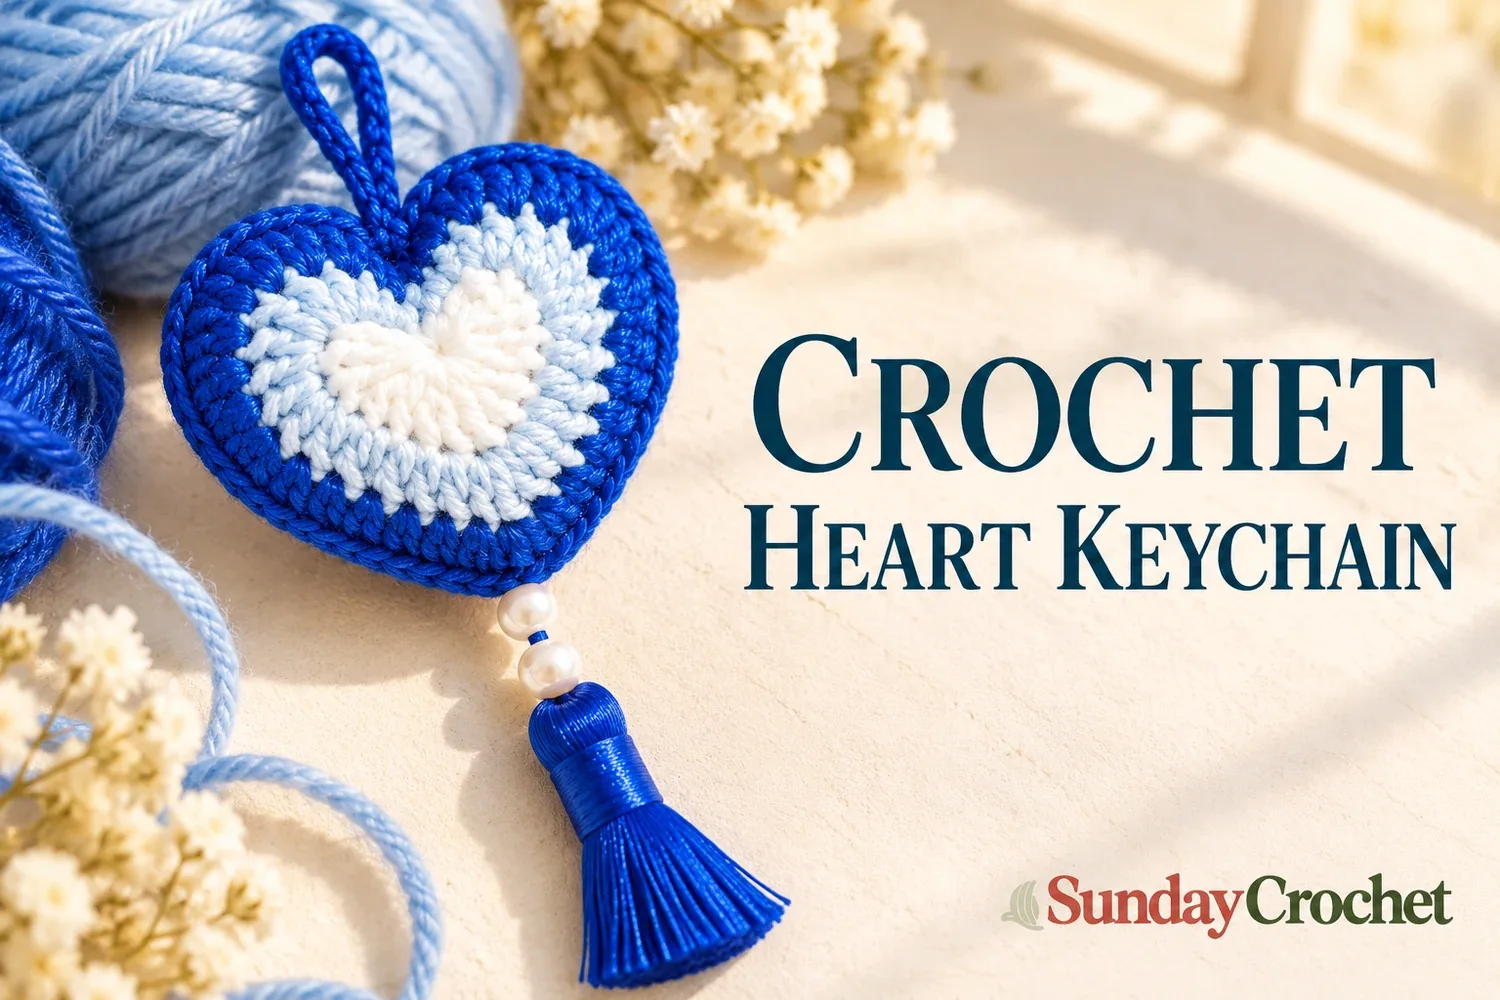
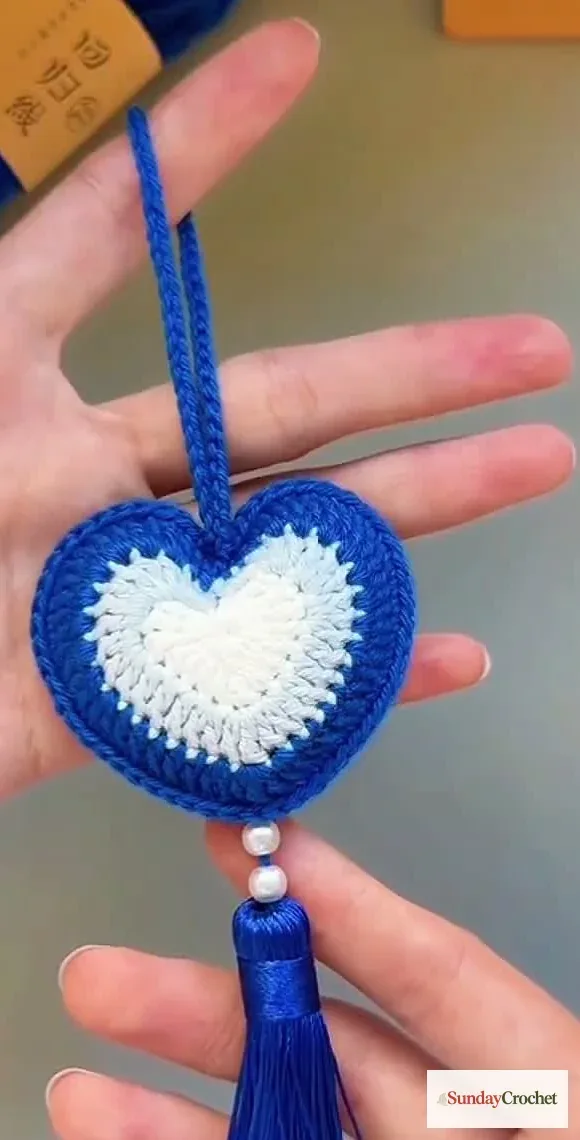
A small crochet heart is a lovely way to use a little cotton yarn and make a personal gift. This motif has a white center, a pale-blue shaping round, and a bright royal-blue border, with the shape built in three rounds from a magic ring. The finished example is shown as a hanging charm with beads and a tassel, so the heart can become part of a keychain or bag accessory.
I’ll show you how I work the heart itself, from the first stitches in the ring to the final outline. The directions below follow the demonstrated stitch sequence and use US crochet terms. The sample uses cotton yarn and a 1.8 mm hook. Exact yardage, gauge, and finished measurements are not provided, so your heart may be larger or smaller depending on your yarn and tension. The hanging cord, beads, tassel, and hardware are visible on the finished example, but their construction is not included in the stitch sequence. This pattern therefore makes the flat heart motif.
Yarn & tools
The demonstrated heart changes color at the start of Round 2 and again at the start of Round 3. The sample uses white for the center, pale blue for the shaping round, and deeper blue for the outline. You can choose another combination, but contrasting shades make each round easier to see. The sample hook is fine, so the stitches sit close together. Use the stated 1.8 mm size if you have it, and keep your loops relaxed enough to move over the hook without stretching them loose.
Abbreviations
- MR: magic ring
- ch: chain
- sl st: slip stitch
- sc: single crochet
- hdc: half double crochet
- dc: double crochet
- tr: treble crochet
- inc: increase, working the stated stitches into one stitch
- st(s): stitch(es)
These are US terms. In UK terminology, US sc is double crochet, US hdc is half treble, US dc is treble, and US tr is double treble. If those names feel unfamiliar, the basic movements in a beginner-friendly stitch refresher can help before you begin. A quick guide to pattern abbreviations and repeats is useful when following the bracketed instructions below.
Before you begin
The heart is worked in joined rounds around the magic ring. The first round creates the height changes that make the two upper lobes and lower point. The next round adds width around that shape. The last round uses increases to form a clear contrasting outline. Chain spaces at the beginning and end of the first round make the small dip at the top of the heart; keep them visible as you work around the ring.
The stitch sequence is mirrored around the center. Rather than forcing the piece into a count that is not supplied, use the same sequence on each side and check the shape as you go. Keep a marker in the first stitch of a round if it helps you see where the join belongs. If you need to compare the recommended hook size on a yarn band, a quick yarn-label primer shows where those details appear.
The pattern
Round 1
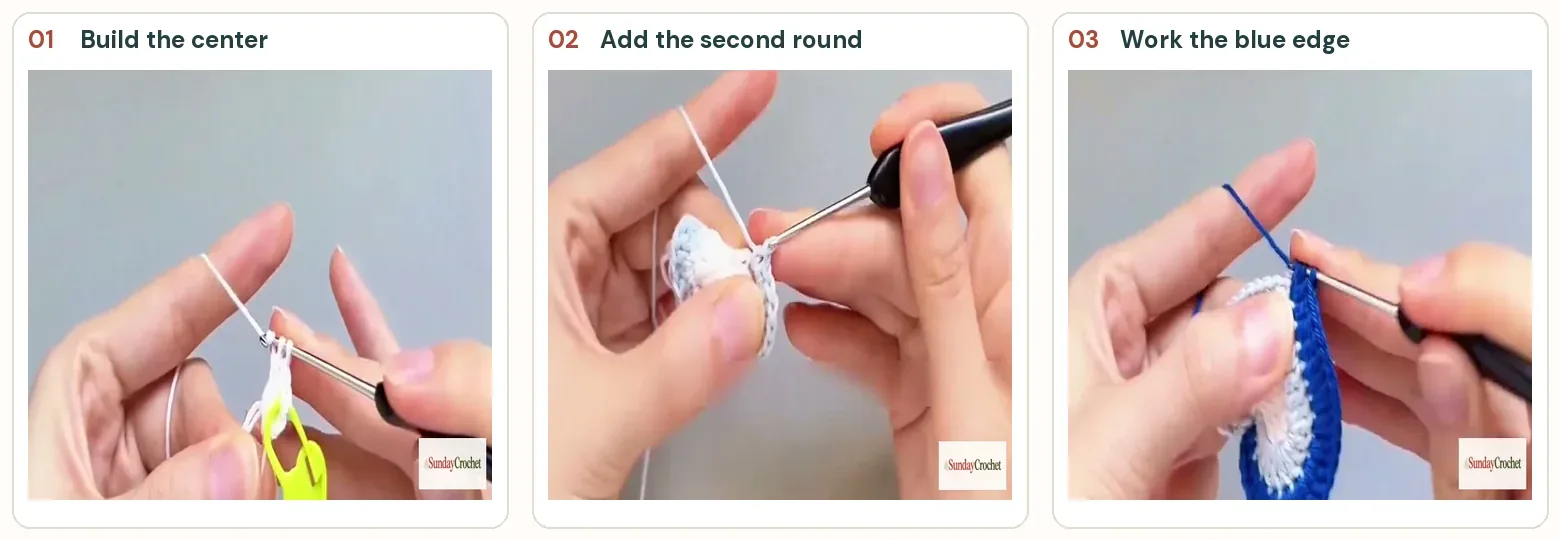
With the center color, make a magic ring and chain 2. Into the ring, work 3 tr, 4 dc, 1 tr, 4 dc, 3 tr. Chain 2, then close the round with a slip stitch into the magic ring. Pull the ring closed so the stitches sit together, then fasten off the center yarn as shown.
The tall stitches at the beginning and end form the rounded upper sides. The shorter double crochets travel down both sides, while the single treble crochet at the middle creates the lower point. The two chain spaces mark the top dip. Take a moment to check that the two sides look balanced before changing colors.
Round 2
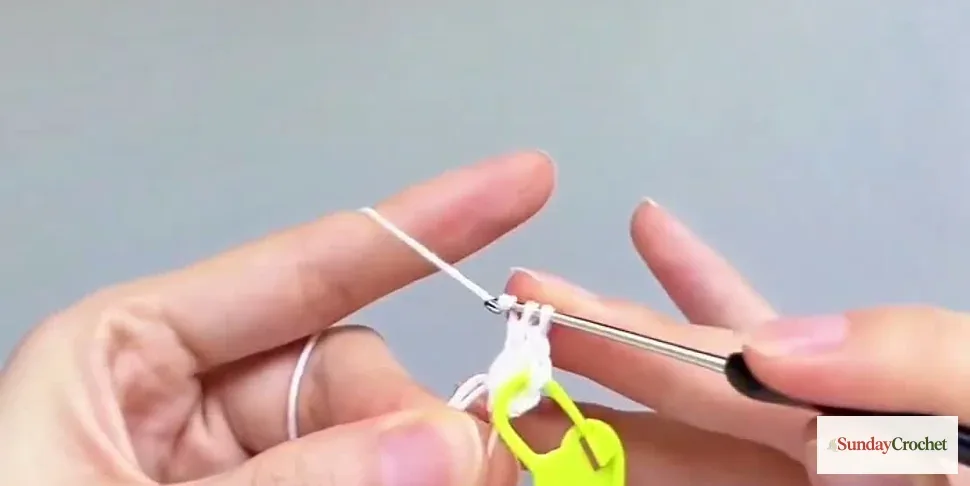
Join the pale-blue yarn in one of the chain spaces from Round 1 and chain 1. Work 2 sc in the same chain space. Follow the stitch rhythm around the first half: work 3 dc into each of the next 3 stitches, then 1 dc into each of the next 3 stitches, then a dc increase in the next stitch. Across the center, work 1 dc, 1 tr, and 1 dc into the next three stitches, one stitch at a time.
Continue in reverse order on the second half: work a dc increase in the next stitch, 1 dc in each of the next 3 stitches, then 3 dc into each of the next 3 stitches. Finish with 2 sc in the remaining chain space. Slip stitch to the first sc, fasten off, and bring the tail to the back to weave it in.
The three-dc groups round out the upper lobes. The three single dc stitches and increase move the edge toward the center, while the dc-tr-dc sequence carries the shaping across the lower point. Keep the increase groups centered on the corresponding stitches from the first round. If the heart begins to twist, pause and check that each group has gone into its own stitch rather than drifting into the next one.
Round 3
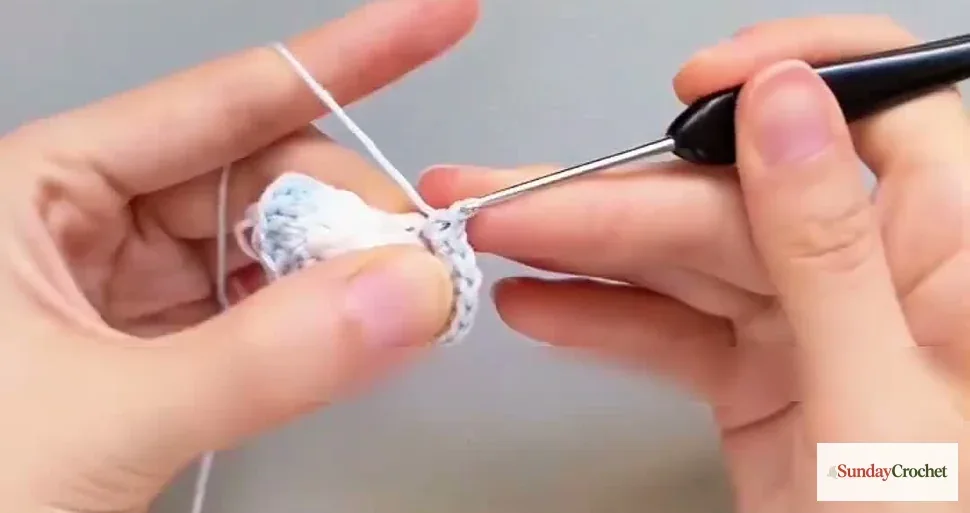
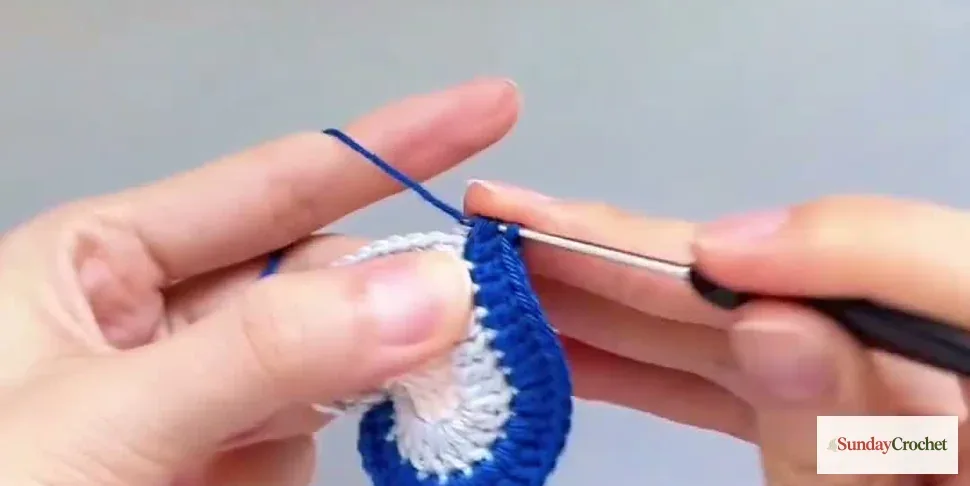
Join the border color in the first sc of Round 2 and chain 1. Work 1 sc in that first stitch and place a marker there. In the next stitch, work a second sc. Work an hdc increase in the next stitch, then work a dc increase in each of the next 8 stitches. Work 5 dc, then a dc increase in the next stitch.
Across the center, work 1 dc, 1 tr, and 1 dc into the next three stitches, one stitch at a time. Work a dc increase in the next stitch, then 5 dc. Make a dc increase in each of the next 8 stitches, followed by an hdc increase in the next stitch. Finish with 2 sc at the remaining edge, following the same arrangement as the beginning so the second side mirrors the first.
An increase means two stitches are worked into one stitch. For the eight dc increases, make two dc in each of eight consecutive stitches. This creates a full, visible border without requiring a new color change mid-round. Keep the first two single crochets neat at the top dip and compare the two sides as you approach the end. The final joining and fastening motion is not shown in the demonstrated sequence, so secure the last yarn tail with a finishing method you already use for flat crochet rather than adding extra stitches to the round.
Shape and finishing checks
Lay the heart flat after each round. After Round 1, the tall stitches should rise into two sides, with the center treble at the lower point and the two chain spaces at the top. After Round 2, the white section should read as a heart rather than a circle. The final blue round follows that outline and adds width around it.
If one lobe looks fuller, compare the stitch groups on both sides before weaving in the tails. Check the first and last chain spaces too, because working only one sc there can pull the top edge inward. A stitch marker in the first stitch of the final round helps you return to the same starting point. Keep the yarn tails on the back and weave them through nearby stitches without pulling the edge tight.
The finished display includes a loop, beads, and a tassel. Those parts are not part of the three-round directions above, and no dimensions or attachment method are specified for them. Once your heart is finished, you can treat it as a flat motif or use an attachment method and hardware you already know how to secure. Check that any added parts are firmly fastened before using the piece on keys or a bag.
Common questions
What yarn and hook does this heart use?
The sample uses cotton yarn and a 1.8 mm hook. It changes yarn at the start of Rounds 2 and 3, using white in the center, pale blue for the shaping round, and a deeper blue for the outline. The exact yarn weight and amount are not specified, so the finished scale depends on the materials and your tension.
How large is the finished heart?
No finished measurement or gauge is given. A smaller hook and fine cotton make a compact heart; a different yarn or hook will change its size. If you need a particular size, make one sample and measure it before planning a matching set.
Is the keychain loop included in the pattern?
No. The written stitch sequence makes the heart motif. The example is shown with a loop, beads, and tassel, but their construction and attachment are not specified. Add those parts only with a method you can secure confidently.
Can I choose a different color combination?
Yes. Keep three shades if you want the same layered effect: one for the center, a second for the shaping round, and a third for the outer edge. Strong contrast helps the round changes remain easy to see while you crochet.
What should I do if my heart curls or looks uneven?
First check that the increases and three-dc groups are placed into the intended stitches, and compare each side with its mirrored sequence. Make sure the chain spaces are not skipped. Because no gauge is specified, a tight tension or a different yarn and hook combination can also change how flat the motif lies.
A small motif with plenty of uses
This heart is a compact project with a clear three-round rhythm: shape the center, widen the two lobes and point, then frame it with a contrasting edge. The same motif can stand on its own as a small handmade accent, or become the center of a charm when you add a secure attachment of your choice. Keep the stitch groups balanced, leave the top chain spaces easy to identify, and let the color change emphasize the outline.


