
· Sunday Crochet
In this pattern
01 · A tiny pair of cherries for your bag02 · Yarn & tools03 · Before you begin04 · The pattern05 · The cherry pattern06 · Join the leaf and finish07 · Common questions08 · A small, useful finishA tiny pair of cherries for your bag
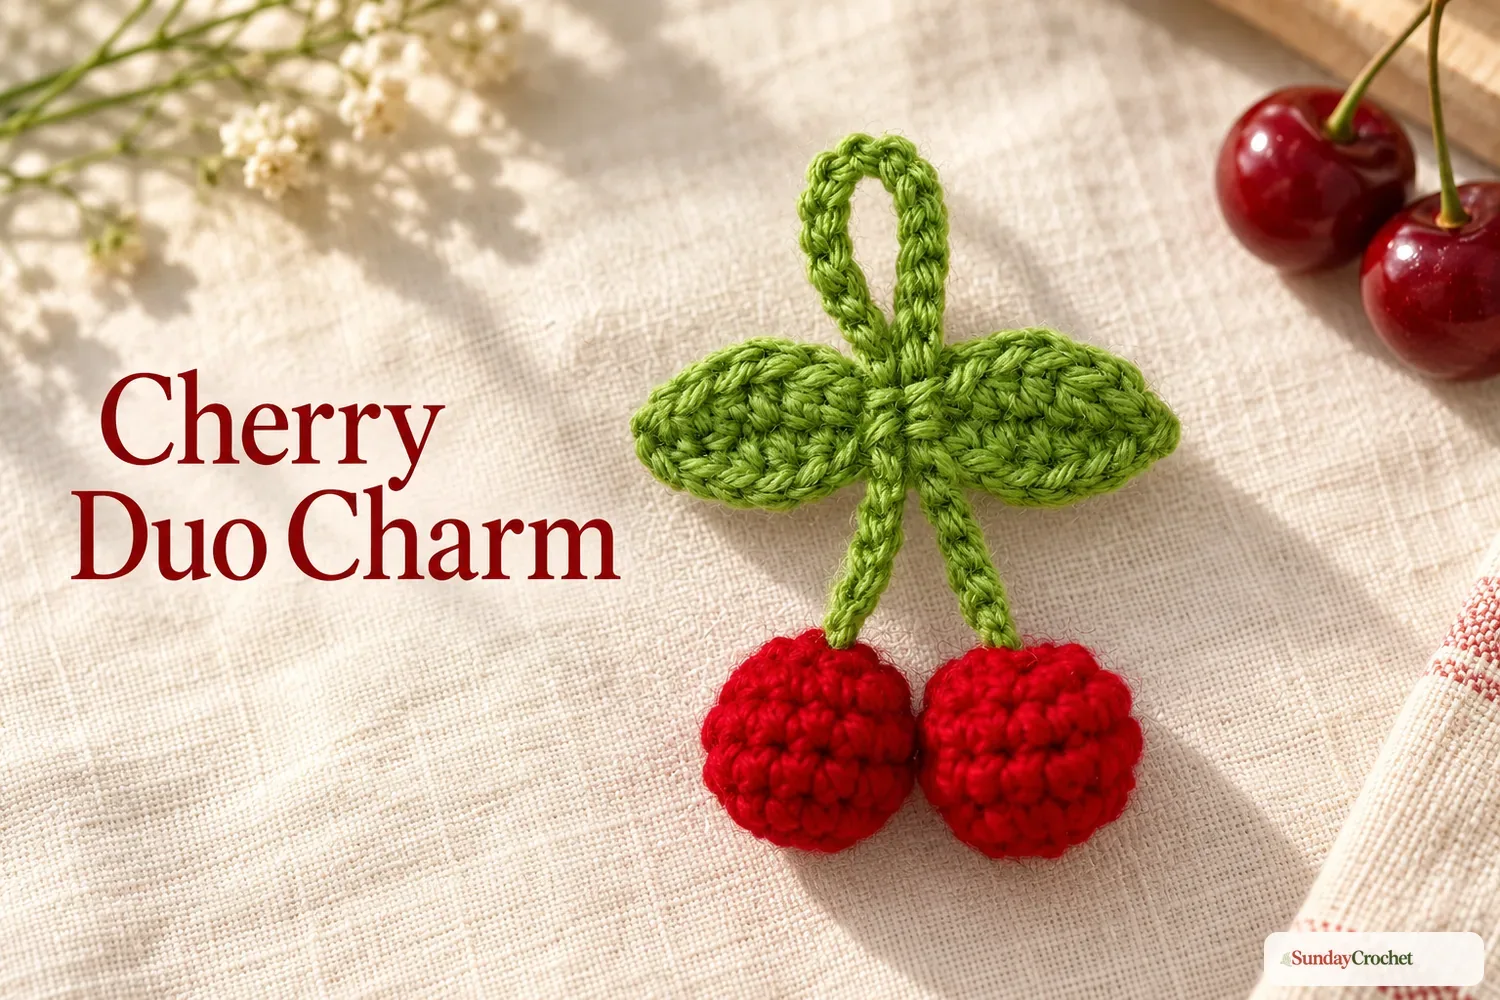
A pair of bright red cherries and a little green leaf make a cheerful bag charm, and the project is small enough to use leftover yarn. Each cherry is worked in joined rounds, lightly stuffed, and closed with decreases. A crocheted chain forms the hanging loop, so you can adjust its length to fit a bag handle or key ring. The sample uses worsted-weight acrylic or cotton yarn and a 2.5 mm hook; exact yardage and finished measurements were not provided.
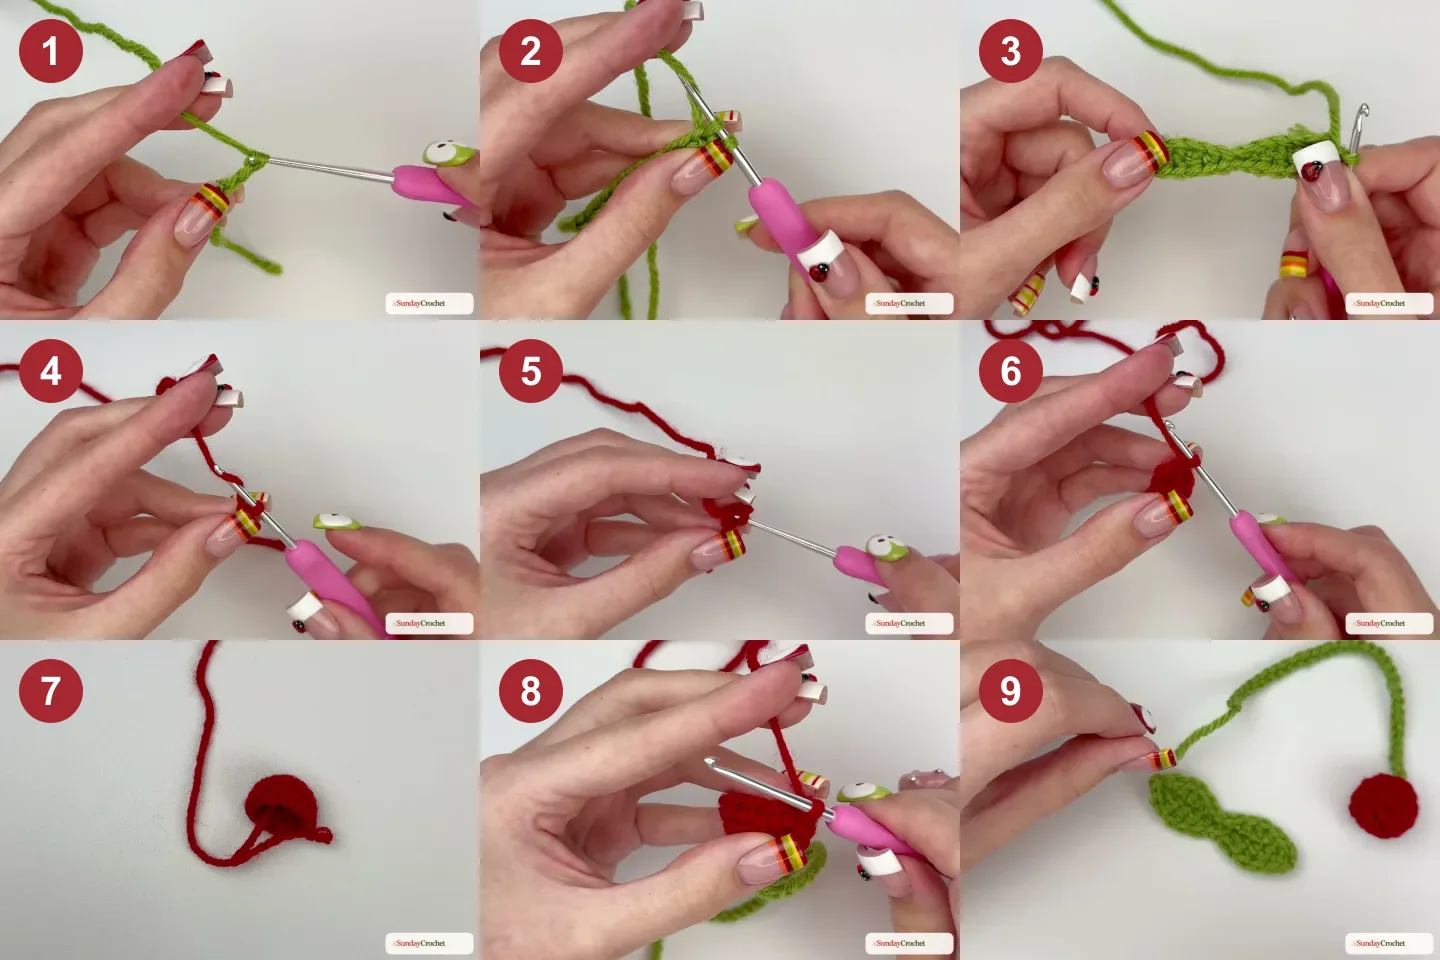
I’ll show you how I make the leaf, loop, and cherries, then bring them together with the yarn tails. The instructions use US crochet terms and spell out the stitch counts for every cherry round. This is a no-sew construction in the sense that there is no stitched seam: the stem is threaded and tied through the cherries, and the leaf is attached with its yarn tail. You will still weave in a few ends.
Yarn & tools
The sample uses green for the leaf and hanging stem, and red for both cherries. You do not need a separate metal key ring for the loop shown here; the long green chain itself creates the hanging loop. A ring can be added separately if you prefer, but it is not part of these demonstrated steps.
Abbreviations
- ch: chain
- sl st: slip stitch
- sc: single crochet
- hdc: half double crochet
- dc: double crochet
- sc2tog: single crochet two stitches together (decrease)
- st(s): stitch(es)
These are US stitch names. Keep the loops consistent as you move from the leaf to the small stuffed rounds. If you want a quick reminder of the basic motions, a beginner stitch refresher is helpful, and written pattern abbreviations explain how to read the short forms.
Before you begin
The leaf is made first from a chain, with one shaped row on each side of the foundation. Then make a long green chain for the loop and set it aside. Each cherry starts with six single crochets in the first chain, grows to 12 stitches in Round 2, stays at 12 for two rounds, and narrows to six decreases in Round 5. Make the first cherry on one end of the stem and the second on the other.
The stitch count is intentionally small, so it helps to pause after each join and count before moving on. The beginning chain at the start of a cherry round does not count as a stitch. Close each round with a slip stitch as directed, and pull the starting tail snug after Round 1 to close the tiny center opening. The 2.5 mm hook is small relative to worsted yarn; work evenly, but do not tug so tightly that the hook becomes difficult to enter into the stitches.
The pattern
Leaf Row 1
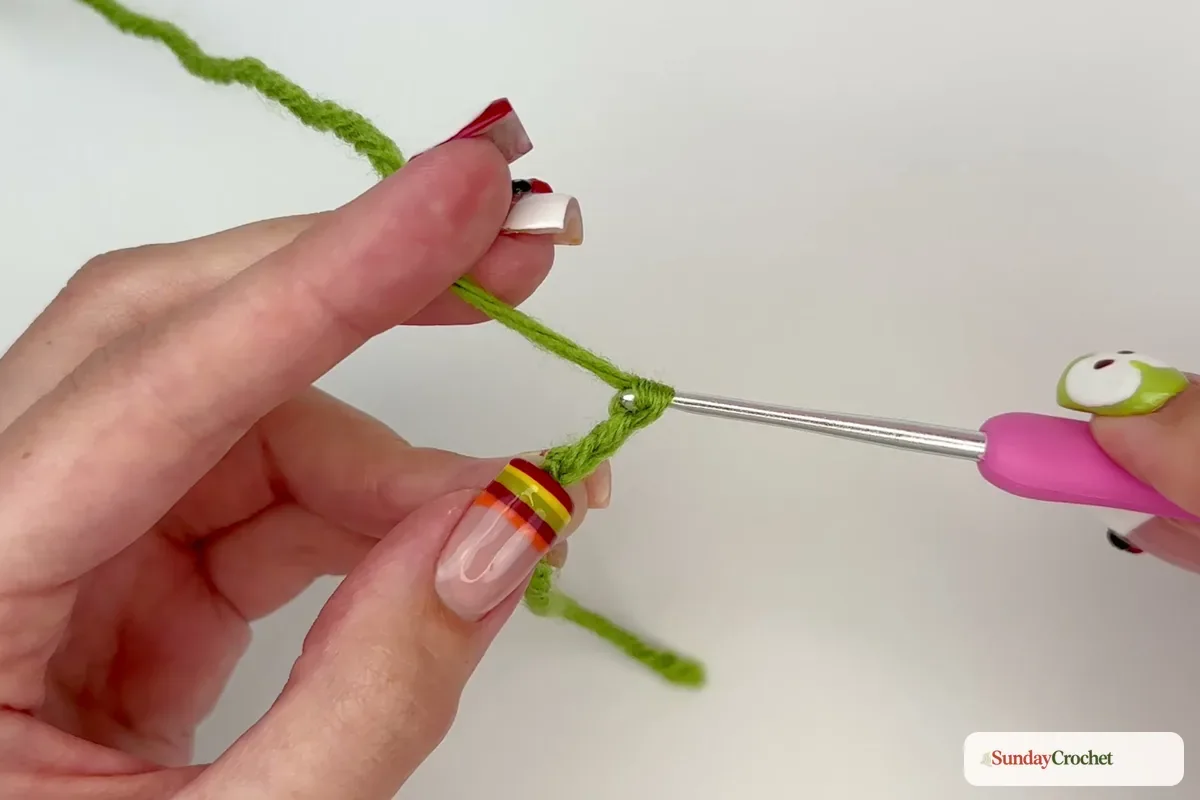
With green yarn, make a slipknot and chain 15. Beginning in the second chain from the hook, work along one side of the foundation chain: sl st, sc, hdc, dc, hdc, sc, sl st. This makes one tapered half of the leaf. Continue across the remaining chain area with the same rise-and-fall stitch order for the second half, keeping the first chain from the hook unworked as the starting space. The leaf should have a pointed end and a fuller center rather than a straight rectangular edge.
Leaf Row 2
Chain 1 to turn at the edge, then work back along the opposite side of the foundation chain. Repeat the shaping sequence across the back side, mirroring the first row: sl st, sc, hdc, dc, hdc, sc, sl st for each tapered half. The taller double crochet sits around the fuller middle; the shorter stitches return the shape to a point. Keep the two sides even so the foundation chain runs through the center of the leaf.
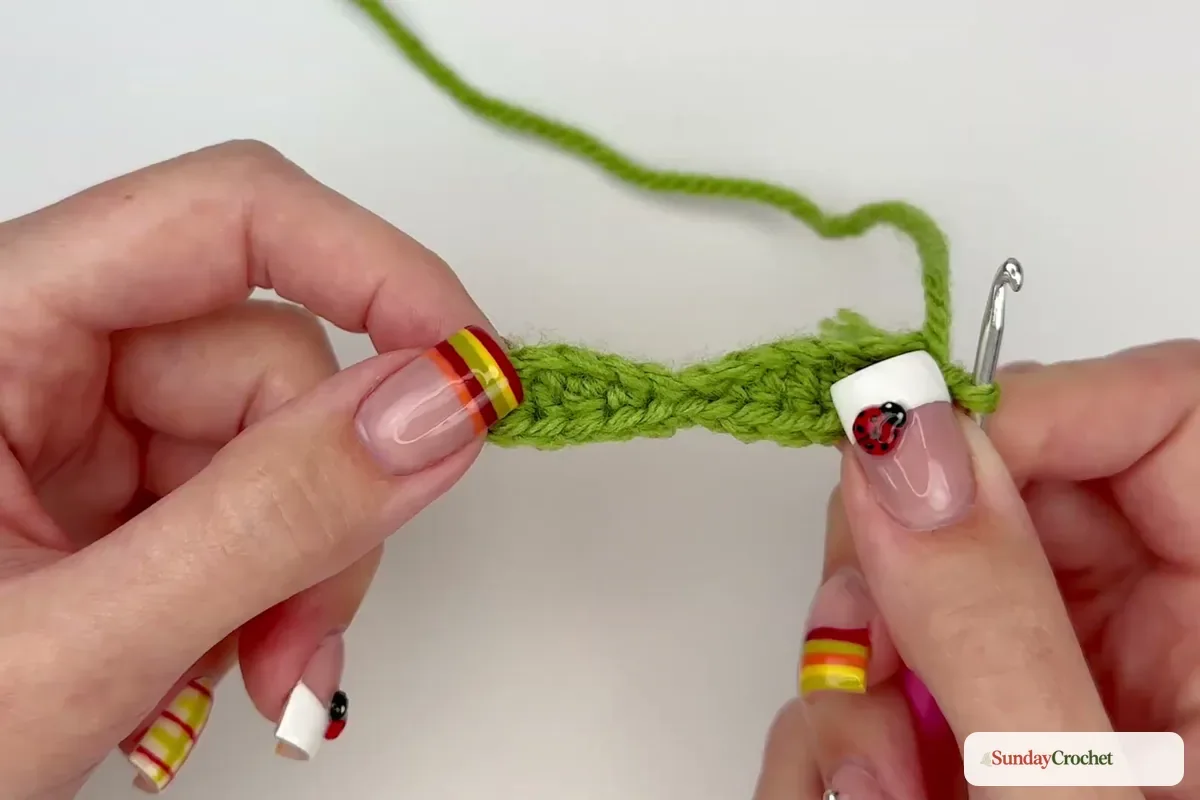
At the end, chain 1, cut the yarn, and pull the tail through to fasten off. Leave a useful tail for attaching the leaf to the stem. The stitch sequence is the important part here: the source does not specify a separate finished leaf measurement, so let the 15-chain base and your yarn tension determine its size.
Make the hanging stem
With green yarn, make a slipknot and chain 30 for a sample loop. The chain length is adjustable: before fastening off, fold it into a loop and check whether it will fit over the bag handle or key ring you have in mind. Add or remove chains to suit your use. Fasten off and leave a long tail at each end for attaching the cherries.
The cherry pattern
Make two cherries in red. Each one is worked in joined rounds, with a chain 1 at the start of Rounds 2–5. This turning chain does not count as a stitch. The beginning ring is made from the first chain rather than a separate magic ring.
Round 1
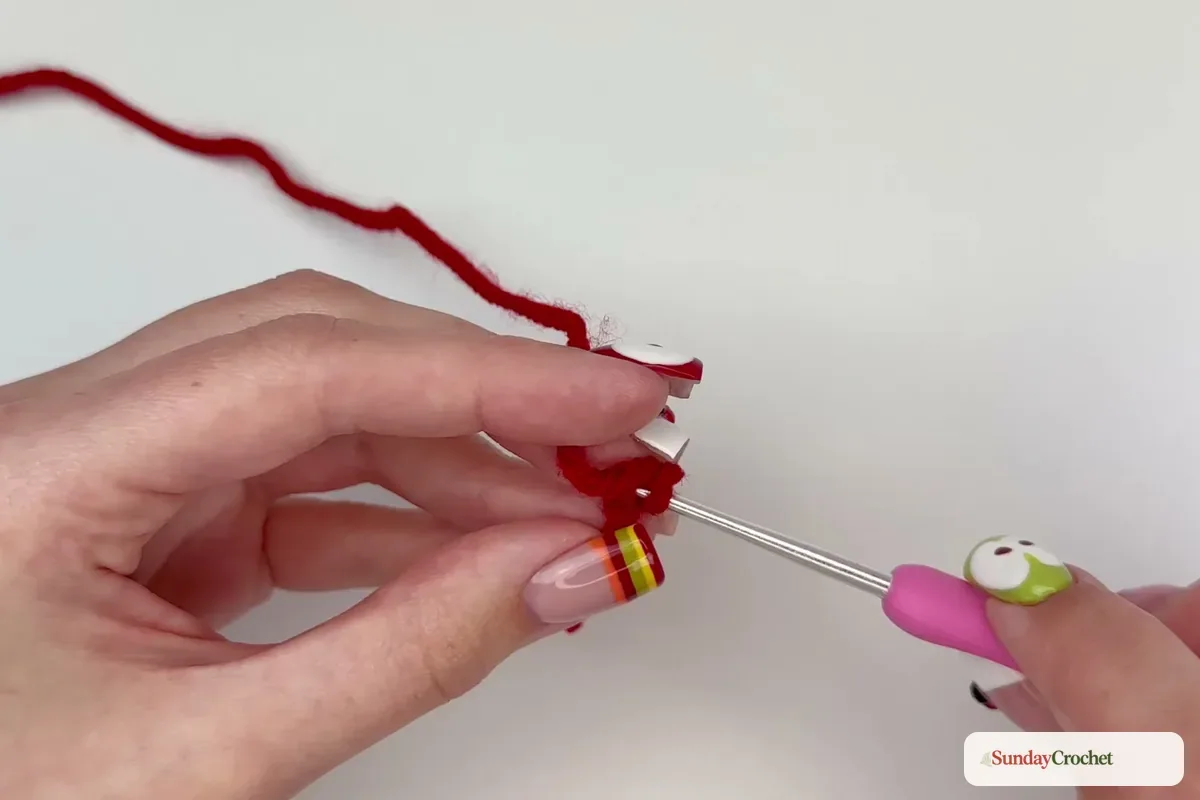
Make a slipknot, then chain 2. Work 6 sc into the first chain (the chain farthest from the hook). Join with a sl st in the first sc. Pull the short starting tail to close the center hole. You should have 6 stitches around the small circle.
Round 2
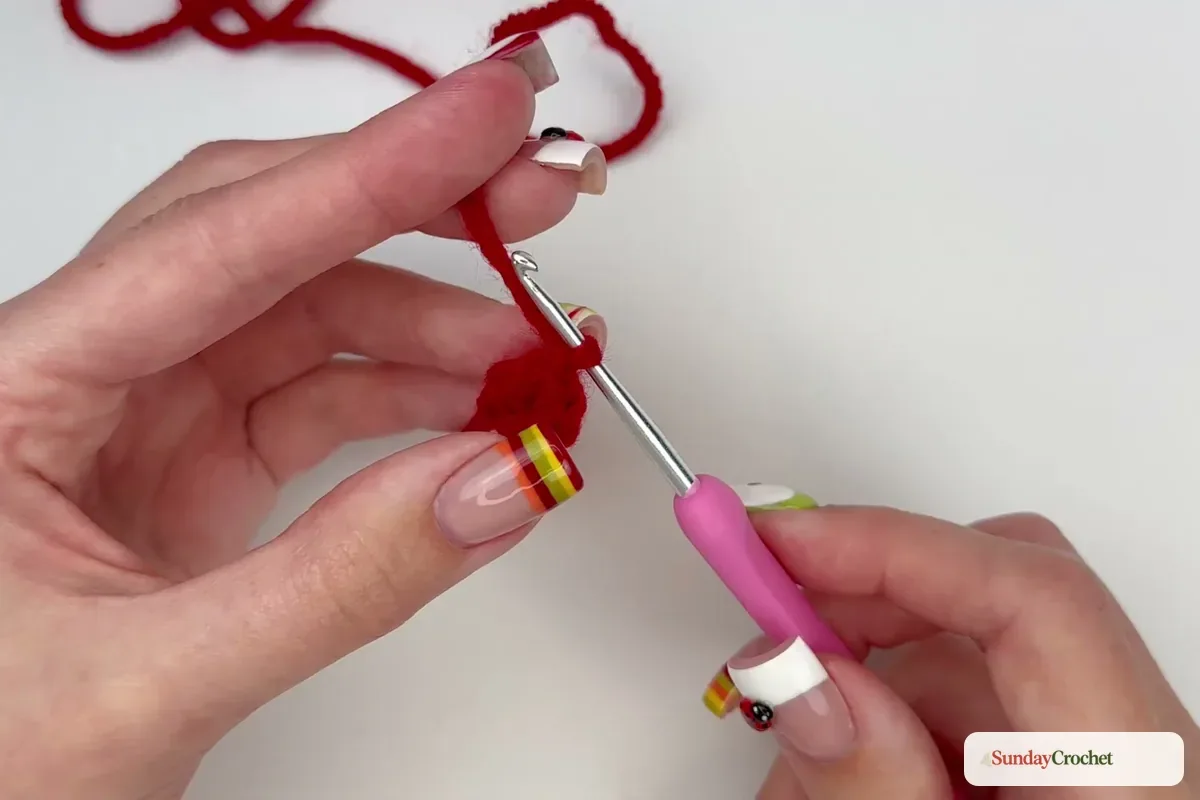
Chain 1; it does not count as a stitch. Work 2 sc in each stitch around. Join with a sl st in the first sc. You now have 12 stitches. The even increases widen the base of the cherry.
Round 3
Chain 1, then work 1 sc in each stitch around. Join with a sl st in the first sc. Count 12 stitches. The sides begin to build upward without increasing the circumference.
Round 4
Chain 1 and again work 1 sc in each stitch around. Join with a sl st in the first sc for 12 stitches. The little cup will start to curl into the cherry shape. Keep the right side facing outward, and attach the green stem before closing the top.
Attach the stem
Thread one green stem tail through the top stitches of the cherry and tie it securely. Thread the other tail through nearby top stitches and tie it as well, so the chain is anchored at the cherry’s crown. Trim only the short excess tail after the knot is secure; keep the red working yarn attached for the last round. The stem is attached now because the opening is still wide enough to reach comfortably.
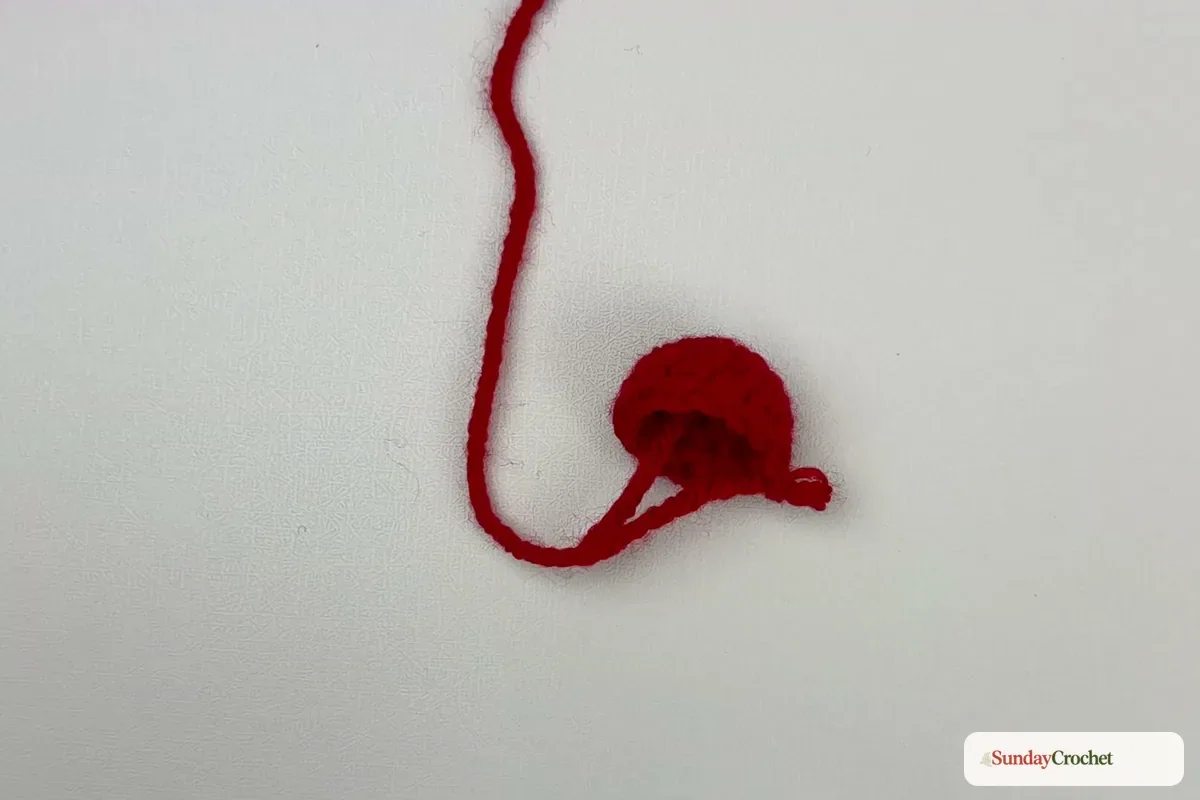
Add a small amount of fiberfill or yarn scraps. Use enough to round the piece while leaving the final stitches easy to reach. A firm handful can make the decreases awkward, so add a little, shape the cherry with your fingers, and add more only if needed.
Round 5
Chain 1. Work sc2tog around, making 6 decreases total, and join with a sl st to the first decrease. The stitch count becomes 6. The opening narrows over the stuffing.
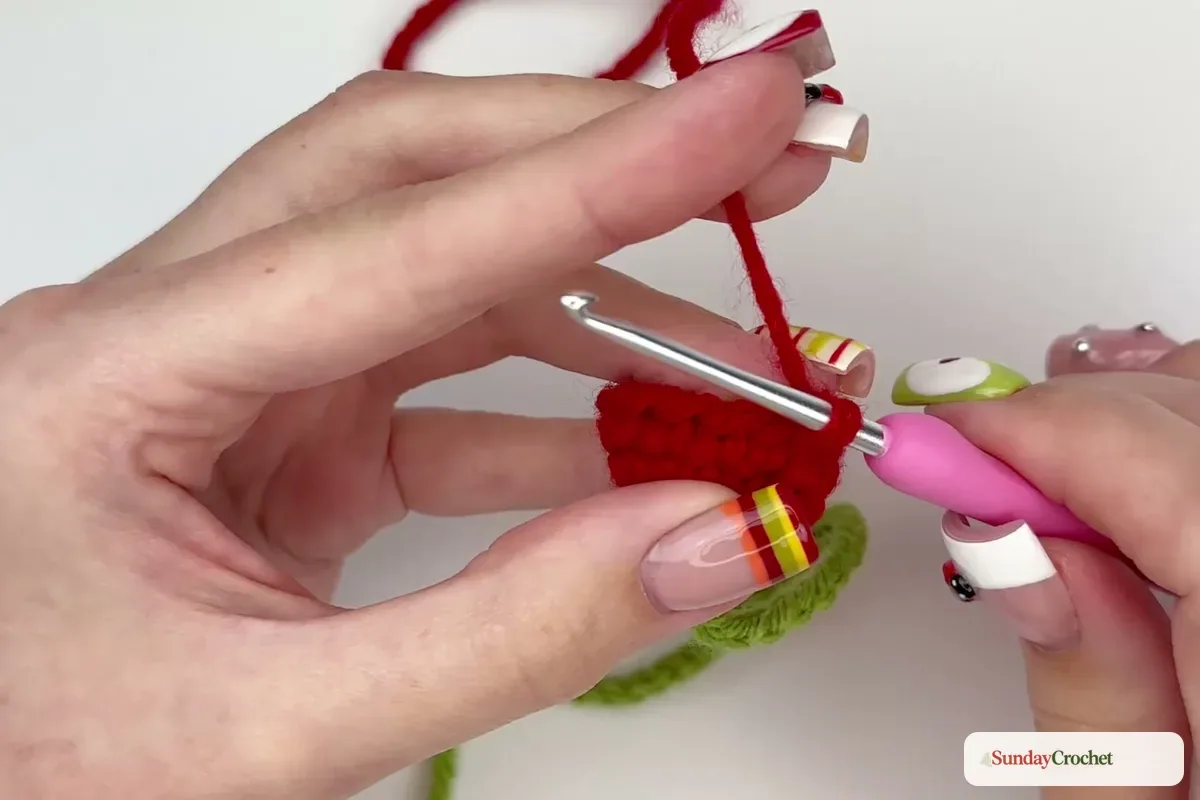
To close the remaining small hole, pass the yarn through the stitches on opposite sides of the opening with slip stitches and draw it closed. Chain 1, cut the yarn, and pull through. Use the tail to weave the opening shut and hide the end inside the cherry. Make the second cherry in the same way, attaching the other green stem end before its final decrease round.
Join the leaf and finish
Find the middle of the green leaf and the two pairs of slip stitches at its center. Bring the chain loop into position above the leaf, with one cherry hanging from each side. Use the leaf tail to attach it to the stem: pass the tail through a center stitch on one side of the leaf and through the stem, then pass it through the corresponding stitch on the other side. Draw the yarn through and secure it so the leaf stays centered while the green chain remains a visible loop.
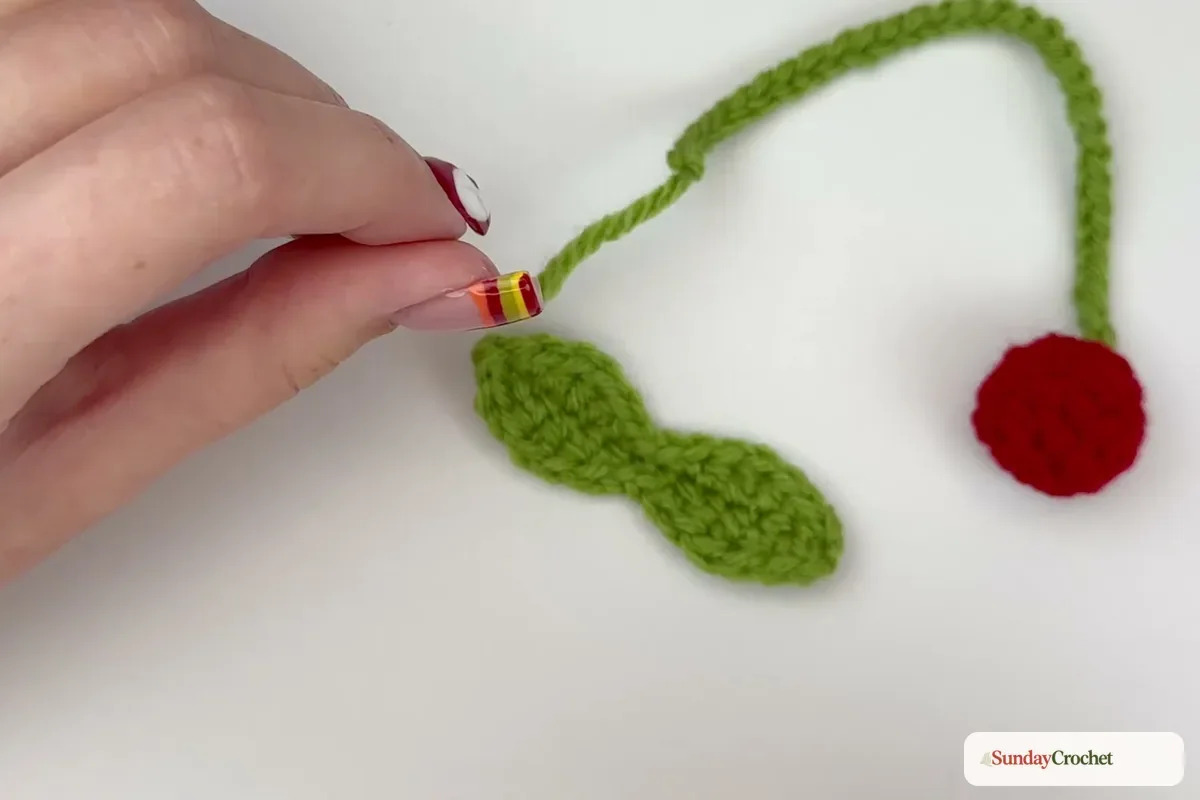
Check that the two cherries hang at similar heights and that the leaf faces outward. If one side sits lower, adjust the stem attachment before weaving the tail in. Weave in any remaining green ends on the underside of the leaf and stem, then trim the excess. The finished charm can slip over a bag handle, zipper pull, or key ring, and the loop can be adjusted by changing its starting chain length.
Common questions
Do I need a metal keychain ring?
No. The sample uses the crocheted chain as its hanging loop. You can slide that loop over a bag handle or through a ring you already own, but no hardware is needed to make the crochet portion.
Why does the cherry look like a cup before it is finished?
Rounds 3 and 4 keep the same 12-stitch count while building the sides upward. The shape curls as the tube grows; the decreases in Round 5 draw the top in around the stuffing.
How can I make the loop longer?
The sample stem uses 30 chains. Fold it over the handle or ring you plan to use before fastening off, and add chains if you want a larger loop. The exact length is adjustable rather than a fixed finished measurement.
Can I use scraps for the stuffing?
Yes. The project is designed to use small leftovers, and small yarn scraps can fill the cherries. Add a little at a time so the final six decreases remain manageable.
Does “no-sew” mean there are no ends to finish?
There is no sewn seam, but the tails still need to be tied or woven in. The green stem attaches through the top stitches, and the leaf is secured through its center. A yarn needle helps hide the final ends neatly.
A small, useful finish
This cherry charm is a satisfying way to turn small amounts of red and green yarn into a finished accessory. The two cherries share the same five-round sequence, while the leaf and chain loop give you room to adjust the shape and fit. Keep the stitch counts close, attach each stem end before closing the cherry, and leave the stuffing light enough for the top to close smoothly. If you enjoy making small gifts that use just a little yarn, a crochet heart keychain is another simple shape to pair with it.


