
· Sunday Crochet
In this pattern
01 · A tiny bag with a built-in handle02 · Yarn & tools03 · The pattern04 · Step by step: keeping the little bag neat05 · Small details that make a difference06 · Ways to use a mini crochet bag07 · Common questions08 · A small make with a clear rhythmA tiny bag with a built-in handle
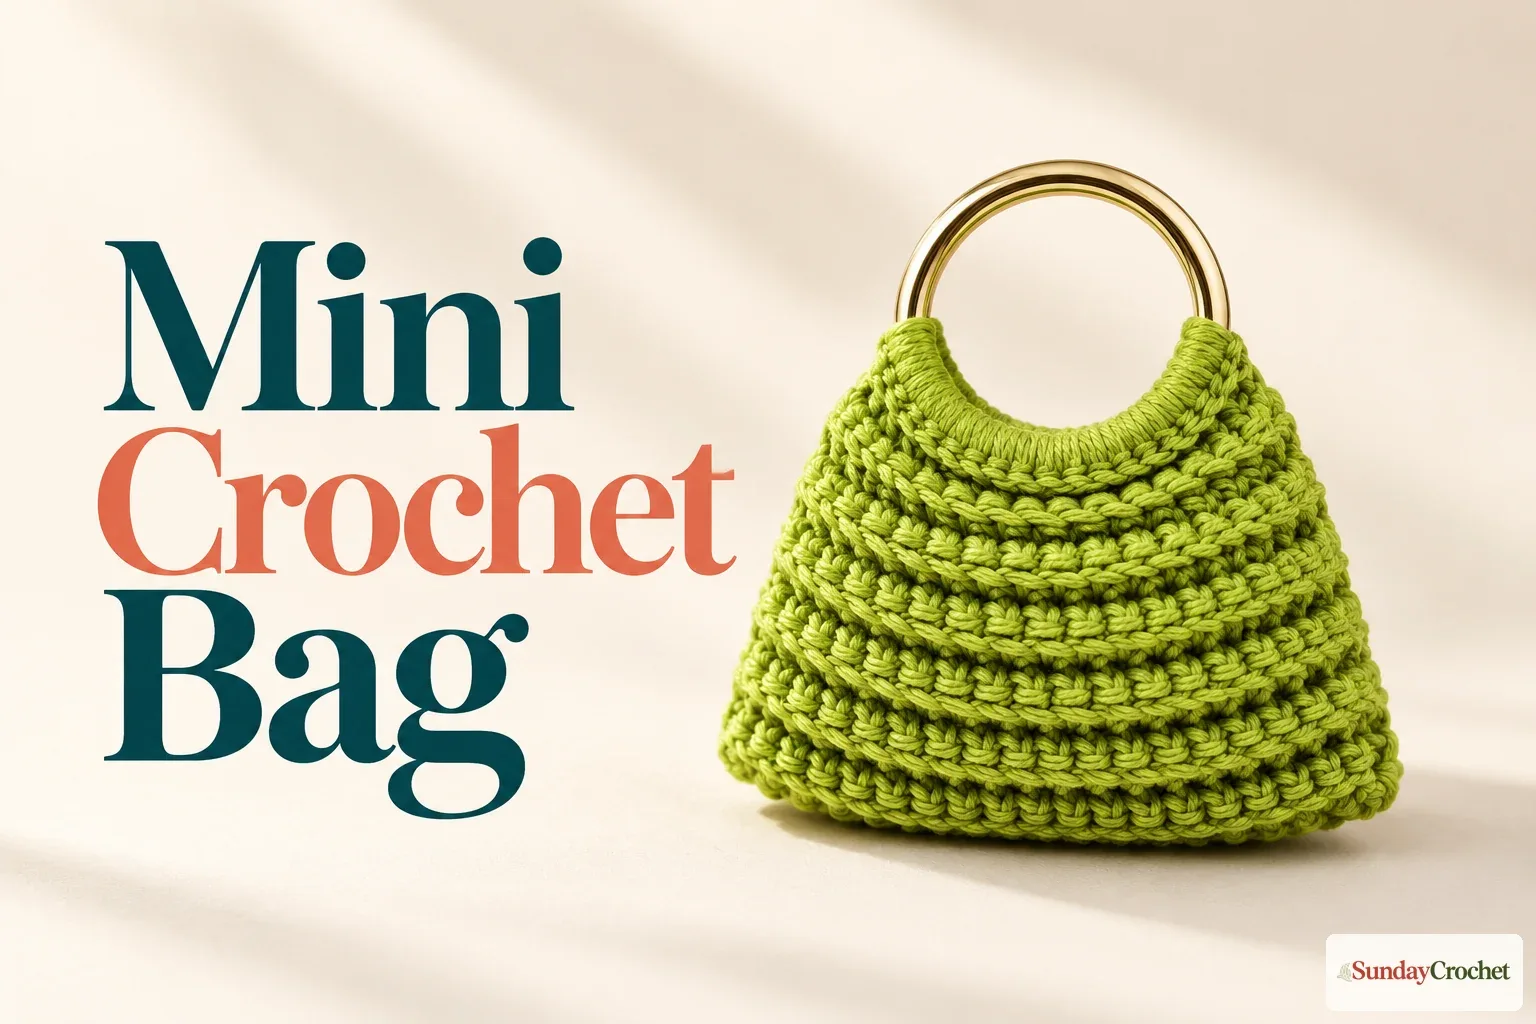
A mini crochet bag is a quick way to turn a little length of cotton yarn into a useful charm, keychain, pendant, or tiny purse. This version is worked as a flat strip between two metal rings: crochet the first ring edge, build the body in short rows, attach the second ring to the far edge, then fold and sew the sides. The rings meet to form the round handle at the top.
I’ll show you how I follow the stitch counts, keep the side edges neat, and join the hardware without guessing at sizes the pattern does not provide. The directions use US crochet terms. A 2 mm hook and cotton yarn are specified; yarn weight, yardage, ring diameter, gauge, and finished measurements are not, so the finished bag will vary with your materials and tension.
Yarn & tools
The pattern uses the green cotton yarn shown in the sample, but no weight or quantity is given. Choose two rings that can sit together when the flat piece is folded; their exact size is not specified. The hook size is specific, so begin with 2.0 mm if you want to follow the sample closely. The bag’s width and depth will still depend on the ring size, yarn thickness, and how firmly you crochet.
Stitches and abbreviations
- sc — single crochet
- sl st — slip stitch
- st(s) — stitch(es)
These instructions use US terminology. If you are new to these stitches, my beginner crochet guide covers the basic motions, and the written pattern guide explains how to follow repeats and stitch counts. In this pattern, slip stitches at the row edges are part of the row count: each body row has two slip stitches and 18 single crochets between them.
The pattern
Before you begin
The project has one ring-edge row, 29 body rows, and a final ring-edge row. In shorthand, the body repeat is turn, sl st, 18 sc, sl st. The instruction to use the corresponding outside loop is also shown for the body rows; keep that placement consistent, as it makes the surface ridges visible. The row count matters because it determines the length of the strip before you fold it around the two rings.
For reference, R1 is 20 single crochets around the first ring; R2–R30 are the repeated body rows; and R31 is 20 single crochets around the second ring. The active yarn remains attached while you crochet the body. When trimming the small starting end after R1, leave the working strand alone.
First ring edge
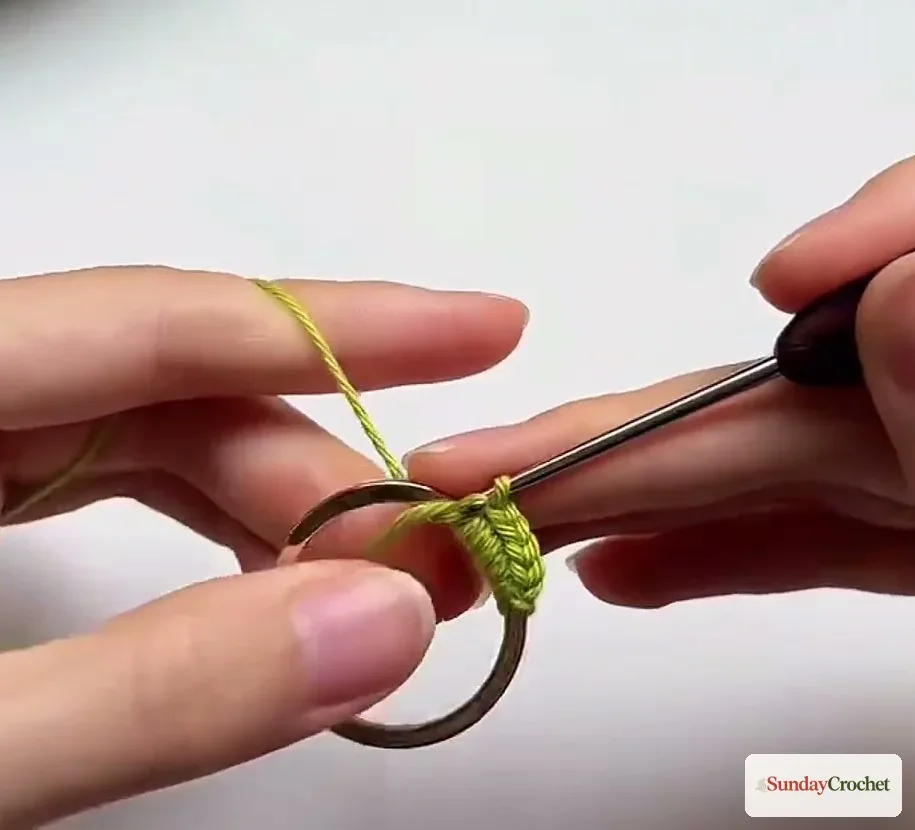
Pass the yarn through the center of the first metal ring and make a chain to secure it. The chain count is not specified. Work 20 sc around the ring, distributing them along the metal so the stitches sit side by side rather than bunched in one area. This forms the first short edge of the panel and gives you 20 stitches to work into on the next row.
Adjust the yarn tail and trim its extra length once it is secure. Keep the working yarn connected to the ball: you will turn the work and continue directly into the body rows. If a key ring is easier to handle than a larger metal ring, it can serve as this first edge; the pattern does not give a required ring diameter.
Rows 2–30: build the body
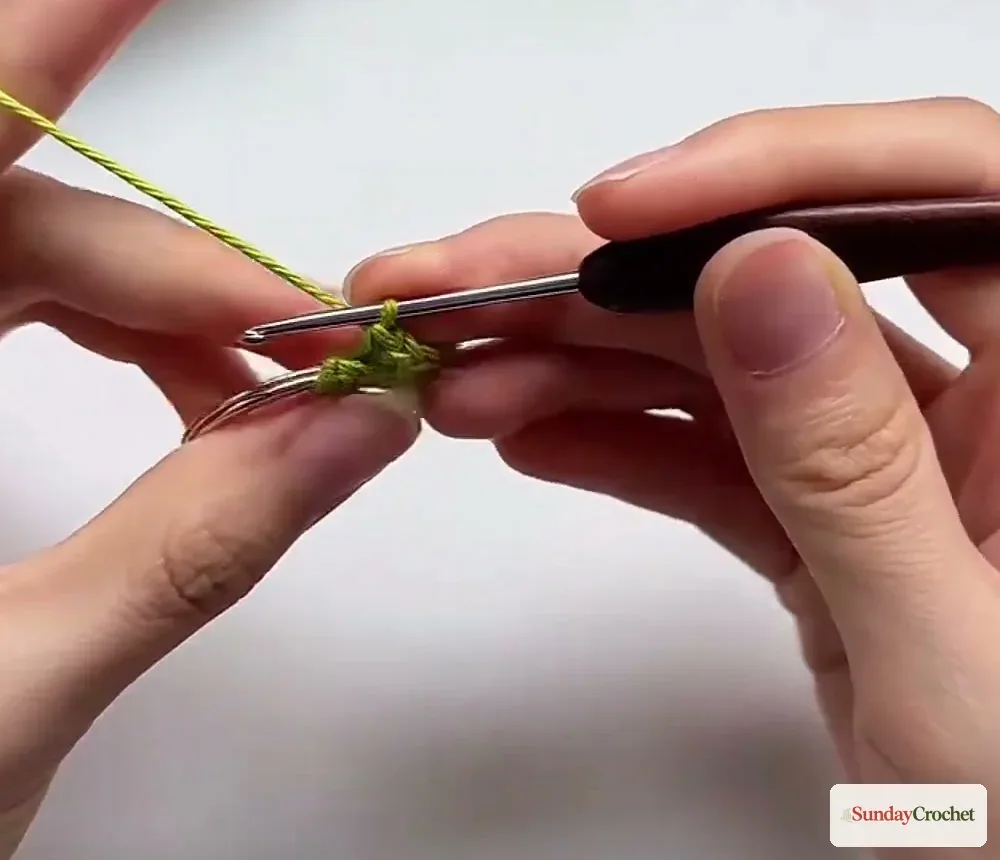
Turn the work. At the start of the row, make 1 sl st in the first stitch. Work 18 sc across the middle, then make 1 sl st in the final stitch. You have worked across all 20 stitches: one slip stitch at each end and 18 single crochets between them.
Repeat that same row from R2 through R30, turning at the start of each new row. That is 29 body rows in total. Work into the matching outer loop as indicated, and keep the two edge slip stitches easy to identify. Because the stitches at the ends are slip stitches, the center single crochets make most of the panel’s height while the edges stay compact for seaming.
After a few repeats, pause to check your count: 18 single crochets in the middle, with one slip stitch before and after them. If you accidentally add a stitch, the panel can widen; if you miss one, it can narrow. Count the center stitches before you move on rather than trying to correct the difference in the next row.
R31: attach the second ring
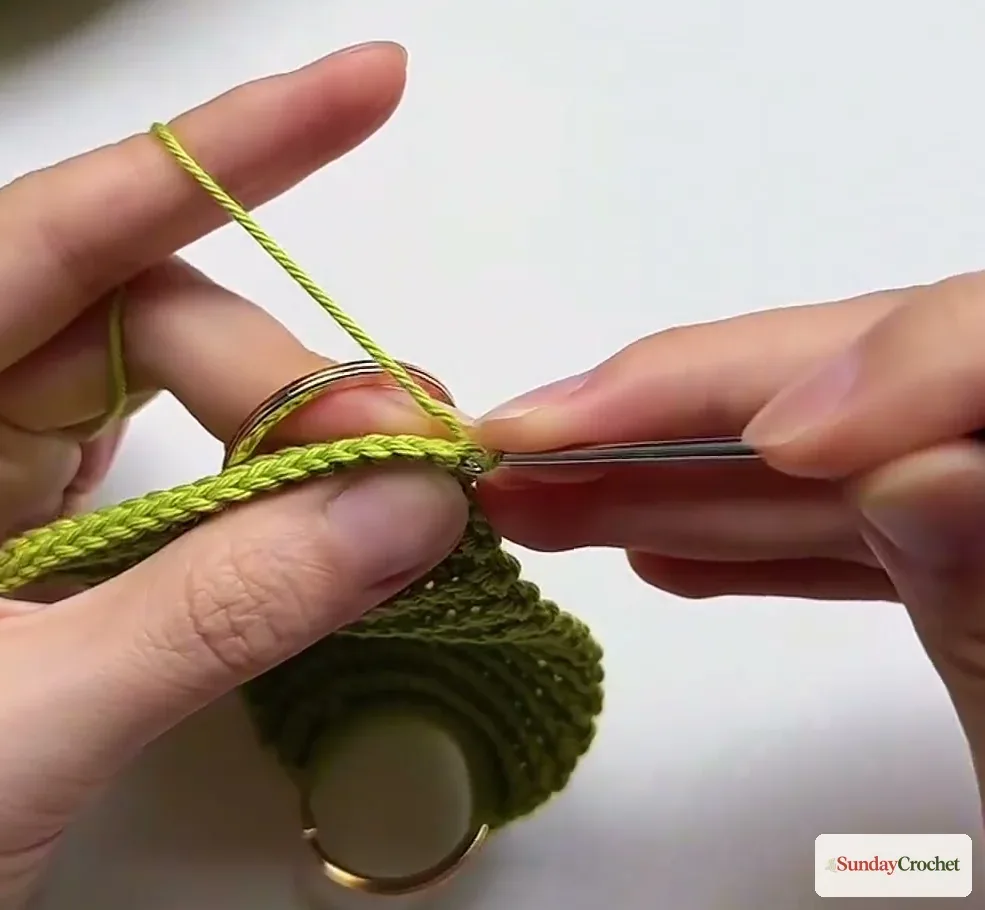
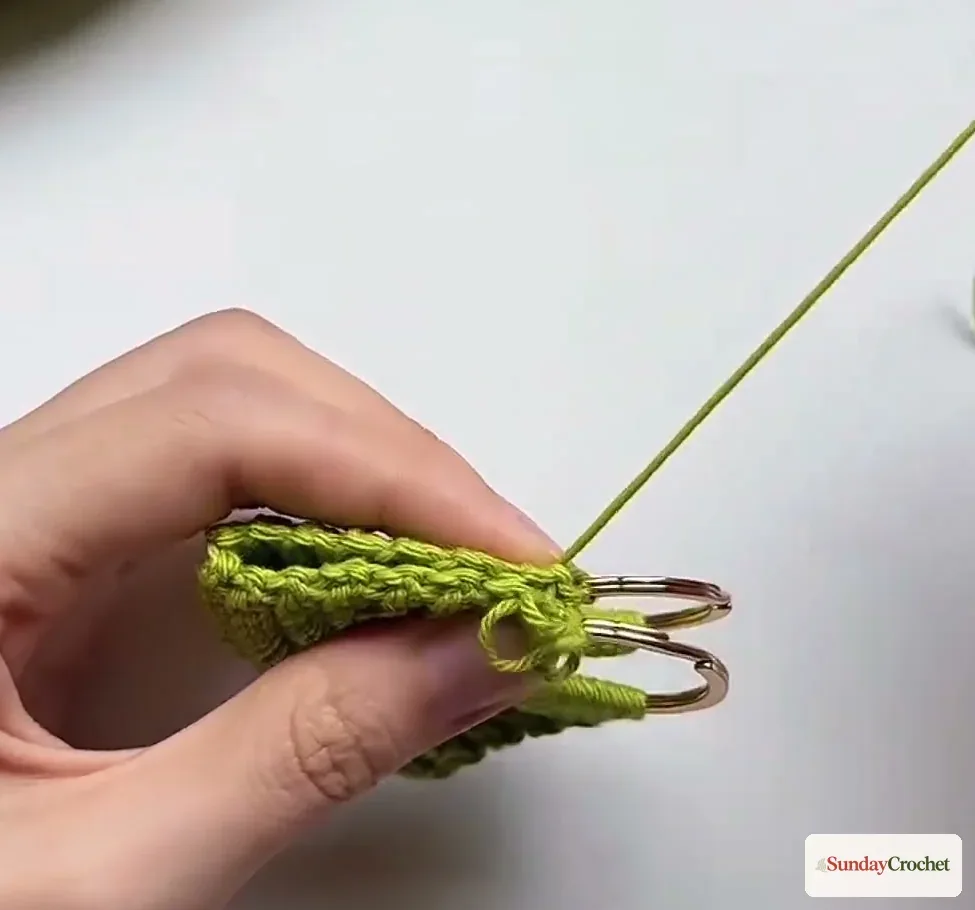
When the 30th row is complete, position the second ring against the opposite short edge of the panel. Work 20 sc around the ring, matching one stitch to each stitch across that edge. Keep the attachment evenly spaced so the ring is connected along the full width of the panel, not just at its corners.
This last row uses the same count as the first ring edge. Before cutting the yarn, check that the row reaches both ends and that the strip lies flat enough to fold. Leave a long tail when you cut the working yarn; you will use it to sew the sides.
Fold and sew the sides
Fold the long panel in half so the two ring edges meet at the top. Align the side edges before sewing; the metal rings should sit together rather than twist in opposite directions. Use the long yarn tail to sew one side through its side loops, then sew the other side the same way. The technique shown joins the side edges; it does not add a separate flap, zipper, button, or lining.
Take time to compare both seams as you work. A consistent path through the side loops helps the edges meet evenly and keeps the pouch shape balanced. After both sides are joined, secure the remaining tail using a finishing method you trust and trim only the extra yarn. A specific knot or seam stitch is not prescribed here, so use the seam method you know and keep the join secure before adding anything to the bag.
Step by step: keeping the little bag neat
1. Secure the first ring
Begin by passing the yarn through the first ring, making the securing chain, and working 20 single crochets around the metal. As you place them, distribute the stitches across the whole ring. If they are crowded together, the edge puckers; if they are stretched too far apart, gaps appear between the stitches. The exact result also depends on your ring’s circumference, which is why no universal spacing measurement can be given.
When the first row is complete, gently arrange the stitches around the ring and check that all 20 are present. Snip only the starting tail if you have secured it; the live strand is needed for the next row. This is a small detail, but keeping the working yarn attached saves you from having to join a fresh strand before the body begins.
2. Repeat the body row without losing the edges
The row is deliberately simple: one slip stitch, 18 single crochets, one slip stitch. The two slip stitches frame the central section, so do not count either one as part of the 18 single crochets. When you turn, locate the first stitch at the edge, work the slip stitch, then count the middle stitches before you finish with the final slip stitch.
The pattern calls for the corresponding outside loop during these rows. Follow the same loop placement across the row and from one row to the next instead of switching midway. The front of the fabric develops raised horizontal lines, and consistent loop placement helps those ridges look orderly. If the hook placement feels unclear, slow down at the edge and compare the next stitch with the previous row before pulling through.
Repeat until you have completed rows 2 through 30. That count includes 29 repeats after the ring foundation. A row counter, tally marks, or a simple written list can help: mark each row only after its final slip stitch is complete. My cotton-versus-acrylic yarn guide compares how those fibers behave in crochet. The sample specifies cotton; changing fibers or hook size can alter the panel and how it fits the rings.
3. Attach the second ring evenly
With the strip laid flat, place the second ring against the last short edge. Work 20 single crochets around it, corresponding to the 20 stitches across the panel edge. Check the count as you go, because matching one attachment stitch to each panel stitch keeps the ring edge balanced. The ring diameter is not given, so choose compatible hardware that can meet the first ring when the piece is folded.
4. Fold, compare, and close
Bring the two ring edges together and look at the panel before sewing. The body should fold in half, with the ridged rows running across the outside and the two rings sitting at the opening. If the sides do not line up, check whether the fold is centered and whether the two edges have the same stitch count.
Use the long tail from the final ring row to sew the two side edges through their side loops. Work down one side, then the other, and keep the tension steady enough for the edges to meet without gathering. The sewing detail is intentionally kept general because no named seam stitch is specified. Secure the yarn tail after both seams are finished.
Small details that make a difference
- Count the edge stitches before each body row. There should be 20 stitches across: one slip-stitch position, 18 center stitches, and one final slip-stitch position.
- Keep the center at 18 single crochets. The slip stitches sit at the edges and should not be added to the center count.
- Track all 29 body rows. Rows 2–30 repeat the same sequence. Stopping early changes how long the panel is before it folds.
- Distribute stitches around each ring. Even spacing gives the metal edge a tidy crochet border and makes folding easier.
- Check the fold before sewing. Aligning both ring edges first helps the two side seams meet evenly.
- Remember the bag is unlined. The pattern adds no clasp or lining, so treat the finished mini pouch as a small lightweight accessory unless you adapt it separately.
Ways to use a mini crochet bag
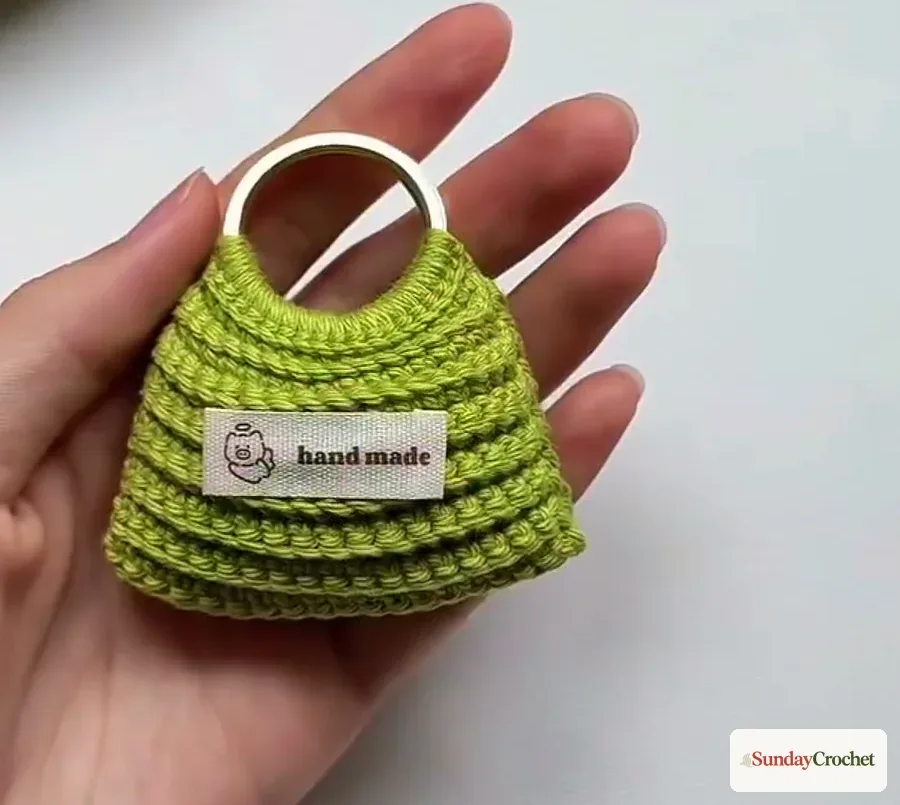
The design is small enough to work as a keychain, pendant, or coin-purse-style charm. Its built-in metal rings make a natural handle, while the ridged green fabric gives the body a little texture. You can choose a different cotton color if you want a softer or brighter look; the stitch counts stay the same, though your yarn and tension will affect the finished scale.
The pattern does not provide a lining, closure, or measurement, so think about what you plan to carry. Crochet fabric can have small gaps, and an unlined pouch may not keep tiny items contained. For a decorative charm or a few lightweight objects, the construction is straightforward. For anything that needs a secure closure, use only an adaptation you are comfortable making and test it before relying on the bag.
Common questions
How many stitches and rows does the mini bag use?
The first ring edge has 20 single crochets. Rows 2–30 each have a slip stitch, 18 single crochets, and a final slip stitch. The last edge has 20 single crochets around the second ring. That makes 31 numbered rows in the chart, including the two ring edges.
What yarn and crochet hook are used?
The instructions specify cotton yarn and a 2.0 mm crochet hook. They do not specify yarn weight, brand, yardage, or gauge. The final size depends partly on the rings and your tension.
Can I use a key ring?
A key ring can be used for the first ring. The finished piece also uses a second metal ring at the opposite edge. Choose rings that can sit together when the panel is folded, since their dimensions are not specified.
Is this mini crochet bag lined or closed with a clasp?
No. The described construction folds the panel and sews both side edges; it does not include a lining, flap, zipper, or clasp. Keep that open, unlined construction in mind when deciding what to place inside.
What size will the finished purse be?
No finished measurement is provided. The bag’s size changes with the yarn thickness, ring diameter, crochet tension, and the 2.0 mm hook used.
How do I keep the body rows even?
Use the same sequence on each row: one slip stitch at the beginning, 18 single crochets in the center, and one slip stitch at the end. Count the center stitches and track each completed row through R30.
A small make with a clear rhythm
Once the 20-stitch ring edge is in place, the body repeats one easy-to-track row 29 times. Attach the second ring with another 20 stitches, fold the strip so the rings meet, and sew the two sides. The result is a tiny green crochet bag with a simple built-in handle—ready to use as a charm or a miniature purse.


