
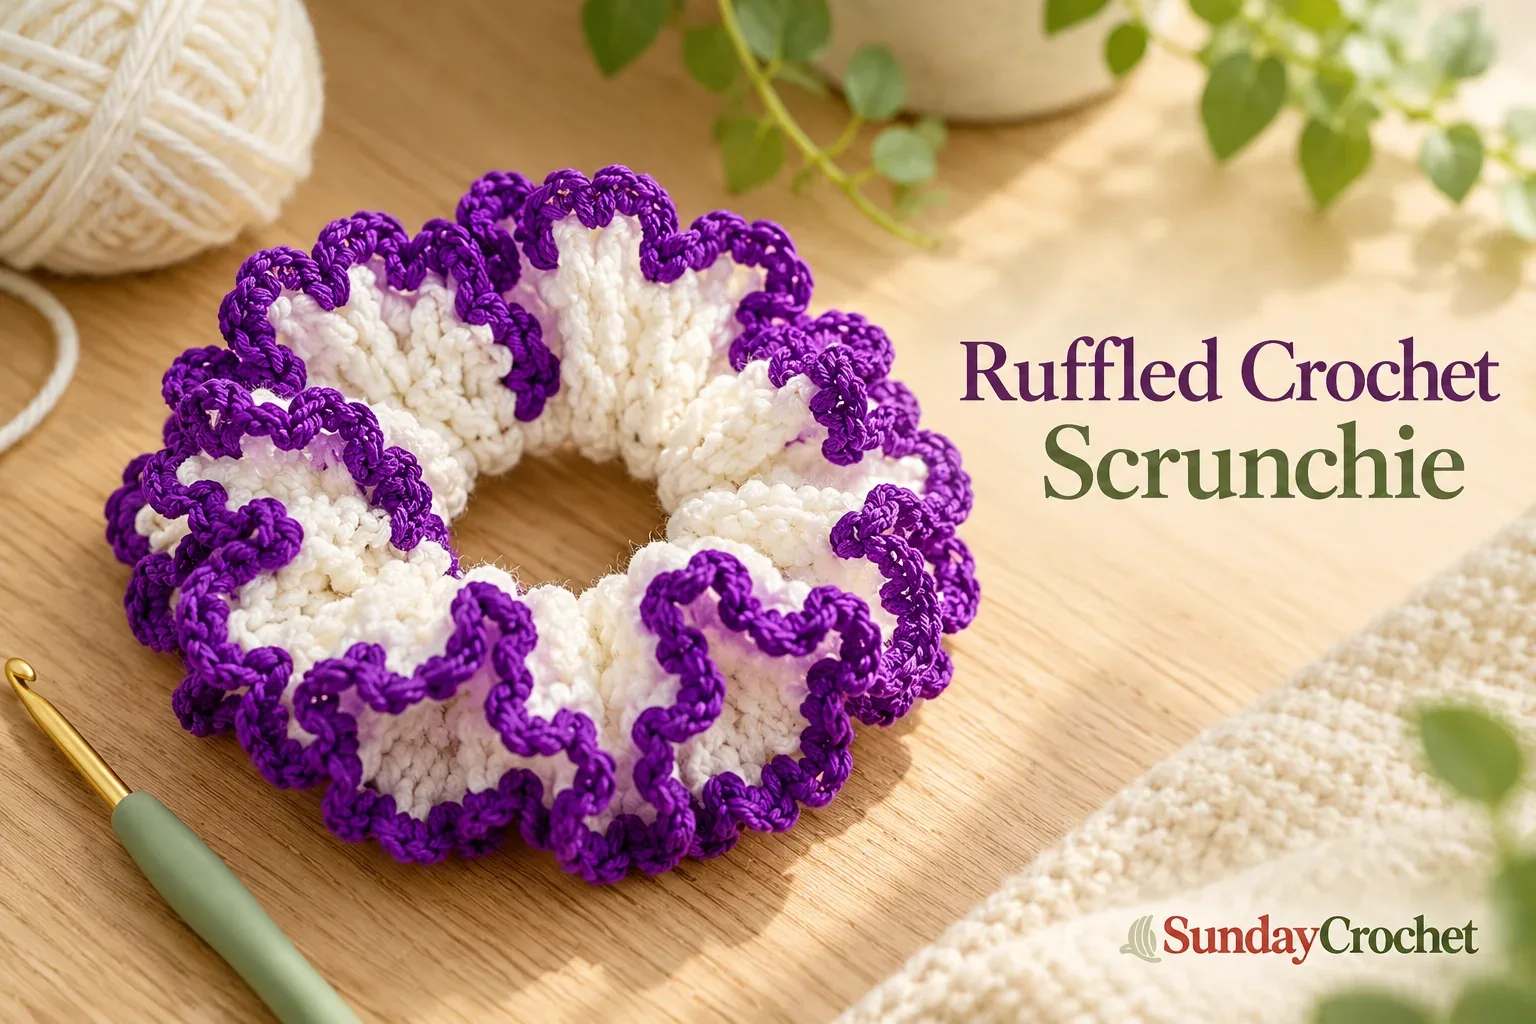
A gathered white crochet ruffle and violet chain-loop edge dress up a simple hair elastic. · Sunday Crochet
In this pattern
01 · A flower-like ruffle for your hair02 · Yarn & tools03 · Before you begin04 · The pattern05 · Counting and shaping notes06 · Common questions07 · A small project you can make your ownA flower-like ruffle for your hair
A crochet scrunchie is a useful little project when you want to turn a plain hair elastic into something colorful and handmade. This version begins with a layer of single crochet worked around elastic hair ties, grows into a generous ruffle, and finishes with a contrasting row of chain loops. The dense rounds give it a soft, flower-like outline without asking you to make separate petals.
I’ll show you how I work it in six rounds and how I keep track of the stitches as the ruffle grows. The instructions use US crochet terms: single crochet, double crochet, chain, and slip stitch. Yarn weight, hook size, gauge, finished measurement, and a fixed number of stitches around the elastic are not specified. Those counts depend on your materials and how tightly you crochet, so this pattern explains what to count and where each increase goes rather than assigning an invented number.
Yarn & tools
The sample uses a light main color and a vivid purple edge. You can use any colors you like; a contrasting edging makes the chain loops easier to see. The hook and yarn size are not specified, so choose a combination that lets you work evenly around the elastic without forcing the hook through tight stitches. A beginner stitch refresher can help if single crochet, double crochet, or slip stitches are new to you.
Before you begin
Place the two elastics together as one ring and crochet around both. Using two is recommended for a steadier base: the pair is less likely to twist while you work and gives the finished scrunchie a firmer foundation. Make sure both rings are aligned before you begin covering them.
The first round is the only round whose stitch count you choose as you work. Crochet enough single crochets around the paired elastics to cover them completely, placing each new stitch close to the last. There is no target number because elastic circumference, yarn thickness, hook size, and tension all change how many stitches fit. Count your own Round 1 stitches if you want to make a matching pair later.
The remaining rounds are joined. A slip stitch closes each round; the next round begins from that join. Put a marker in the first stitch if the join is hard to see, and move it as you go. In this pattern, a “space between double crochets” means the visible gap between neighboring stitch posts from the previous round. The ruffle rounds work into those gaps rather than into the tops of the stitches. If you need a reminder of written abbreviations and repeat notation, a short pattern-reading guide explains the usual terms.
The pattern
Round 1: Cover both elastics
With the main color, begin on the two aligned elastics and work single crochet stitches around the pair, carrying the short starting tail alongside the elastics so the stitches crochet over it and secure it. Continue around until the elastic is fully covered and the stitches sit evenly together.
There is no set chain or stitch count for this round. The instruction is to cover the elastics, not to reach a particular number. If the covered section seems loose partway around, push the crocheted fabric along the elastic toward the right to make room, then continue around. Keep the elastic underneath the stitches and avoid stretching the crochet so tightly that the band can no longer gather.
Before moving on, look around the full ring. You want the elastics mostly hidden, with no long bare section and no dense clump where several stitches have been forced into too little space. Count the single crochets now if you would like a personal reference number; another maker using a different yarn or elastic may need a different count.
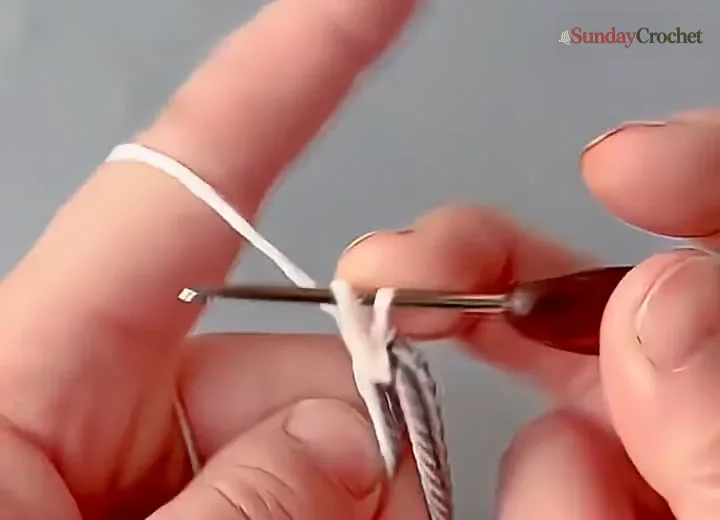
Keep the paired elastics aligned as you cover them with single crochet.
Round 2: One double crochet in each stitch
Join to the first single crochet with a slip stitch. Work one double crochet in each single crochet around, with no increases or decreases. Close the round with a slip stitch.
This even round forms a short upright band above the elastic. Count one double crochet for every stitch from Round 1, so if you made N single crochets, Round 2 has N double-crochet placements. Follow your own count and check that you have not accidentally worked twice into one stitch. The fabric should still sit as a band here; the pronounced ruffle comes in the next three rounds.
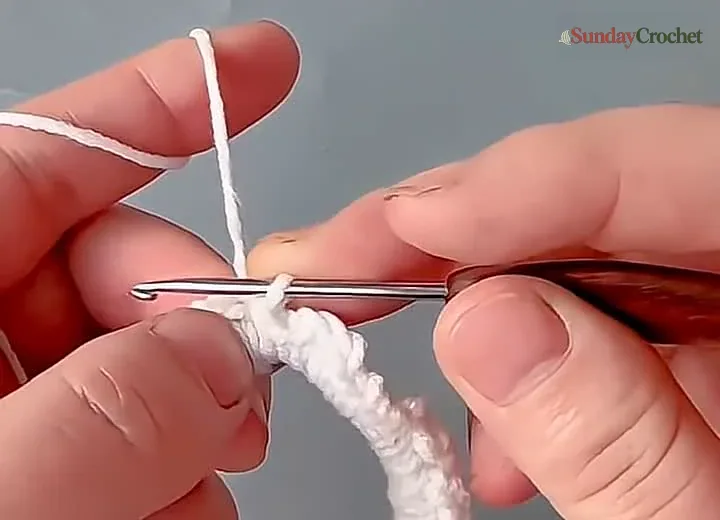
Work one double crochet into each stitch of the covered elastic round.
Round 3: Begin the ruffle
Chain 3 to begin. Do not work into the same stitch directly below the chain. Instead, find the larger gap between the double-crochet stitches from Round 2. Work 2 double crochets in that gap. Continue around, placing 2 double crochets in every gap between neighboring stitches. Join the round with a slip stitch.
The two stitches in each gap are increases: they add fullness around the ring. Take care to identify the gaps consistently. The top loops at the stitch heads are easy to see, but the pattern calls for the open spaces between the posts. Work around at a steady pace and use the same kind of space for every repeat so the ruffle grows evenly.
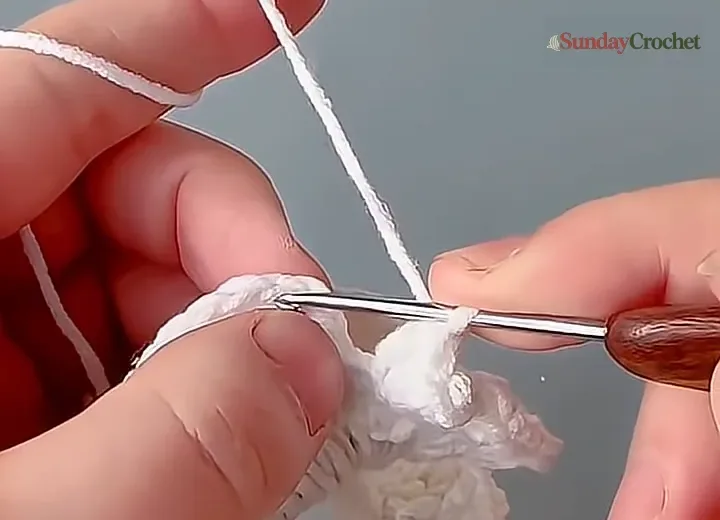
For the ruffle rounds, work into the gap between stitch posts rather than into their top loops.
Round 4: Add the second ruffle round
Chain 3, then repeat the Round 3 placement: 2 double crochets in every gap between the double crochets from Round 3. Continue all the way around and join with a slip stitch.
The new round expands the edge again, so the fabric will begin to curl into folds. That is expected for a ruffle. If it lies more like a flat circle, double-check that you worked both double crochets in each gap rather than one stitch in each stitch top. If it puckers into a tight cup, check that you did not miss gaps or pull the working yarn unusually tight.
Round 5: Finish the main ruffle
Chain 3 and work 2 double crochets in every space between the previous round’s double crochets, just as in Rounds 3 and 4. Work around and close the round with a slip stitch.
This is the third consecutive increase round. The ruffle should now be wide enough to frame the elastic with a full, gathered look. Because each round adds stitches into the spaces of the round before it, the edge grows quickly. If you are recording counts, count the actual stitches you made at the end of each round. Crochet patterns vary in whether the starting chain is included in the stitch total; no counting convention is specified here, so keeping your own count makes it easier to repeat your exact version.
Round 6: Add the chain-loop edging
After closing Round 5, work a slip stitch, leave a long tail of the main color, and cut the yarn. Join the contrasting color where the main-color tail was left. Chain 5, skip 1 stitch, and slip stitch into the next stitch. Repeat this sequence around: chain 5, skip 1 stitch, slip stitch in the next stitch.
Keep each chain loop relaxed enough to arc over the ruffle. The chain-5 loops form the scalloped outside edge, while the skipped stitch leaves space between their anchors. Continue the same repeat until the edging reaches its starting point. Join to the first stitch, chain 1, and cut the contrasting yarn. The number of loops depends on the stitch count around your Round 5; following the skip-one, anchor-in-the-next rhythm is the useful guide.
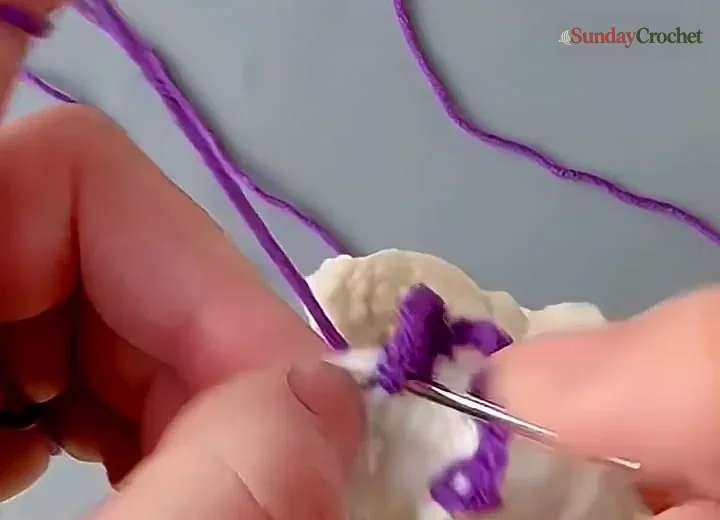
The contrasting chain loops form the final scalloped edge.
Take the long main-color tail left earlier, tie it firmly as shown by the pattern sequence, and trim the excess. Check that the contrasting edge is joined and that the elastic remains free to stretch. No exact finished diameter is specified, so judge the fullness by how the ruffle sits around your own elastic.
Counting and shaping notes
The most helpful count to write down is the number of single crochets you used in Round 1. Call that number N. Round 2 then has one double crochet placement for each Round 1 stitch. In Rounds 3, 4, and 5, the instruction stays the same: two double crochets in each gap from the previous round. The number of stitches therefore grows rapidly, but the exact final total depends on how you count the starting chain at each joined round. Record your actual totals if you want to reproduce the same size.
For the final edge, each repeat advances two base stitches: one is skipped and the next receives the slip-stitch anchor. This means the chain-loop count is roughly half the number of stitches around the edge, with the final join depending on how the count meets the beginning. Do not add or remove loops just to match someone else’s number; keep the repeat consistent and finish neatly at the start.
If your elastic rotates as you work, pause and line the two bands back up before adding more stitches. If they begin to show through, continue covering the exposed section rather than forcing the round to end at a target count. If the ruffle looks uneven, inspect the spaces around the round and make sure each one received two double crochets. You can also compare your progress with another small gift project, such as a little crocheted charm, when choosing a matching color palette.
Common questions
How many stitches should I make in the first round?
There is no fixed count. Work enough single crochets around both elastics to cover them evenly. The number changes with the elastics, yarn, hook, and tension. Count your own stitches if you want to repeat the same size.
Why use two elastic hair ties?
The directions recommend two because they are less likely to twist during crocheting and create a firmer base. Align them together before you start and keep them paired as you cover them.
What does “2 double crochets in each space” mean?
Look at the posts made by the previous round’s double crochets. Insert the hook into the open gap between neighboring posts and work two double crochets there. Repeat in each gap around; do not substitute two stitches into every stitch top.
How many rounds make the ruffle?
Rounds 3, 4, and 5 repeat the same increase: two double crochets in each gap. Round 2 is the plain round, and Round 6 adds the chain-loop edging, for six rounds altogether.
What yarn weight and hook size should I use?
Neither is specified. Choose a yarn and a compatible hook that make it comfortable to crochet around the elastics. Your choices affect the finished size and how densely the base is covered, so use your own Round 1 count as your guide.
Can I make the edging in the same color?
Yes. The pattern changes to a contrasting color for the final round, but the chain-5, skip-1, slip-stitch repeat can be worked in the main color if you prefer a single-color scrunchie.
A small project you can make your own
This scrunchie is built from a simple progression: cover the paired elastics, work one even round, add three rounds of increases, and finish with chain loops. The fixed parts are the stitch sequence and the six-round structure; the foundation count and finished size are yours to determine from your materials. Once you have your own count recorded, the same method is easy to repeat in another color combination for a coordinated set.


