
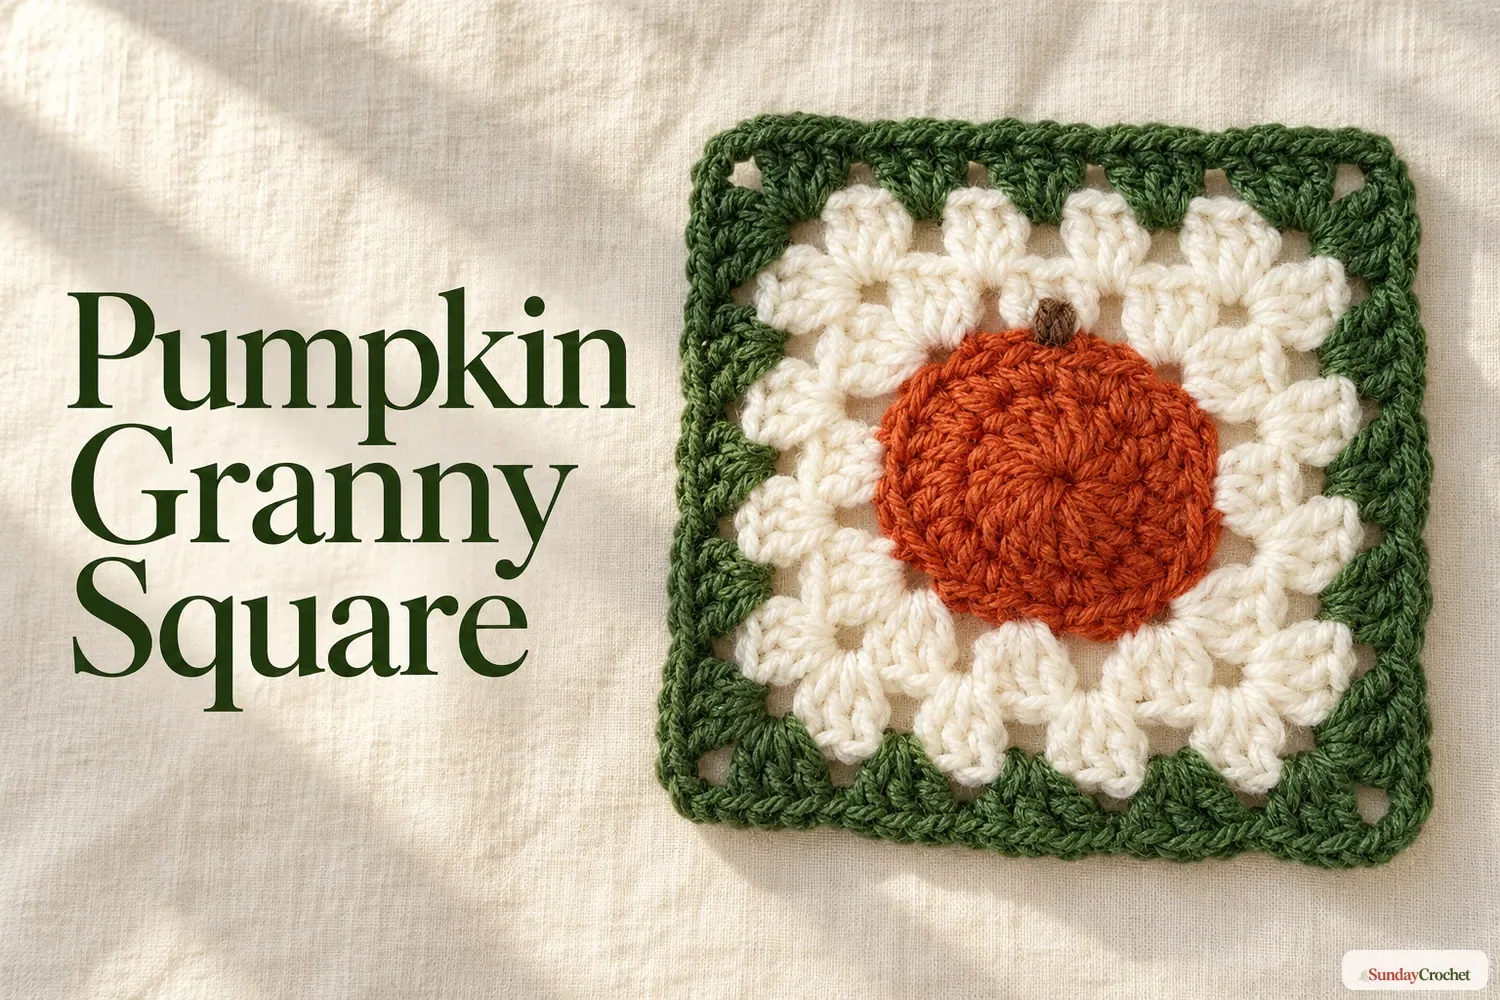
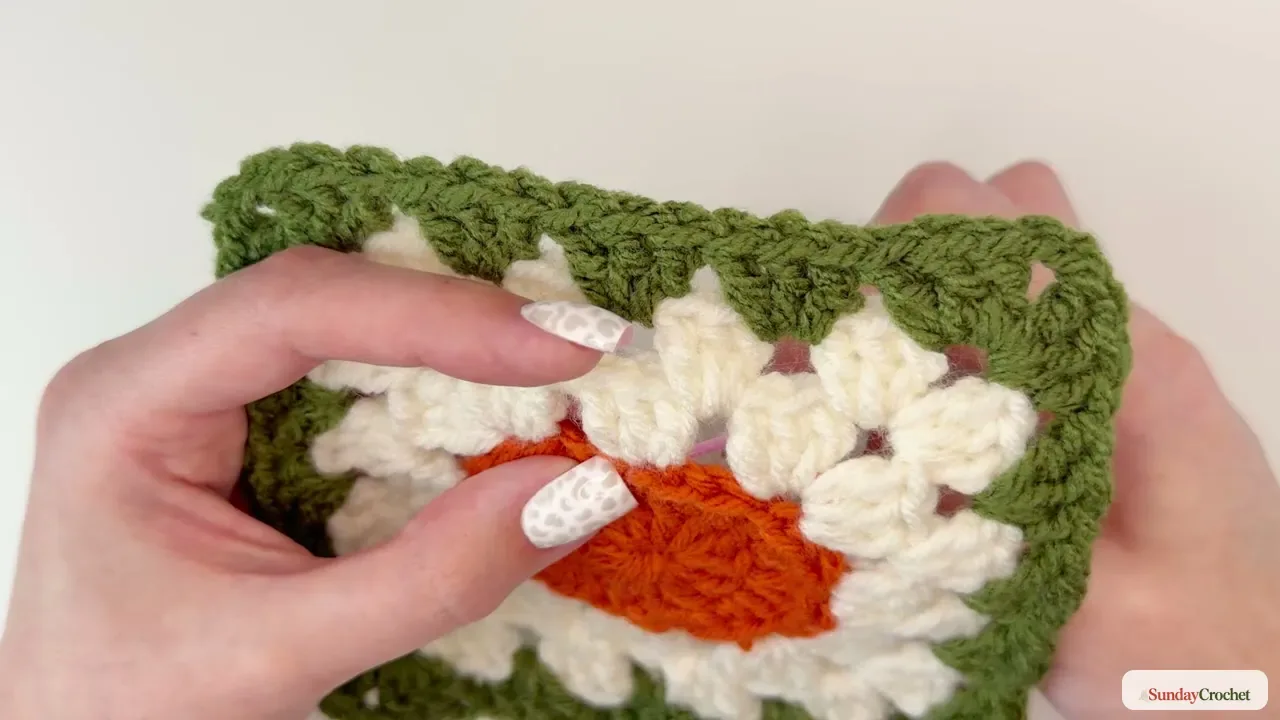
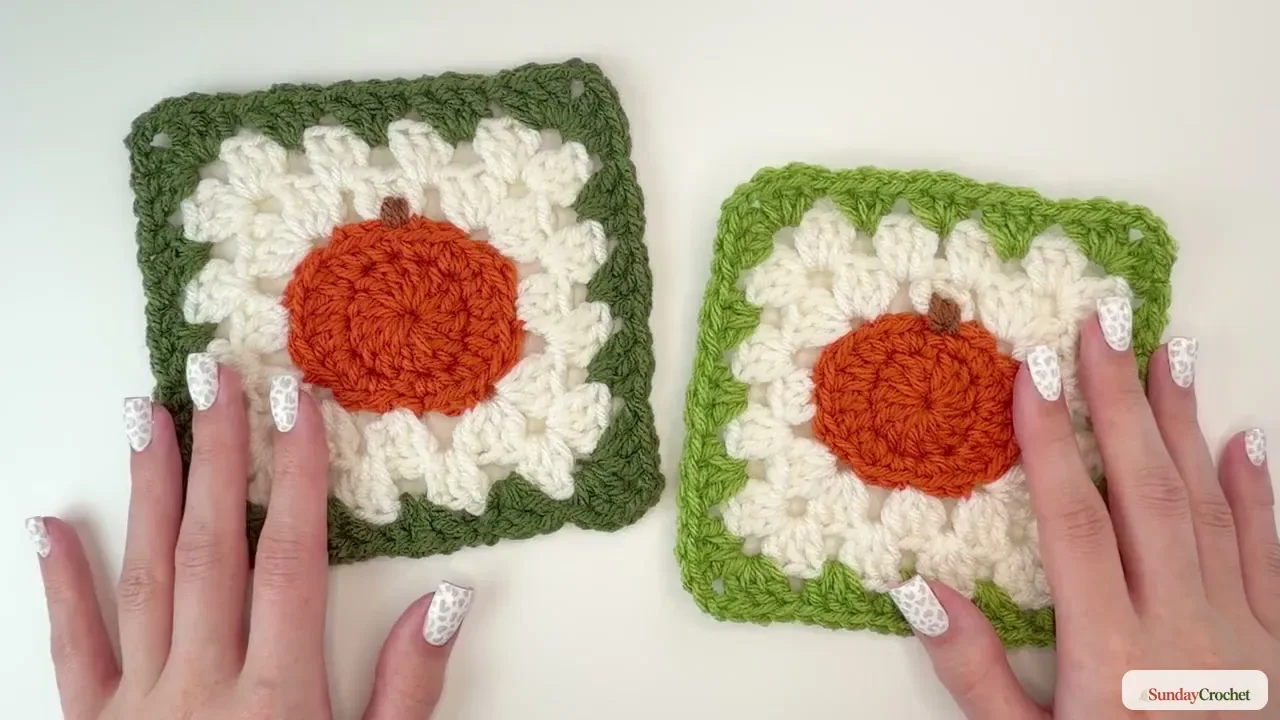
The finished motif layers a shaped orange pumpkin, a cream stitch ring, and a forest-green border. · Sunday Crochet
In this pattern
01 · A pumpkin with a granny-square frame02 · Yarn & tools03 · Before you begin04 · The pattern05 · Keep the square flat06 · Color and size choices07 · Common questionsA pumpkin with a granny-square frame
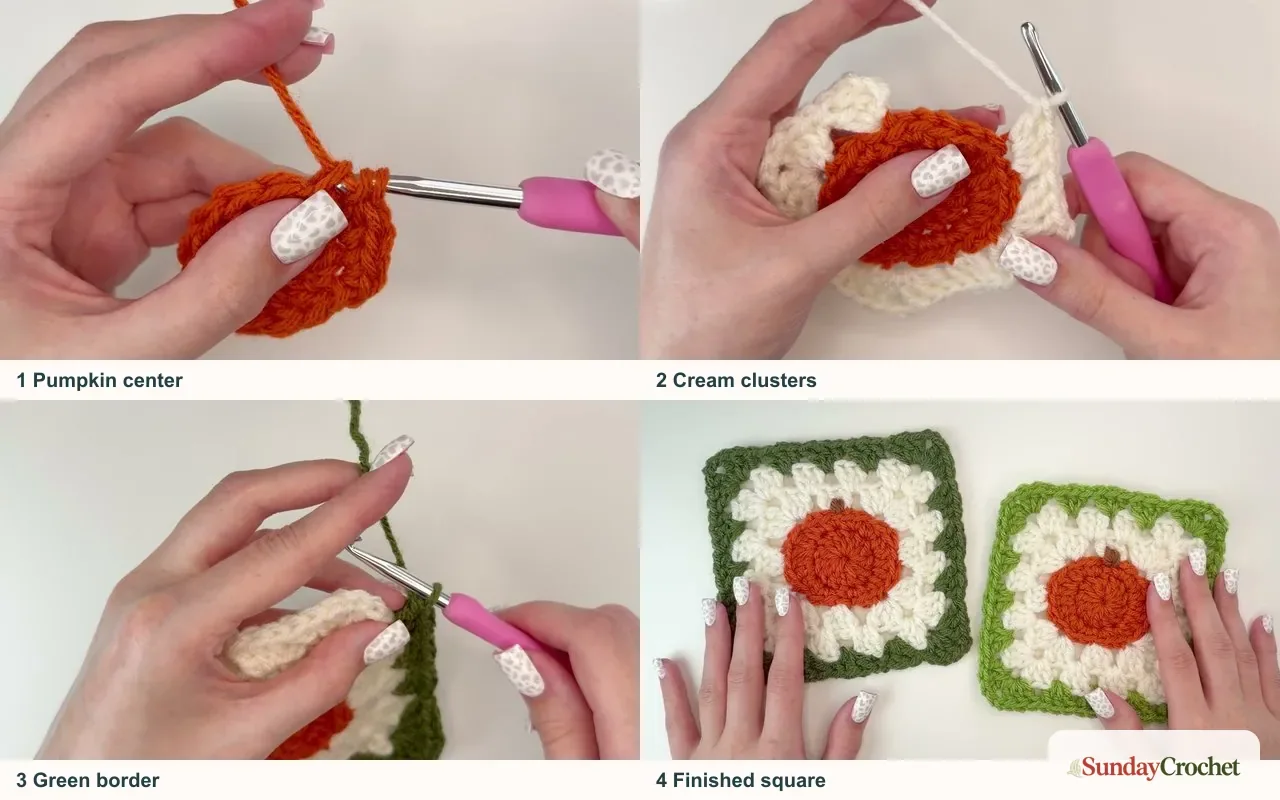
This pumpkin granny square begins as a small orange circle, then takes shape with different stitch heights before a cream cluster round and a green granny-stitch border turn it into a square. A short brown stem completes the pumpkin. It is a handy seasonal motif for a blanket, wall hanging, cushion, or other project that calls for individual squares.
I’ll show you how I do this from the adjustable center through the final border, with stitch counts for each round and clear color changes. The pattern uses US terms, and the samples measure about 5 inches square with a 5 mm hook or 5.5 inches square with a 5.5 mm hook. Your own tension and yarn can change those measurements.
Yarn & tools
The sample uses acrylic yarn, but the same motif can be worked in another fiber. No yarn brand, yardage, or gauge is specified, so gather enough yarn for your chosen square and treat the finished measurements as a guide rather than a guarantee. Using the same yarn weight for each color helps the rounds sit evenly. If you are substituting yarn, the notes on fiber and yarn weight can help you compare options.
Before you begin
This is a small, joined-round project. You will use chain stitches, slip stitches, single crochet, half double crochet, double crochet, and granny clusters. The shaped orange center uses increases rather than a single repeated stitch, so keep track of each stitch as you work. A stitch marker at the first stitch can help, though the sample joins each round with a slip stitch.
The instructions spell out stitch names in US terminology. In short, ch means chain, sl st means slip stitch, sc means single crochet, hdc means half double crochet, and dc means double crochet. A turning or starting chain counts only when the round says that it does. For a refresher on reading abbreviations and repeats, the pattern-reading basics are useful before you begin.
The starting ring can be a traditional magic ring or the chain-four ring described below. The chain-four version is a little easier to handle if you prefer not to tighten a sliding loop. Either way, work the first round into the center opening, then pull the yarn tail to close the gap before moving on.
The pattern
Foundation: make the center ring
With orange yarn, make a slipknot and chain 4. Join the first and last chains with a slip stitch to form a small ring. Keep the center opening loose enough to fit the first round of stitches. If you already know how to make a magic ring, you can use that instead and begin Round 1 directly.
Round 1
Chain 2. This beginning chain gives height but does not count as a stitch. Work 12 double crochet into the center of the ring. Join with a slip stitch to the top of the first double crochet, skipping the starting chain. Pull the center tail snug so the opening closes. Count: 12 dc.
Round 2
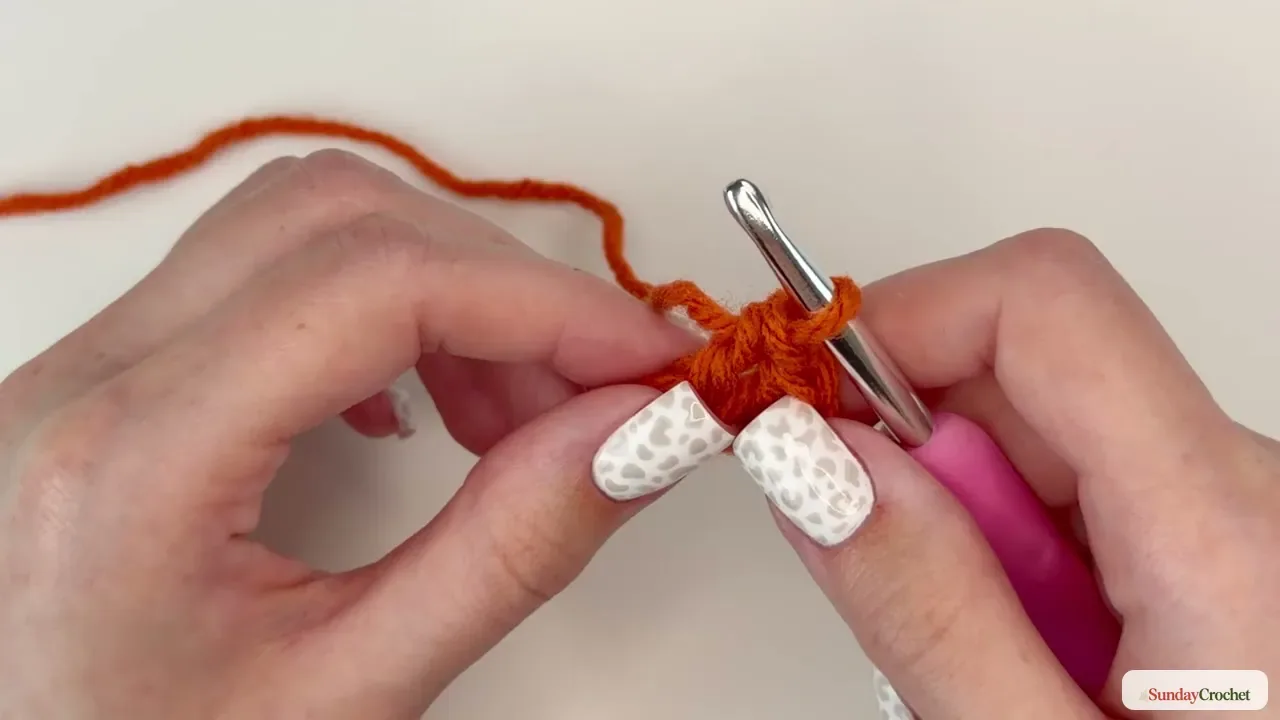
Chain 1, not counted as a stitch. Work two stitches into every stitch around, following the stitch-height sequence that creates the pumpkin’s rounded shape: two single crochet in the first stitch, two half double crochet in the next, two double crochet in each of the next two, two half double crochet in the next, and two single crochet in the next. Repeat that six-stitch sequence once more around. Join to the first single crochet with a slip stitch. Count: 24 stitches, worked as 8 sc, 8 hdc, and 8 dc.
Round 3
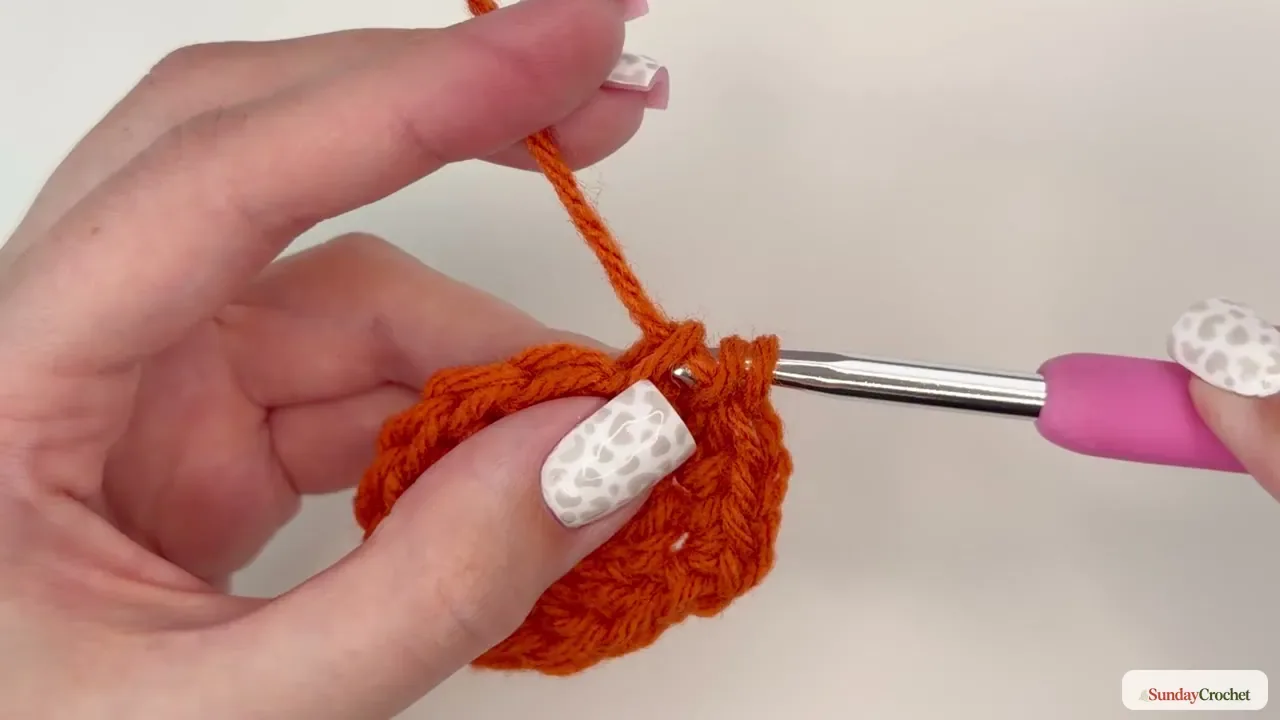
Join cream yarn in the same stitch used for the Round 2 slip stitch, then work through the back loop only for this round. Chain 3; it counts as the first double crochet. Make 2 more dc in the same stitch to finish the first 3-dc cluster. Skip the next 2 stitches, then work 3 dc in the third stitch. This begins the first side of the square.
At the next cluster position, make 3 dc in the same back loop, chain 2, and make 3 more dc in that same stitch. This double cluster with a chain-two gap forms a corner. Skip the next 2 stitches and make 3 dc in the third stitch for the next side. Continue around, alternating a single 3-dc cluster at the middle of each side with a corner made from 3 dc, chain 2, and 3 dc in one stitch. The four corners each use one stitch from Round 2, and the four side centers each use one stitch. Join to the top of the starting chain-3. Count: 36 dc in 12 clusters, with 4 chain-2 corner spaces.
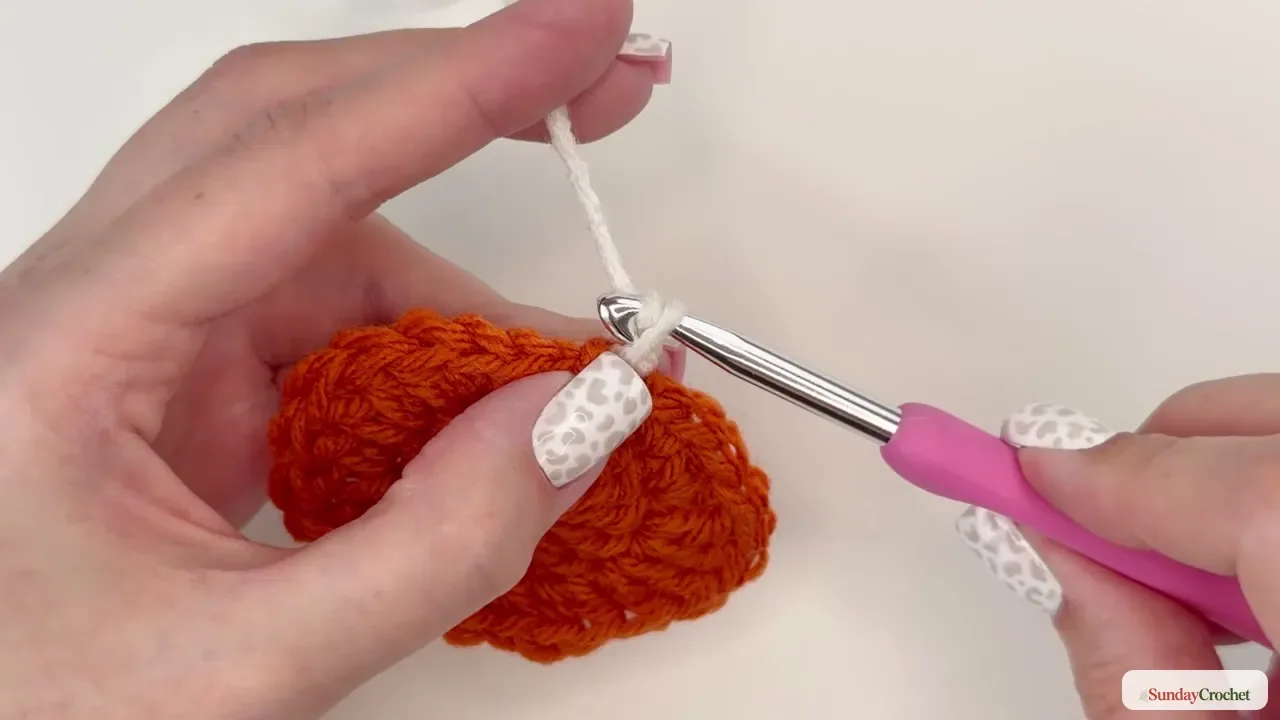
This round uses the back loops so the new cream clusters sit around the orange center while a clean line of unused front loops remains visible. Keep the chain-two gaps open at the corners. Those gaps are the turning points for the green edging, so they need room for the corner clusters in the next round.
Round 4
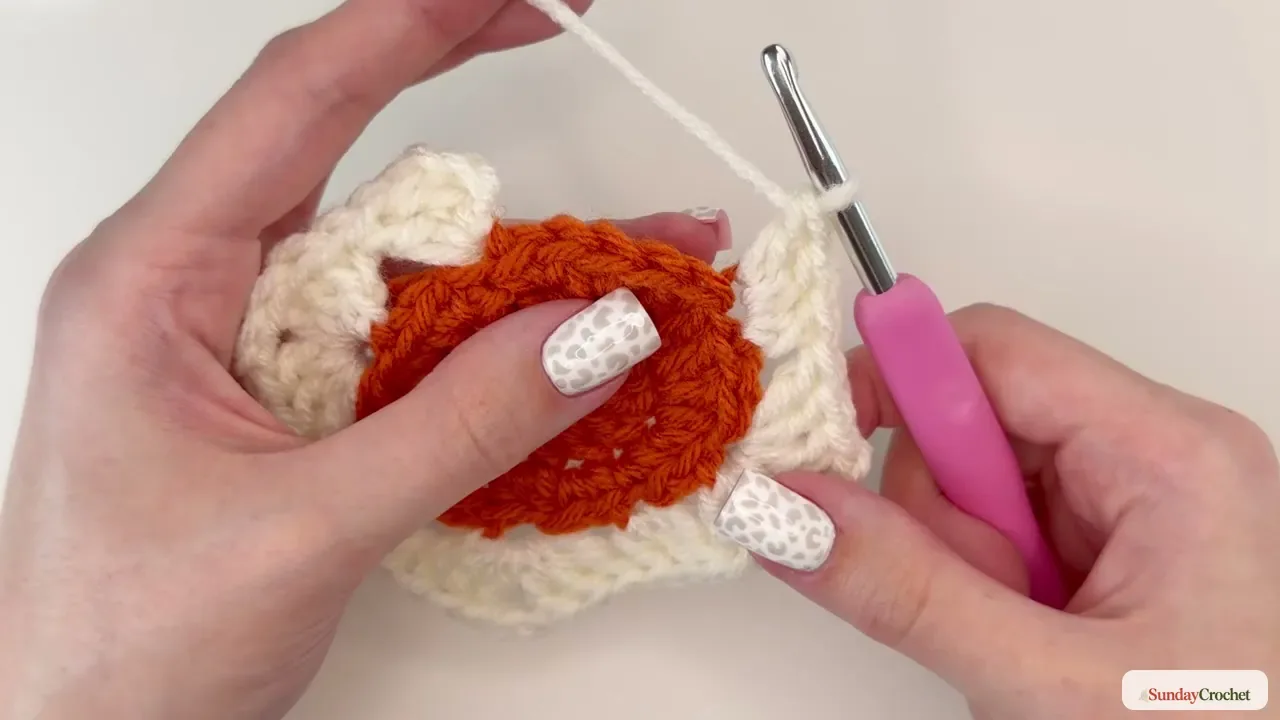
Stay with cream yarn. Before starting, slip stitch across to a gap between two double-crochet clusters in Round 3. Chain 3; this counts as the first dc. Make 2 dc in that same gap to complete a 3-dc cluster. Work the corner in the next chain-2 space: make 3 dc, chain 2, then make 3 dc in that same corner space. Along the straight side, work 3 dc into each of the next 2 spaces. At each of the remaining corners, repeat 3 dc, chain 2, 3 dc in the chain-2 space, then make 3 dc in each of the 2 spaces along the following side. Finish with 3 dc in the last side space and slip stitch to the top of the starting chain-3. Count: 48 dc in 16 clusters, plus 4 chain-2 corner spaces.
Fasten off the cream yarn by chaining 1, cutting the yarn, and pulling the tail through the loop. You can weave the tail in now or leave it at the back until the border is finished.
Round 5
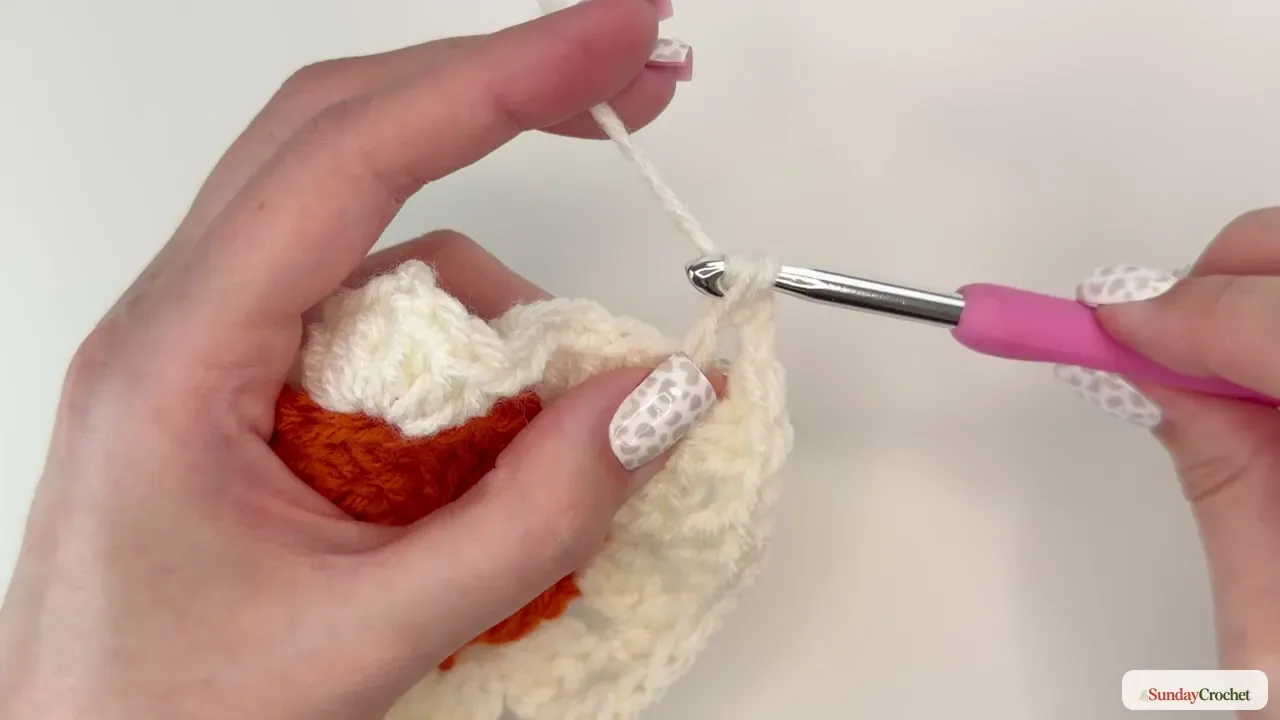
Join green yarn in a gap between clusters on the edge. You may choose any gap; if you are continuing with the same yarn as Round 4, slip stitch across to the nearest one first. Chain 3, counting it as the first dc, then make 2 dc in that space. In the next corner chain-2 space, make 3 dc, chain 2, and 3 dc. Work 3 dc into each of the next 3 spaces along the side. Repeat the corner and side sequence around: each corner gets 3 dc, chain 2, 3 dc, and each side has 3 dc in each of its 3 spaces. Join with a slip stitch to the top of the starting chain-3. Count: 60 dc in 20 clusters, plus 4 chain-2 corner spaces.
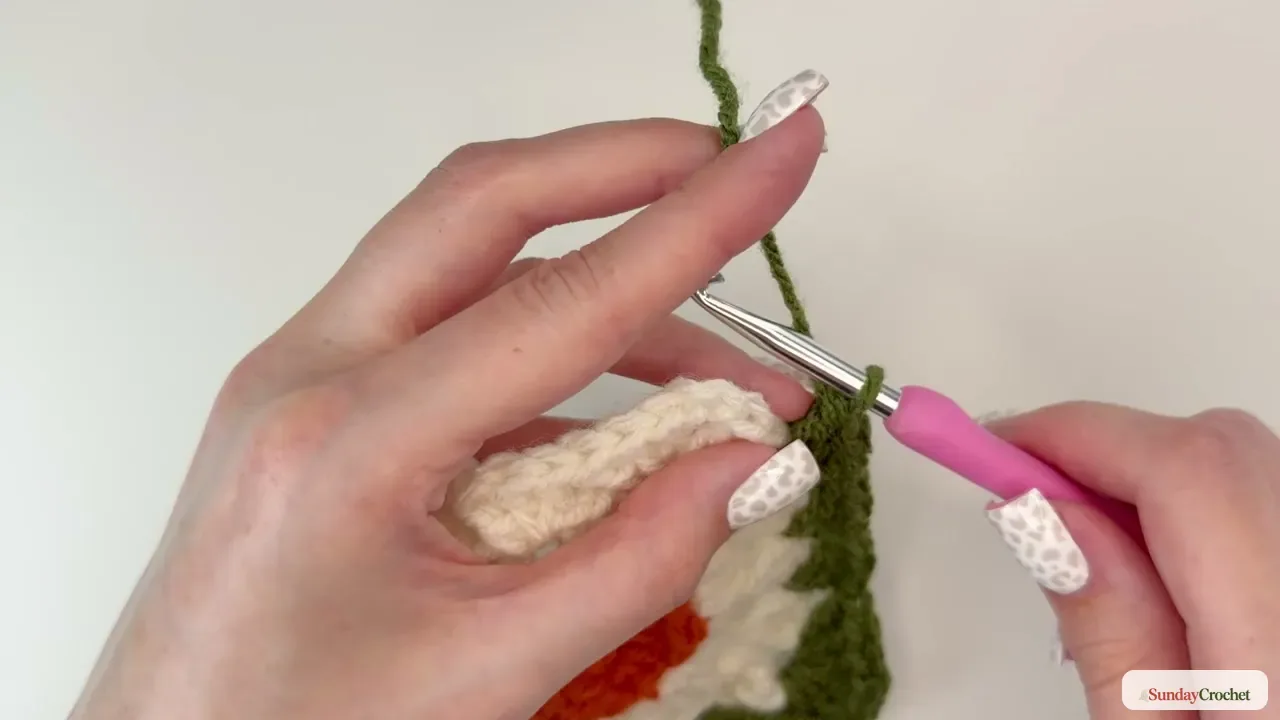
Fasten off the green yarn and weave in the tails with a tapestry needle. To add the brown stem, thread a small amount of brown yarn onto the needle and embroider a short stem at the top of the orange pumpkin, just above its center. Sew through the top middle stitch of the orange section, using the middle double crochet as your center point. Repeat the small stitches until the stem is as tall as you like, then secure the yarn at the back.
Keep the square flat
The shaped center and the square border do different jobs. Round 2 builds the pumpkin’s gently oval outline with taller stitches across the middle and shorter stitches toward its ends. Round 3 then changes direction at four evenly spaced corners. The result should look like a circle being squared off, not a perfect circle and not a rigid box yet.
As you work, lay the motif flat every few clusters. The chain-two space should sit at each corner, with one 3-dc cluster centered along each side between corners. If the work cups, check that you did not miss a cluster or pull the corner chains too tightly. If it waves, check that you placed the side groups into the intended stitches rather than adding extra groups. The pattern uses the stitch sequence and corner placement to make the shape, so a small count check is more useful than pulling the fabric into place.
Color and size choices
The pictured samples use orange for the pumpkin, cream for the surrounding clusters, green for the border, and a little brown for the stem. You can change those colors while keeping the stitch sequence. A light cream makes the center stand out and gives the clusters a petal-like look, while a darker green creates a clear frame. If you are building a set of seasonal motifs, the same framed-square idea works alongside another Halloween square with a contrasting center.
The sample made with a 5 mm hook measures about 5 by 5 inches. A second sample with a 5.5 mm hook measures about 5.5 by 5.5 inches. Those are examples, not promised dimensions. Yarn thickness, fiber, and personal tension all affect the result. No gauge or yarn quantity is listed, so use the hook size that makes a comfortable fabric with your yarn and measure your own square after the border is complete.
Common questions
Can I use a magic ring instead of chain 4?
Yes. The chain-four ring is the beginner-friendly alternative shown here. If you prefer a traditional adjustable magic ring, make one and work Round 1 into its center. Close the ring after the first round so the pumpkin center does not leave an open hole.
What does “back loop only” mean?
The top of a crochet stitch forms a small V with two loops. The front loop is the one nearest you; the back loop is the one farther away. For Round 3, insert the hook under only the back loop of each stitch. This leaves the front loop visible along the pumpkin’s edge.
Why does my pumpkin center look a little oval?
That is part of the shaping. Round 2 uses single, half-double, and double crochet increases in sequence, so the stitch heights vary around the center. This gives the orange section its pumpkin-like outline before the cream clusters and green corners turn it into a square.
How can I make the finished square larger?
The demonstrated samples use 5 mm and 5.5 mm hooks and measure about 5 inches and 5.5 inches square. A larger hook can make a larger motif with the same stitch counts, but it also changes the fabric. Keep your tension comfortable and check the finished size before planning a larger project around the square.


