· Sunday Crochet
In this pattern
01 · A soft beanie with a fuzzy halo02 · Yarn & tools03 · Before you begin04 · The pattern05 · Assembly and finishing06 · Common questionsA soft beanie with a fuzzy halo
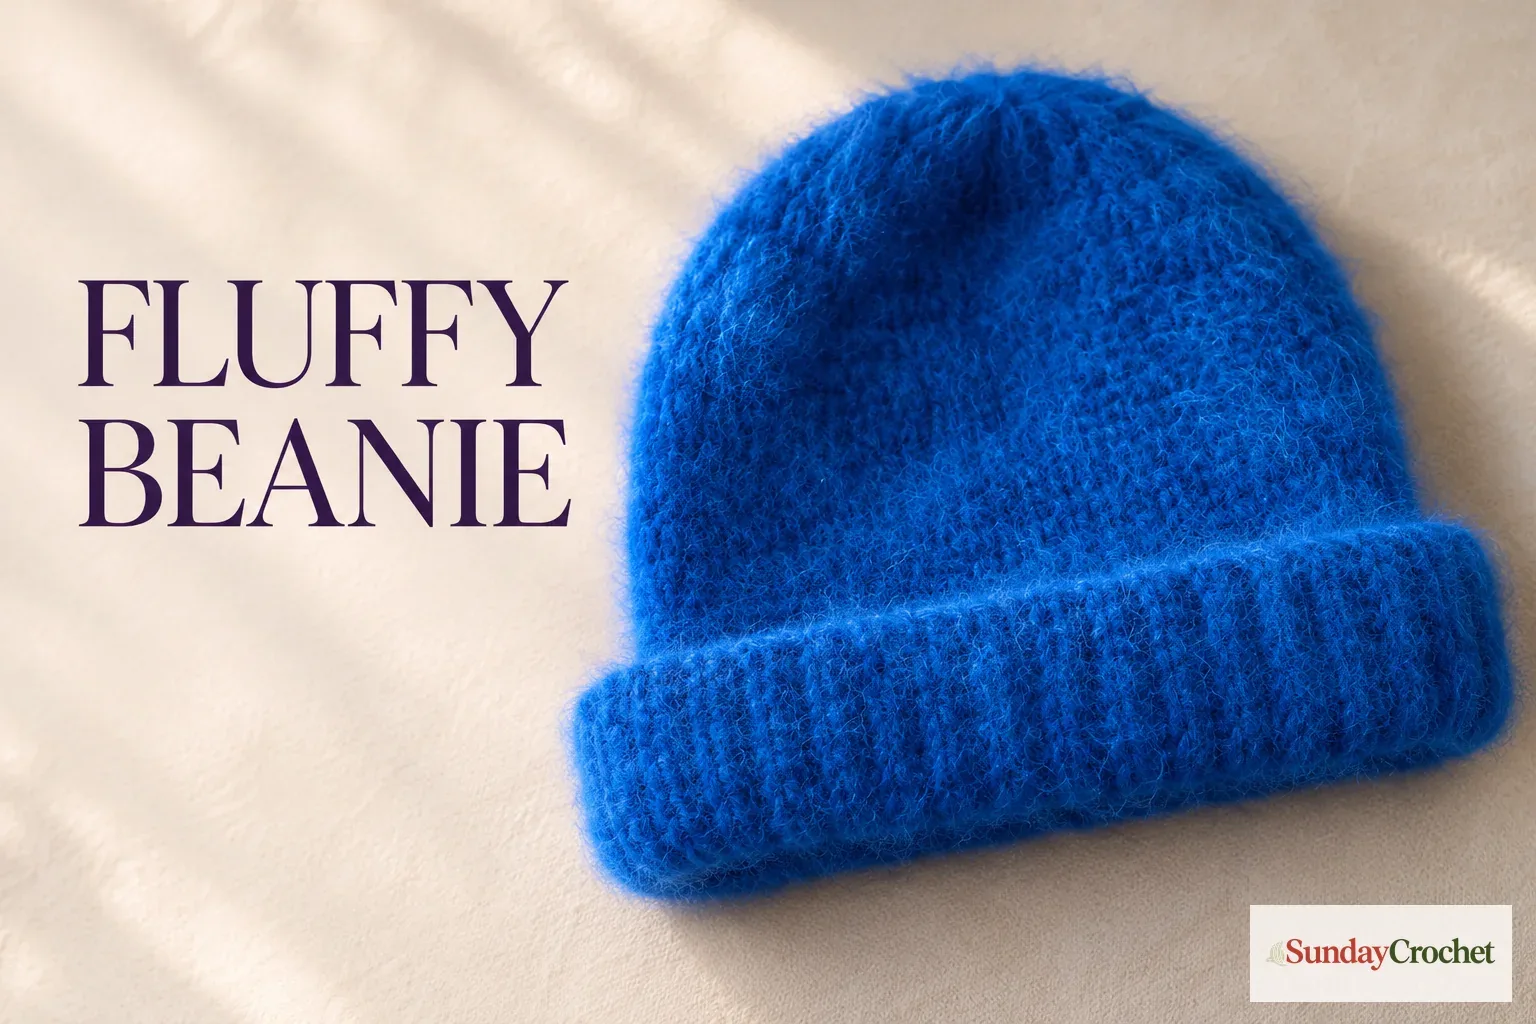
This fluffy crochet beanie starts as a flat panel worked in short rows, then the two edges are sewn together and the crown is gathered closed. The base fabric uses slip stitches through the back loop, while a strand of fuzzy lace-weight yarn is held alongside DK yarn to create a soft halo. The sample is brushed after assembly for extra fluff.
I’ll show you how I work the 20-row shaping repeat, join the panel neatly, and finish the crown. This is an adult sample, but the fit depends on your yarn, tension, and how many repeats you make. Check the panel against the wearer as you go.
Yarn & tools
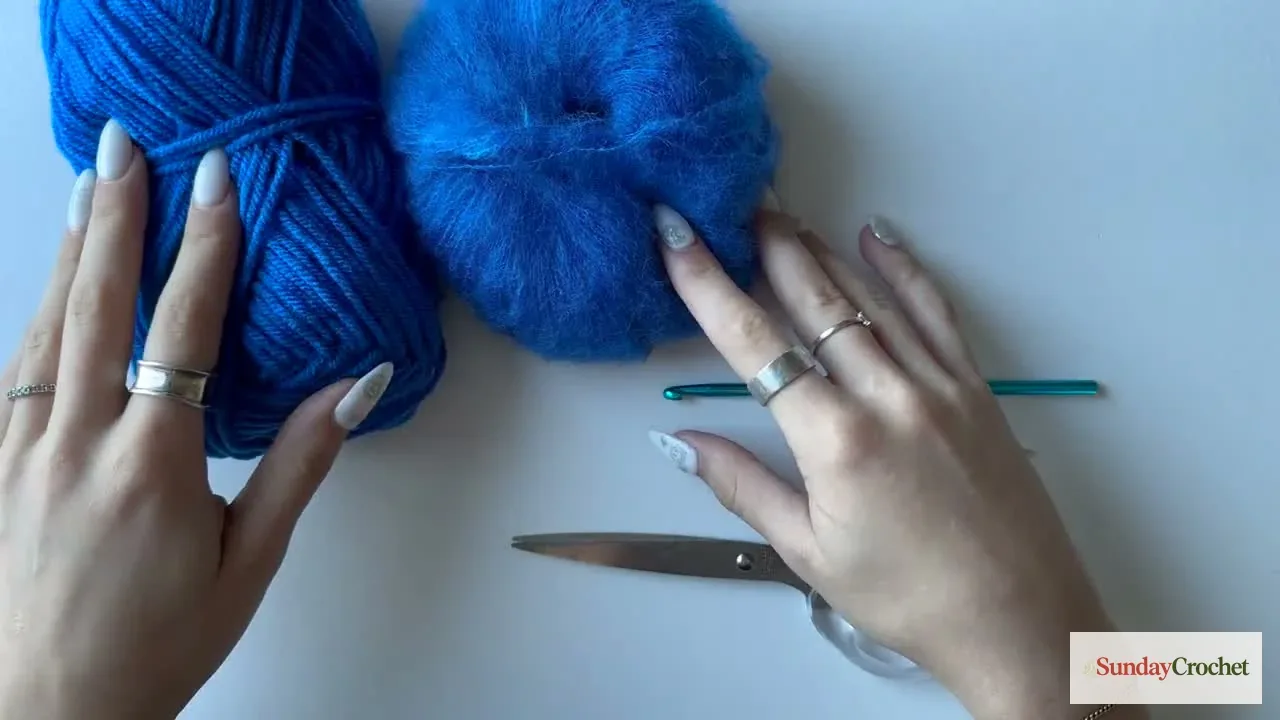
Hold the two yarns together as if they were one strand from the slip knot through the final row. The fuzzy yarn can make the loops harder to see, so place one marker in the first stitch and one in the last stitch of every row. Move both markers up as you work. This simple habit helps prevent the panel from narrowing by accident.
The hook size is the one used for the sample, not a gauge guarantee. If you change yarn or hook, make a small swatch and check that the slip stitches are easy to enter. Tight slip stitches are especially difficult to work into on the next row. If pattern abbreviations feel unfamiliar, this guide to reading written crochet instructions explains how to follow them.
Before you begin
This pattern uses US crochet terminology. It is made in rows, not joined rounds. The turning chain is for height and does not count as a stitch. After the foundation row, work through the back loop only (BLO) for every slip stitch. To identify it, look at the top of a stitch after turning: the two loops form a small V. The loop farther from you is the back loop.
| Abbreviation | Meaning |
|---|---|
| ch | chain |
| sl st | slip stitch |
| BLO | back loop only |
| rep | repeat |
Sample size: about 20 cm wide by 24 cm long, as described for the finished sample. The sample is presented as one size for most adult women, but heads and preferences vary. The 43-chain foundation controls the height of the beanie panel; additional repeats add length around the head. Wrap the panel around the wearer before joining and add or remove a full repeat to adjust the fit.
Gauge: not provided. There is no measured stitch or row gauge, so I have not supplied one. Use the sample dimensions only as a reference and rely on a try-on for fit. For help comparing yarn labels when choosing a substitute, see this guide to yarn weights.
The pattern
Keep both strands together throughout. Make slip stitches snug enough to form an even fabric, but loose enough that you can insert the hook through the back loop on the next row. Place a marker in the first and last stitch as soon as you can see them clearly.
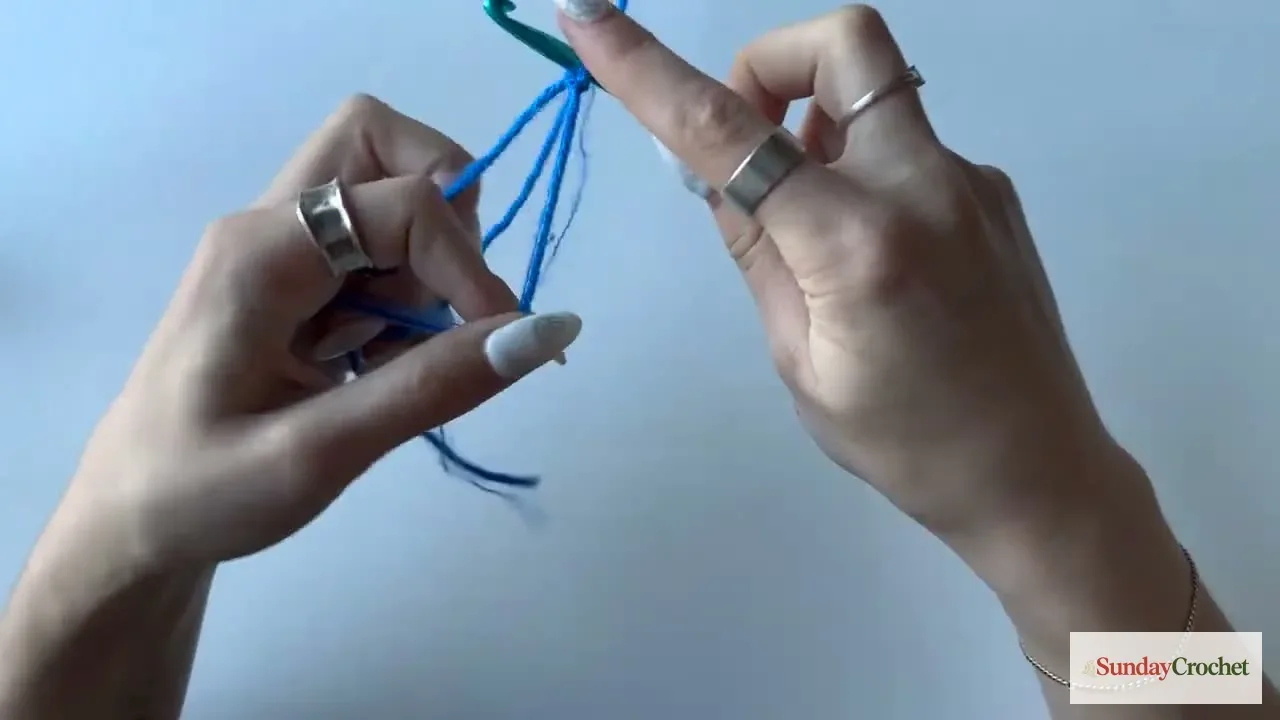
Row 1
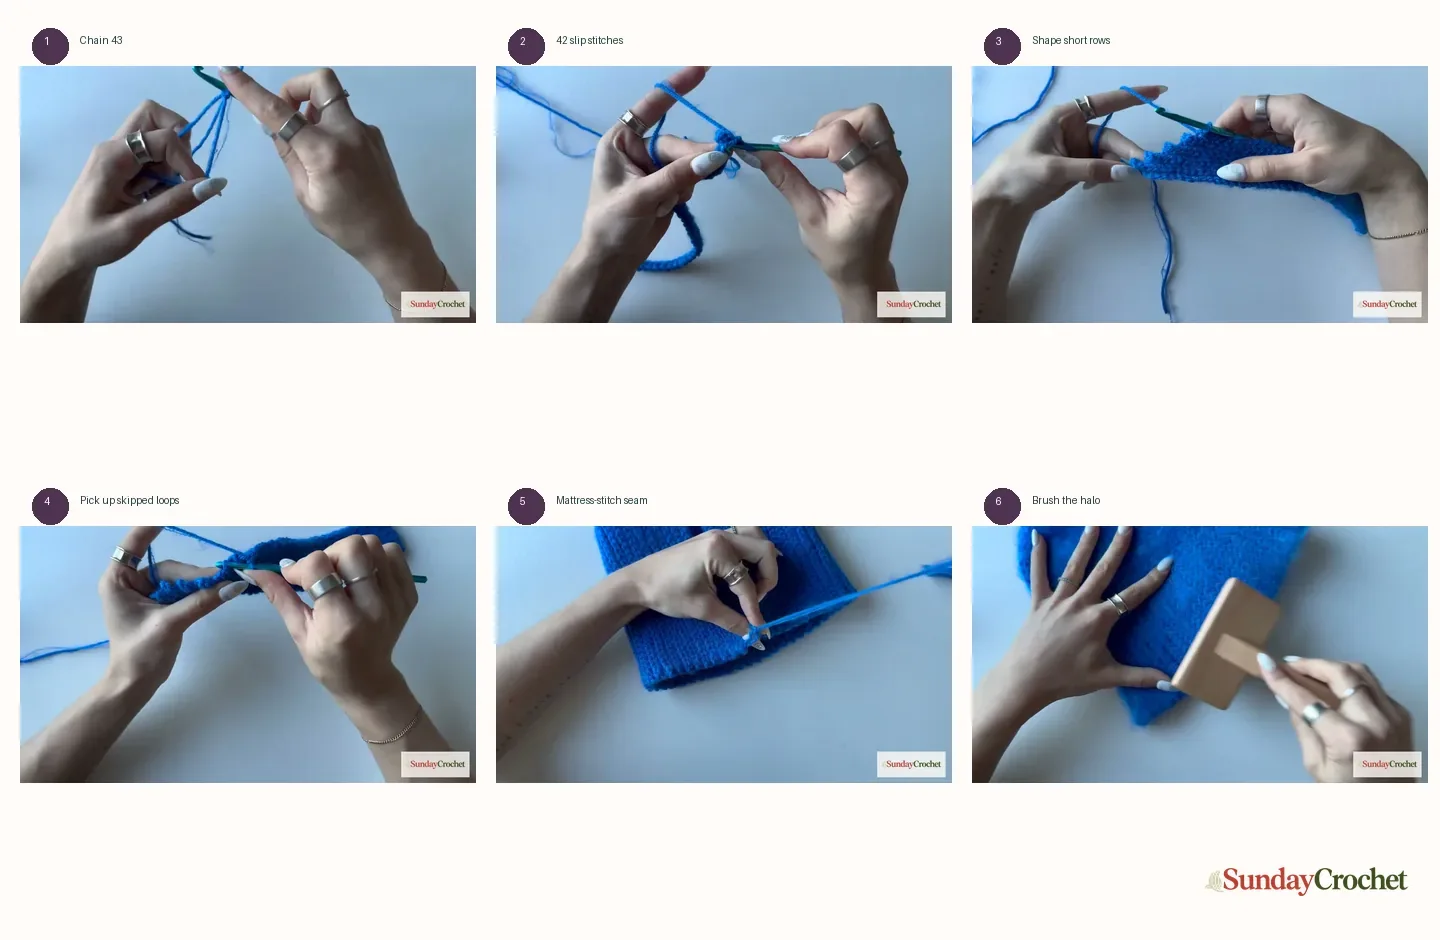
For the first pass only, make a slip knot with both yarns held together and ch 43. Starting in the second chain from the hook, work 1 sl st in each chain across. The first chain is skipped; it is not a turning chain. 42 stitches. When you repeat this 20-row section after Row 20, do not make a new chain. Instead, ch 1, turn, and work 42 sl st in BLO across the previous row for Row 1 of the next repeat.
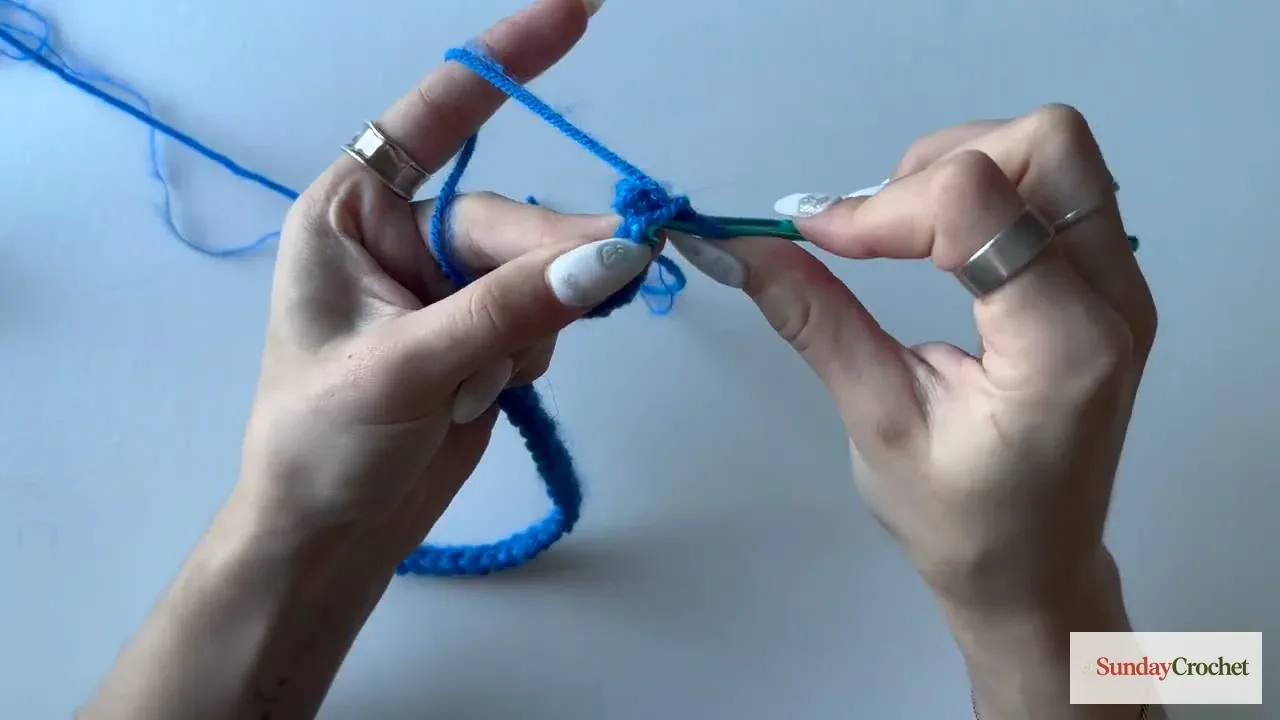
Row 2
Ch 1 and turn. Work 1 sl st in the BLO of each stitch across. 42 stitches.
Row 3
Ch 1 and turn. Work 40 sl st in BLO, stopping with 2 stitches unworked at the far end. 40 stitches.
Row 4
Ch 1 and turn. Work 40 sl st in BLO back across the row. 40 stitches.
Row 5
Ch 1 and turn. Work 38 sl st in BLO, leaving 4 stitches unworked at the far end. 38 stitches.
Row 6
Ch 1 and turn. Work 38 sl st in BLO back across. 38 stitches.
Row 7
Ch 1 and turn. Work 36 sl st in BLO, leaving 6 stitches unworked at the far end. 36 stitches.
Row 8
Ch 1 and turn. Work 36 sl st in BLO back across. 36 stitches.
Row 9
Ch 1 and turn. Work 34 sl st in BLO, leaving 8 stitches unworked at the far end. 34 stitches.
Row 10
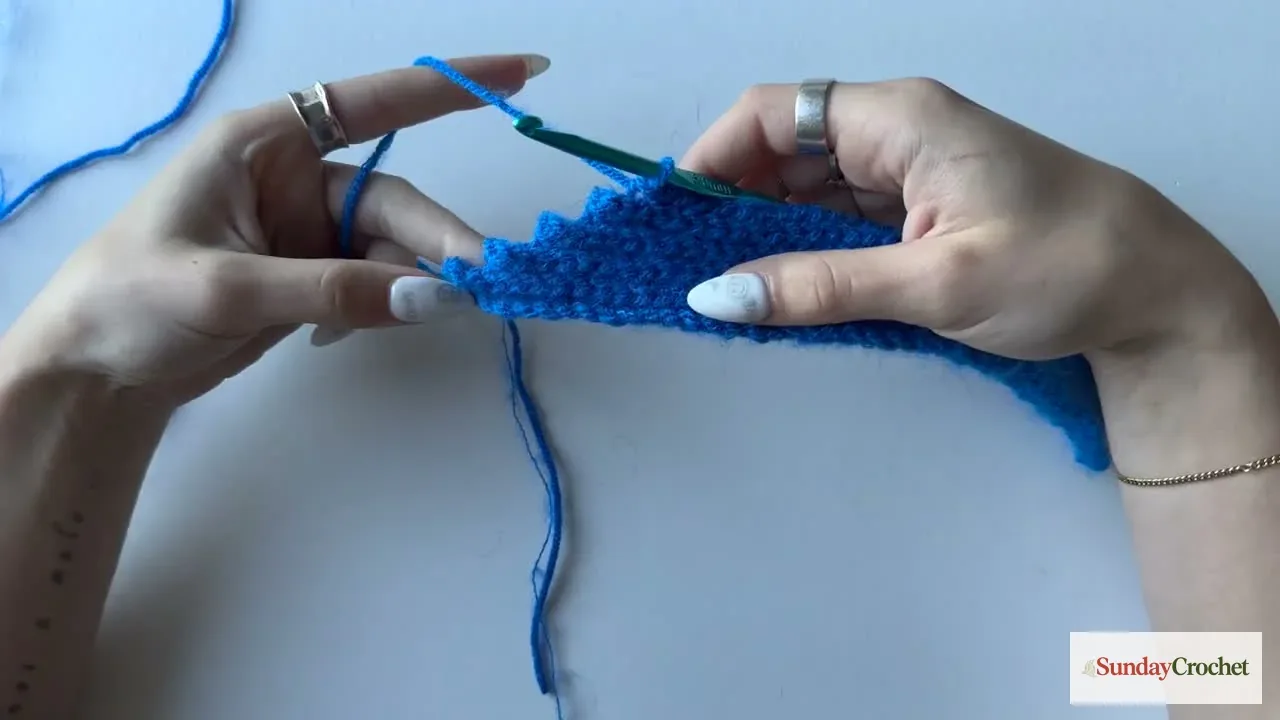
Ch 1 and turn. Work 34 sl st in BLO back across. 34 stitches. The stepped edge is intentional.
Row 11
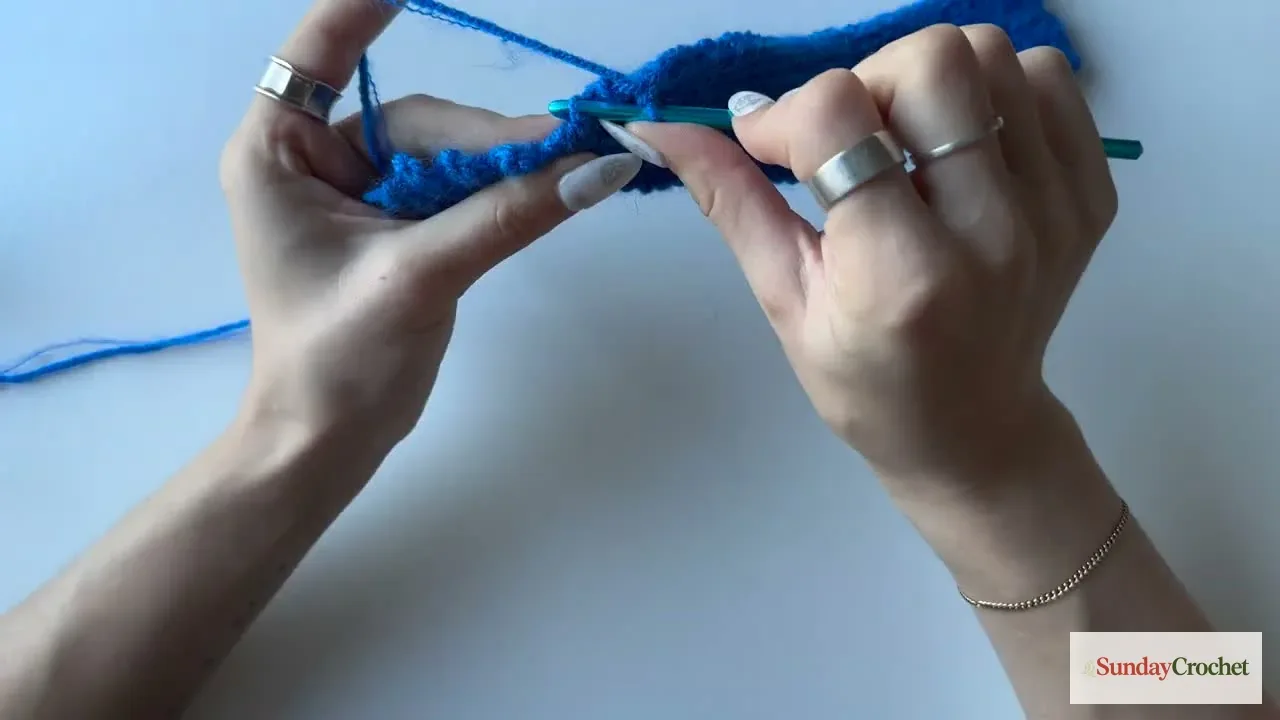
Ch 1 and turn. Work 42 sl st in BLO across. When you reach the stepped edge, work into each of the 8 skipped stitch loops, picking them up in sequence so the edge is filled rather than left as a gap. 42 stitches.
Row 12
Ch 1 and turn. Work 42 sl st in BLO across. 42 stitches.
Row 13
Ch 1 and turn. Begin the shaping on the opposite side. Work 34 sl st in BLO, leaving 8 stitches unworked at the far end. 34 stitches.
Row 14
Ch 1 and turn. Work 34 sl st in BLO back across. 34 stitches.
Row 15
Ch 1 and turn. Work 36 sl st in BLO, picking up the next 2 previously skipped loops at the shaped edge as you reach them. 36 stitches.
Row 16
Ch 1 and turn. Work 36 sl st in BLO back across. 36 stitches.
Row 17
Ch 1 and turn. Work 38 sl st in BLO, picking up the next 2 skipped loops at the edge. 38 stitches.
Row 18
Ch 1 and turn. Work 38 sl st in BLO back across. 38 stitches.
Row 19
Ch 1 and turn. Work 40 sl st in BLO, picking up the next 2 skipped loops at the edge. 40 stitches.
Row 20
Ch 1 and turn. Work 40 sl st in BLO back across. 40 stitches. This completes one repeat. Work Rows 1–20 again, keeping the shaping oriented as written, until the panel wraps comfortably around the head and reaches the desired height. Try it on before seaming.
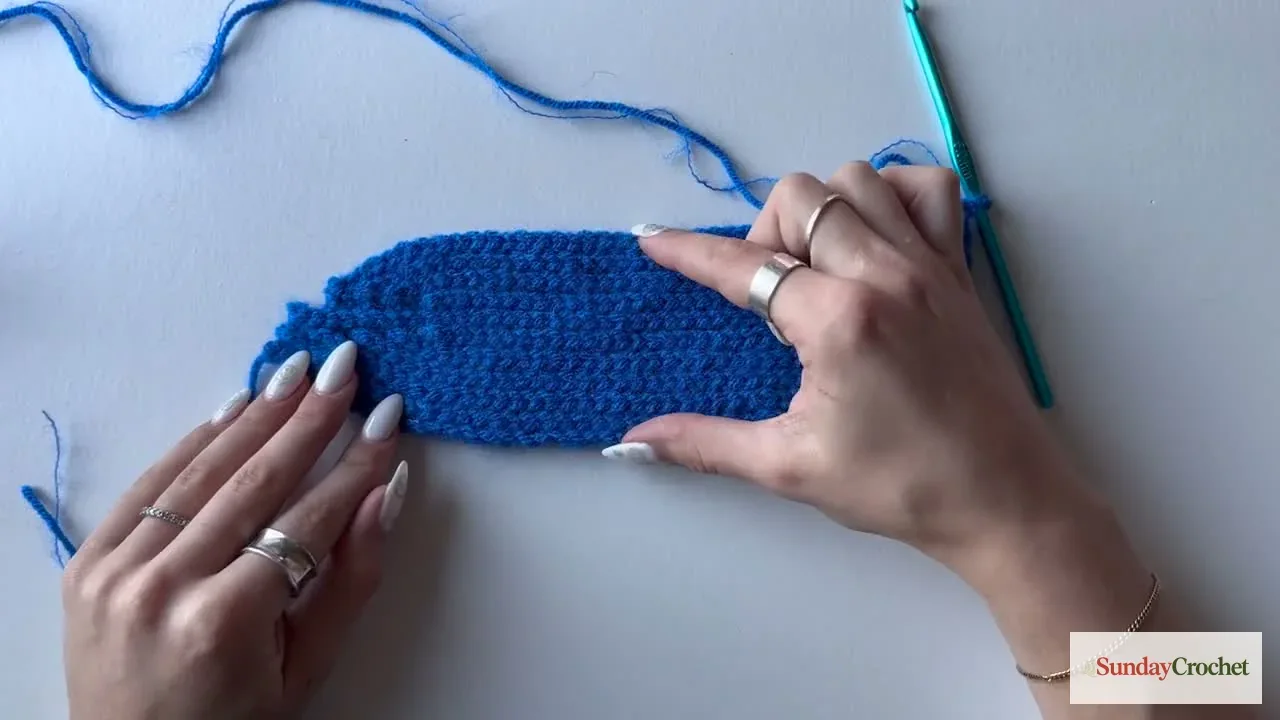
Repeat-count note: The sample is described as 120 rows, while five 20-row repeats would total 100 rows. Those figures do not agree. Rather than relying on that arithmetic, check the panel around the wearer and use the approximate 20 cm by 24 cm sample measurement as a guide. Stop when the circumference and height feel right.
Assembly and finishing
Leave a long tail when fastening off. Fold the panel with the wrong sides facing each other so the right side will show outside. Match the row ends. With the yarn needle, use a mattress stitch: on the starting-chain edge, pick up the middle loop of each chain; on the opposite edge, pick up the back loop of the corresponding last-row stitch. Move from one edge to the other in sequence, matching stitches as you go. The seam should close without pulling the fabric into a tight ridge.
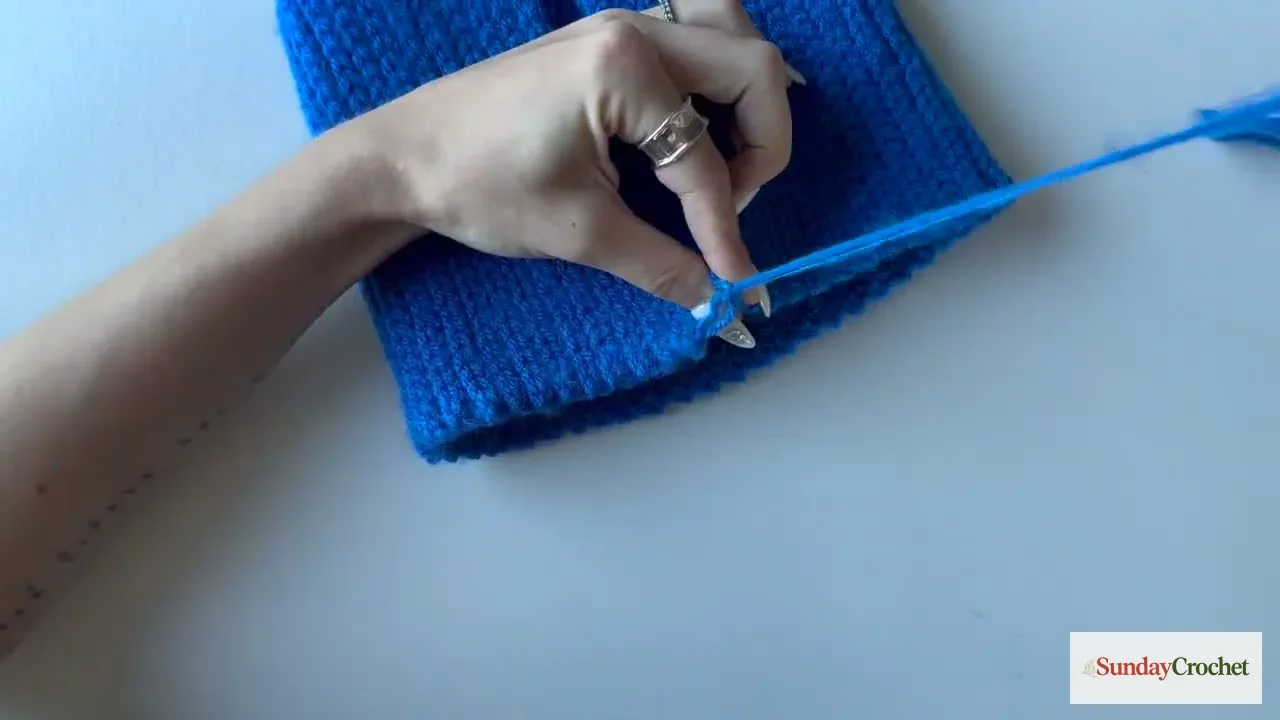
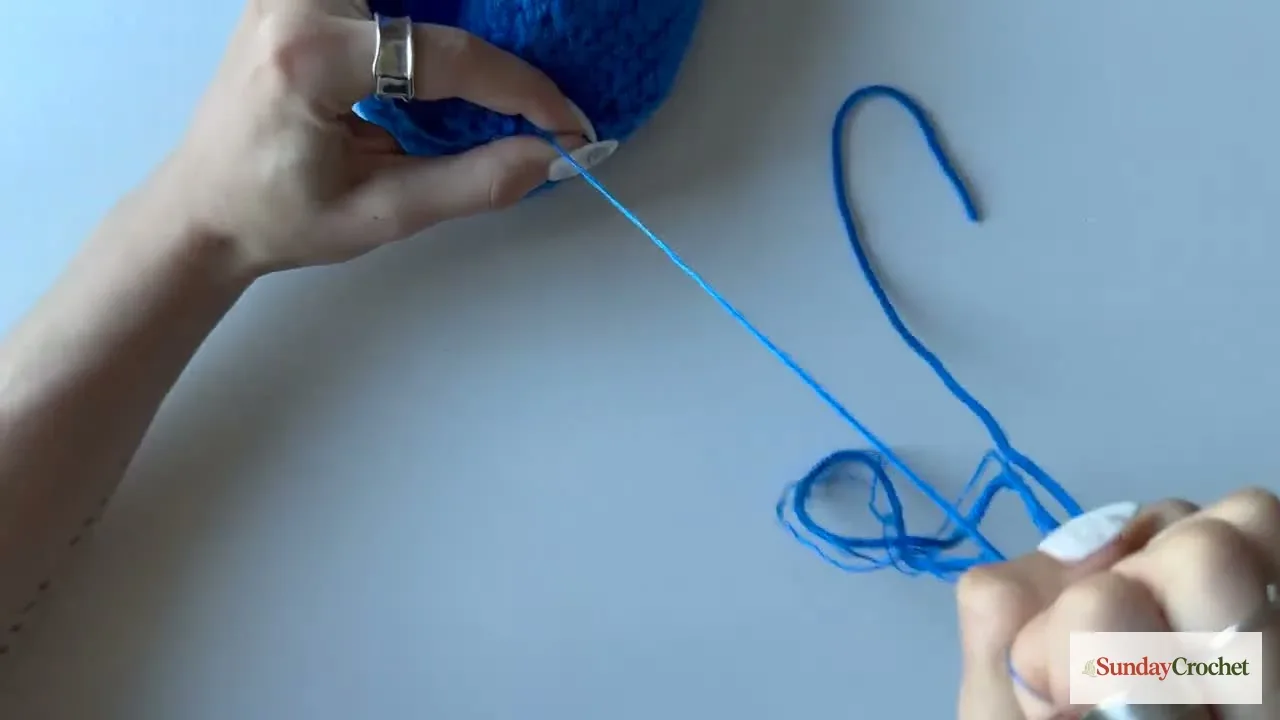
When you reach the end of the seam, secure the join and use the tail to weave around the open crown. The gathering does not need a fixed stitch count. Pass the needle around the opening, then pull the yarn gradually until the hole closes. Secure the gathered top, hide both tails on the inside, and trim the excess only after they are woven in securely.
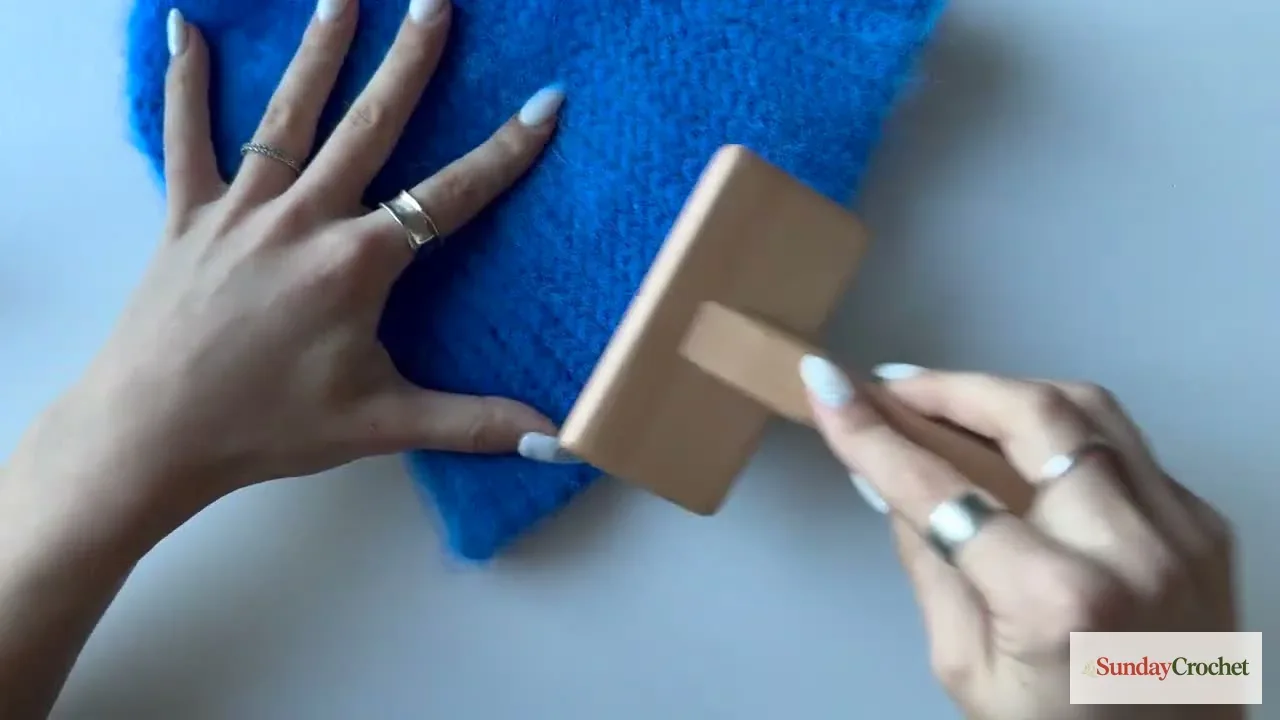
To add the fuzzy finish, test the brush on a swatch made with the same yarns and hook, or try a small area on the wrong side first. Brush gently in one direction. Avoid snagging or pulling the stitches. Stop when the halo looks even to you. The finishing demonstration uses a wool brush and notes that a cat brush can also work; use a light hand with either tool. The maker mentions blocking to help the folded brim keep its shape, but no blocking method or fiber-care instructions are specified, so follow the yarn labels if you choose to block.
Common questions
Can I make the beanie without the fuzzy strand?
Yes. The base beanie is made with the DK yarn, and the fuzzy strand adds the halo. The finished surface will look smoother if you use only the main yarn. The pattern does not specify substitute yardage, so have enough yarn to complete your chosen number of repeats.
Why are there skipped stitches at the edge?
The short rows create the stepped shaping. The later full-width row picks up the loops left behind, and the second half of the repeat mirrors the shape in the opposite direction. Keep the skipped loops visible and count them carefully rather than crocheting into them early.
How do I keep the panel from narrowing?
Mark the first and last stitch of each row and move the markers as you turn. Keep the chain-1 turning chain separate from the stitch count. Count the stitches listed at the end of each row before beginning the next one.
Is the sample size right for every adult?
Fit varies, so use the number of repeats as an adjustment. Check the panel around the head before you sew the seam. The sample's approximate measurements are a reference, not a guaranteed size for every wearer. If you are choosing a different yarn, this yarn-label reference can help you compare fiber and care information.