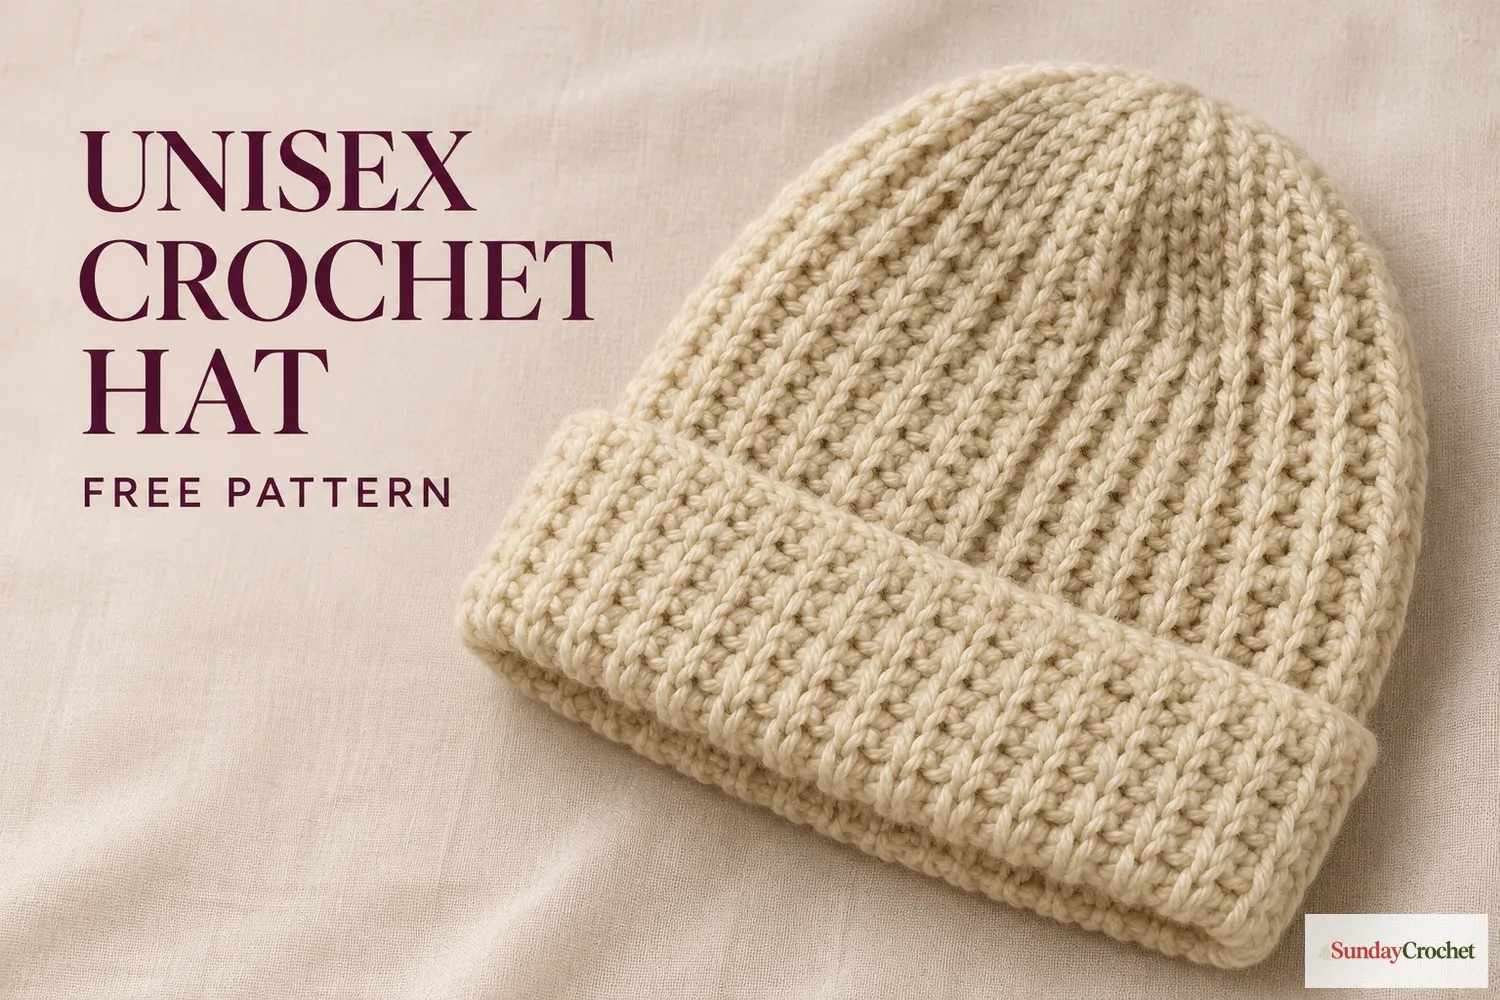
· Sunday Crochet
In this pattern
01 · A top-down beanie with three finishes02 · At a glance03 · Yarn & tools04 · Abbreviations and round notes05 · The pattern06 · Choose a finish07 · Close the center and weave in ends08 · Common questionsA top-down beanie with three finishes
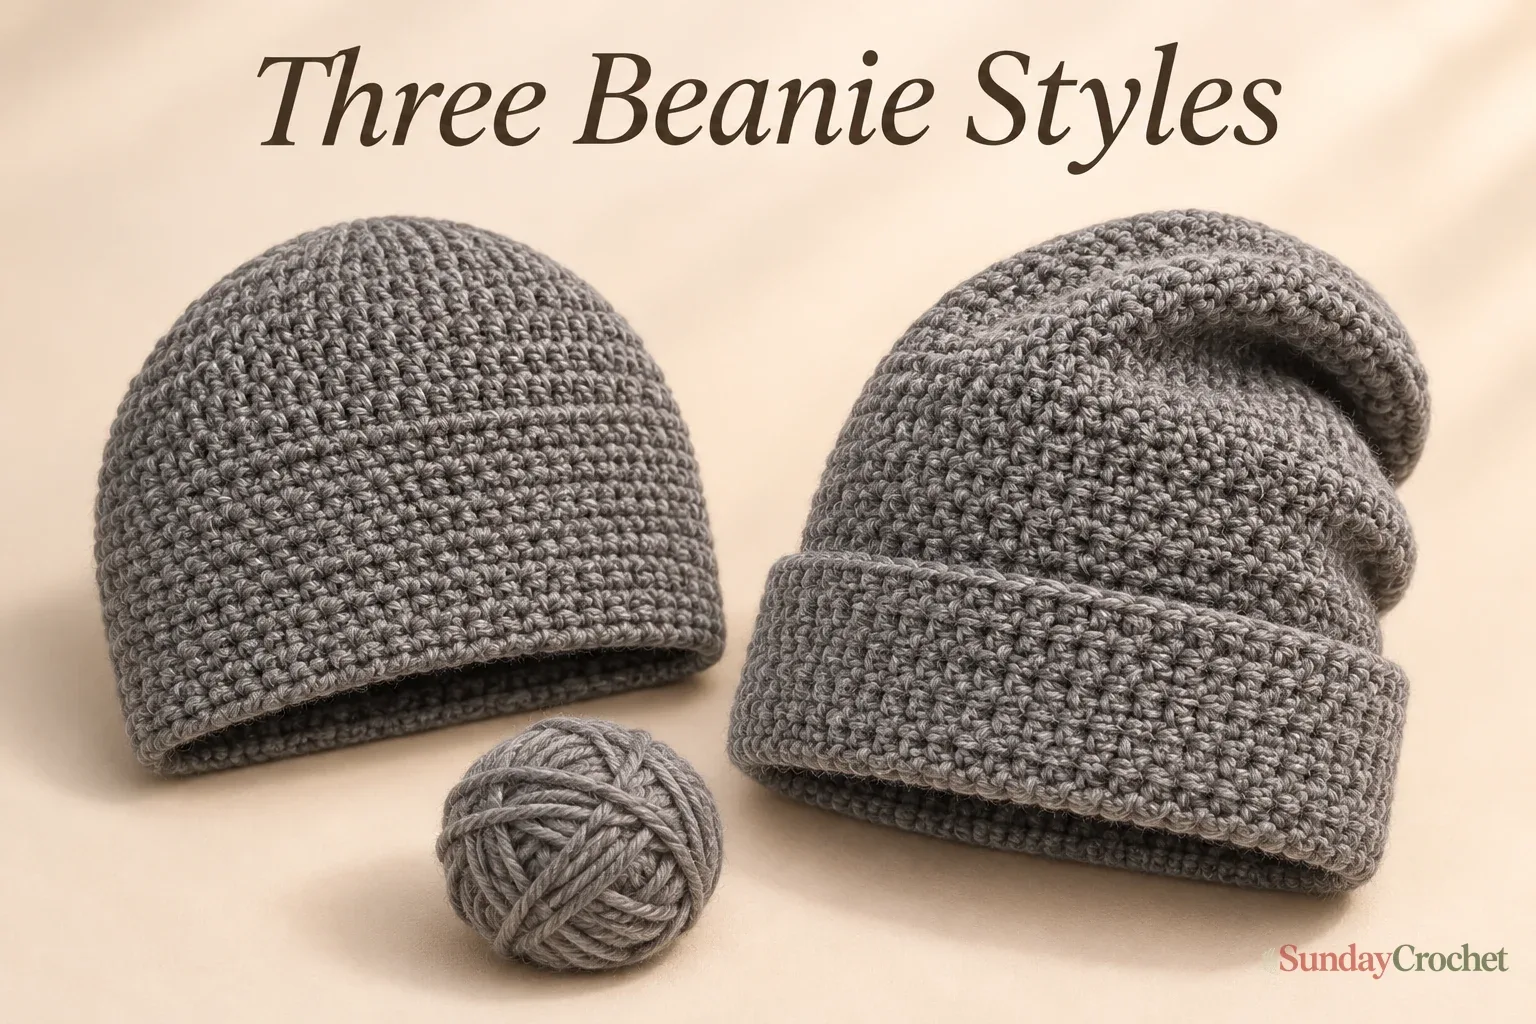
This men's crochet beanie begins at the crown and grows outward in joined rounds. The first 11 rounds shape a flat circle, then the same half double crochet round builds the sides. From there, you can keep it simple, fold the edge up into a cuff, or add extra length for a slouchy fit. The crown and body are seamless, so finishing is mostly about securing the center and weaving in the ends neatly.
I’ll show you how I do this. The sample uses medium-weight yarn and a 5 mm (H) hook. It is written in US crochet terms, and the fit is adjusted by measuring the crown and choosing the body length. The instructions do not give a head-circumference size chart, so use the diameter checks and try the hat on before fastening off.
At a glance
- Skill level: Confident beginner. You should be comfortable with a magic ring, half double crochet, single crochet, and joining rounds with a slip stitch.
- Terminology: US crochet terms throughout.
- Construction: Start at the crown, increase through Round 11, work straight rounds for the chosen length, then finish the edge.
- Style choices: Basic beanie, folded cuff, or slouchy beanie.
- Gauge checks: About 2.25–2.5 in across after Round 3 and about 6 in across after Round 9.
Yarn & tools
Yardage is given as a range for all three versions, not as a separate amount for each style. If you substitute yarn, use a similar medium weight and compare the crown measurements as you work. A different fiber or tension may change how the fabric stretches, so check the fit instead of relying on the hook size alone.
Abbreviations and round notes
This pattern uses US terminology. A US half double crochet is a half treble crochet in UK terms, so keep that difference in mind if you are comparing patterns.
- ch: chain
- hdc: half double crochet
- inc: increase; work 2 hdc in the same stitch
- sc: single crochet
- sl st: slip stitch
- st(s): stitch(es)
The beginning ch 1 does not count as a stitch. Join each round with a slip stitch into the first hdc unless the finishing notes say otherwise. The crown is worked in joined rounds without turning. At the end of Round 11, every stitch count is 75; each straight hdc round and each finishing sc round also has 75 stitches. Keep a count of the first stitch after each join so the seam does not drift around the hat.
The pattern
Foundation
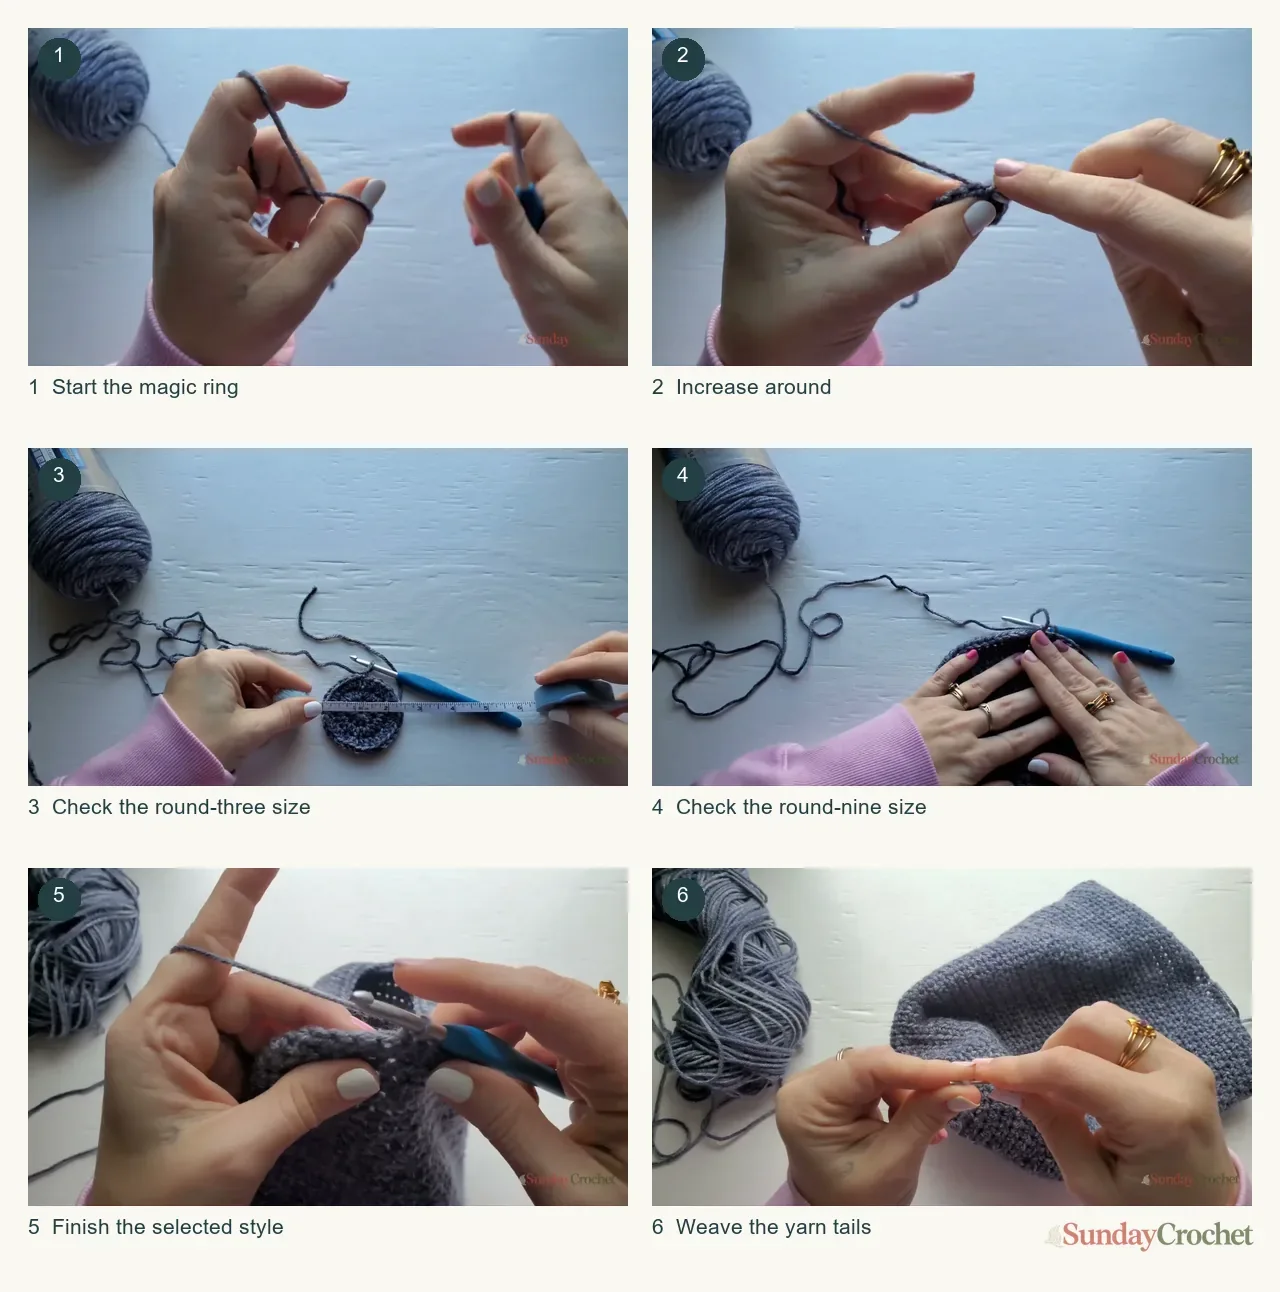
Make a magic ring and ch 1. Work the first round into the ring, then pull the tail to close the center. If you are new to the magic ring or the basic stitch motions, a beginner crochet primer covers the foundations used here.
Round 1
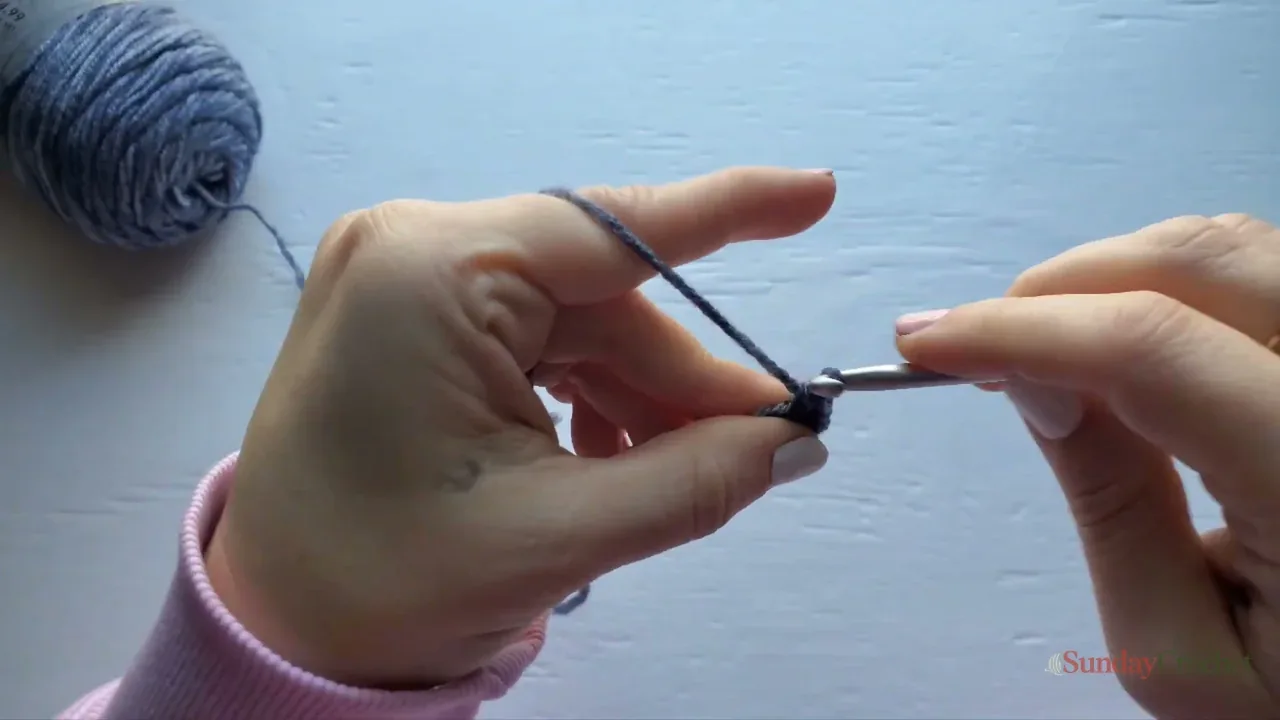
Work 11 hdc into the magic ring. Pull the ring closed and join with a sl st to the first hdc. 11 hdc.
Round 2
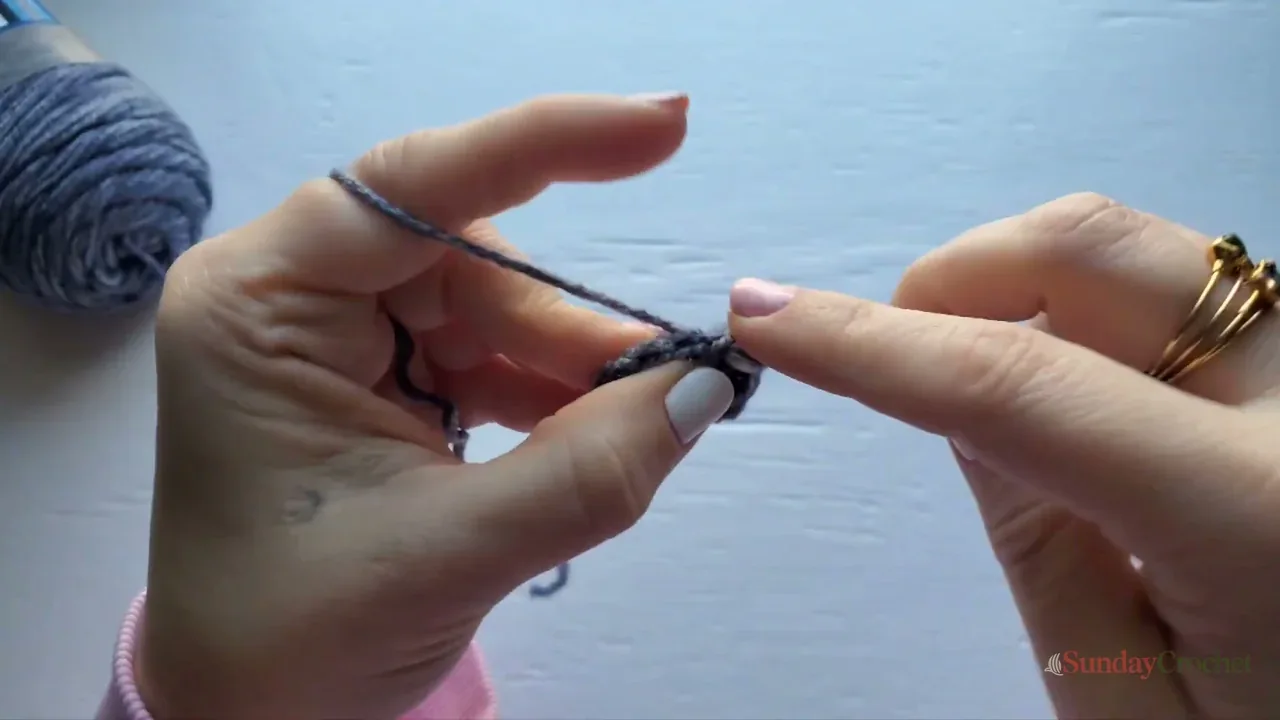
Ch 1. Work 2 hdc in each stitch around. Join with a sl st to the first hdc. 22 hdc.
Round 3
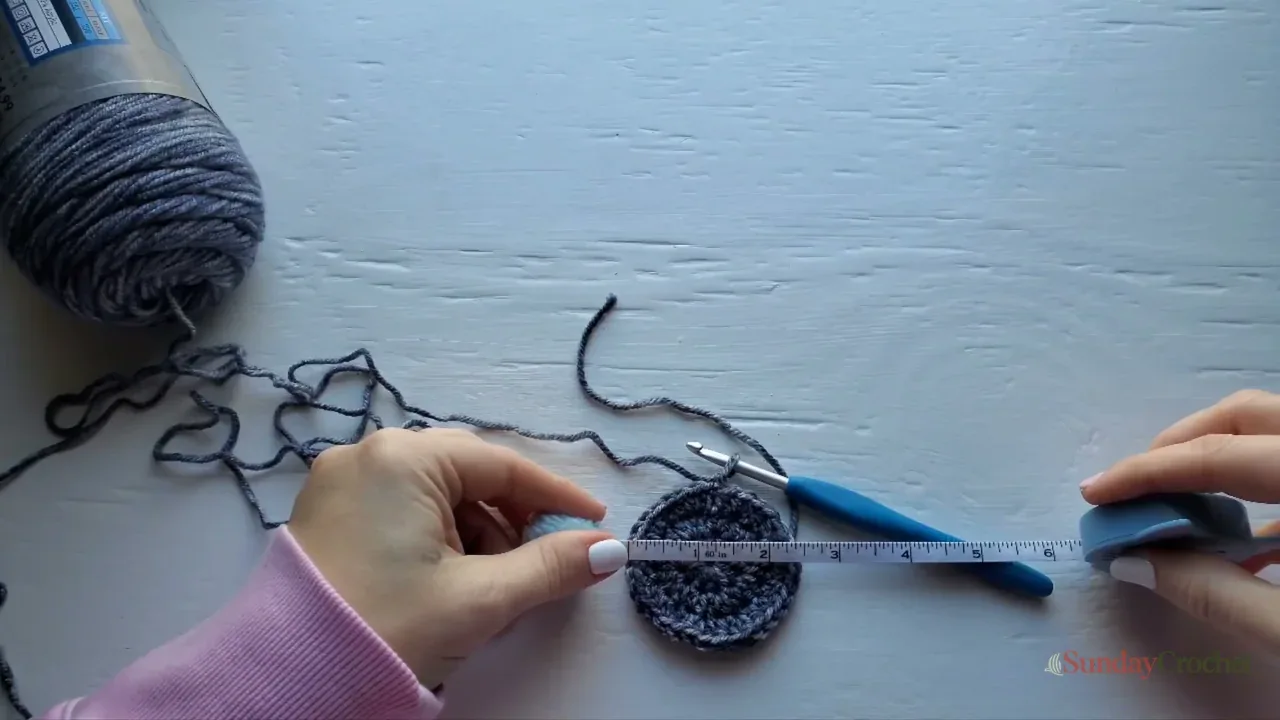
Ch 1. Repeat (2 hdc in next st, 1 hdc in next st) around. Join with a sl st to the first hdc. 33 hdc. Measure across the center of the flattened circle. The sample is about 2.25–2.5 in across here; a little variation is okay.
Round 4
Ch 1. Work 1 hdc in each stitch around. Join. 33 hdc.
Round 5
Ch 1. Repeat (2 hdc in next st, 1 hdc in each of next 2 sts) around. Join. 44 hdc.
Round 6
Ch 1. Work 1 hdc in each stitch around. Join. 44 hdc.
Round 7
Ch 1. Repeat (2 hdc in next st, 1 hdc in each of next 3 sts) around. Join. 55 hdc.
Round 8
Ch 1. Work 1 hdc in each stitch around. Join. 55 hdc.
Round 9
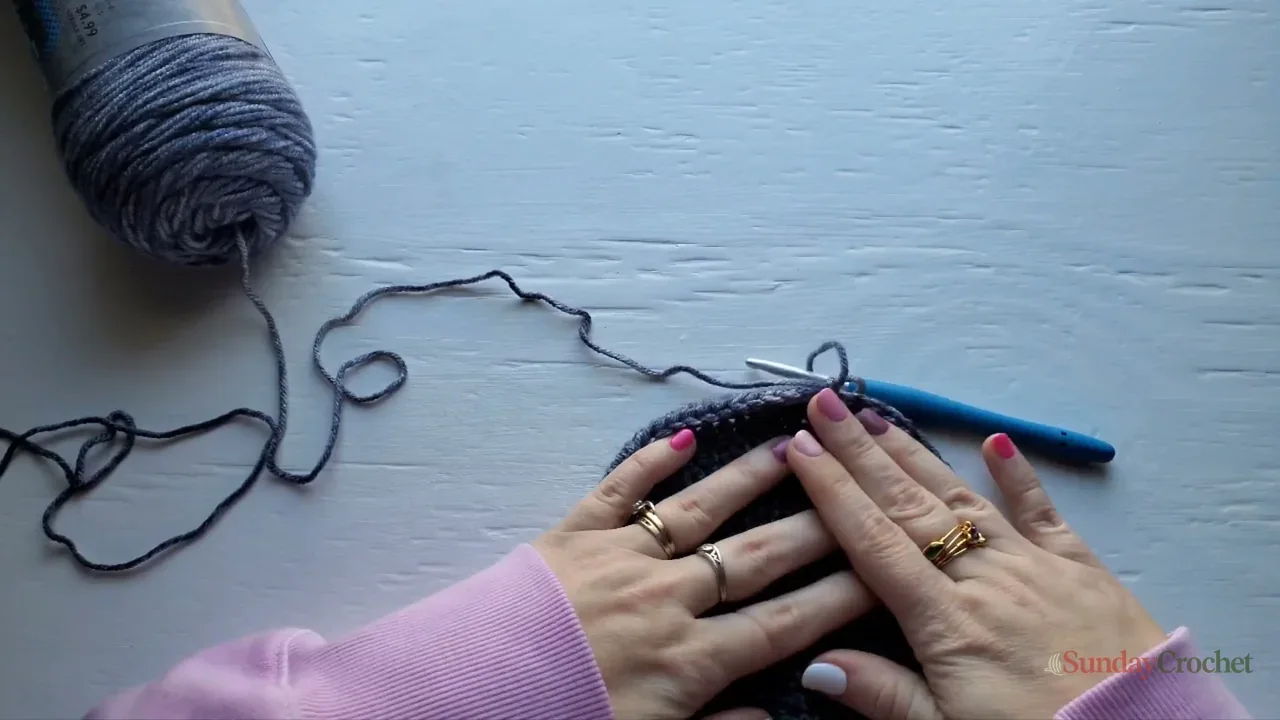
Ch 1. Repeat (2 hdc in next st, 1 hdc in each of next 4 sts) around. Join. 66 hdc. Flatten the circle and measure across its center with the stitches relaxed. The sample measures about 6 in.
Round 10
Ch 1. Work 1 hdc in each stitch around. Join. 66 hdc.
Round 11
Ch 1. Work 1 hdc in each of the first 9 sts, then 2 hdc in the next st. Repeat (1 hdc in each of the next 6 sts, 2 hdc in the next st) around. The final repeat ends with an increase in the last stitch. Join to the first hdc. 75 hdc. This is the final increase round.
Straight body rounds
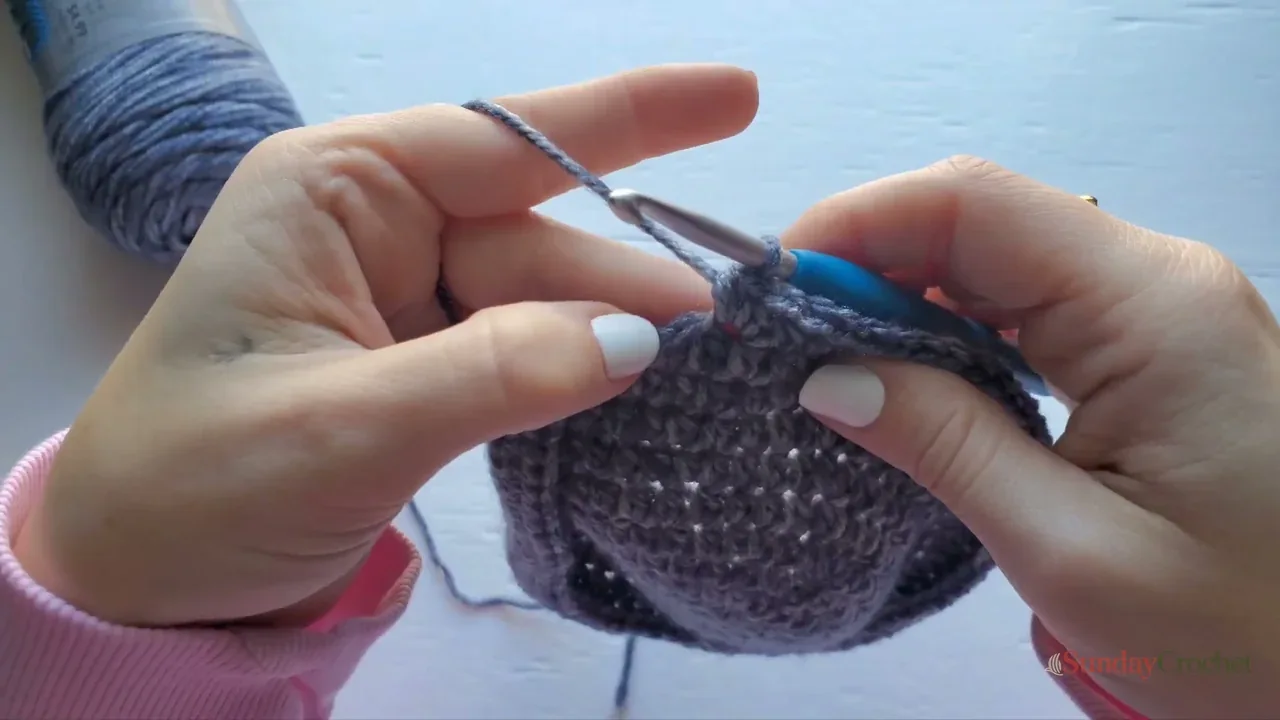
For Round 12, ch 1 and work 1 hdc in each stitch around. Join to the first hdc. 75 hdc. This is the repeat round for the body. Continue working the same round for the selected style. Count only these straight hdc rounds after Round 11: make 25 for the basic beanie, 33 for the folded-cuff version, or 38–40 for the slouchy beanie. Every one of these rounds ends with 75 hdc.
The stated checkpoints are useful for keeping the crown from becoming too wide or too shallow. The pattern gives the diameter after Rounds 3 and 9, but no separate stitch-and-row swatch measurement. If your diameter is noticeably different, check your yarn weight and tension before continuing. Do not add increases after Round 11; the body is worked straight.
Choose a finish
Basic beanie
After 25 straight hdc rounds, ch 1 and work 1 sc in every stitch around. Join with a sl st to the first sc, fasten off, and weave in the ends. The finishing round has 75 sc. This gives the edge a neat line without turning it into a folded cuff.
Folded cuff
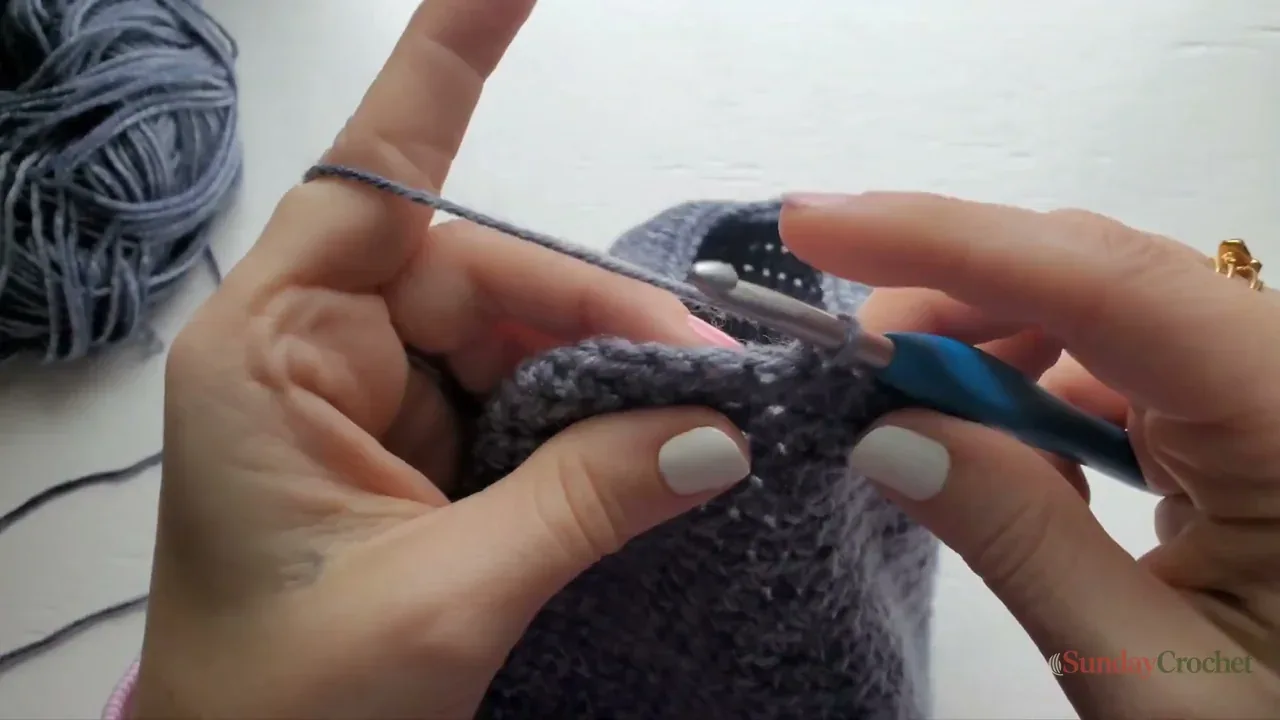
After 33 straight hdc rounds, ch 1 and turn the work for the finishing round. Work 1 sc in every stitch around, being careful to find the last stitch next to the turning chain, then join with a sl st to the first sc. Fasten off. The finishing round has 75 sc. Turn the beanie right side out and fold the lower edge up about 2 in. Turning before the sc round helps the edge look finished when the cuff is folded.
Slouchy beanie
After 38–40 straight hdc rounds, ch 1 and work 1 sc in each stitch around. Join. Work a second sc round the same way and join again. Each finishing round has 75 sc. Fasten off after the second round. Choose 38 rounds for less drape and 40 for a more relaxed slouch.
Close the center and weave in ends
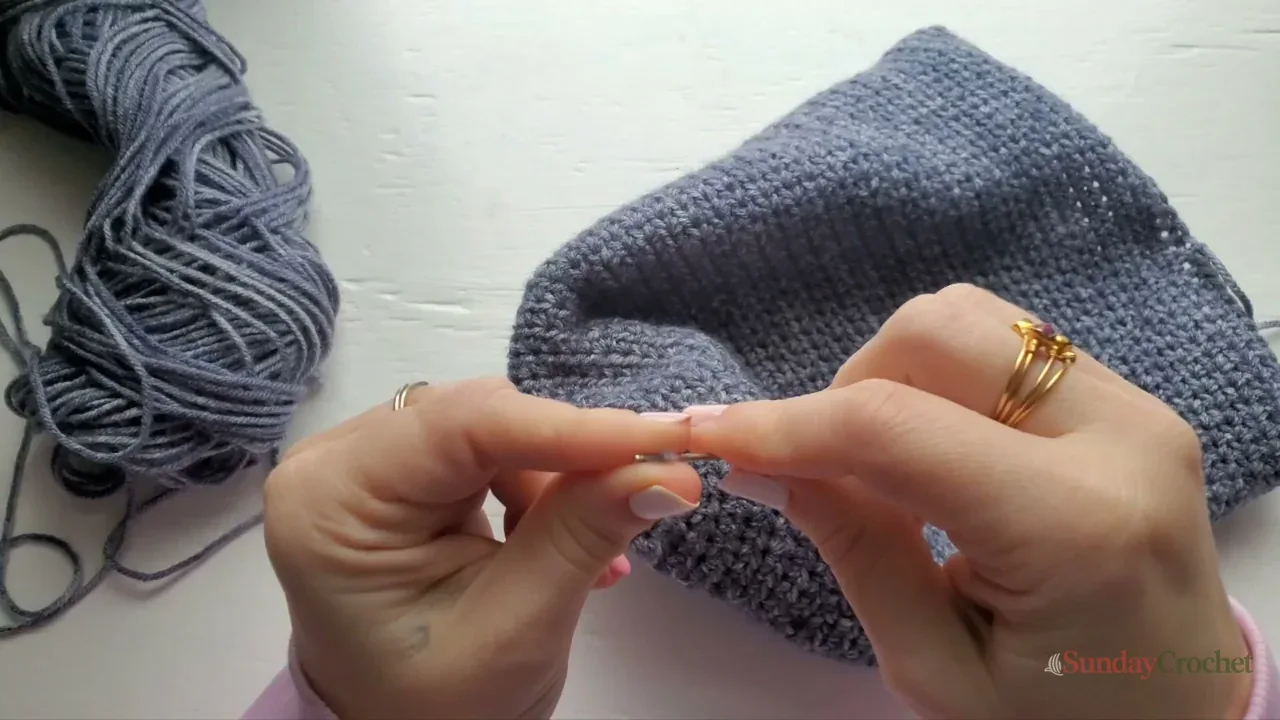
There are no separate pieces to sew together and no stuffing. Before hiding the starting tail, pull the magic ring closed firmly so there is no opening at the crown. Thread each loose end onto the needle and weave it through stitches on the inside of the hat. Work back and forth across the same area about three times, changing direction between passes. Keep the yarn secure without pulling so tightly that it puckers or creates a hole. Trim the remaining tail close to the fabric.
For the folded-cuff option, turn the beanie right side out after weaving the tails, then fold the edge upward about 2 in. The basic and slouchy versions are finished with their lower edge left unfolded.
Common questions
How do I know the crown is the right size?
Measure the flattened circle across the center with the stitches relaxed. The sample is about 2.25–2.5 in after Round 3 and about 6 in after Round 9. These are checkpoints for this yarn and hook, not a universal gauge for every medium-weight yarn.
Can I make the beanie in a different size?
The pattern gives one adult men's sample and three lengths, but not a head-size chart. Try the crown and body on the intended wearer before finishing. The round counts in this pattern produce the sample shape; a different yarn or tension can change the fit.
Which option uses a folded edge?
Work 33 straight hdc rounds after the crown increases, then make one turned sc round and fold the edge up about 2 in. For a plain edge, work 25 straight rounds and one sc finish. The slouchy choice uses 38–40 straight rounds followed by two sc rounds.
When choosing a substitute, compare the yarn weight and yardage on the label; checking those details before you start can help you choose a similar medium-weight yarn.