· Sunday Crochet
In this pattern
01 · A poncho that starts at the neck02 · What you’ll make03 · Yarn & tools04 · Before you begin05 · The pattern06 · Edging, fringe, and finishing07 · Common questionsA poncho that starts at the neck
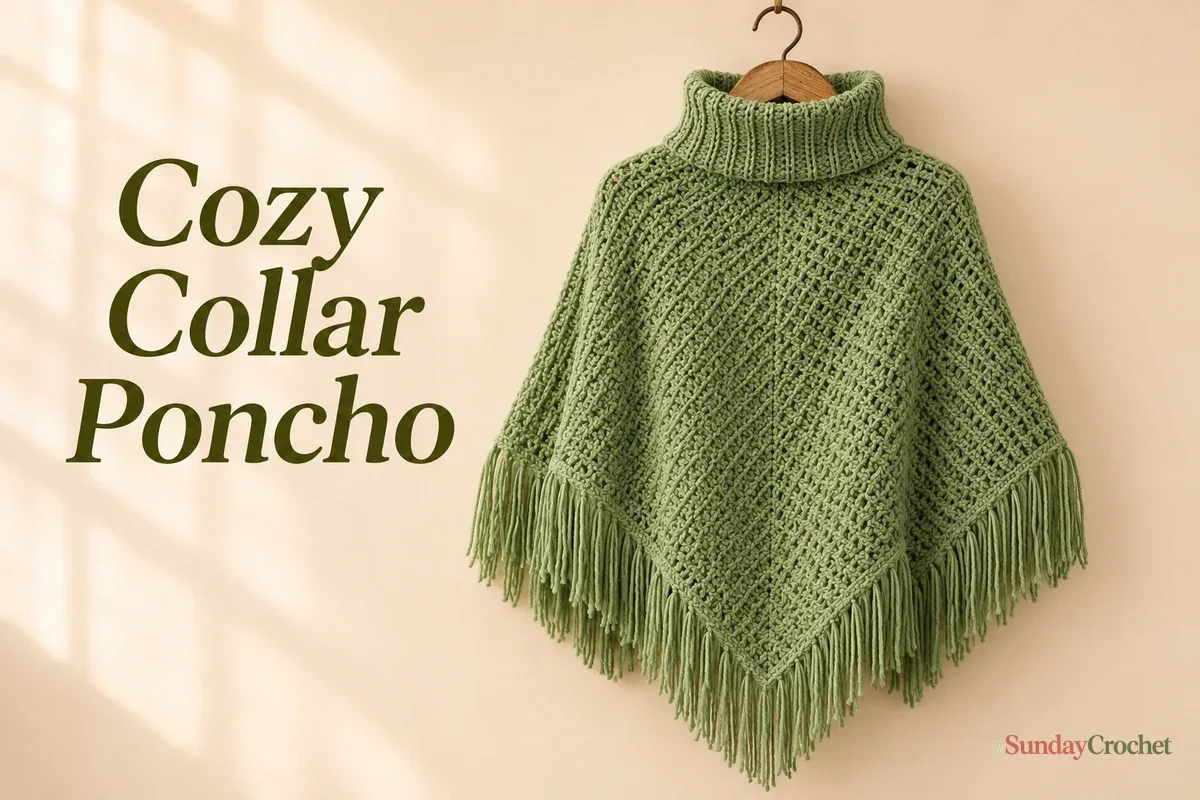
This poncho begins with a narrow ribbed collar, then grows outward in joined rounds. The body is shaped with fan points that become more pronounced as the rounds get larger, so you get a soft, draped silhouette without making separate rectangles or sewing a shoulder seam. A final round of slip stitches and a row of fringe finish the lower edge.
I’ll show you how I do this from the first collar chain through the last tassel. The sample uses seven skeins of medium-weight wool and a 6 mm hook. Its collar is 30 chains tall and 24 rows around, but the body length is flexible. No numeric gauge or finished measurements are specified, so use the stitch counts as construction guides and try the collar on before you build the poncho from it.
What you’ll make
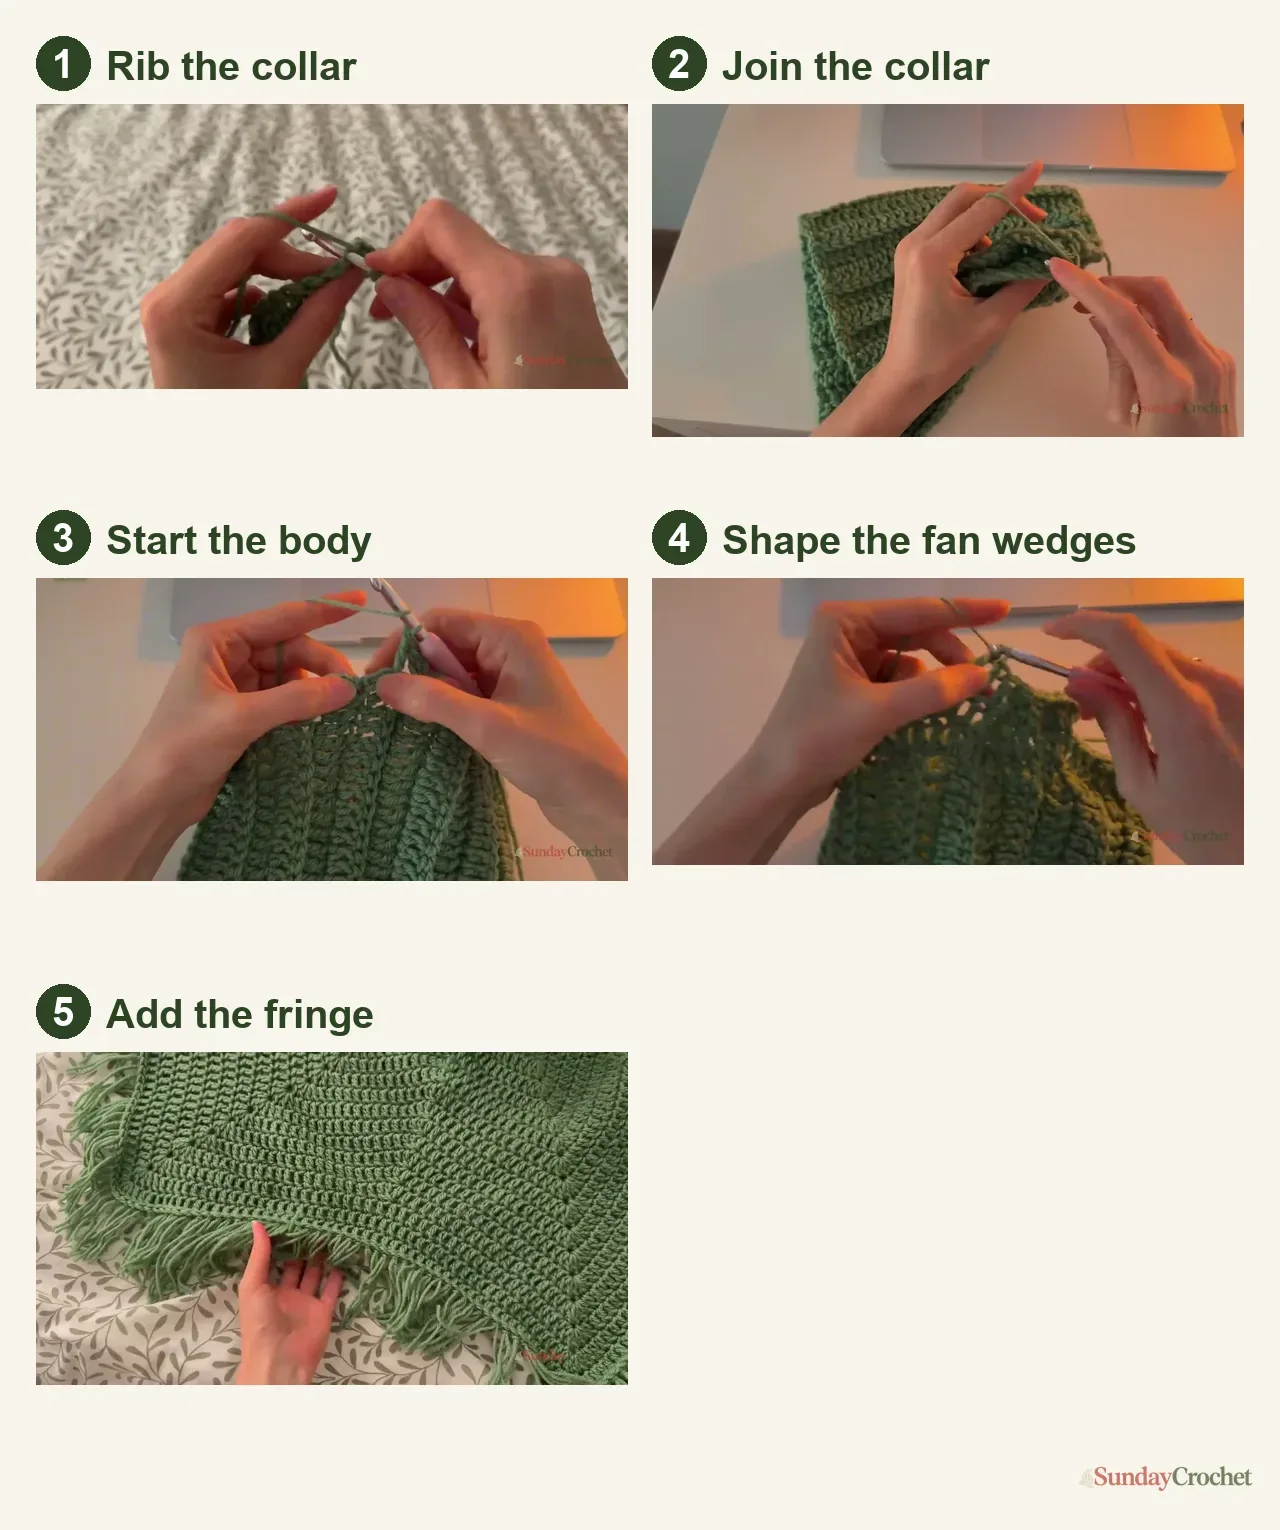
The collar is worked flat in short rows of double crochet through the back loop. A single crochet at the start of each row keeps the edge tidy. When the strip is long enough to fit around your neck, join the ends into a tube. Then work two double crochets into each collar row to set up the poncho body.
The body rounds repeat a group of double crochets, a three-stitch decrease, more double crochets, and a fan increase worked into one stitch. The decrease draws in the valleys between fans. The increase adds stitches at the fan points. As each round grows, add one more regular double crochet on both sides of the decrease. Try the garment on as you go, since the pattern is designed to stop at the length you like rather than at a fixed round number.
Yarn & tools
The sample uses Hobbii Friends Wool, a 100% wool yarn in a dusty green shade. The pattern notes that a longer poncho may need more than seven skeins. Yardage will also change with your yarn, tension, and chosen length. For help comparing the yarn’s weight and yardage with another skein, see this guide to reading a yarn label.
Before you begin
This pattern uses US crochet terminology throughout. In particular, US double crochet is shorter than a UK treble crochet, so keep the terms consistent if you use a different reference.
Abbreviations:
- ch: chain
- sc: single crochet
- dc: double crochet
- dc3tog: double crochet three together across the next three stitches
- BLO: back loop only
- sl st: slip stitch
- inc: increase, worked as multiple double crochets in one stitch
For a dc3tog, yarn over, insert the hook into the next stitch, yarn over and pull up a loop, yarn over and pull through two loops. Repeat those steps in the next two stitches, then yarn over and pull through all four loops remaining on the hook. This turns three stitches into one.
The stated stitch counts below are the sample counts. The collar rows each have 30 stitches. The first body round has 48 double crochets, worked from the 24 collar rows. Later counts follow the repeating fan math: for the sample’s six repeats, each five-dc fan round adds 12 stitches. There is no fixed body length or numeric gauge supplied. If you are new to the basic movements, this step-by-step crochet primer can help with chains and stitch placement.
The pattern
Foundation chain
Chain 30 for the sample collar. This chain sets the height of the folded collar, so add or subtract chains if you want a taller or shorter neck. Keep the chain relaxed rather than pulling it tight.
Row 1: start the collar
Starting in the second chain from the hook, make 1 sc. Work another sc into the side loop of that same foundation stitch. This paired start forms the clean edge used at the beginning of the collar rows. Then work 1 dc into each remaining chain across. End count: 30 stitches.
Rows 2–24: ribbed collar
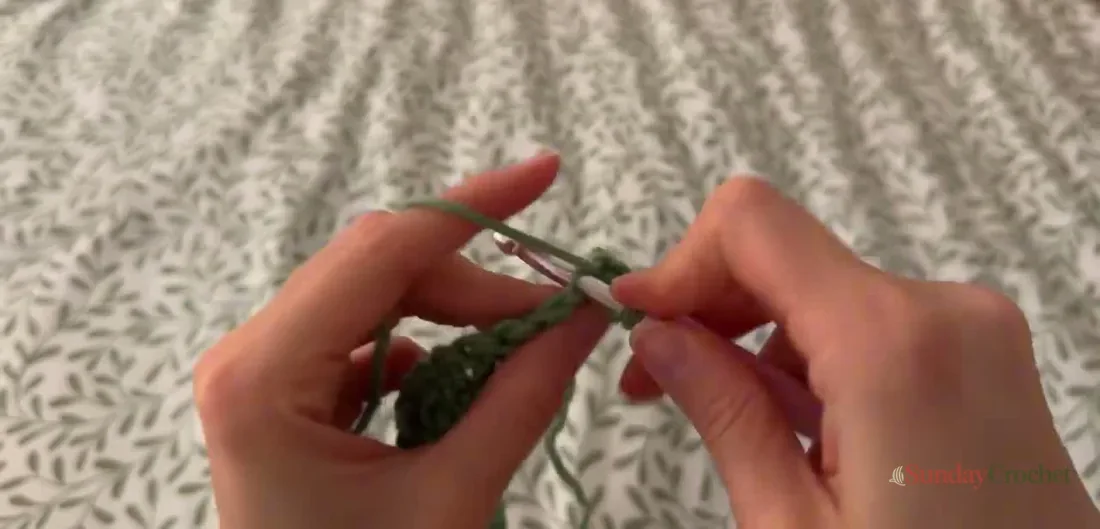
Turn your work without chaining. In the first stitch, make 1 sc over the beginning sc from the row below. Work 1 dc into the back loop of each stitch across, working through both loops of the final stitch to keep the edge firm. Repeat this same row for Rows 2 through 24. The count stays at 30 stitches at the end of every row.
The number of rows around the neck should be divisible by 8. The sample uses 24 rows. Wrap the strip around your neck to check the fit: it should meet comfortably without pulling, because the ribbing will stretch a little with wear. If you need a different circumference, add or remove rows in groups of eight.
Join the collar
Fold the strip so its two short ends meet, keeping the working loop on the left side. Insert the hook through the first stitch on the opposite edge, yarn over, and pull through to make a joining loop. Chain 1. Continue along the edges with slip stitches, matching the next stitch on one side to the corresponding back loop on the other side. Work to the end of the strip, fasten off, and turn the collar right side out so the seam sits on the inside.
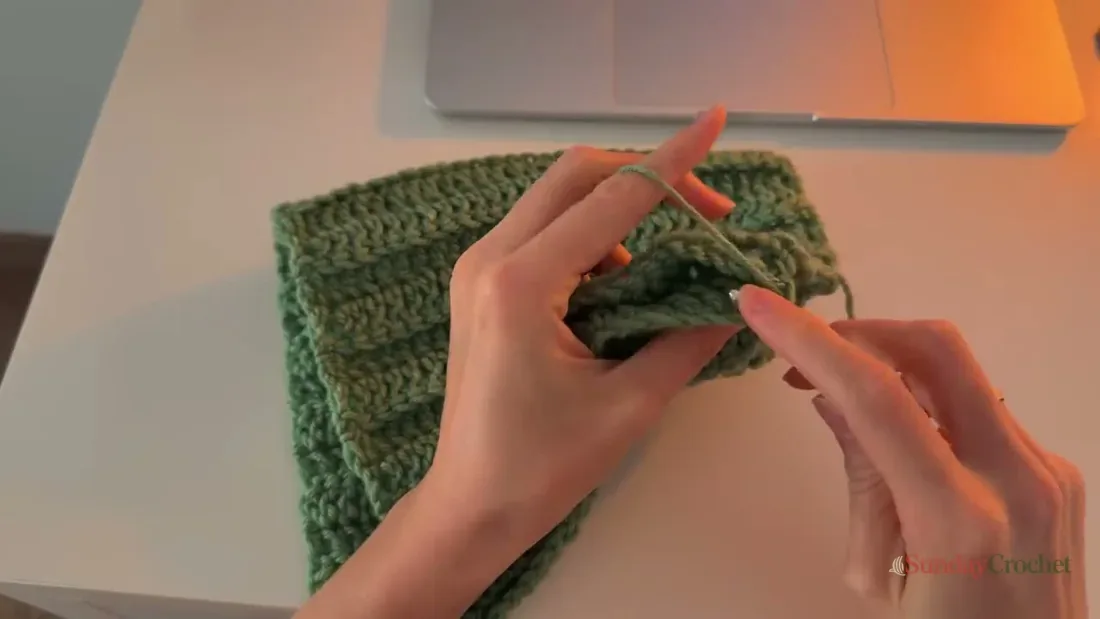
Try the collar on before continuing. It needs to pass over your head and sit comfortably at your neck. If it feels too tight, undo the seam and add more rows in a multiple of eight. If it feels loose, remove a group of rows and join again.
Round 1: set up the poncho body
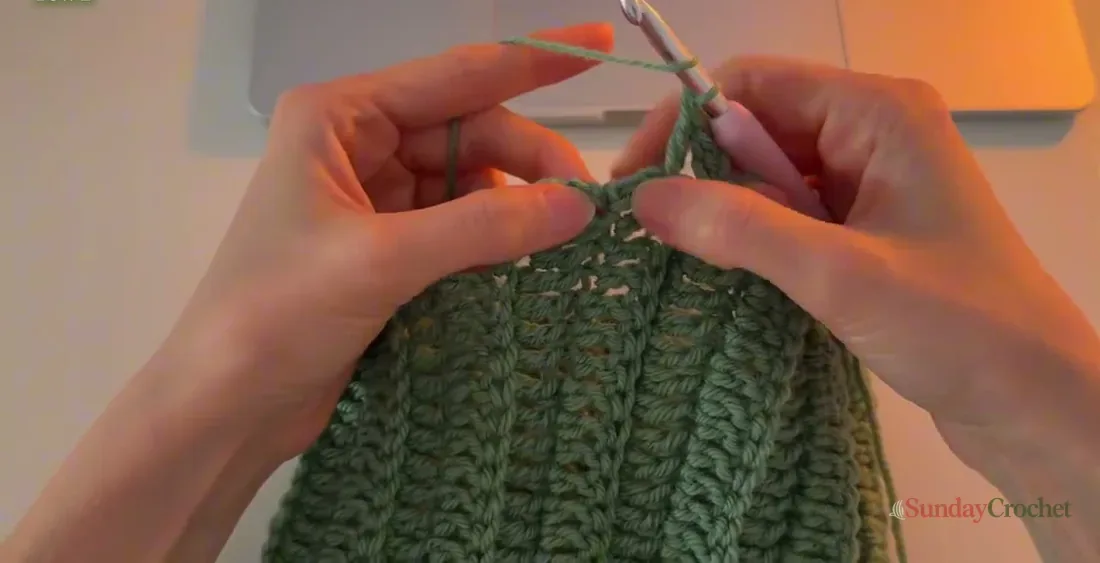
With the collar right side out, join yarn at the seam. Chain 1 and make the neat starting sc over the beginning point. Work 2 dc into each collar row around, placing one near the top of the row and one near its base. The sample has 24 collar rows, so this setup gives 48 dc stitches around. Join with a sl st to the first stitch.
Round 2: make the first fan points
Chain 1 and make 1 sc over the starting sc. In that same starting space, work 2 dc to form the first three-dc fan. Around the collar, repeat: 2 dc, dc3tog over the next 3 stitches, 2 dc, then 3 dc into the next stitch. Keep the groups evenly spaced. At the end, add 2 dc into the first stitch to complete the starting fan, then join with a sl st. End count: 48 stitches.
For the sample, the repeat uses six fan points around the collar. Place a marker in the center stitch of each fan if you find it helpful. The markers make it easier to keep the increase points lined up from round to round.
Round 3: widen the fans
Chain 1 and make the starting sc. Work 2 dc into the same fan point to complete its five-dc fan. Then repeat around: 2 dc, dc3tog over the next 3 stitches, 2 dc, and 5 dc into the next fan point. Join with a sl st. This round adds two stitches at each of the six fan points. End count: 60 stitches.
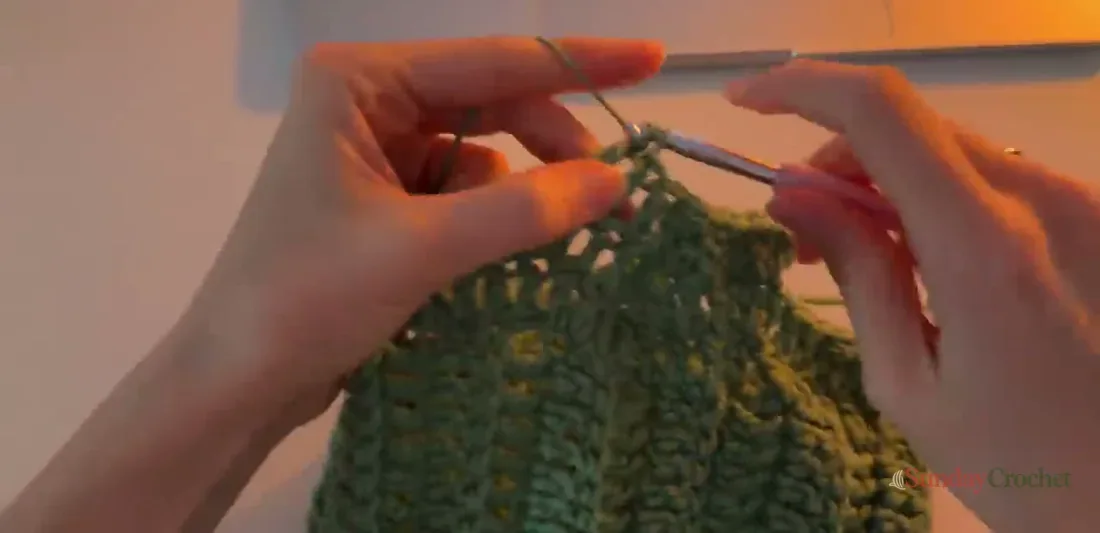
Round 4: add three double crochets on each side
Start with ch 1 and sc over the starting sc. Complete the first five-dc fan in the same space. Around, repeat: 3 dc, dc3tog over the next 3 stitches, 3 dc, 5 dc into the next fan point. Complete the final fan at the beginning and join with a sl st. End count: 72 stitches.
Round 5: add four double crochets on each side
Start with ch 1 and sc over the starting sc. Complete the first five-dc fan. Repeat around: 4 dc, dc3tog over the next 3 stitches, 4 dc, 5 dc into the next fan point. Complete the final fan and join. End count: 84 stitches.
Round 6 and onward: continue the wedges
Keep the same structure. Each new round adds one regular dc to each side of the decrease: Round 6 uses 5 dc on each side, Round 7 uses 6, Round 8 uses 7, and so on. For each repeat, work that number of dc, dc3tog over the next three stitches, the same number of dc, then 5 dc into the next fan point. Begin each round with ch 1 and the starting sc, complete the starting five-dc fan, and join with a sl st at the end.
With six fan points, the sample count is 96 stitches at the end of Round 6, 108 at Round 7, and 120 at Round 8. Continue adding 12 stitches per five-dc fan round. These counts follow the six repeats around the 48-stitch setup round:
| Round | Regular dc on each side of decrease | Total stitches at end |
|---|---|---|
| 6 | 5 | 96 |
| 7 | 6 | 108 |
| 8 | 7 | 120 |
| 9 | 8 | 132 |
| 10 | 9 | 144 |
| 11 | 10 | 156 |
| 12 | 11 | 168 |
| 13 | 12 | 180 |
| 14 | 13 | 192 |
| 15 | 14 | 204 |
| 16 | 15 | 216 |
| 17 | 16 | 228 |
| 18 | 17 | 240 |
| 19 | 18 | 252 |
In the sample, the number of regular dc stitches between the decrease and fan eventually reaches 18. Keep trying the poncho on until it reaches the length you want. No fixed round count is given because the finished length is a personal fit choice.
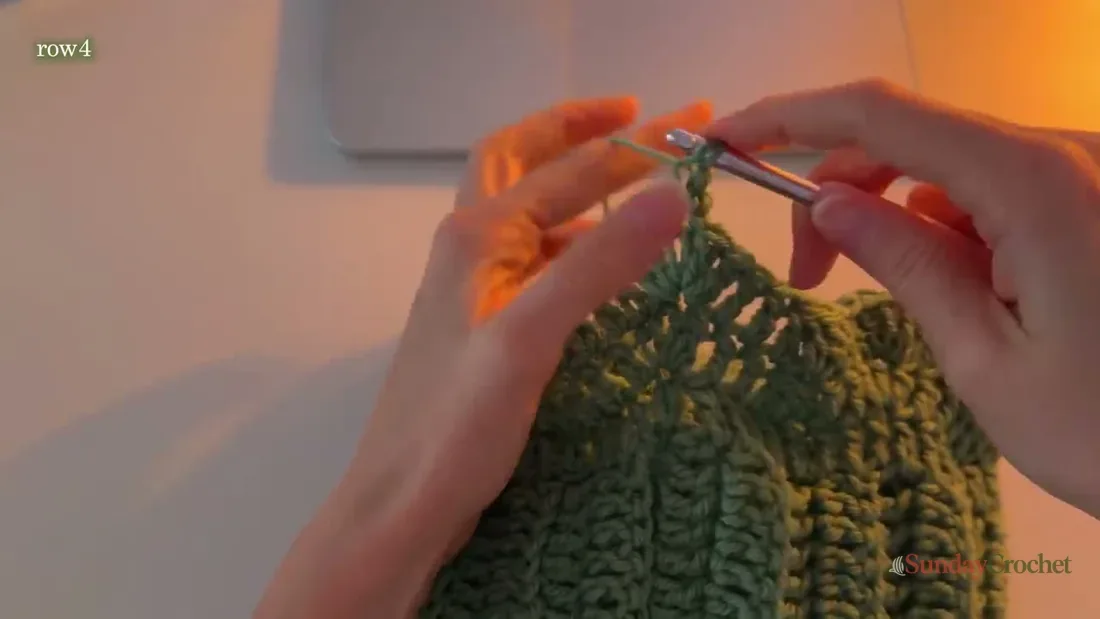
Last 3 rounds: soften the points
When the poncho reaches your chosen length, you can make the lower wedges less pointy with three final rounds. Keep the 5-dc fan at each point, but omit the dc3tog decreases. Work regular double crochet stitches where the decreases would have been, maintaining the fan at each marked point. With six fan points, these rounds add 24 stitches apiece. If you stop increasing after Round 19, the totals are 276 at Round 20, 300 at Round 21, and 324 at Round 22. Fasten off after the third round.
Edging, fringe, and finishing
Work one round of slip stitches around the lower edge, then fasten off and weave in all loose ends with a yarn needle. This edging creates small loops for the fringe. Cut yarn into lengths about 6 to 8 inches long (15 to 20 cm). Fold each strand in half, pull the folded loop through an edging stitch, and pass the loose ends through that loop. Tighten gently. Attach one fringe bundle to every stitch around the edge, keeping the lengths even.
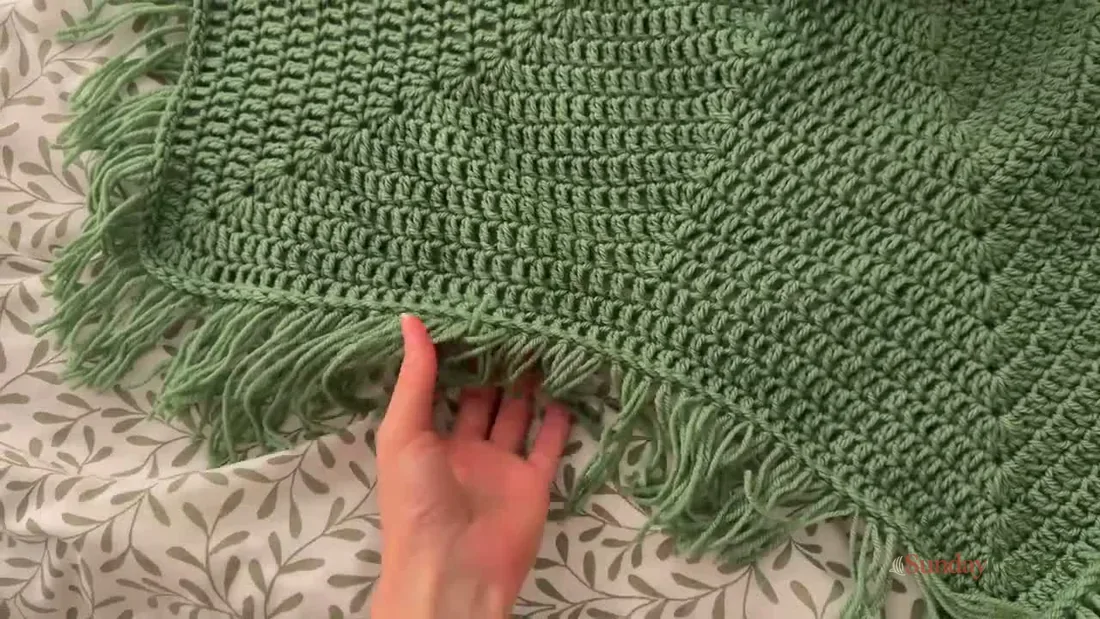
Steam the finished poncho so the fan wedges relax and lie flat. Use care appropriate to your fiber and keep the iron from pressing directly into the wool. The sample uses steam to help the points stop curling. Let the garment dry fully before wearing it.
Common questions
Is this a good first wearable?
It is described as beginner-friendly, and it uses basic US stitches: chains, single crochet, double crochet, and slip stitch. The shaping is repetitive, but the increases and decreases need attention. Marking the fan points and checking each repeat helps keep the wedges aligned.
How do I change the collar size?
Change the number of rows, not the number of chains, to adjust how the collar fits around your neck. The sample has 24 rows, and the row count should be divisible by 8. Add or remove eight rows at a time, join the ends, and try the collar on before working the body.
How long should I make the poncho?
Continue the body rounds until the poncho reaches your preferred length. The sample has 18 regular double crochets between a decrease and a five-dc fan before the final three rounds. Your row count will vary with tension and fit, so try it on as you work.
Is gauge included?
No numeric stitch-and-row gauge or finished measurements are provided. Use the sample’s 30-stitch collar rows and 48-stitch first body round as construction references, then rely on fit checks for the collar and body length.
Do I have to add fringe?
No, but fringe is the sample’s finishing detail. If you leave it off, finish the slip-stitch edge, weave in your ends, and steam the wedges flat.