· Sunday Crochet
In this pattern
01 · A reversible hat worked flat02 · At a glance03 · Yarn & tools04 · Abbreviations05 · Measurements and fit06 · The pattern07 · Visual checkpoints08 · Seam and crown finishing09 · Troubleshooting10 · Common questionsA reversible hat worked flat
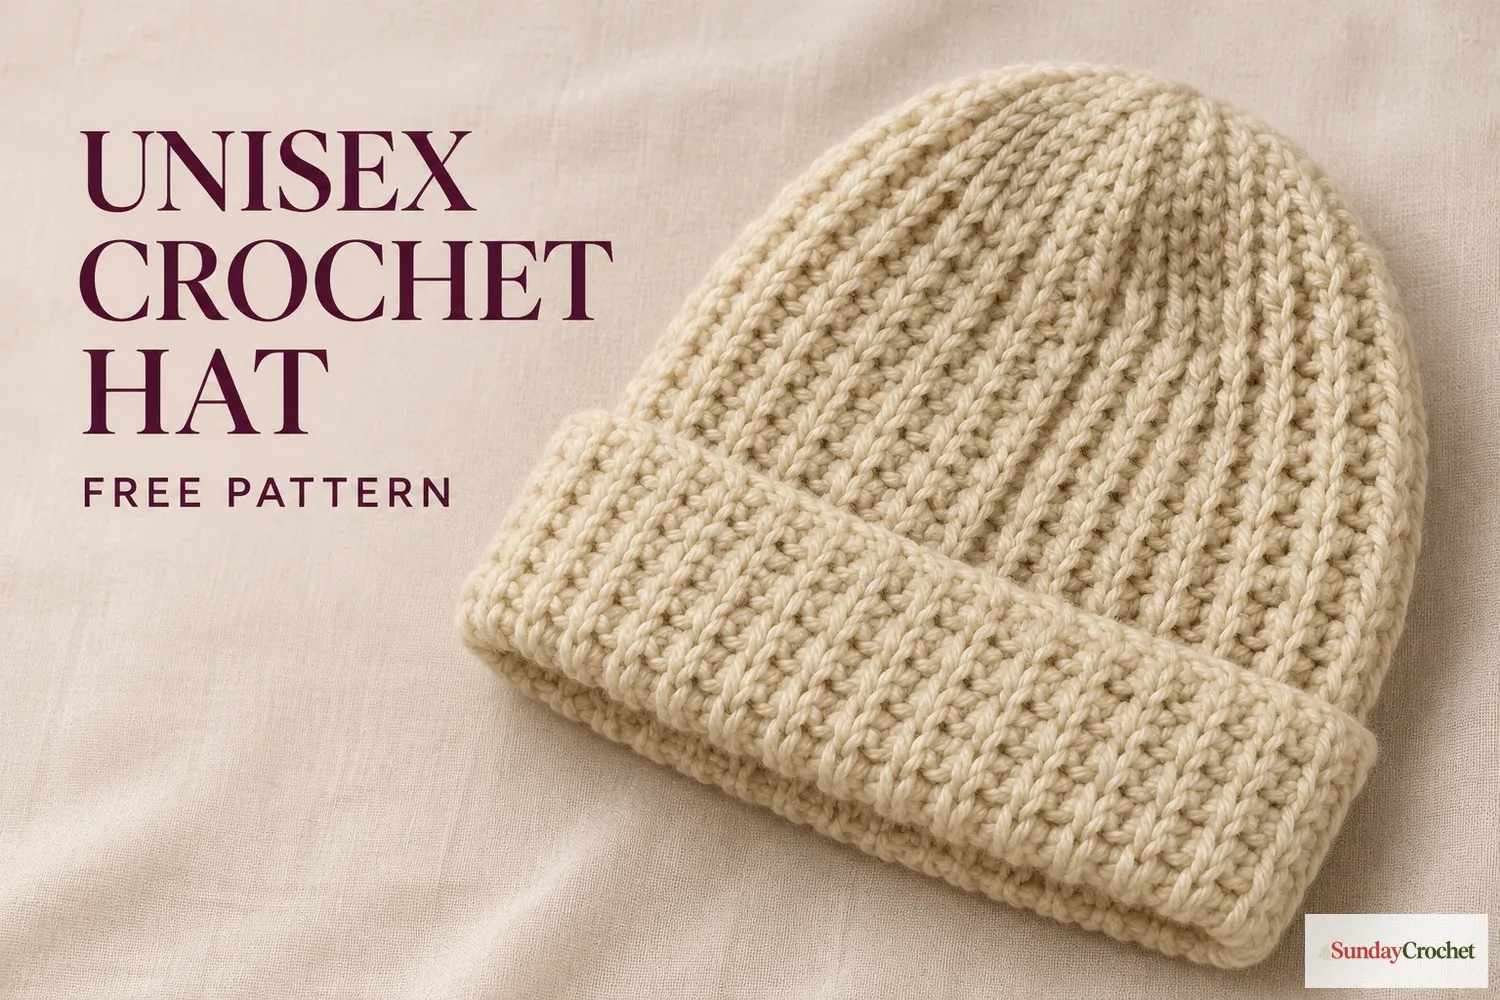
This unisex crochet hat starts as a long, ribbed panel. Short rows shape one end into a rounded crown, and a slip-stitch seam closes the rectangle into a beanie. The stitch pattern alternates half double crochet and slip stitch, which gives the finished fabric a raised, tidy rib without separate ribbing sewn onto the hat.
I’ll show you how I do this. The sample is adult size, worked in US terms with medium-weight yarn and a 4.5 mm hook. Its panel measures about 47–48 cm around to fit a head circumference near 56 cm. No standard swatch gauge is provided, so use the actual chain and panel measurements below to check your tension and fit.
At a glance
- Skill level: Confident beginner. You should be comfortable chaining, making half double crochet and slip stitches, working in back loops, and seaming.
- Construction: One flat panel, shaped crown, one side seam, and a gathered top.
- Terminology: US crochet terms throughout.
- Sample fit: 47–48 cm (18.5–19 in) panel circumference for a head measuring about 56 cm (22 in).
- Gauge: Not provided. The measurements in the pattern are the fit checkpoints.
Yarn & tools
The original sample uses one ball of medium-weight yarn and leaves some yarn over. Fiber content and yardage are not specified, so check your yarn label and choose a similar thickness. If you want a quick refresher on selecting yarn weight, this yarn-weight explanation may help you compare substitutions. A yarn-label guide can help you find the weight and care details on your ball band.
Abbreviations
- ch: chain
- BLO: back loop only
- hdc: half double crochet
- sc: single crochet
- sl st: slip stitch
- st(s): stitch(es)
- rep: repeat
- turn: turn your work
The chain 1 at each row end is a turning chain and does not count as a stitch.
Measurements and fit
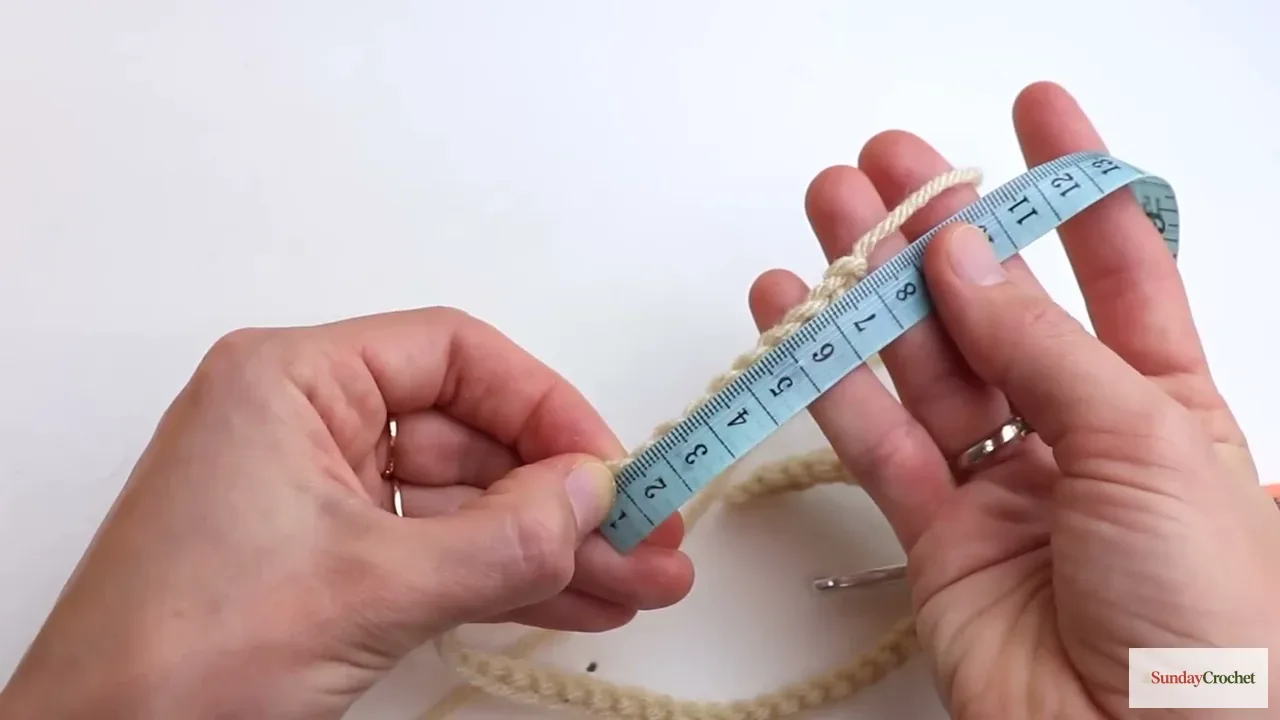
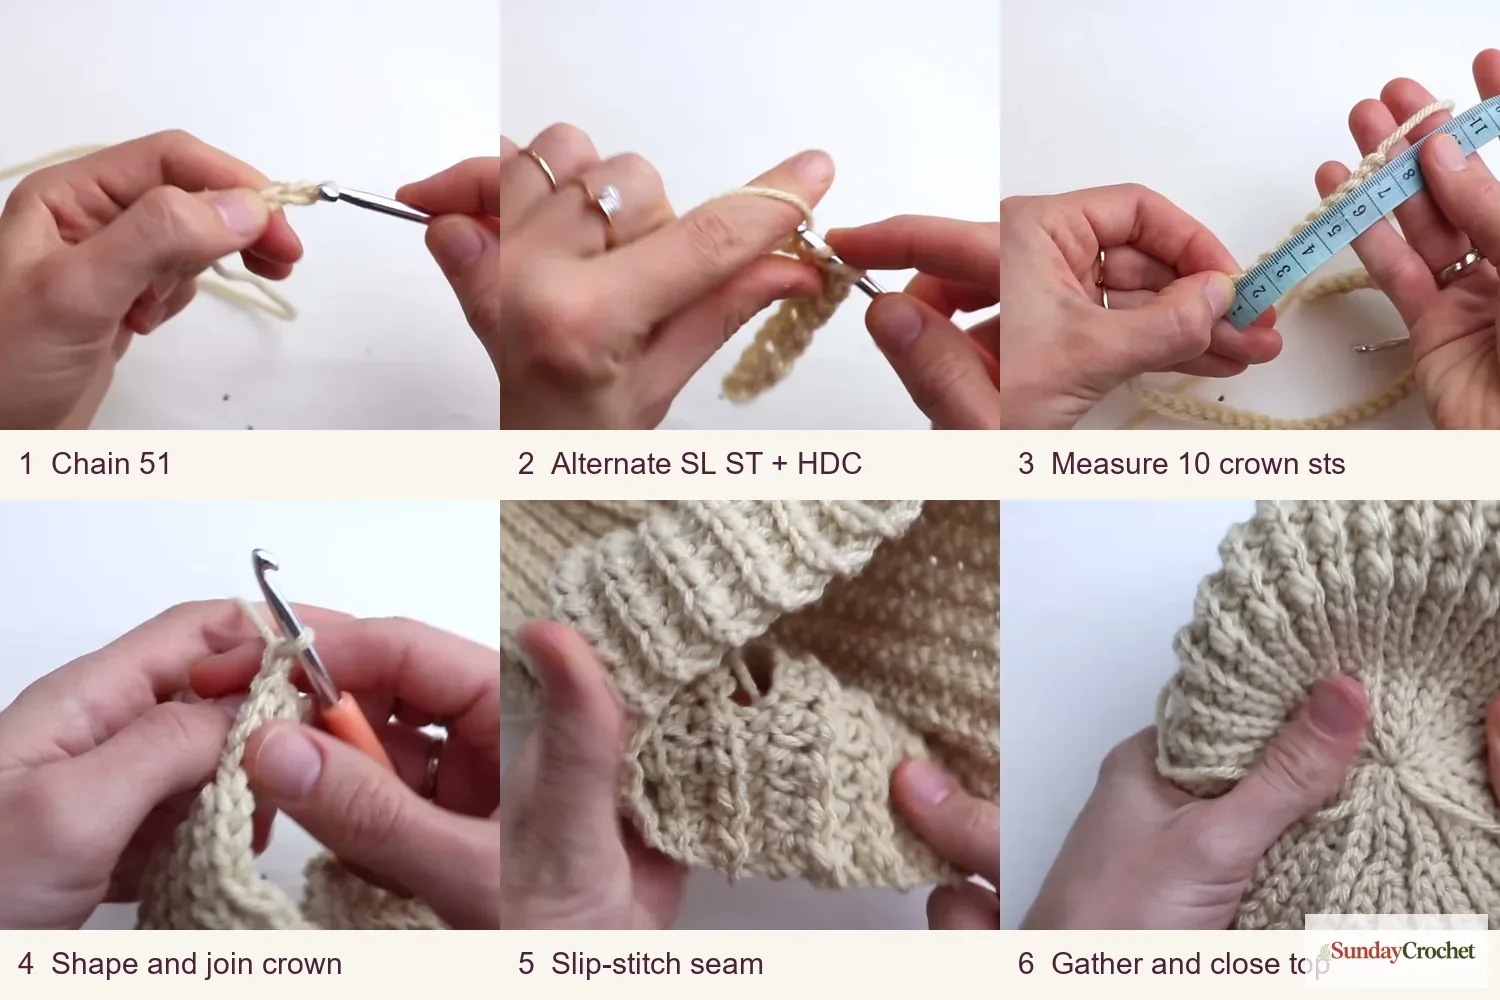
Make a chain that measures 32–34 cm (about 12.5–13.5 in) while relaxed, without stretching it. The sample chain is 51 chains long. After the first row of stitches, the worked piece measures about 27 cm (10.5 in). That shorter measurement is expected because the ribbing draws the chain in.
For the adult sample, keep working until the flat panel measures 47–48 cm (18.5–19 in) along its long edge. This is intended to fit a head circumference of about 56 cm (22 in), with the stretch of the crochet fabric providing the fit. The short edge, which becomes the hat depth, is set by the starting chain and the sample measures above.
There is no 10 cm (4 in) stitch-and-row gauge in the instructions. To adapt the project to another yarn, follow the demonstrated method: make an even number of foundation stitches plus one turning chain, then check that the relaxed chain measures 32–34 cm. Recheck the fabric after the first row. The sample's 4.5 mm hook and medium yarn are the reliable reference point; a different yarn or hook can change the finished feel and dimensions.
The pattern
Set up
The main rib is a repeat of one slip stitch and one half double crochet. Work through both loops on the foundation row. Beginning with Row 2, work in the back loop only unless a row specifically tells you to join across the crown. Keep your slip stitches loose enough that the hook can pass through the back loop on the next row.
The stitch total is 50 across the panel. Row 1 works 45 of the 50 foundation stitches and leaves five unworked at the crown edge. Later rows pick up those five stitches and work across the full 50-stitch width. The crown section is made of ten positions, handled as two groups of five where the row instructions describe a join.
Row 1
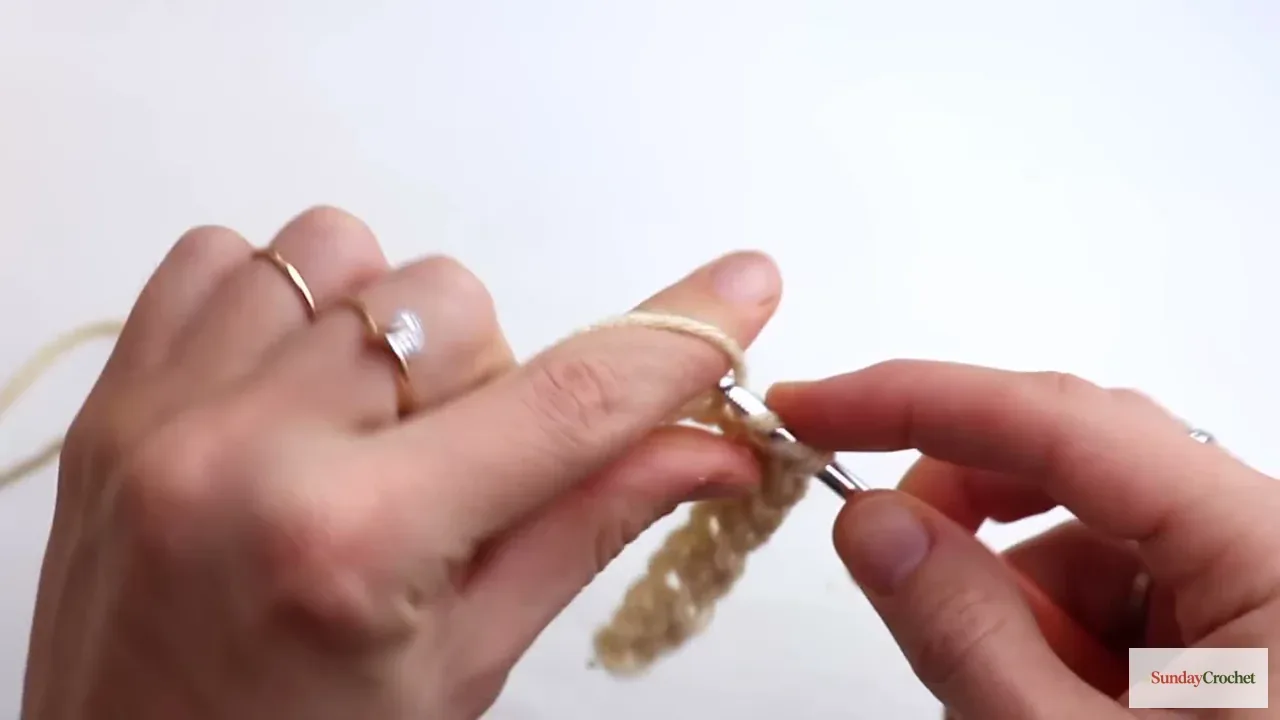
Ch 51. Starting in the second chain from the hook, work sl st in the next ch, hdc in the next ch. Rep this pair until 10 chain stitches remain. Work sl st in the next 5 chains, then leave the final 5 chains unworked. Ch 1 and turn.
Count: 45 stitches worked, with 5 foundation chains left unworked. The row spans 50 stitch positions. The last completed stitch before the crown section is an hdc, followed by the five slip stitches.
Row 2
Working into the back loops, sl st in each of the 5 unworked foundation chains. Continue across the row in BLO, beginning with hdc in the next stitch and alternating hdc, sl st to the end. Ch 1 and turn. The final stitch is a slip stitch.
Count: 50 stitches.
Row 3
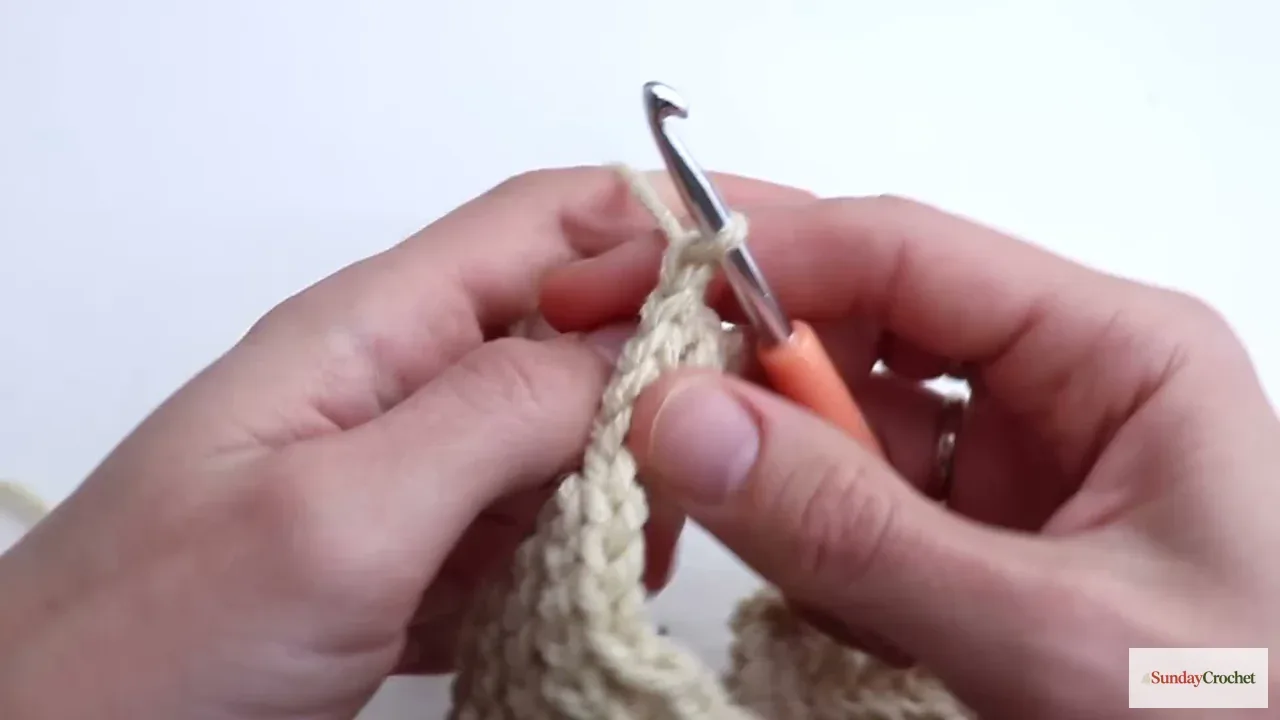
In BLO, begin with sl st in the first stitch, then hdc in the next stitch. Rep sl st, hdc until 10 crown stitches remain. Work sl st in the next 5 stitches. Then move to the five unworked crown stitches at the end of Row 1 and work sl st in each of those 5 stitches to join the two crown edges. No foundation loops remain unworked after this join. Ch 1 and turn.
Count: 50 stitch positions across the row, including the five slip stitches joining the crown edge to Row 1.
Row 4
Work sl st in the next 10 crown stitches. Continue in BLO, alternating hdc, sl st across the remaining stitches. Ch 1 and turn.
Count: 50 stitches.
Row 5
Repeat Row 1: work the ribbing until 10 crown stitches remain, sl st in the next 5, leave the next 5 unworked, then ch 1 and turn.
Count: 45 stitches worked and 5 crown stitches left unworked, across 50 positions.
Row 6
Repeat Row 2: sl st in BLO across the 5 unworked crown stitches, then continue in BLO with hdc, sl st to the end. Ch 1 and turn.
Count: 50 stitches.
Row 7
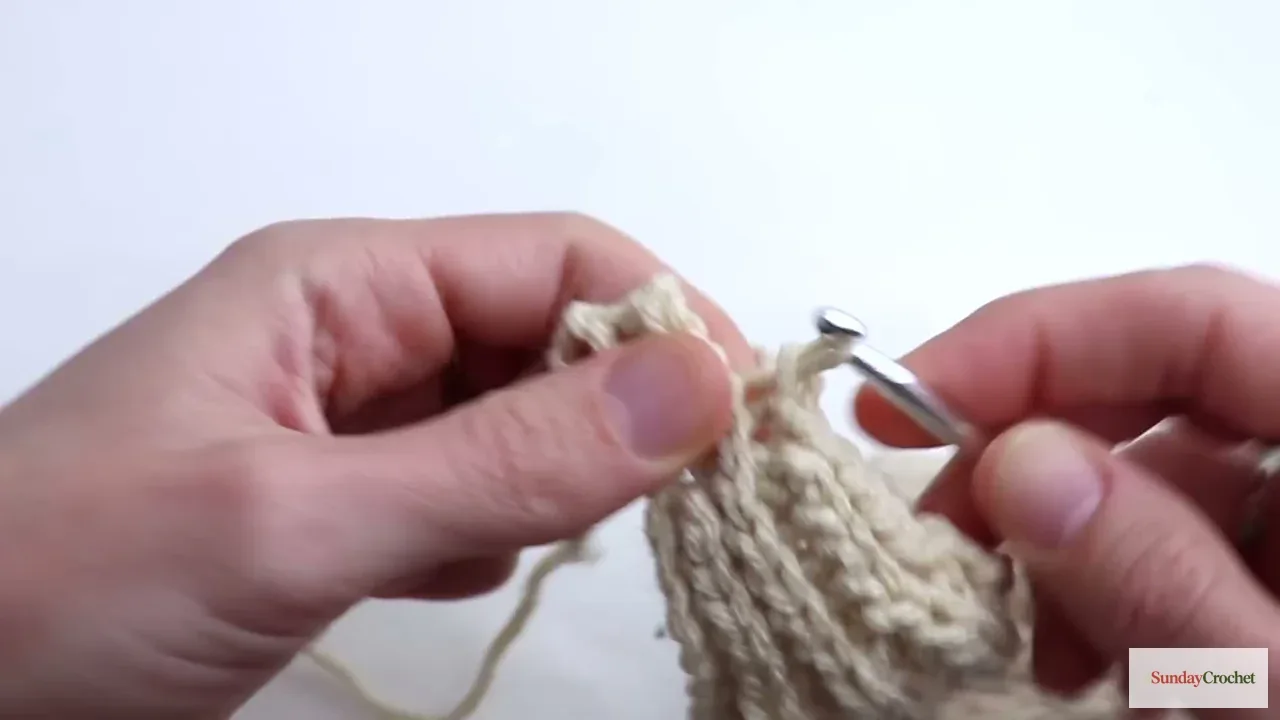
Work the BLO ribbing toward the crown. At the crown, make sc in the next 10 crown stitches. This keeps the ten-stitch crown section distinct while the rest of the row follows the alternating rib.
Count: 50 stitch positions. The crown portion is 10 sc; the remaining fabric follows the alternating rib pattern.
Row 8
Work sc in the next 10 crown stitches, then continue in BLO with the alternating hdc, sl st rib to the end. Ch 1 and turn.
Count: 50 stitches.
Repeat for the hat circumference
After the first eight rows, repeat the last four-row unit, Rows 5–8, until the long edge of the panel measures 47–48 cm (18.5–19 in). Measure along the edge without pulling the fabric longer. If your panel is still short, complete another four-row unit. Stop at the target measurement rather than relying on a fixed row count, since yarn and tension affect the number of repeats.
The instructions do not provide a total row count. Keep the same 50-position width and four-row rhythm while the panel grows. If your edge begins to bow, check that each row has the same stitch count and that you have not tightened the turning chain or crown slip stitches.
Visual checkpoints
The images below follow the order of the work: foundation, ribbing, measuring the crown section, joining the crown rows, seaming the panel, and gathering the top. Use them to see where the short rows meet and how the crown opening is closed.
Seam and crown finishing
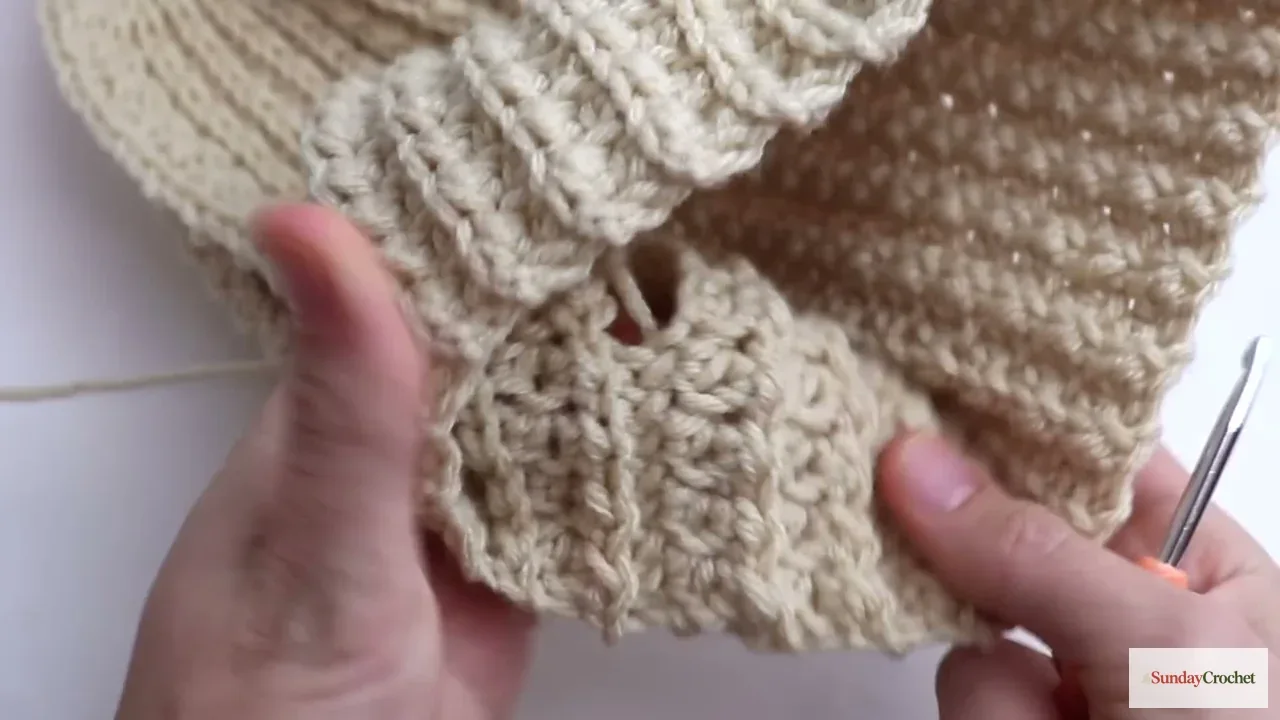
When the panel reaches 47–48 cm, fasten off with a long tail for finishing. Lay the panel flat and choose the side you prefer as the outside. The texture is reversible, so compare both sides before seaming. Fold the panel with the wrong side facing out and align the two short edges.
Use the crochet hook to join the edges with slip stitches. Insert the hook through the loop on one edge and the back loop on the opposite edge, then make a slip stitch. Repeat down the full edge, keeping the join even but not tight. This makes the side seam.
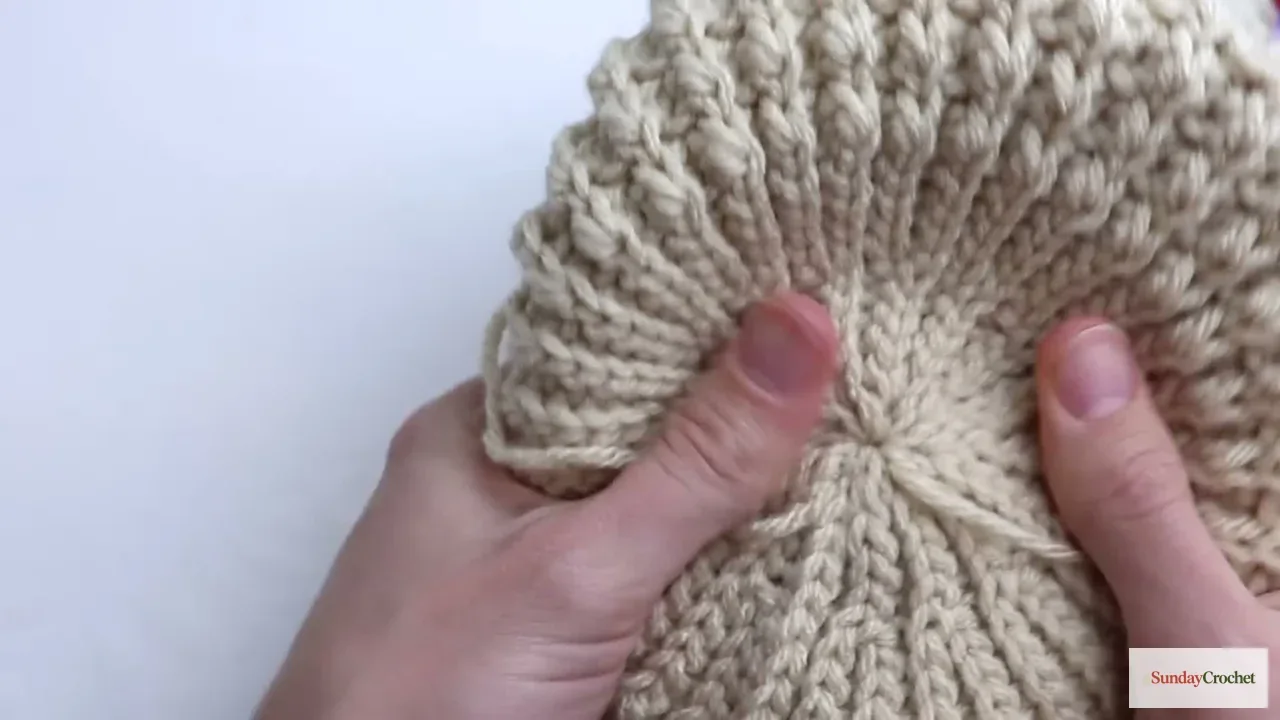
At the top opening, thread the yarn tail onto a yarn needle. Weave it back and forth through the chain-one loop at the beginning of every fourth row around the crown. Pull gradually to gather the opening closed. If your yarn is wool, or otherwise prone to snapping under tension, ease the gathers slowly rather than yanking the tail. Pass through the same loops again to secure the closure, tie a knot on the inside, and weave in the end. Repeat the gathering and finishing with the second tail if one remains at the crown edge.
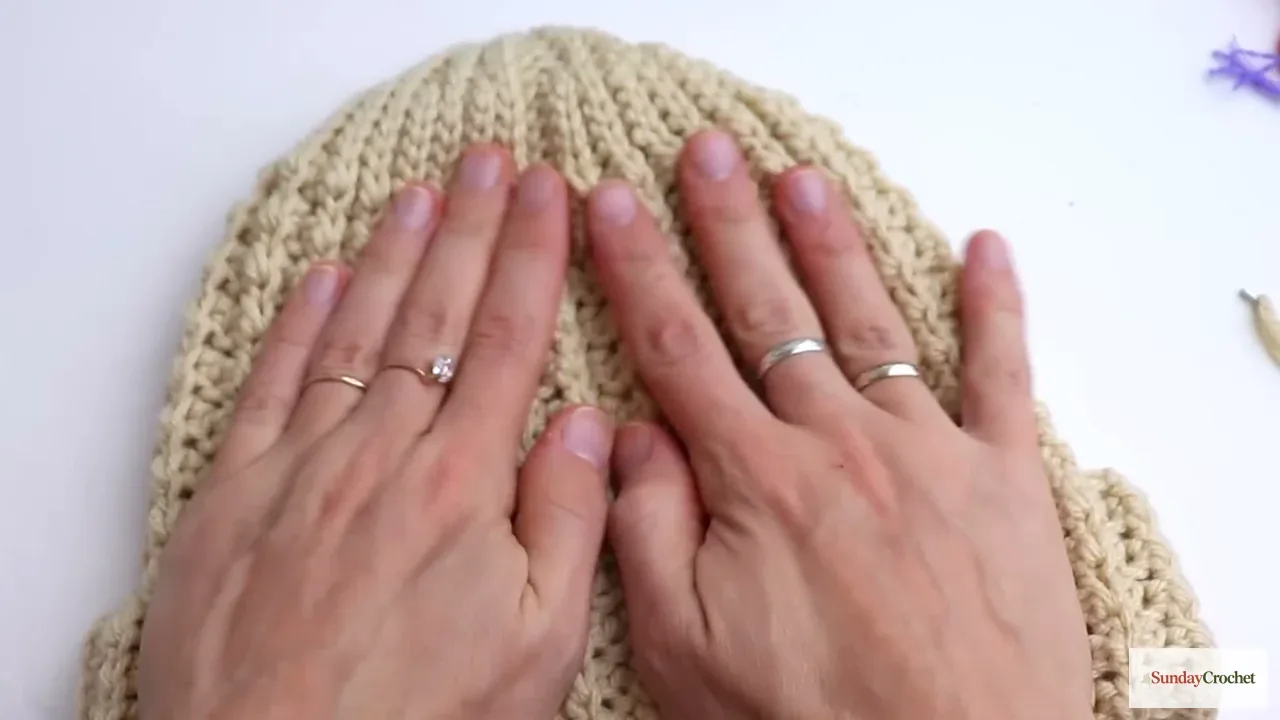
Turn the hat right side out and fold the lower edge up to make the brim. The seam can sit at the back, or wherever it looks most discreet when worn. The cuff is made by folding the fabric itself, so there is no separate brim piece to attach.
Troubleshooting
The back loops are difficult to enter. Loosen your tension, especially on the slip stitches and at the crown. The ribbing looks neat without being cinched tight, and loose loops are much easier to work into on the return row.
The foundation is the right length, but the first row is too short. A small amount of shrinkage is expected: the sample measures 32–34 cm as a chain and about 27 cm after Row 1. If yours is dramatically shorter, check whether your yarn is heavier or your tension is tight. The pattern's sample dimensions are a better guide than an assumed gauge.
The crown looks bulky. Make sure the ten crown stitches are split evenly into groups of five for the join, and gather the opening gradually. Pulling the tail hard in one motion can strain the yarn and bunch the crown unevenly.
The seam is visible. Align the edges carefully and consistently catch one edge loop and the opposite back loop for each slip stitch. Choose the side you like best before folding the panel, since the hat is reversible and the seam finish may look slightly different from each side.
Common questions
Is this hat worked in the round?
No. You crochet a flat panel back and forth, shape the crown with short rows, and seam the two short edges before gathering the top.
Can I use a heavier yarn?
The instructions allow a heavier yarn, but they do not provide a new hook size or exact stitch count for it. Keep an even number of foundation stitches plus one turning chain, and use the relaxed 32–34 cm chain measurement as your starting check. The stitch texture and finished fit may change with a different yarn.
What is the gauge?
No standard stitch-and-row gauge is supplied. The useful sample checkpoints are a 32–34 cm relaxed chain, about 27 cm after the first row, and a 47–48 cm panel for a head circumference around 56 cm.
How many rows should I make?
The total row count is not specified. Work the repeat until the panel measures 47–48 cm along the long edge, then seam and gather the crown.
Is the hat reversible?
Yes. Both sides can be worn outward. Choose your preferred texture before sewing the side seam, then fold up the lower edge to form the brim.
This is a practical one-panel project with a tidy rib, a shaped top, and no separate brim to attach. Measure the foundation and finished panel as you go, keep the slip stitches relaxed, and let the four-row repeat determine the fit.