
· Sunday Crochet
In this pattern
01 · A fluffy little tree02 · Yarn & tools03 · The pattern04 · Crochet the trunk05 · Make the star topper06 · Assemble and finish07 · Common questionsA fluffy little tree
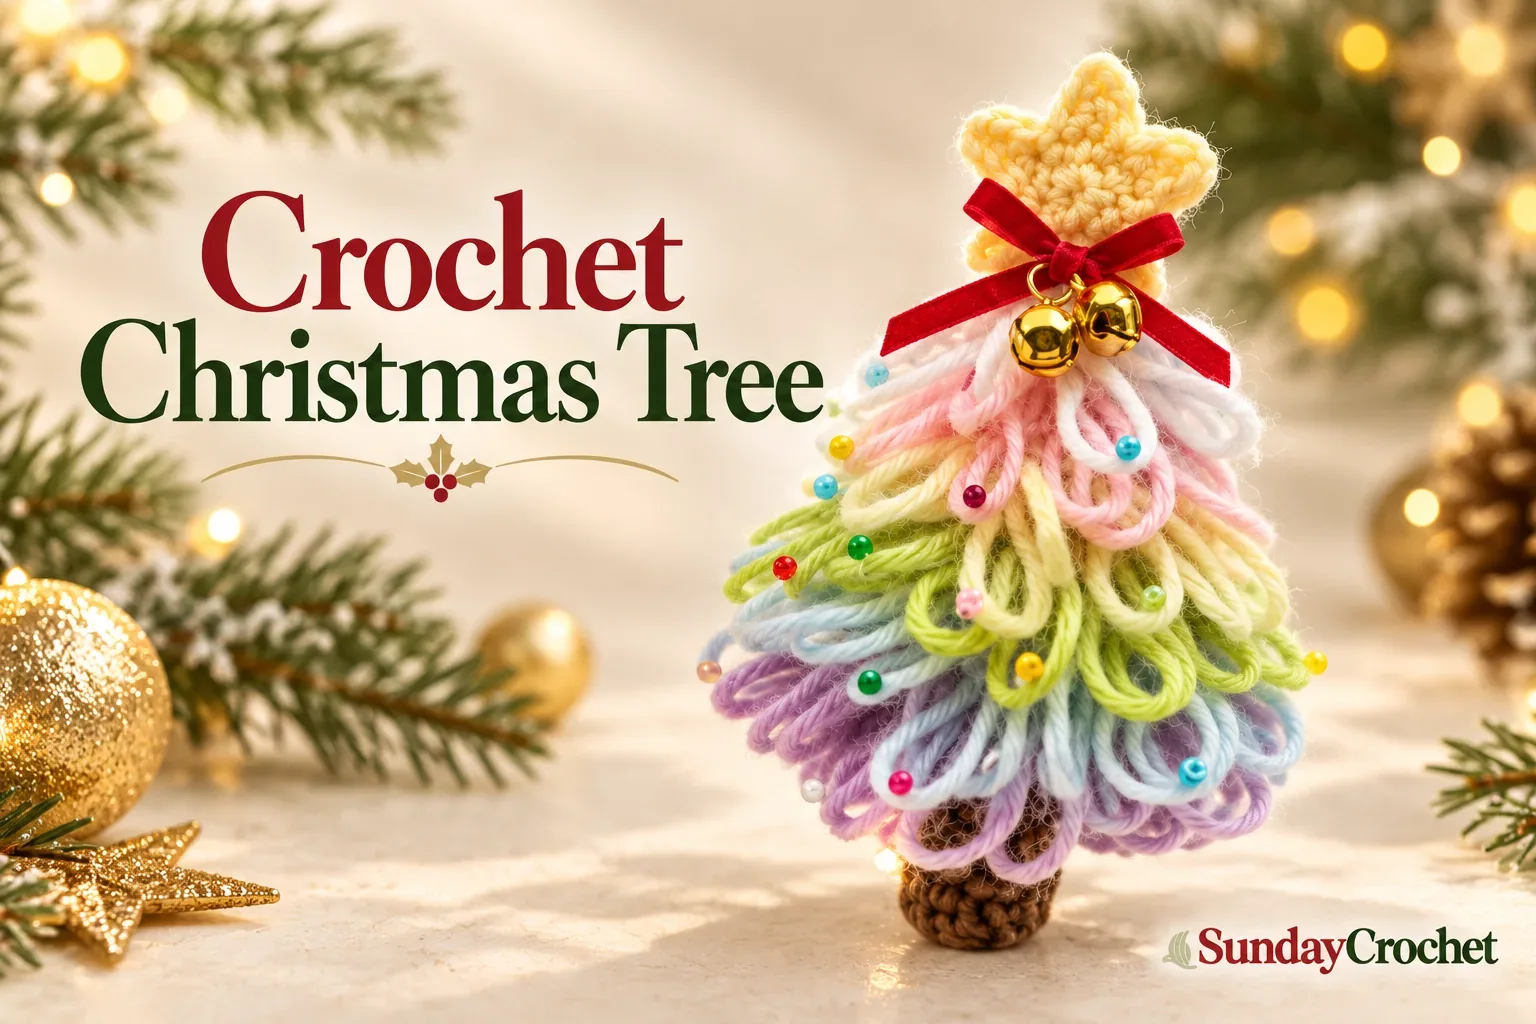
Long loops give this crochet Christmas tree its soft, shaggy branches, while ordinary single crochet stitches taper the stuffed body into a cone. The little trunk and star are crocheted separately, then attached to finish the ornament. Add a few beads, a bow, or other small decorations to make it your own. The pattern does not specify a finished size or yarn yardage, so your tree will take its final shape from your yarn, hook, loop length, and tension.
I’ll show you how I do this from the first magic ring to the star topper. The special loop stitch is the main skill to practice. Once you are comfortable drawing a consistent loop and making a simple single-crochet decrease, the body follows a clear rhythm of textured rounds and narrowing rounds. If single crochet or decreases are still new, this beginner stitch guide is a useful refresher, and this guide to yarn-label measurements can help you understand the 2 mm hook measurement.
Yarn & tools
The spoken instructions do not give a yarn weight, brand that can be confidently identified, yardage, or gauge. Choose a plush-effect yarn that works comfortably with the 2 mm hook, and use that same yarn consistently for the looped body. The loops are deliberately longer than ordinary stitches, so keep them a similar length from round to round. If you want a looser or shaggier look, adjust their length a little, but expect that to change the finished size and fullness.
Abbreviations
- MR: magic ring
- ch: chain
- sl st: slip stitch
- sc: single crochet
- sc2tog: single-crochet decrease over 2 stitches
- loop st: the elongated loop stitch described below
- st(s): stitch(es)
The turning chain at the start of a round is for height and is not counted as a stitch. Join each round with a slip stitch into the first stitch. The loop stitch is the plush texture used on the outer rounds of the tree. Make the loop size consistent, and work the decreases through the stitches specified so the body narrows evenly.
The pattern
Round 1
With the tree yarn, make an MR. Ch 1, then work 6 sc into the ring. Place a marker in the first sc if you find it helpful to keep track of the round. Pull the tail to close the center and join with a sl st in the first sc. You have 6 stitches.
Round 2
Ch 1. Work 2 sc in each stitch around. Join with a sl st in the first sc. You have 12 stitches.
Round 3
Ch 1. Work 1 sc in the first stitch and 2 sc in the next stitch. Repeat this sequence around. Join in the first sc. You have 18 stitches.
Round 4
Ch 1. Work 1 sc in the first stitch, 2 sc in the next stitch, and 1 sc in the following stitch. Repeat this sequence around. Join in the first sc. You have 24 stitches. The small round is now wide enough to support the fluffy texture.
Round 5: loop stitch
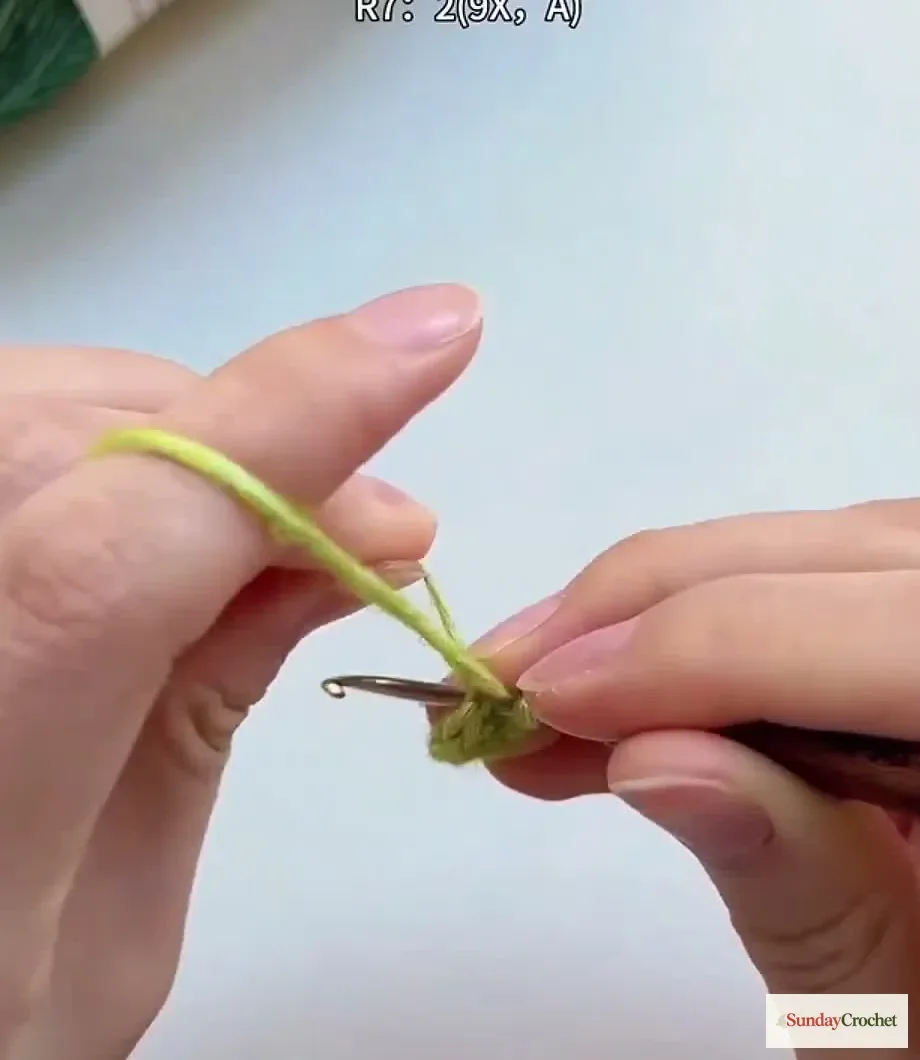
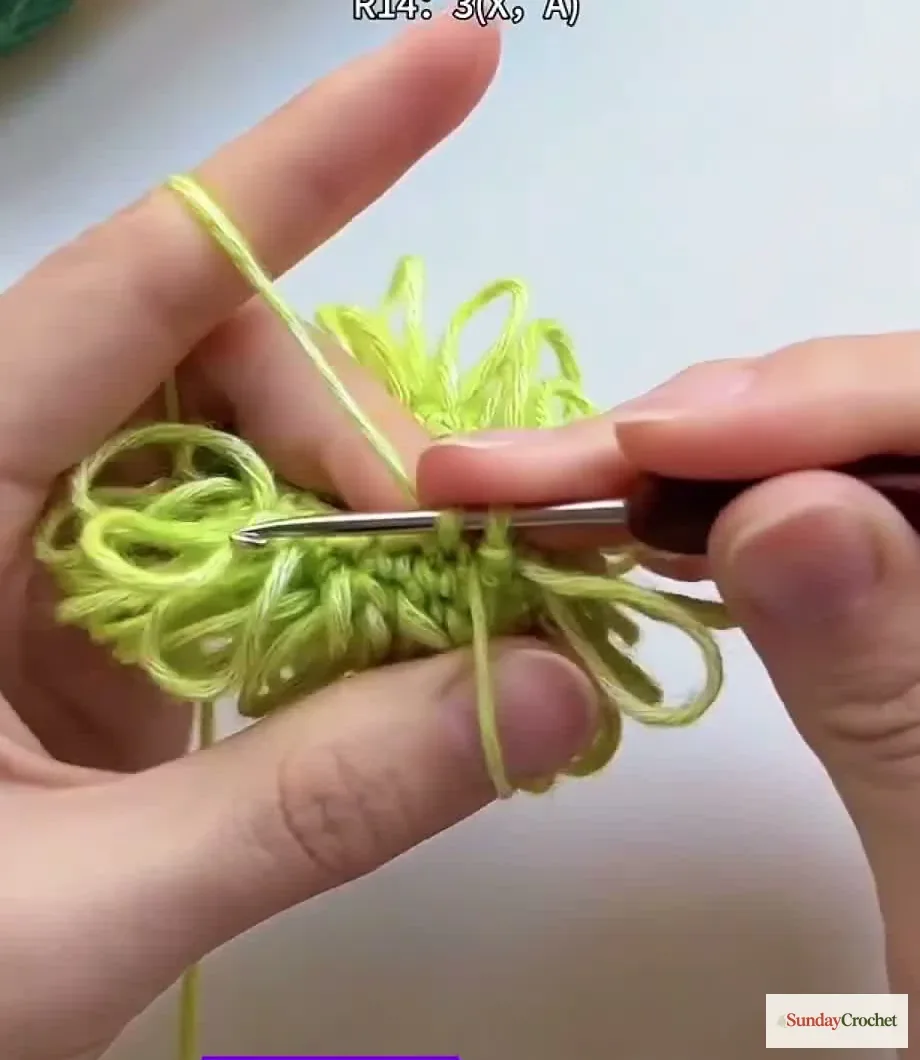
Ch 1. Make a loop stitch in each of the 24 stitches, then join in the first stitch. To make one loop stitch, insert the hook into the next stitch, on the side farthest from you. Use your thumb to draw the working yarn down and form a long loop. The longer you draw it, the longer the branch texture will appear. Insert the hook from the left side of that loop and catch only the inner strand of the stitch. Pull the yarn through and complete a sc. That secures the loop as part of the stitch. Keep your finger or thumb on the loop while you work so it does not pull tight or disappear.
Round 6
Ch 1. Repeat 5 loop stitches, 1 loop-stitch decrease, 5 loop stitches twice around, then join in the first stitch. To decrease, draw up a loop in each of the next 2 stitches so there are 3 loops on the hook, then yarn over and pull through all 3 together. This round reduces the circumference while keeping the looped surface continuous.
Round 7
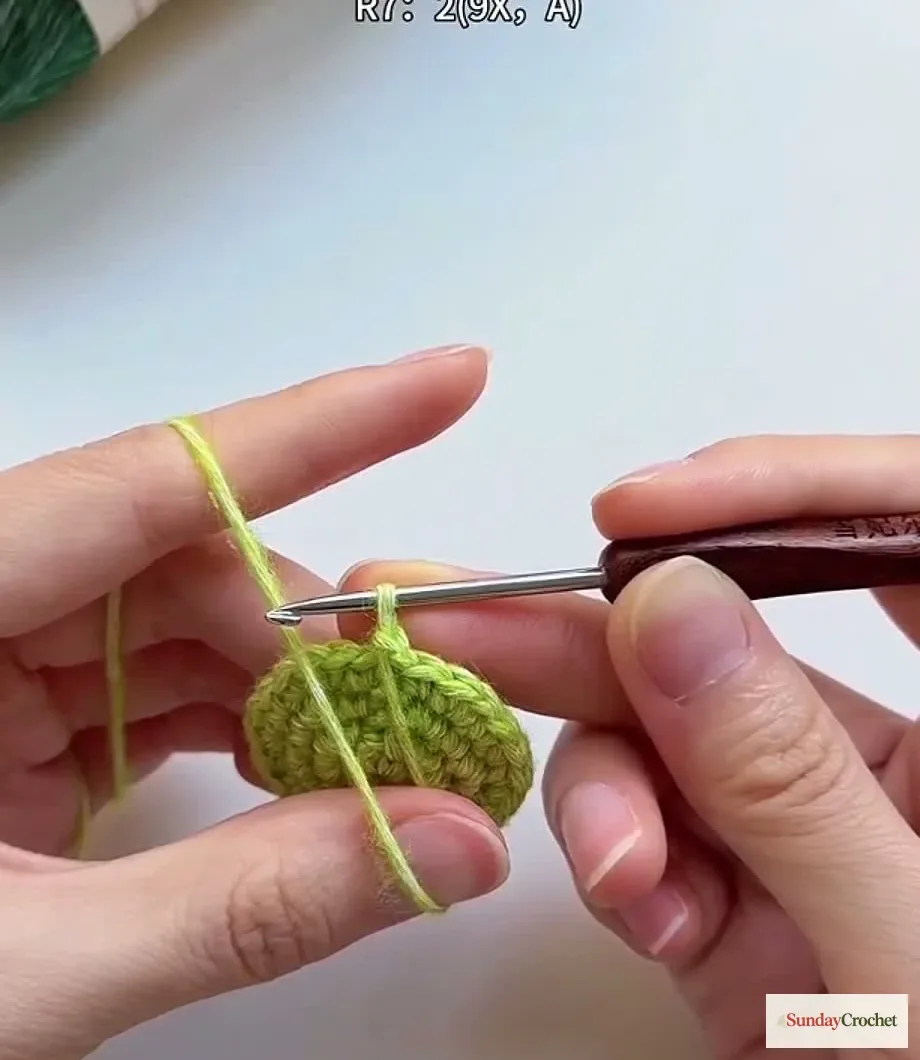
Ch 1. Work 9 sc, 1 sc2tog twice around. Join in the first stitch. These ordinary stitches make a compact round between the fluffy rows.
Round 8
Ch 1. Work 4 loop stitches, 1 loop-stitch decrease, 4 loop stitches twice around. Join with a sl st in the first stitch.
Round 9
Ch 1. Work 7 sc, 1 sc2tog twice around. Join in the first stitch.
Round 10
Ch 1. Work 3 loop stitches, 1 loop-stitch decrease, 3 loop stitches twice around. Join in the first stitch.
Round 11
Ch 1. Work 5 sc, 1 sc2tog twice around. Join in the first stitch.
Round 12
Ch 1. Work 2 loop stitches, 1 loop-stitch decrease three times around. Join with a sl st. Add fiberfill to give the body volume before the opening gets smaller. Use enough to support the form without stretching the stitches open.
Round 13
Ch 1. Work 9 loop stitches, then join in the first stitch. There are no increases or decreases in this round.
Round 14
Ch 1. Work 1 sc, 1 sc2tog three times around. Join with a sl st. Cut the yarn and fasten off to close the remaining opening. The body now has a rounded, tapered tree shape. Shape the loops gently with your fingers so they spread out instead of bunching in one spot.
Crochet the trunk
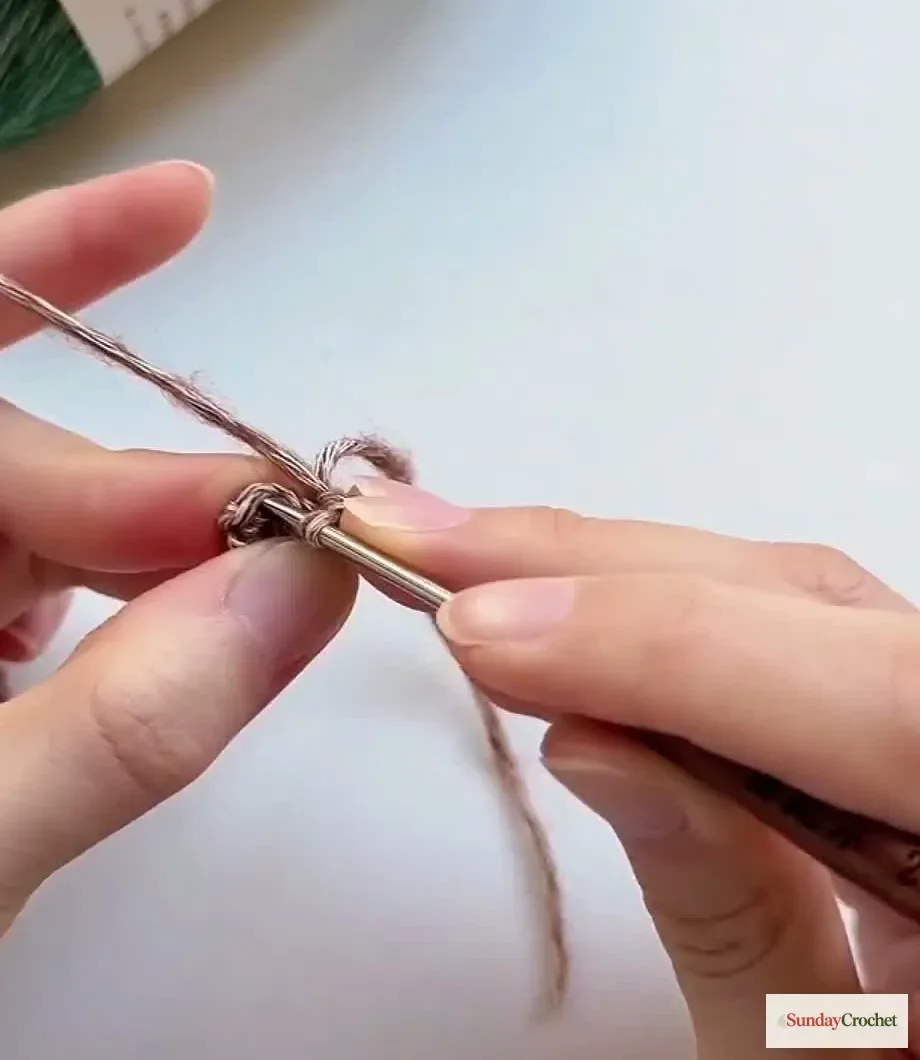
With brown yarn, make an MR and work 8 sc into it. Pull the center closed and join in the first sc. For Round 2, ch 1 and work 8 sc in the back loop only. The back loop is the loop farthest from you. Join in the first stitch.
For Rounds 3 through 6, ch 1 and work 8 sc around, using both loops of each stitch. Keep the stitch count even, with no increases or decreases. After Round 6, add a little fiberfill. Fasten off leaving a long tail, and use that tail to sew the trunk to the base of the tree. The narrow tube gives the ornament a small visible stem beneath the looped branches.
Make the star topper
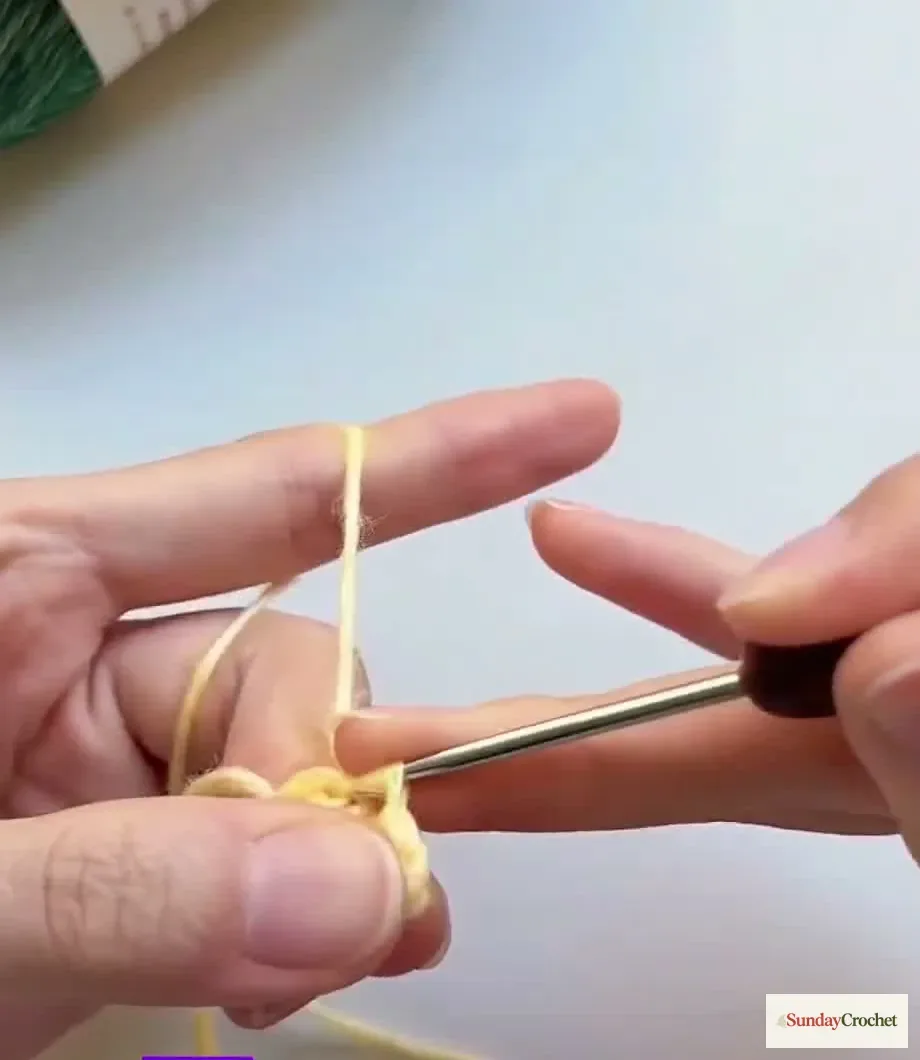
With yellow yarn, make an MR and work 5 sc into it. Pull the ring closed and join in the first stitch. This is the center that holds the five points.
For the next round, make a point in each base stitch. Ch 3. Starting in the second chain from the hook, work 1 sc; work 1 half double crochet in the next chain. Then sl st into the second stitch of the base round to anchor that point. Repeat the same sequence four more times, for five points total. After the last point, sl st into the joining point from the previous round. Cut the yarn and pull the tail through to the back. Tie the two ends together and trim them.
Make a second star the same way. Place the two stars together and glue them so the topper has a little more body. Let the glue set before handling it. Small beads, a ribbon bow, bells, or other lightweight decorations can be added to the tree. Keep the embellishments secure and light so they do not pull down the looped branches.
Assemble and finish
Sew the stuffed trunk to the center of the tree’s base with its long yarn tail. Take small, secure stitches through the trunk and body, then weave the tail into the crochet to hide it. Position the layered star at the top of the tree and secure it. Arrange the long loops around the body so the rows look like soft branches. Add only the small decorations you want, spacing them across the loops rather than clustering them all on one side.
The pattern demonstrates a decorative tree but does not specify a hanging-loop or hardware attachment. If you want to hang yours, choose a secure attachment method that suits your use and the materials you add. The unadorned tree also works as a small shelf decoration or a handmade seasonal gift. A small crochet charm project offers another way to use compact crochet details for a gift, while this tree gets its character from the long loops and layered topper.
Common questions
What is the loop stitch?
It is the long-loop texture stitch used for the tree’s branches. Draw the working yarn into an elongated loop, catch the inner strand as described, and complete a single crochet to secure it. Keep the loop length consistent within each round.
How much yarn do I need?
The instructions do not specify yardage. The tree itself is small, but plush-effect yarn and longer loops can use more yarn than a compact single-crochet surface. Keep the working ball available until the body is closed, and use small amounts of brown and yellow for the trunk and two stars.
Can I use a different hook?
A 2 mm hook is specified for the plush-effect yarn in this project. A different hook can change how tightly the loops sit and the final size, so the pattern does not promise the same result with another size. If you change hooks, check that the stitches still hold the stuffing and that the loop texture remains distinct.
Do I have to add beads and a bow?
No. They are optional decorations. The long loop branches and the star already give the tree its shape. Add only secure, lightweight embellishments, or leave the tree plain for a softer look.


