· Sunday Crochet
In this pattern
01 · A little rose to brighten a bouquet02 · What you’ll need03 · Stitch notes04 · The pattern05 · A few helpful checks as you go06 · Common questions07 · Make it your ownA little rose to brighten a bouquet
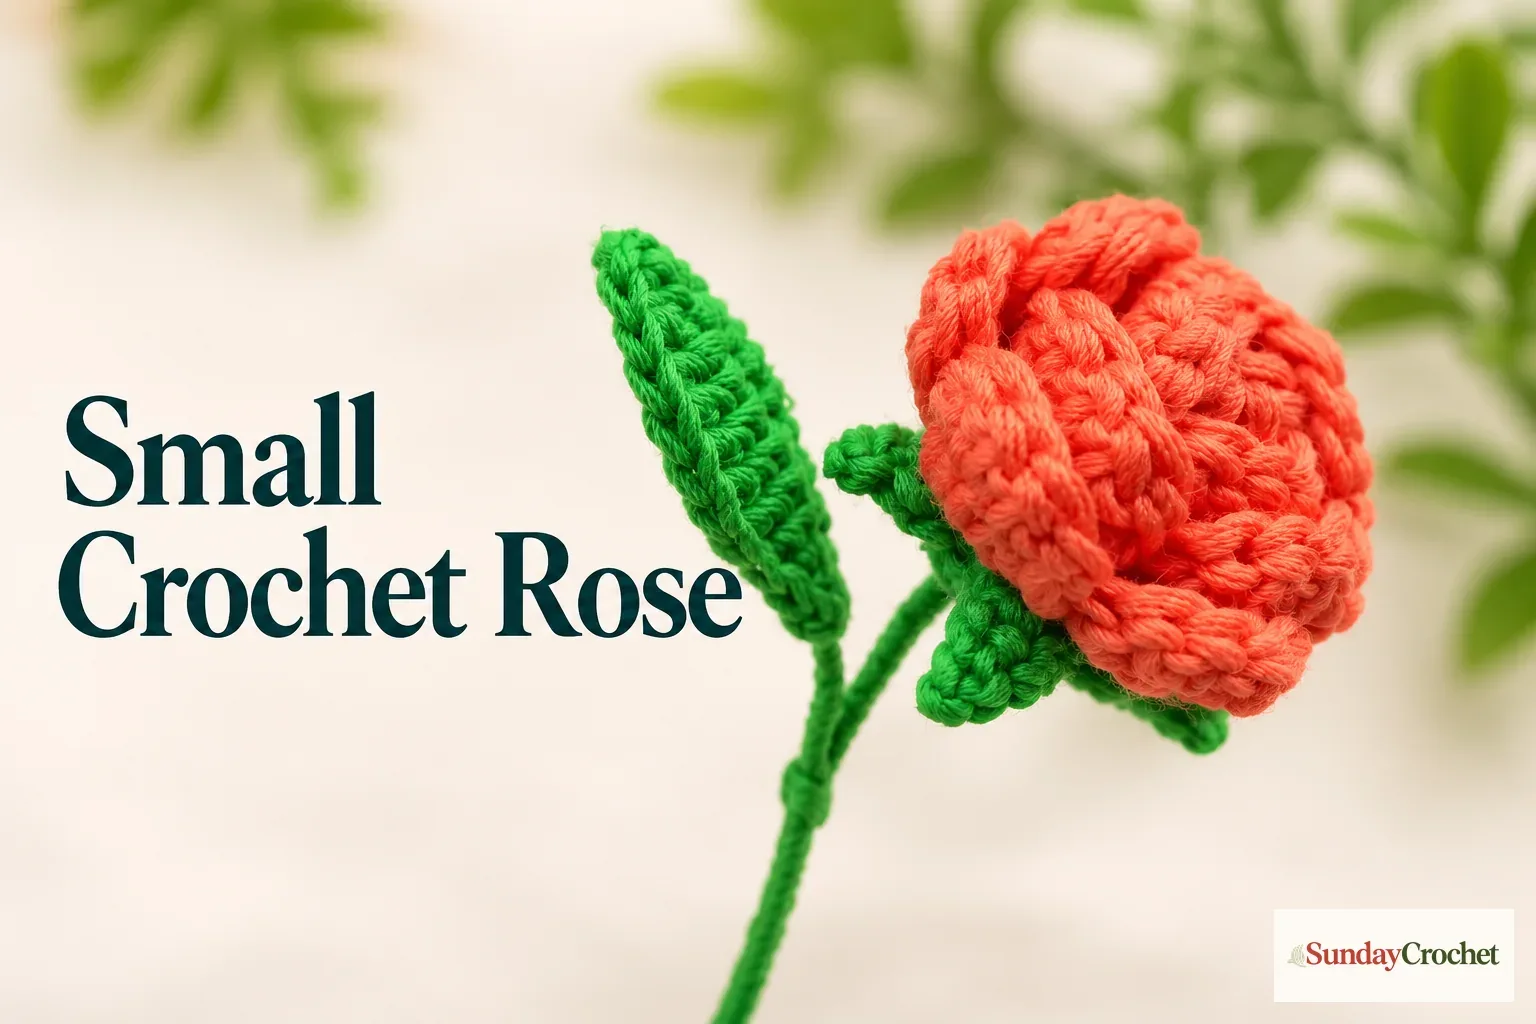
A small crochet rose makes a lovely finishing touch on a wrapped gift, hair accessory, handmade bouquet, or another project that needs a little flower. This version has a softly layered coral bloom, a green base, and a wired leaf and stem. The flower begins as a long strip of chain spaces that become rounded petals when you work back across them.
I’ll show you how I do this in clear stages: first the petal strip, then the green base and leaf, and finally the assembly. The movements are demonstrated for a left-handed crocheter, but the written instructions use standard US stitch names and work for either hand. Yarn weight, hook size, wire gauge, gauge, and finished measurements were not specified, so I’ll leave those open rather than guess.
What you’ll need
- Coral or rose-colored yarn for the bloom
- Green yarn for the flower base, leaf, and wrapped stem
- A crochet hook suited to your yarn; the exact size is not specified
- Yarn needle and scissors
- Floral wire and fabric glue for the leaf and stem finish
The sample uses two yarn colors, but its fiber, weight, and yardage are not given. Check the yarn label for a suitable hook range, and use the same yarn and hook consistently for the small parts. Different choices will change the scale of the rose. The wire length and thickness are also left open; choose a piece that suits the stem length you want and handle its cut ends carefully. Fabric glue is part of the shown finish, so follow the product directions and let it dry before bending or displaying the flower.
Stitch notes
This pattern uses US crochet terms:
- ch: chain
- sl st: slip stitch
- sc: single crochet
- hdc: half double crochet
- dc: double crochet
- st(s): stitch(es)
- increase: two stitches worked into the same stitch
The hook is held in the left hand in the demonstrated motions. If you crochet right-handed, mirror the direction of the movements while keeping the stitch sequence and counts the same. If chain spaces or stitch abbreviations are new, the basics in How to Crochet for Absolute Beginners and How to Read Crochet Patterns Without Getting Lost can help with the foundations.
The pattern
Make the petal strip
With the coral yarn, make a slip knot and chain 39. Keep the chain relaxed enough that you can see and enter each link. Count from the hook, skip the first four chains, and work 1 dc in the fifth chain.
Now repeat this sequence along the foundation: skip two chains, then work 1 dc, ch 2, and 1 dc in the next chain. The two double crochets share that chain, with a chain-two space between them. These spaces are where the petals will grow, so pause now and then to make sure you are putting both stitches into the same chain rather than neighboring chains.
Continue the repeat toward the end. When one chain remains, work 1 dc in the final chain. You now have a row of paired double crochets separated by open chain-two spaces. Chain one and turn.
Shape the petals
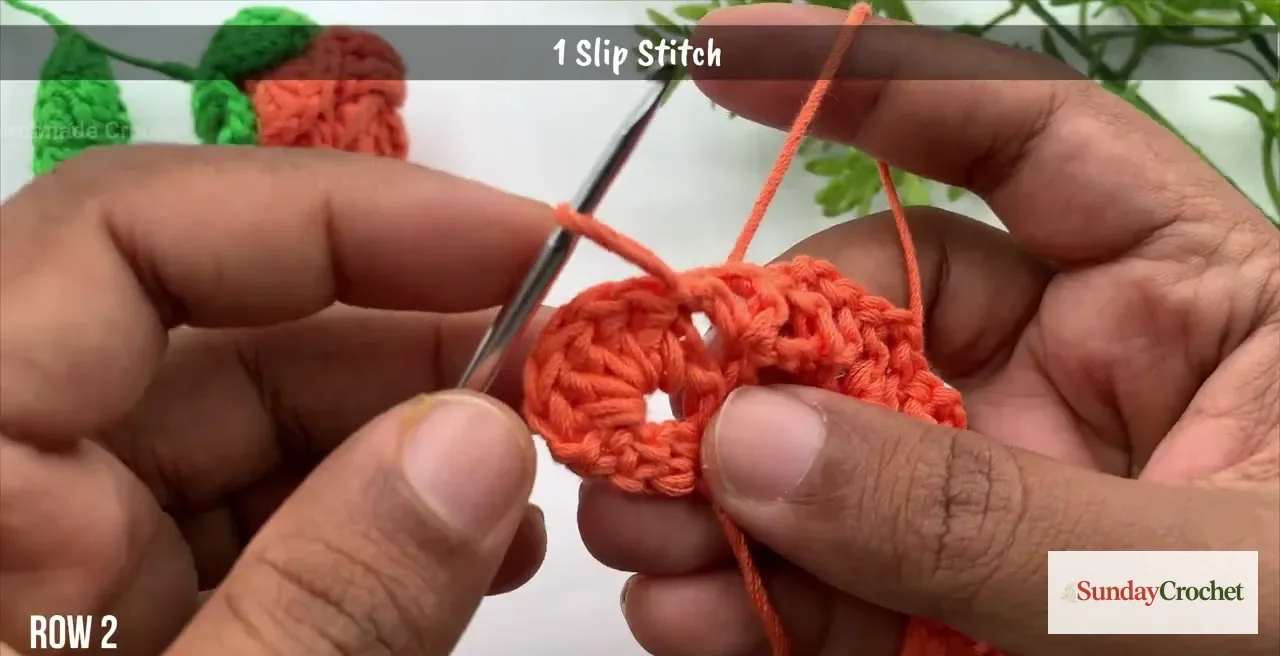
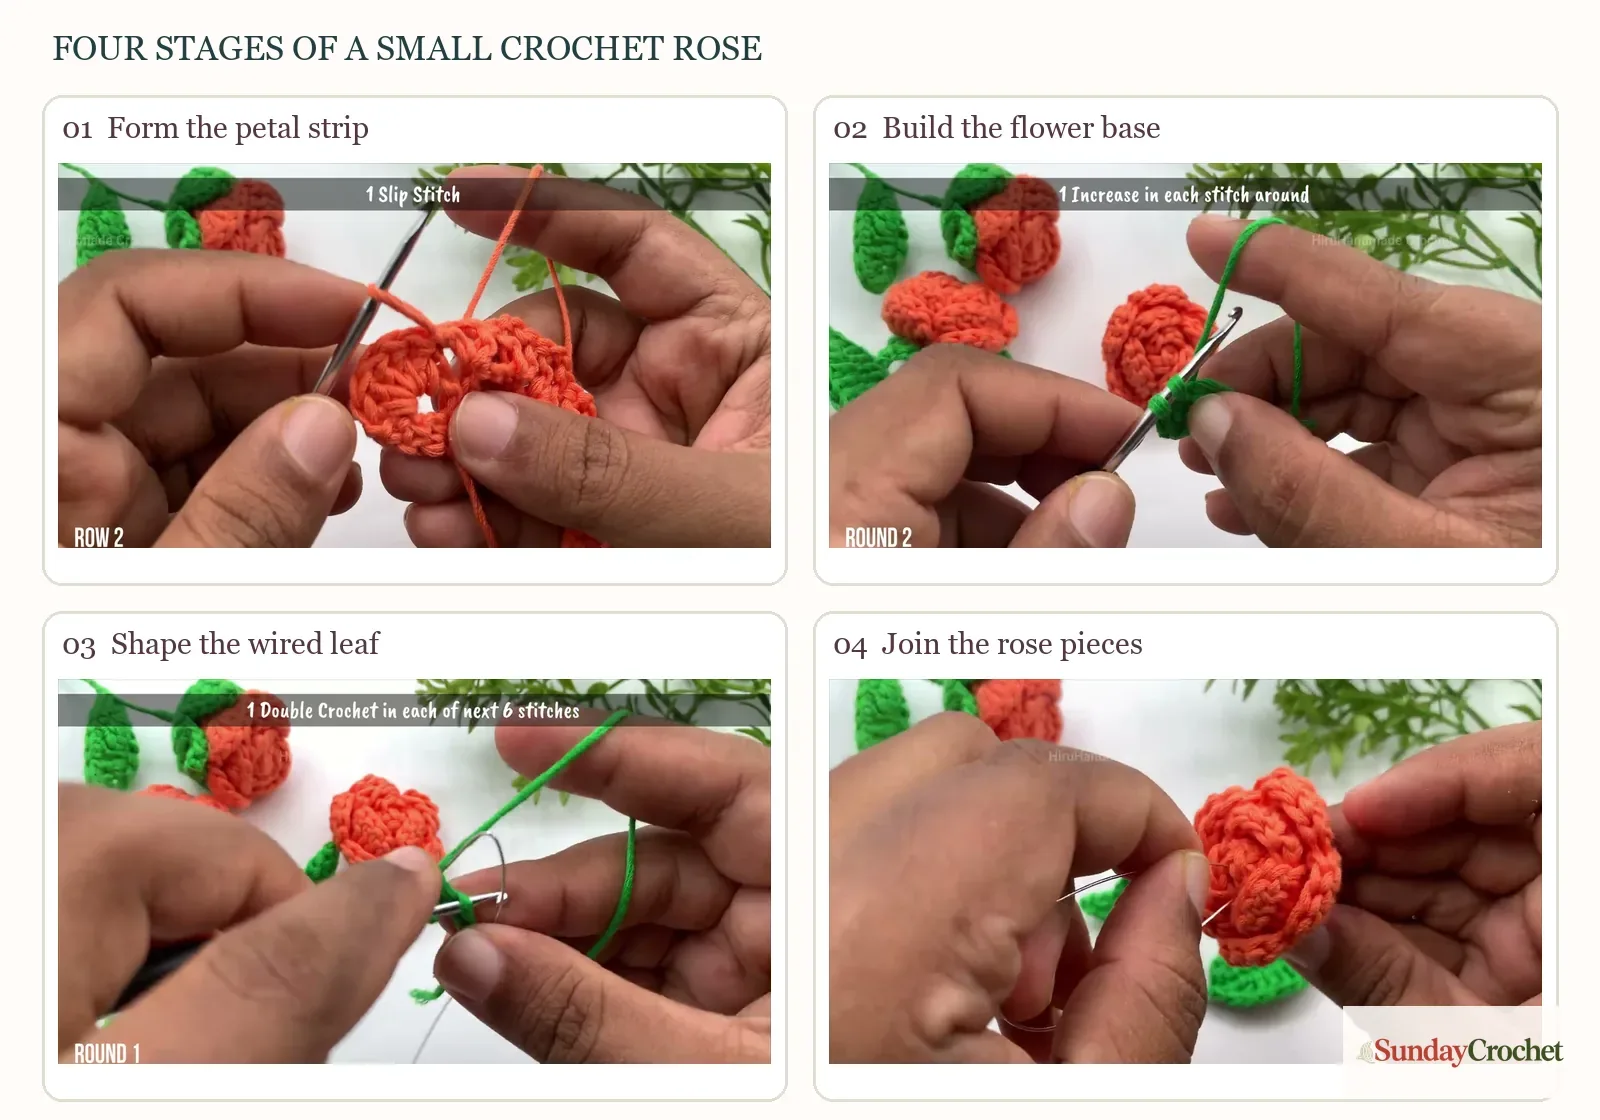
Work 5 dc into the first chain-two space. This group of stitches fans into one rounded petal. Find the space between the two double crochets that frame that chain-two space and work 1 sl st there to anchor the petal. Keep this slip stitch snug enough to define the dip between petals, but not so tight that the strip puckers.
Repeat the same pairing all the way across: five double crochets in the next chain-two space, then one slip stitch in the space between its framing double crochets. Each group becomes another petal, and each slip stitch makes a small valley between them. At the end, finish the last petal with a slip stitch in its indicated space.
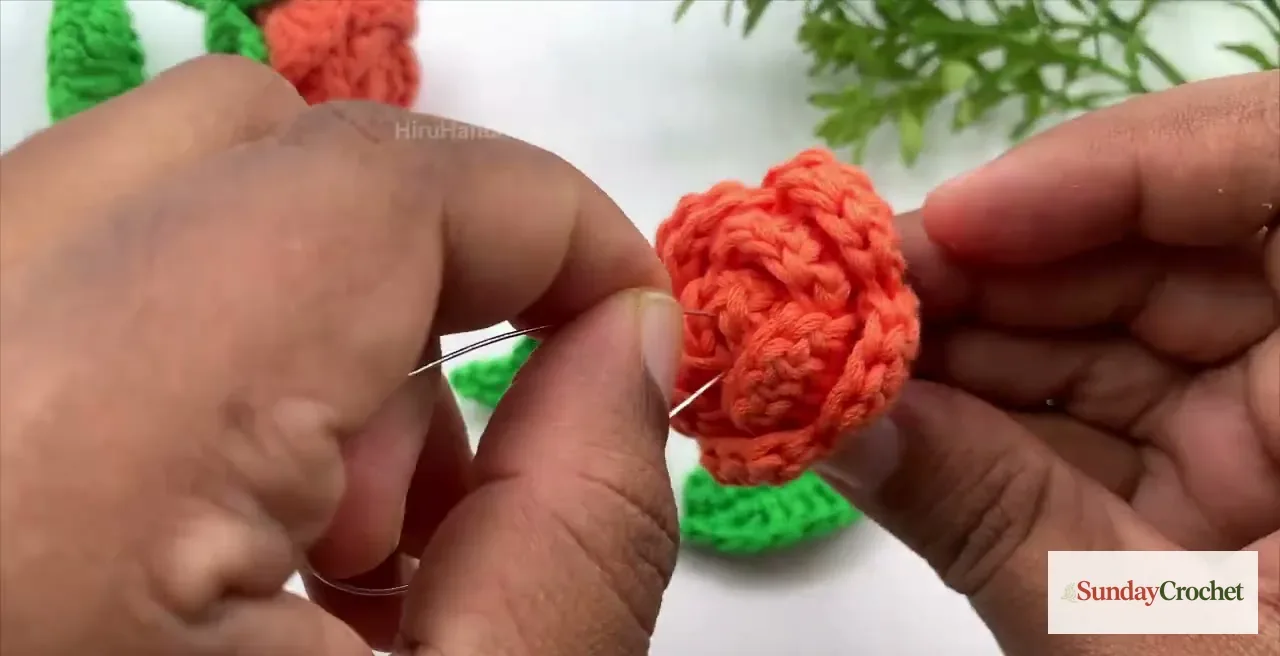
Chain one, then fasten off, leaving a tail of about 15 cm (6 in). Use the yarn needle and tail to bring the strip into its flower shape and secure it through the lower part of the bloom, as shown in the assembly image. Arrange the petals so the raised edges remain visible. The exact finished diameter is not specified and will vary with your yarn and tension.
Crochet the green flower base
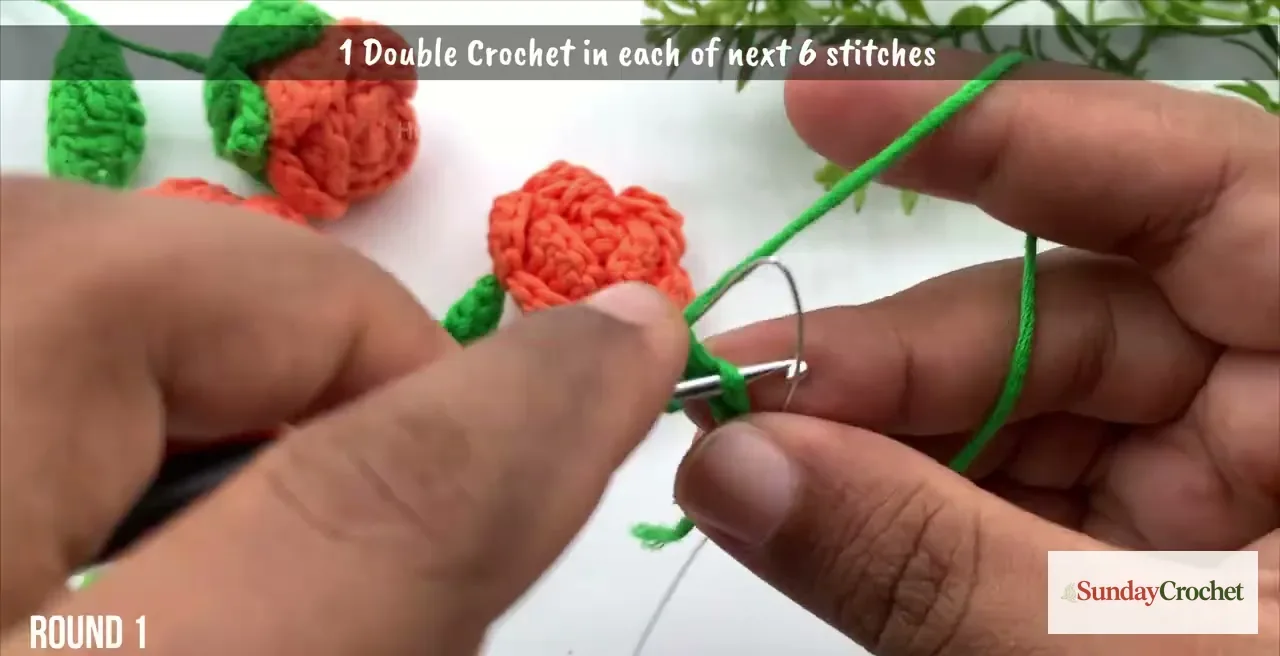
With green yarn, make a magic ring and work 5 sc into it. Pull the starting tail to close the ring, then join with a slip stitch to the top of the first single crochet. This small circle forms the foundation for the pointed green sections beneath the bloom.
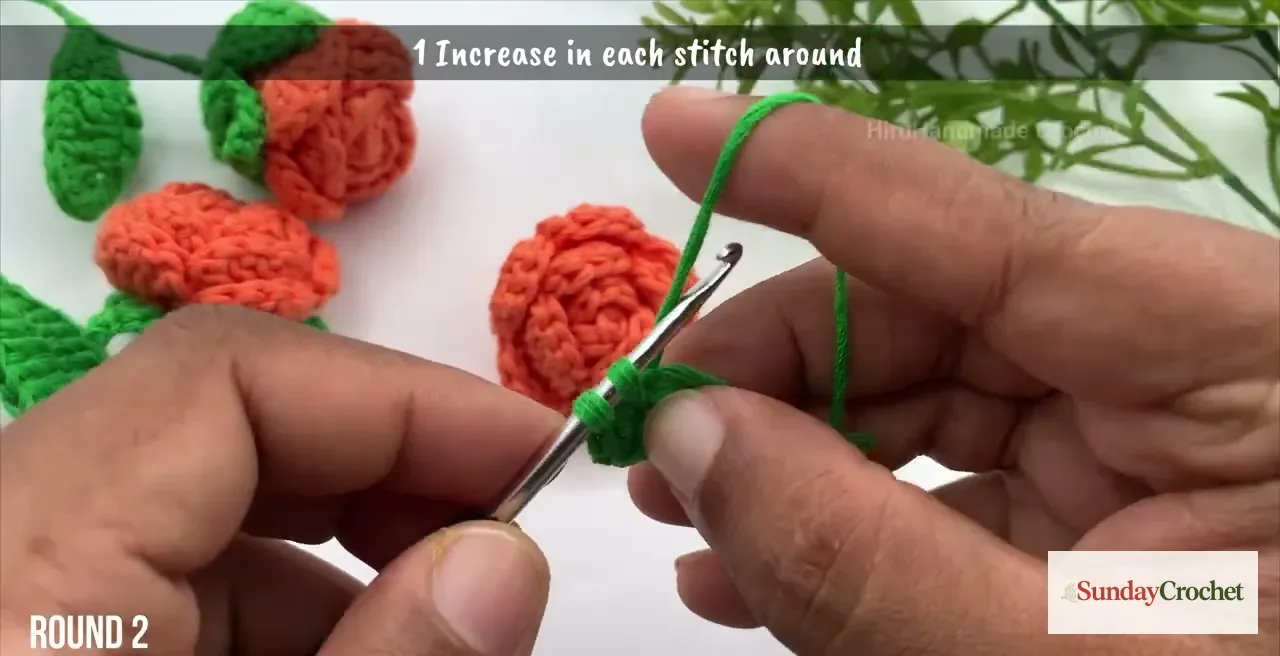
For the next round, chain one and work 2 sc into each stitch around. That is one increase in each of the five stitches, giving you 10 stitches. Join with a slip stitch to the first single crochet. Chain one again, work 1 sc in each of the 10 stitches, and join to finish the third round.
The final round makes the pointed base sections. Chain four. Skip the first chain from the hook, work a slip stitch in the second chain, a single crochet in the next chain, and a half double crochet in the last chain. Then work slip stitches into the next two stitches of the base. Repeat that sequence around: chain four, shape the short chain with a slip stitch, single crochet, and half double crochet, then anchor the point with two slip stitches into the base. Join the final repeat back to the starting point with a slip stitch. Chain one, fasten off, and weave in the short tail with a yarn needle.
Work the leaf over wire
Make a slip knot in green yarn and chain 11. Fold a piece of floral wire so it can sit alongside the chain, then crochet over it as you form the leaf. The first stitch anchors the wire inside the work. Skip the first chain from the hook and work 1 sc over the wire in the second chain. Work 1 hdc in the next chain, then 1 dc in each of the next six chains, followed by 1 hdc in the next chain. In the last chain, work 3 sc to turn around the tip.
Continue along the other side of the foundation chain, working over the yarn tail where practical. Work 1 hdc, then 1 dc in each of the next six stitches, 1 hdc in the next stitch, and 1 sc in the last stitch. The increases at the tip create a rounded turn, while the taller stitches through the middle give the leaf its length. Chain one and fasten off, leaving about 10 cm (4 in) of yarn tail.
Finish the rose
Use the yarn needle and coral tail to sew the underside of the shaped flower to the center of the green base. Keep the pointed green sections visible around the bloom. Check the front as you sew so the petals stay open and the base sits directly beneath the flower rather than peeking out unevenly on one side.
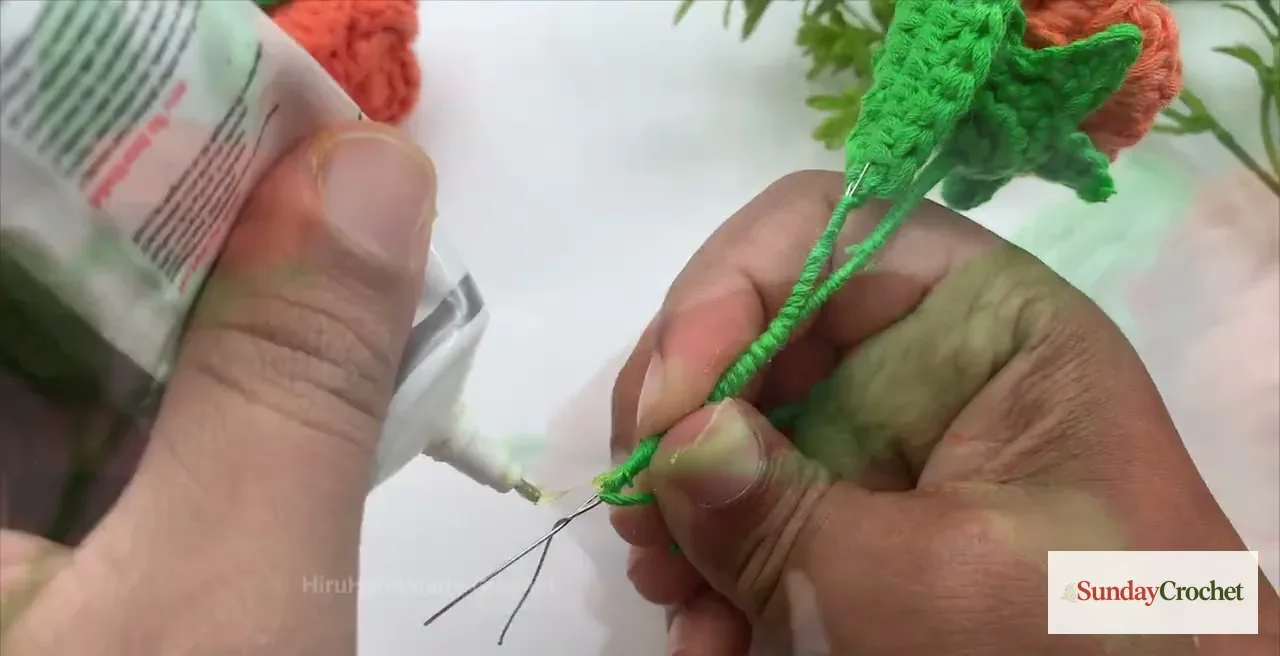
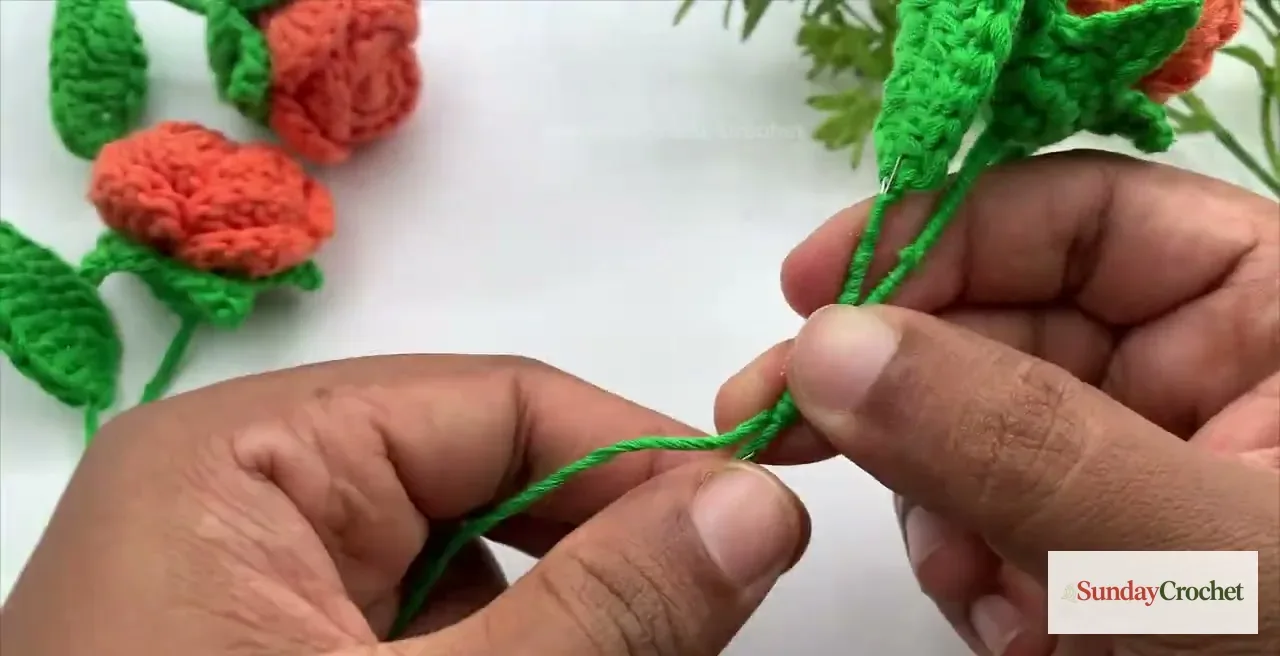
The finished leaf has wire running through it. The stem finish shown uses fabric glue on the wire and green yarn wrapped over it to cover the core. Position the leaf along the stem as you bring the green wrapping up toward the base. The exact joining stitch, stem length, and wire gauge are not specified, so arrange the parts before trimming tails and secure the flower and leaf where they sit naturally. Allow glue to dry according to its label before shaping the wire or using the rose in a bouquet.
A few helpful checks as you go
If the petal strip looks more like a ruffle than a flower, check that every repeat has the same structure: two chains skipped, both double crochets in one chain, and two chains between them. The chain-two spaces need to remain open enough to hold five double crochets. If one space is missing, the petal rhythm will be interrupted at that point.
If a petal feels crowded, count the five double crochets before anchoring it with the slip stitch. If the valley between petals disappears, make sure the slip stitch is going into the space between the framing double crochets. It is easy to accidentally work into a stitch top instead, which changes where the next petal sits.
For the base, the increase round should finish with ten stitches. If you have fewer or more, count the five original stitches and check that you worked two single crochets into every one. On the leaf, count the six double crochets on each side of the center. The single crochets at the tip should all go into the same final chain so the leaf turns around cleanly.
Common questions
Is this rose suitable for a left-handed crocheter?
Yes. The stitch counts and sequence are written in standard US terms, and the demonstrated hand movements are left-handed. Hold your hook in your usual hand and mirror the direction if needed; the stitch placement and counts do not change.
What yarn and hook size should I use?
The exact yarn weight, fiber, hook size, and yardage are not specified. Choose a hook appropriate for your yarn and use it consistently across the bloom, base, and leaf. The finished flower size will depend on those choices and your tension.
Can I skip the wire?
The leaf and stem finish uses floral wire for shape. Without it, the leaf will not have the same wired structure or the wrapped stem finish. If you adapt the project, the result will differ from the stemmed sample.
Where can I use the finished rose?
It can decorate a gift, hair accessory, bouquet, or another handmade item. If you attach it to something washable, consider how the wire and fabric glue will affect cleaning before choosing its final use.
Make it your own
Once the stitch rhythm feels familiar, try a different flower color or use the small rose as one bloom in a larger arrangement. Keep the petal sequence consistent and let the scale change naturally with your yarn and hook. A flat floral applique uses a different construction, while this rose builds dimension from a shaped strip, green base, and wired leaf.