
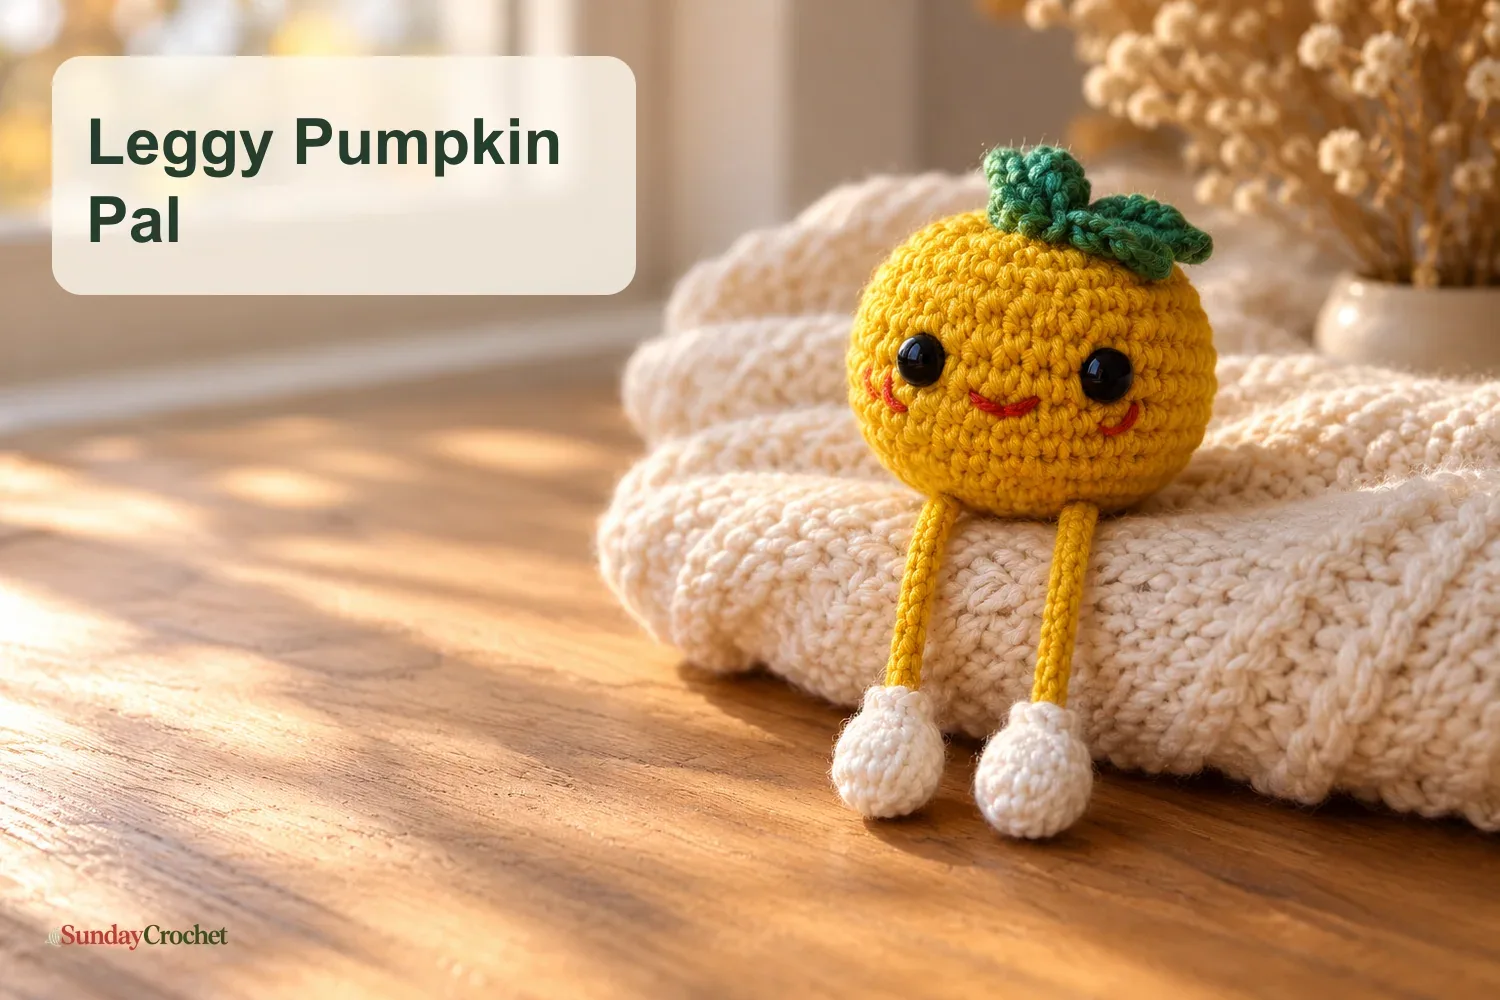
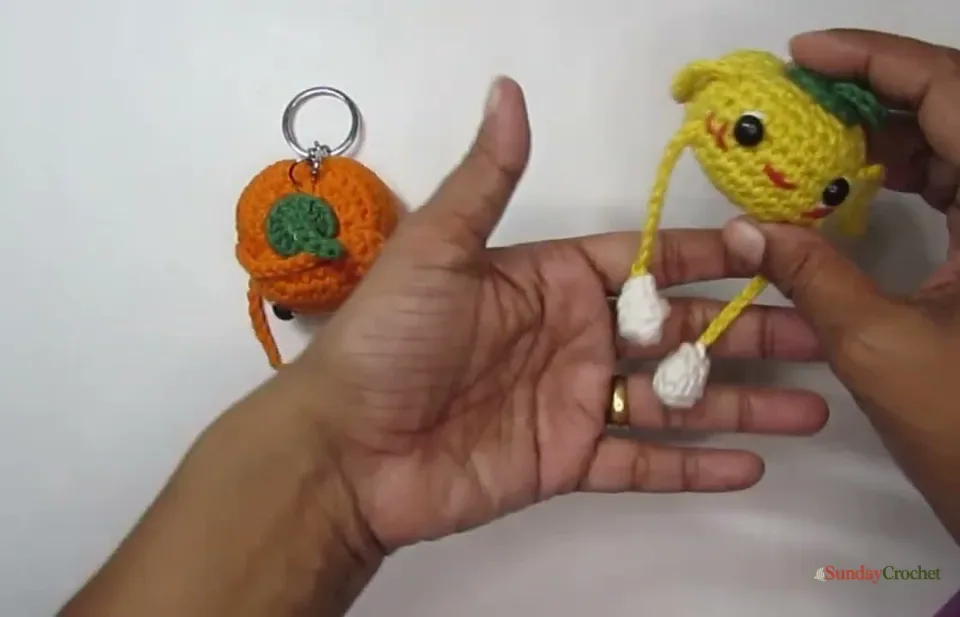
A little pumpkin friend with long dangling legs and tiny shoes. · Sunday Crochet
In this pattern
01 · A little pumpkin with legs02 · Yarn & tools03 · Stitches and abbreviations04 · Before you begin05 · The pattern06 · Common questions07 · A small fall finishA little pumpkin with legs
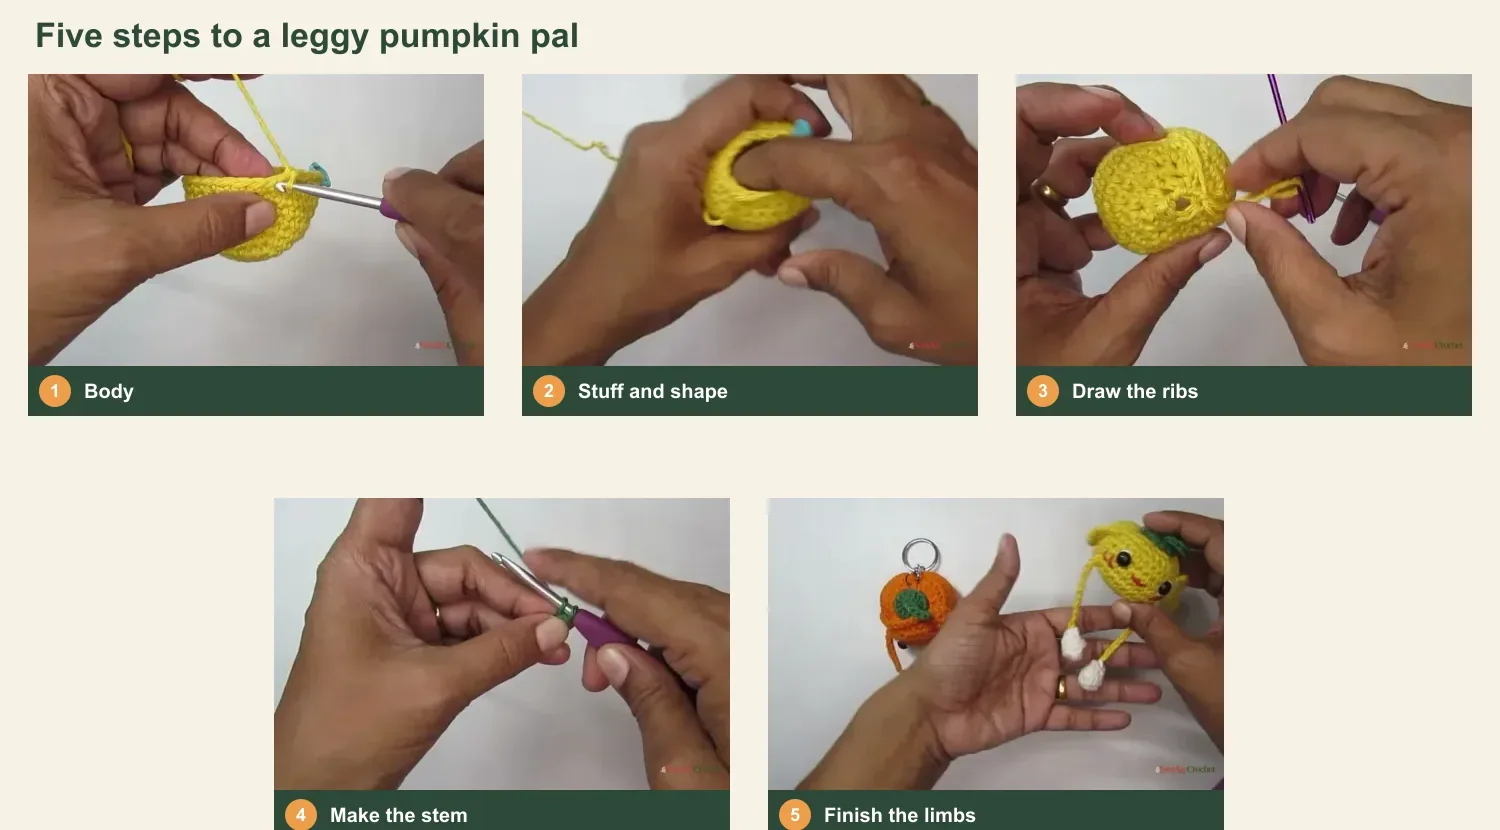
This leggy crochet pumpkin starts with a small round amigurumi body, then gets its personality from three drawn-in ribs, a little green stem, long yarn limbs, and tiny white shoes. The body is worked in continuous single crochet rounds, so the shaping is easy to track with a stitch marker. You can use orange or yellow for the pumpkin, then choose a bright green for the stem and white for the shoes.
I’ll show you how I follow the counts, close and shape the body, and put the small parts together. The sample uses cotton yarn and a 4 mm hook, but the finished size was not specified, so your pumpkin will depend on your yarn, hook, and tension.
Yarn & tools
The example uses 100% cotton, medium weight (category 4) yarn. The pumpkin body is yellow in the leggy version and orange in the small keychain version. The stitch counts below do not depend on color. A yarn label can help you compare fiber, weight, and suggested hook size before you begin; the yarn-label basics are useful when you are choosing between cotton skeins.
Stitches and abbreviations
These instructions use US crochet terms:
- ch: chain
- sc: single crochet
- hdc: half double crochet
- sl st: slip stitch
- inc: work 2 single crochet in the same stitch
- dec: single crochet decrease over the next 2 stitches
- MR: magic ring
The pumpkin body is worked in a spiral. Do not join the body rounds with a slip stitch. Place a marker in the first stitch and move it up as you go. The stem base and shoes are joined after their rounds. If the magic ring feels unfamiliar, practice the loop first with this basic crochet walkthrough.
Before you begin
Make the body with tight, even single crochet so the stuffing stays inside. The sample uses a 4 mm hook with medium cotton yarn. If your stitches leave visible gaps, try a smaller hook while keeping the same round counts. The pattern does not specify a gauge or finished measurement, and neither is needed to follow the stitch sequence.
The pattern uses safety eyes, but the sample secures them with glue rather than the plastic washers. They are decorative and can be pulled off, so keep the finished piece away from very young children. Embroidered eyes are an alternative if you prefer not to use removable pieces. Add the eyes after shaping the pumpkin, and make sure the face is positioned upright before you attach the limbs.
The pattern
Crochet the pumpkin body
Start with the body color. Make a magic ring and work the following rounds in a continuous spiral. The chain 1 in Round 1 does not count as a stitch. Use a stitch marker to mark the first stitch of every round.
Round 1
Ch 1, then work 6 sc into the magic ring. Pull the ring snug. (6 sc)
Round 2
Inc in each stitch around. (12 sc)
Round 3
Repeat sc, inc 6 times. (18 sc)
Round 4
Repeat 2 sc, inc 6 times. (24 sc)
Round 5
Repeat 3 sc, inc 6 times. (30 sc)
Round 6
Sc in every stitch around. (30 sc)
Round 7
Sc in every stitch around. (30 sc)
Round 8
Sc in every stitch around. (30 sc)
Round 9
Sc in every stitch around. (30 sc)
Round 10
Sc in every stitch around. (30 sc)
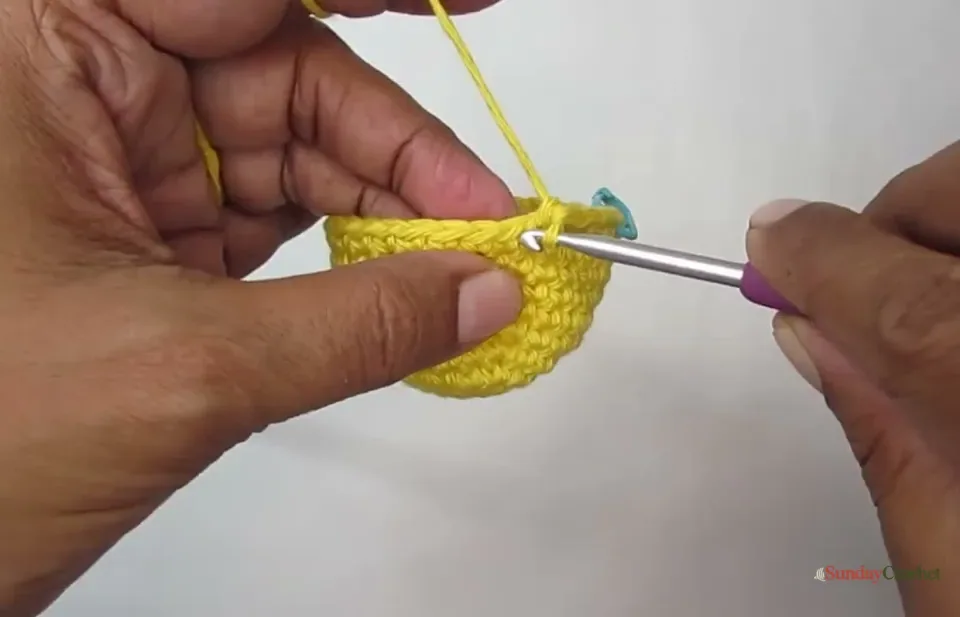
Round 11
Repeat 3 sc, dec 6 times. (24 stitches)
Round 12
Repeat 2 sc, dec 6 times. (18 stitches)
Round 13
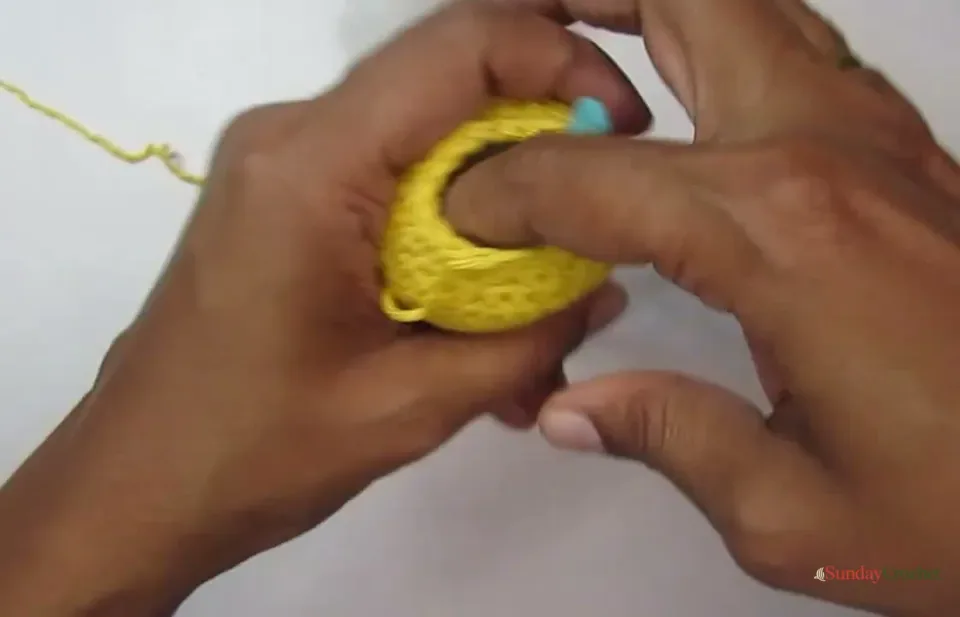
Repeat sc, dec 6 times. As you work this round, begin adding fiberfill through the opening. Pause to spread the stuffing toward the sides so the body stays rounded rather than lumpy. (12 stitches)
Round 14
Dec 6 times. (6 stitches)
Cut the yarn, leaving a long tail. Thread the tail onto the yarn needle and pass it through the back loop of each of the 6 remaining stitches. Pull the yarn to close the opening, then weave the tail through a few stitches on the inside and trim it. Shape the stuffing gently with your fingers before adding the ribs.
Shape the pumpkin ribs
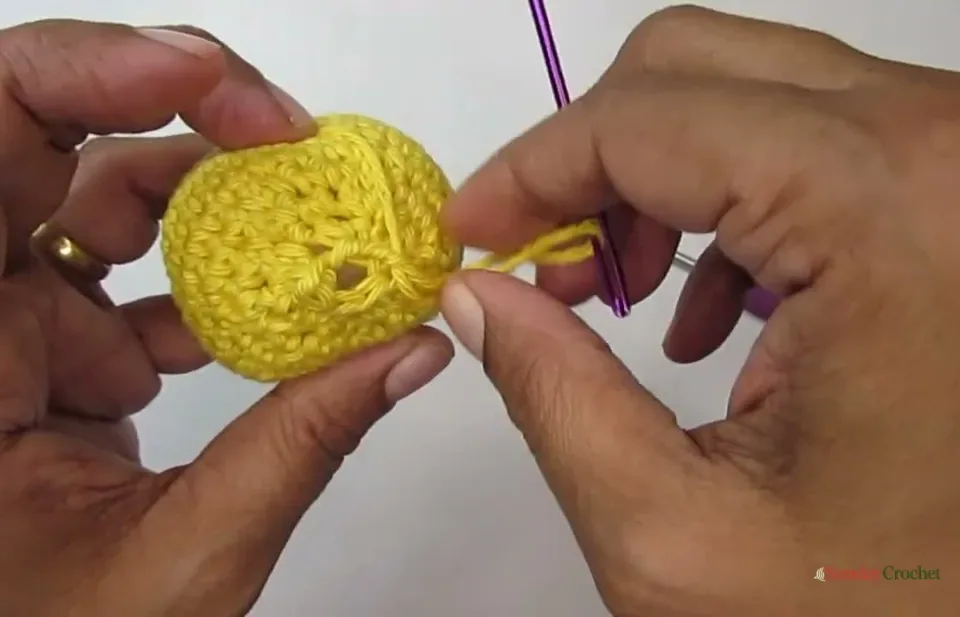
Thread a long piece of the body yarn onto the needle. Bring it through the center at the top and bottom of the pumpkin, then run it along the outside to draw in one section. Pull the yarn just enough to make a visible indentation without flattening the body. Repeat to form three evenly spaced ribs. The finished pumpkin has a gently segmented shape rather than a sharply pinched one. Knot the yarn securely and hide or trim the ends.
Make the green stem
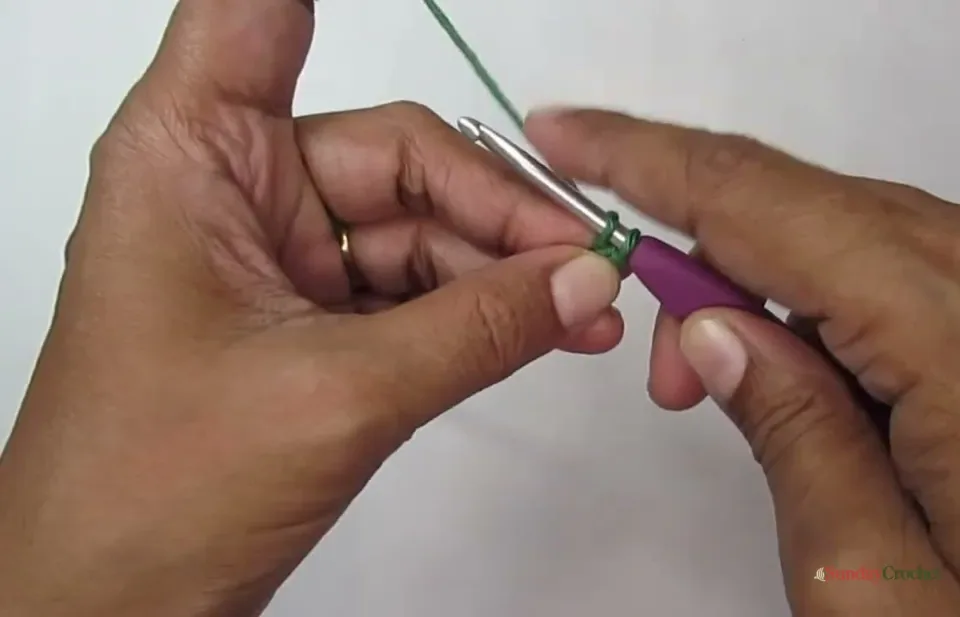
With green yarn, make a magic ring and ch 2. Work 11 hdc into the ring, then sl st to the first hdc to join. Pull the magic ring closed and fasten off, leaving a tail to attach the base.
For the short stem, make a slip knot and pull the yarn through the loop four times to create a small chain-like cord. Fasten off. Center this cord on the green round to make the stem, and secure the loose ends on the back. You can sew the green piece to the top of the pumpkin, or use a small amount of glue as shown in the sample.
Add the face
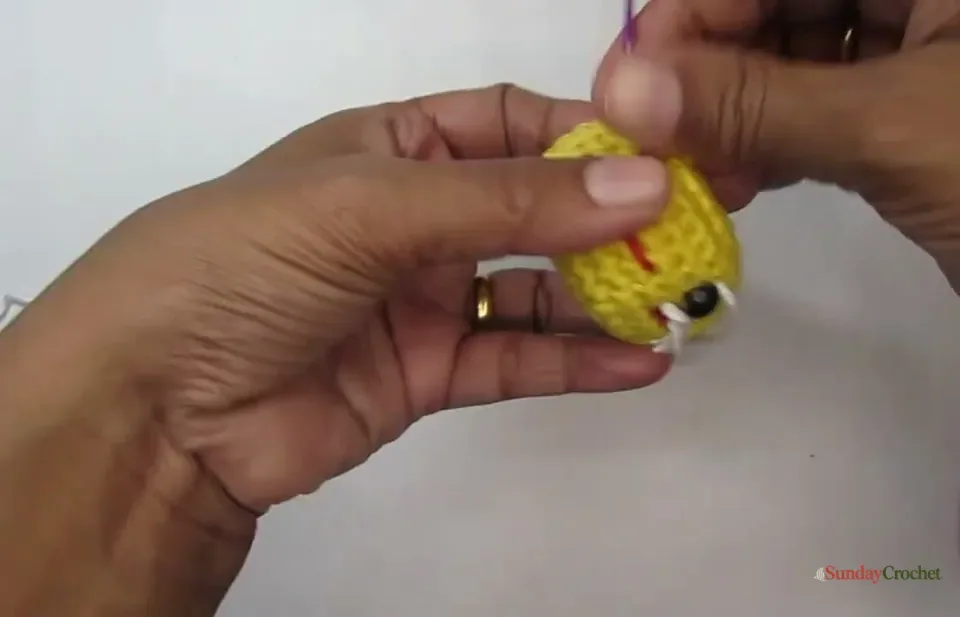
Place the pumpkin so the shaping ribs look balanced. Position two 6 mm safety eyes between Rounds 8 and 9, leaving several stitches between them so there is room for the mouth. The exact stitch spacing is not specified, so pin or hold the eyes in place first and check the expression from the front. The sample uses glue to secure the eyes and does not use the plastic washers. Let any glue dry fully before continuing.
Use red yarn to embroider a small smile and cheeks. The sample adds a white highlight around each eye as an optional detail. Keep the stitches short and carry the yarn tails inside the body, knotting and trimming them neatly. If you prefer a simpler face, embroider the eyes in black and skip the highlights.
Crochet two small hands
With the body color, make a magic ring and ch 1. Work 5 sc into the ring, pull it closed, and sl st to the first sc. Chain 22 to make the narrow limb cord, then fasten off. Make a second matching piece. The sample describes these as the hands and notes that adding chains makes the limbs longer, so adjust the chain count if you want a longer reach.
Thread one tail through the yarn needle. Bring the cord end through a stitch on the side of the pumpkin, about two stitches below the eyes. Pull it through, knot it on the inside, and weave in the end. Repeat on the other side, checking that the two arms sit at a similar height. A crochet hook can help pull a chain end through the dense stuffed fabric, but work slowly so you do not split the stitches.
Make the white shoes
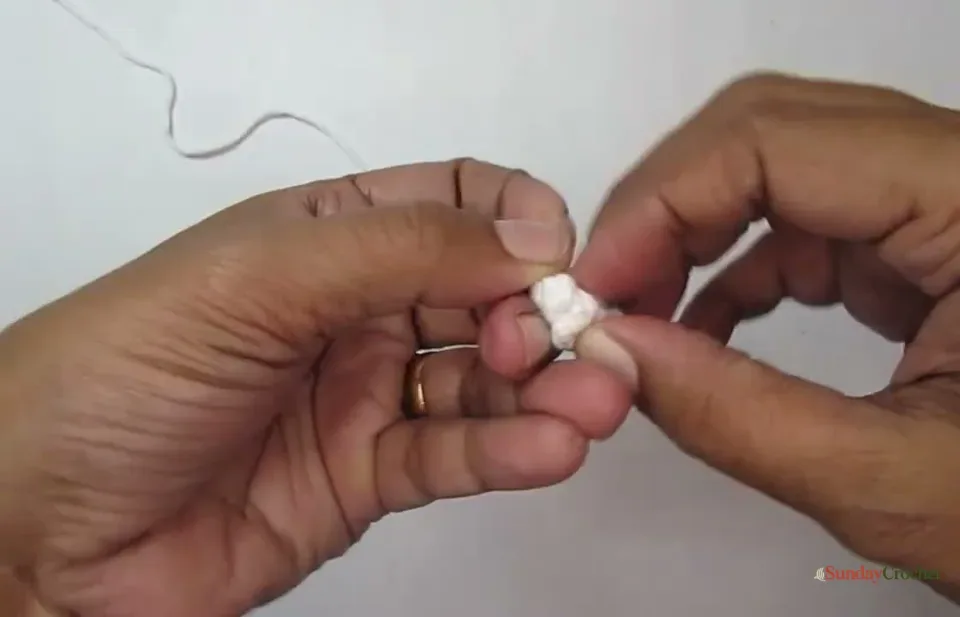
Make two shoes with white yarn. Each shoe is a tiny closed tube, worked in joined rounds. The initial chain 1 gives height and does not count as a stitch.
Round 1: Make a magic ring, ch 1, and work 6 sc into the ring. Sl st to the first sc. (6 sc)
Round 2: Ch 1, sc in each stitch around, then sl st to the first sc. (6 sc)
Round 3: Ch 1, sc in each stitch around, then sl st to the first sc. Turn the small piece right side out if it has curled inward. Fasten off with a long tail for sewing. Make a second shoe the same way. No stuffing is added to the shoes.
Join the legs and shoes
The sample attaches a chain section inside each shoe and sews through the shoe’s six-stitch opening to hold the cord in place. The exact leg-cord length is not specified. Use the 22-chain length as a starting point if you want the legs to match the arms, or adjust it to suit your figure. Make the second leg the same length as the first. Feed the cord end into the shoe, then use the white tail to sew through the shoe stitches and around the chain. Check that the shoe points forward before you knot and hide the tail.
Position the two legs beneath the pumpkin, with the shoes facing forward. Sew each cord end securely to the lower body, spacing them evenly. The body is small, so take a few passes through sturdy stitches rather than pulling on just one loop. If you want the legs to dangle, leave enough chain length between the pumpkin and each shoe. The attachment spacing is not counted, so arrange them by eye and compare from the front before weaving in the ends.
Finish and personalize
Sew or glue the green stem to the top center, then check that the face points forward and the feet hang at similar lengths. Weave in the remaining yarn tails. Trim only after each tail is secure, and keep the stitches hidden on the back or inside of the figure.
The project can be made in orange for a classic fall look or in yellow for a brighter character. For a simple keychain variation, leave off the limbs and attach a key ring securely to the top of the plain orange pumpkin. The leggy version is better treated as a small decoration because its eyes and limbs are secured with glue and yarn rather than a reinforced keychain fitting.
Common questions
Can I use a different yarn weight?
Yes, but the body size will change. The sample uses medium-weight cotton yarn with a 4 mm hook. Choose a hook that gives you firm single crochet fabric, then keep the stitch counts the same. The pattern does not specify yardage or gauge.
Do I join the pumpkin body rounds?
No. The body is worked in continuous rounds, so do not slip stitch at the end of each round. Mark the first stitch and move the marker as you go. The small green stem base and white shoes are joined with a slip stitch.
How many pumpkin ribs should I make?
The sample has three drawn-in ribs. You can add more if you prefer a more segmented pumpkin, but leave enough open space on the front for the face.
Are the eye highlights required?
No. The white yarn around the eyes is optional. A simple embroidered face works too, especially if you want to avoid removable plastic eyes.
Can I make the limbs longer?
Yes. The sample chain is 22 stitches, and the length can be changed by adding or removing chains. Keep the matching sides the same length, and compare the feet before you sew them to the body.
A small fall finish
The fun of this little pumpkin is in the contrast between its rounded, ribbed body and its long, loose limbs. The stitch-counted body gives you a reliable base, while the face, stem, arms, and shoes leave room for your own expression. Take a moment to check the eyes, smile, and foot placement before weaving in every tail. That last front view makes a surprising difference to the character of the finished amigurumi.


