
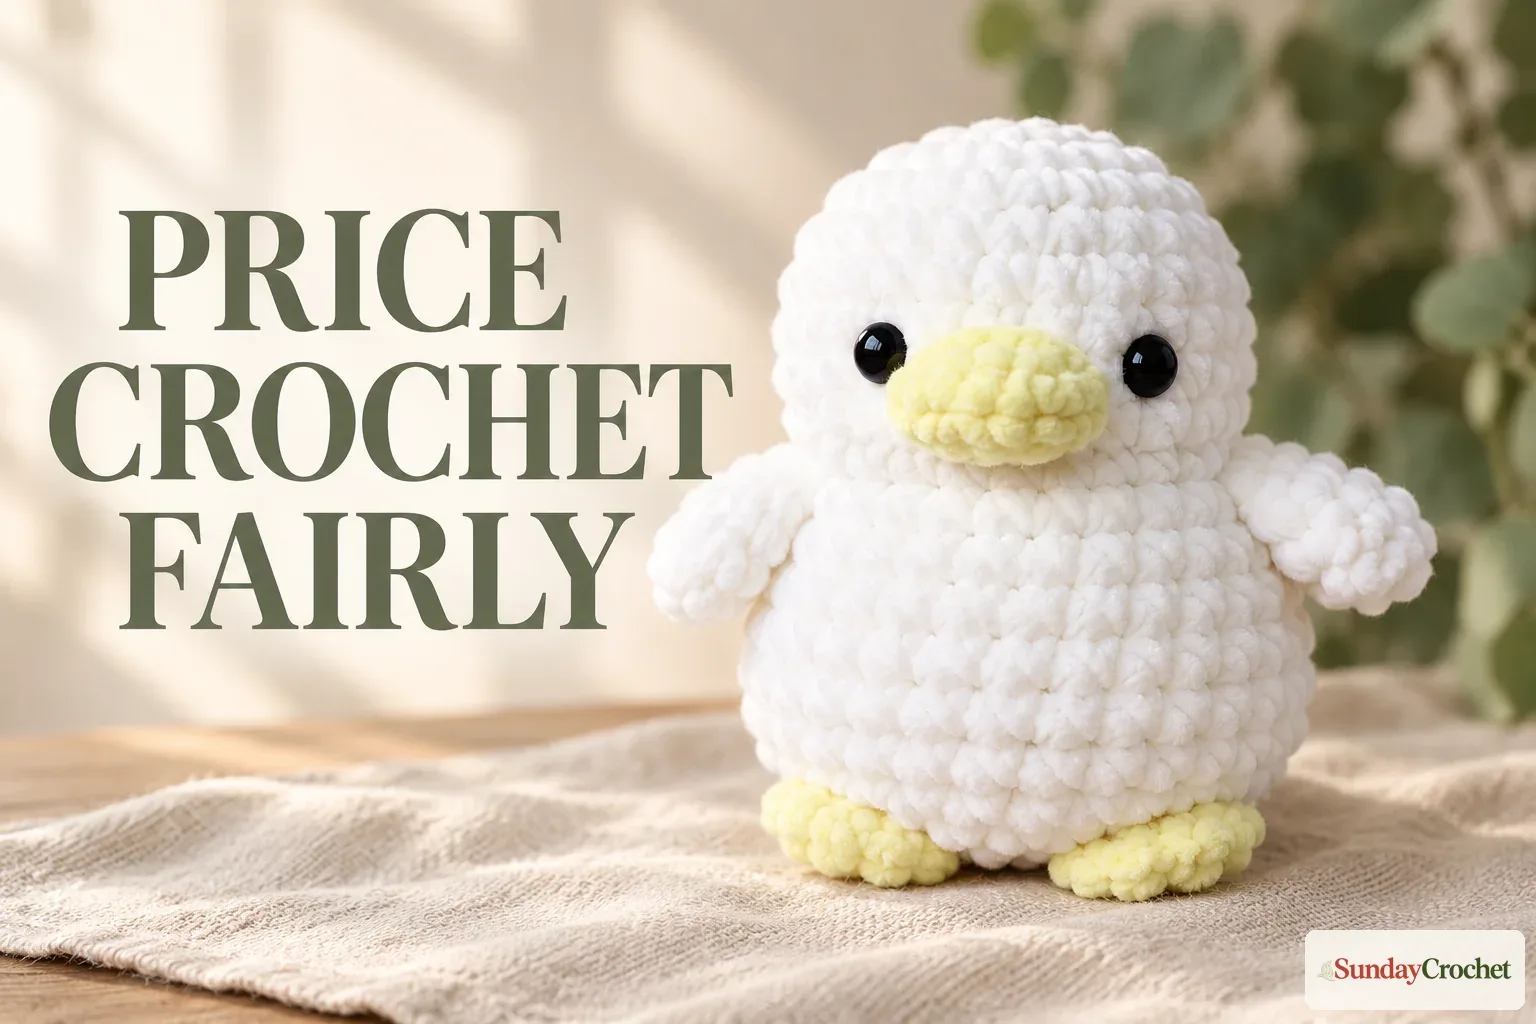
A handmade duck makes a friendly example for building a crochet price. · Sunday Crochet
In this article
01 · A simple way to start02 · Start with three parts03 · 1. Add up the materials04 · 2. Track the time you spend making it05 · 3. Include the work behind add-ons and complexity06 · 4. Check comparable items07 · Work through one example08 · Check the costs of selling09 · Common questions10 · Make the number work for your workA simple way to start
Pricing a handmade crochet item can feel awkward when you have spent hours making it and still are not sure what to charge. A useful starting point is to count the materials, value your making time, and then look at what similar items are selling for. That gives you a reasoned estimate instead of a number picked at random.
I’ll walk through a simple way to price a crochet project, including a duck plush example with accessories. You can adjust the hourly rate and the final price to fit your work, your costs, and the market you want to sell in.
Start with three parts
A crochet price begins with three questions: What did the materials cost? How long did the item take to make? What are comparable pieces priced at? Each gives you a different piece of the decision. Materials and time help you understand what the work costs you. Market research gives you context for what customers may be used to seeing.
For a first estimate, write down the direct material cost and the time spent making the item. Multiply the time by the hourly rate you choose, then add the material amount. Treat that total as a starting point, not a universal price formula. Your skill, the item's size, add-on pieces, selling expenses, and local market can all change where you land.
1. Add up the materials
Start with every material that goes into the finished item, not only the main yarn. Include contrasting yarn, safety eyes, stuffing, buttons, thread, or other parts you used. If your item has accessories, count their materials too. A small hat or bag can add only a little yarn, but it still has a cost.
There are two reasonable ways to estimate yarn. If you want a quick estimate, divide the skein cost by the approximate number of projects it makes. For example, if a $5 skein makes about two similar items, assign about $2.50 of yarn to each one. If you want a closer measurement, weigh the yarn before and after the project and use the label's skein weight and price to estimate the portion consumed. The second method takes more record keeping, and you can choose how precise you need to be.
Keep the estimate consistent from one listing to another. If you round yarn use for one item, do the same for similar pieces instead of making each calculation feel like a new puzzle. For materials you buy in multipacks, divide the pack price by the number of pieces you actually use. When comparing yarn costs, it helps to read the fiber and weight details on a yarn label and understand how yarn weights compare.
2. Track the time you spend making it
Choose an hourly rate that makes sense for your goals and your work. There is no single rate every crocheter must use. A maker may start with a modest rate while learning, or choose more for a complicated design that requires practiced skills. The important thing is to select a rate deliberately and use it consistently in your estimates.
Then estimate the hours and minutes spent making the item. If a plush takes one hour and you choose $15 per hour, the labor portion is $15. If an accessory takes another 15 minutes, convert that to a quarter hour: 0.25 × $15 = $3.75. Add that labor to the base item rather than treating the accessory as free just because it is small.
If you make the same design more than once, time a typical item or average a few attempts. Your first sample may take longer while you learn the pattern. If you usually make several at a time, consider how your repeated process compares with the time for one individual piece. Use a realistic time rather than the fastest possible run.
3. Include the work behind add-ons and complexity
An item with a hat, bag, embroidered detail, or several sewn-on pieces takes more than the time needed for its main shape. Add the extra minutes and materials. This keeps the estimate tied to the actual finished product.
Complexity matters as well. Two items may be similar in size but take very different skill and concentration. A design with careful shaping or several small details may reasonably sit at a different price from a quick, simple make. Think about what the work asks of you, then compare that decision with the time and material totals you have written down.
Size can influence what customers expect to pay. Small items are often perceived as lower-priced, while larger pieces can command more. Still, size alone is not enough to set a price. A tiny detailed plush can take longer than a larger simple square, so base the decision on the real work as well as the finished dimensions.
4. Check comparable items
Look at pieces that are genuinely similar: roughly the same size, materials, finish, and amount of detail. Search a marketplace such as Etsy or visit local craft markets and note the prices of comparable items. If available, pay attention to indications that shoppers are buying or responding to those listings, not only the lowest asking price.
Imagine a mini crochet dinosaur has similar listings around $8, $10, and $12. That gives you a range to investigate. Compare your own time and materials with those pieces, and decide where your item belongs. If your calculation is above the range, consider whether the design, presentation, or target customer explains the difference. If it falls below the range, do not assume you need to charge less. You may simply have room to price more fairly for your time.
Market research is a reference, not a command. A low price from another shop does not tell you that the seller has counted all their materials, time, or selling costs. Likewise, a higher listing does not prove that the item sells at that amount. Use the range to make an informed choice, then watch how your own listings perform over time.
Work through one example
For a crocheted duck, suppose the base plush takes one hour and the chosen labor rate is $15 per hour. That makes $15 of labor. If its yarn, eyes, and stuffing add about $3, the base estimate is $18. If the duck also includes a hat and a bag that take another 15 minutes, add $3.75 for that labor. Add about $1 for their materials, and the example total comes to roughly $22.75.
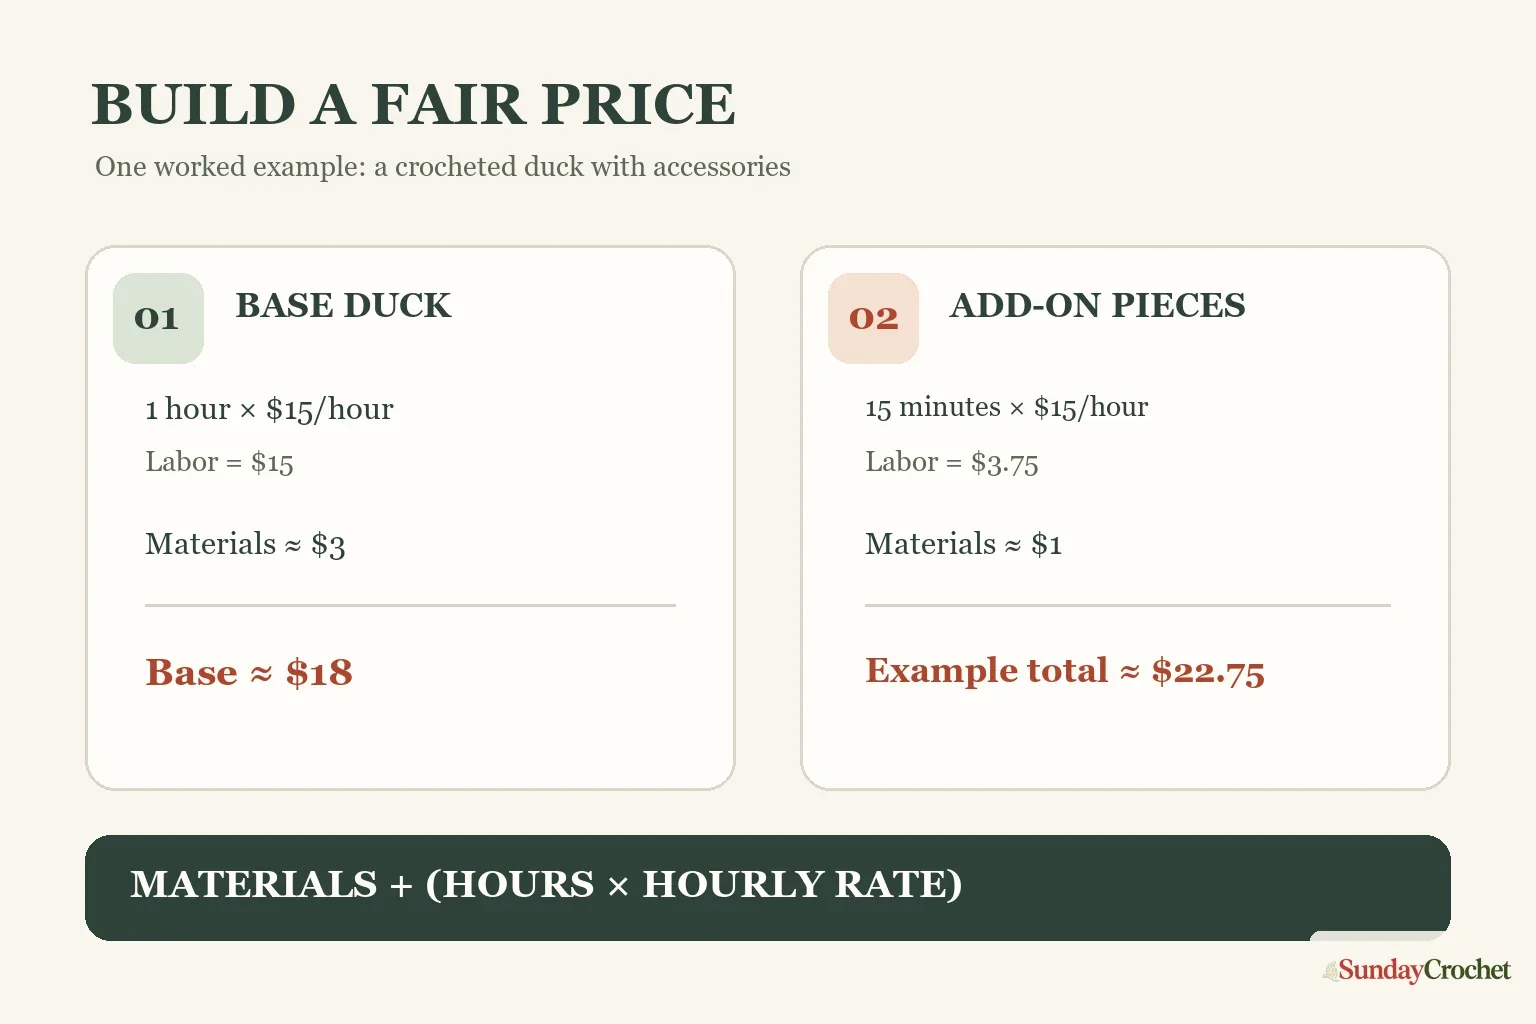
The figures are estimates, so the final cents should not suggest more precision than the material measurements support. The useful part is seeing how the number is built: base item, add-on labor, and add-on materials. If the accessories were optional, you could also offer the duck by itself at its base estimate and price the finished version with the extra pieces separately.
Check the costs of selling
The example above counts direct materials and making time. If you sell through a marketplace or at a fair, check whether your own channel adds costs such as payment or listing fees, packaging, table rental, or postage you include in the price. Add only costs that apply to your situation, and use the current rates shown by the service or event. These expenses are separate from the yarn and labor in the example, but ignoring them can make the amount left after a sale look larger than it is.
For a broader pricing worksheet, Etsy's seller guidance on pricing products discusses materials, labor, overhead, and market research. The basic crochet example here is not a substitute for accounting every selling cost or for deciding what profit you want from your work.
Common questions
What hourly rate should I use?
Choose an amount that reflects your goals, experience, and the type of item you make. You might compare several possible rates in your worksheet and see how each affects the estimate. A rate is an input to your calculation, not a promise that every customer will pay the resulting price.
Do I have to weigh my yarn?
No. Dividing the skein price across the number of similar projects it makes is a workable estimate if that level of precision is enough for you. Weighing yarn can give you a closer material figure. Pick the method you can repeat without making pricing feel unmanageable.
What if my calculated price is higher than similar listings?
Recheck the time and material estimates first. If they are realistic, look at the differences in design, finish, size, and buyer group. You can adjust the design or the way you sell it, but do not automatically erase your labor just to match a price that may not cover the other maker's costs.
Should small crochet items always cost less?
Not always. A small item may take very little time, or it may involve detailed shaping and assembly. Price the work and materials you actually put into it, then use comparable items to judge how customers might view the final price.
Is this example a guaranteed selling price?
No. It demonstrates one way to build an estimate from time and materials. Your rate, supply costs, overhead, market, and customer response can differ. Keep a simple record of what you spend and how your items perform, then review your prices when those details change.
Make the number work for your work
Start with materials and making time, include the effort behind any accessories, and compare your estimate with genuinely similar pieces. The example duck reaches about $22.75 because its base plush and add-ons are counted separately. Your own price may be different, and that is expected. A clear worksheet lets you explain your choices to yourself, adjust them thoughtfully, and avoid setting a price without knowing what went into it.


