· Sunday Crochet
In this pattern
01 · A roomy hood for cold days02 · Yarn & tools03 · Before you begin04 · The pattern05 · Fit and finishing06 · Common questionsA roomy hood for cold days
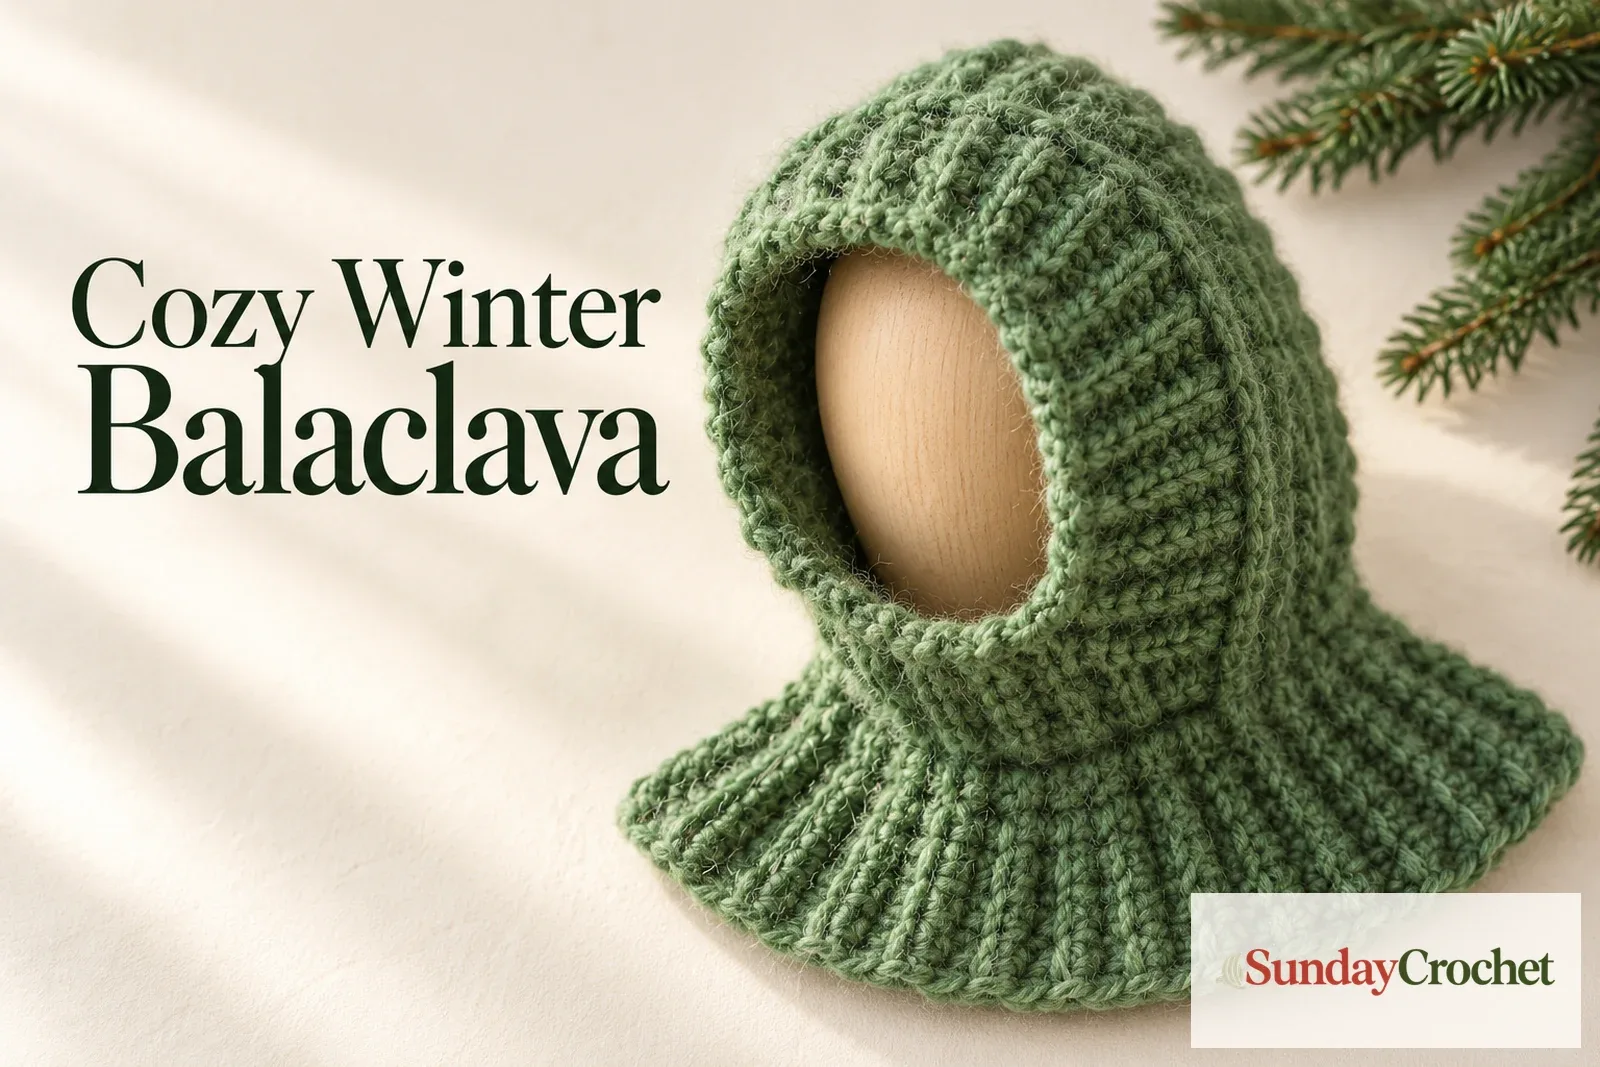
A crochet balaclava can cover your head, ears, and neck in one soft layer, and this loose-fit version is shaped from simple rows rather than a complicated motif. The fabric is mostly single crochet worked through the back loop, with a short-row section that brings the crown together and a narrow ribbed edge around the face. The instructions use the green sample yarn and its stitch counts, while leaving room to adjust the fit as you work.
I’ll walk you through the construction from the first chain to the face edging. You’ll make a long ribbed rectangle, widen it into an L-shaped panel, join short rows across the crown, then add the neck and face sections. The pattern is in US crochet terms throughout.
Yarn & tools
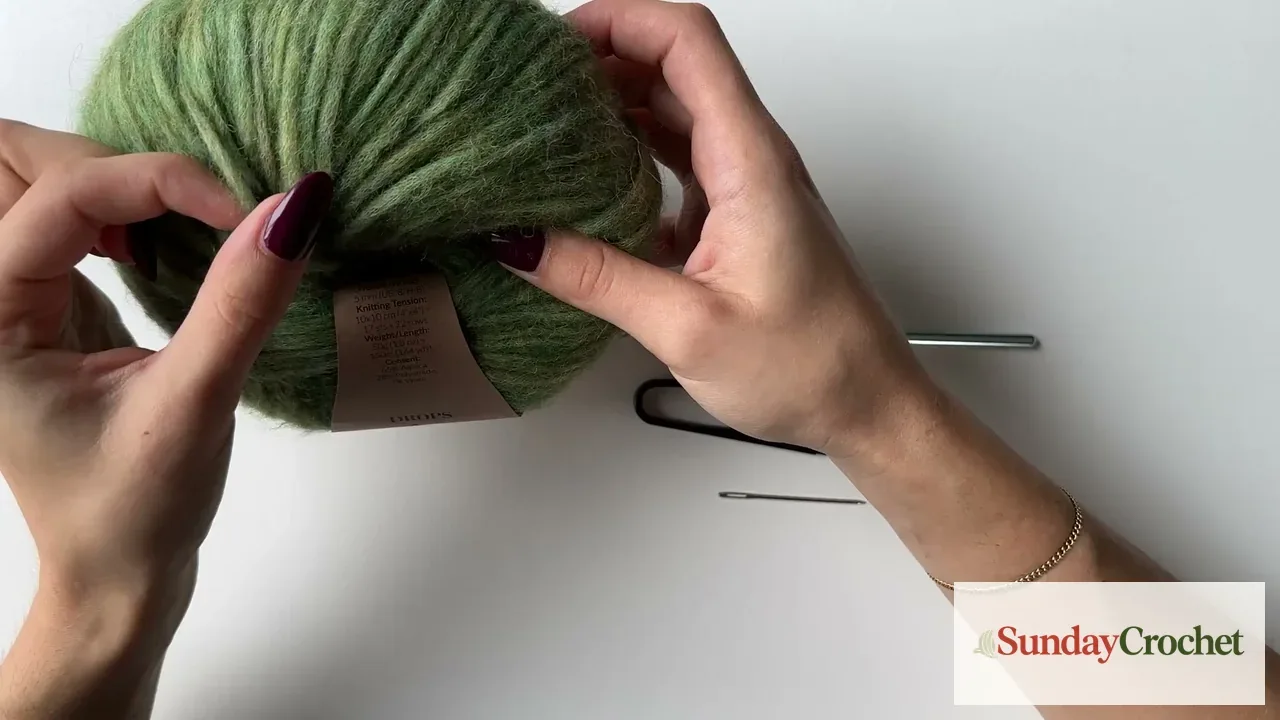
The ball band shows a knitting tension of 17 stitches and 22 rows over 10 × 10 cm. That is a knitting gauge, not a crochet gauge, so do not use it to judge the dimensions of this fabric. No crochet gauge or finished measurements are provided. The sample is intentionally roomy; check the fabric against the wearer as you go, especially if you choose a different yarn or hook.
Before you begin
This is a confident beginner project. You should know how to make a chain, single crochet, slip stitch, turn your work, and identify the back loop. The unusual-looking part is the construction: you add stitches along a row edge to make an L shape, then work short rows that attach to the neighboring panel. A marker can help you avoid accidentally crocheting into the two joining slip stitches.
The abbreviations below use US terms:
| Abbreviation | Meaning |
|---|---|
| ch | chain |
| sc | single crochet |
| sl st | slip stitch |
| BLO | back loop only |
| st(s) | stitch(es) |
The turning chain does not count as a stitch in the row totals. In the crown and face sections, joining slip stitches sit outside the stated single-crochet count. Keeping those two jobs separate makes it easier to check your work. If abbreviated rows feel unfamiliar, this short guide to reading a written crochet pattern explains how to follow repeats and stitch counts.
The pattern
Foundation and rows 1–27
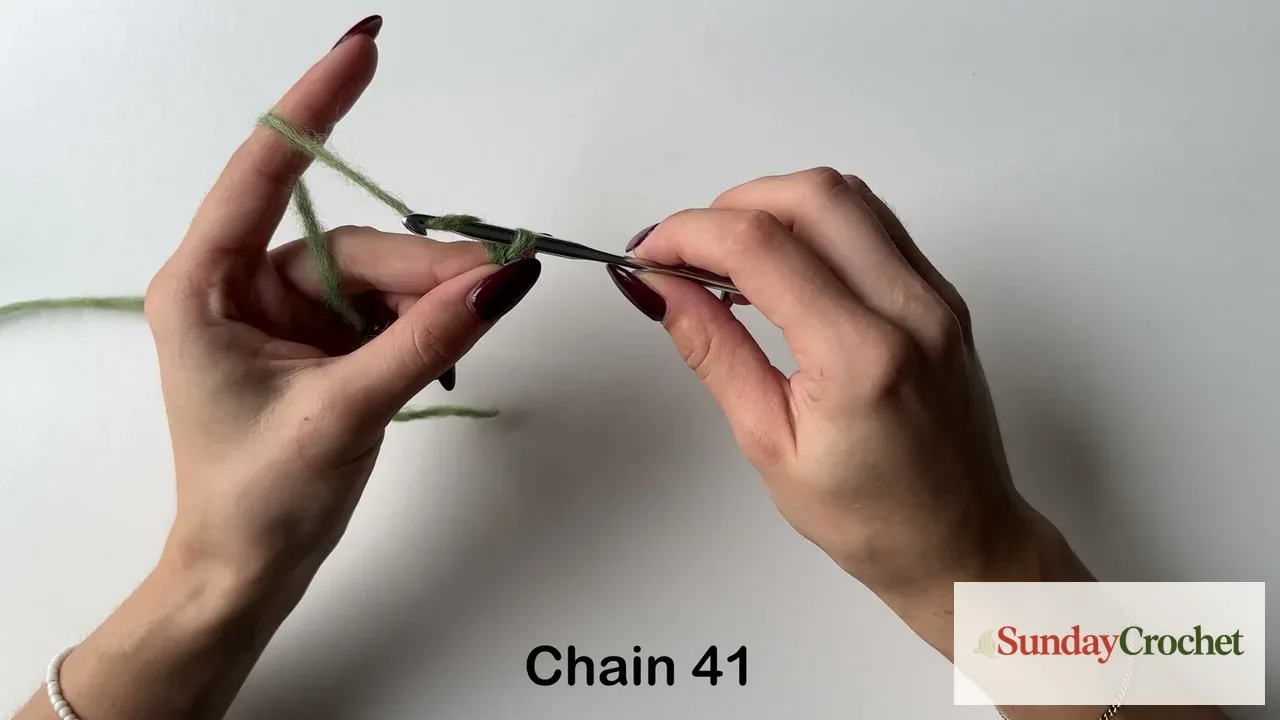
Make a slip knot and ch 41. Skip the first chain from the hook, then work into the next 40 chains.
Row 1: Skip the first chain from the hook. Sc in the next chain and in each remaining chain across. 40 sc. Ch 1 and turn.
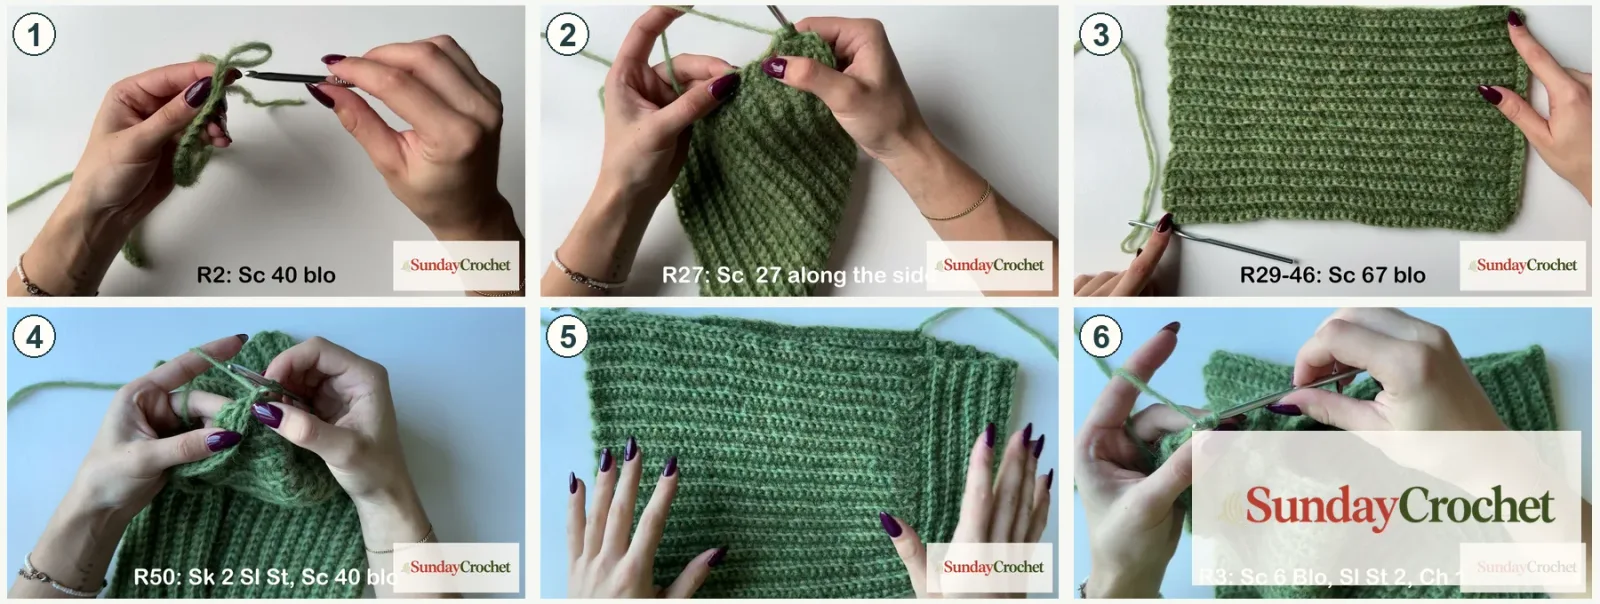
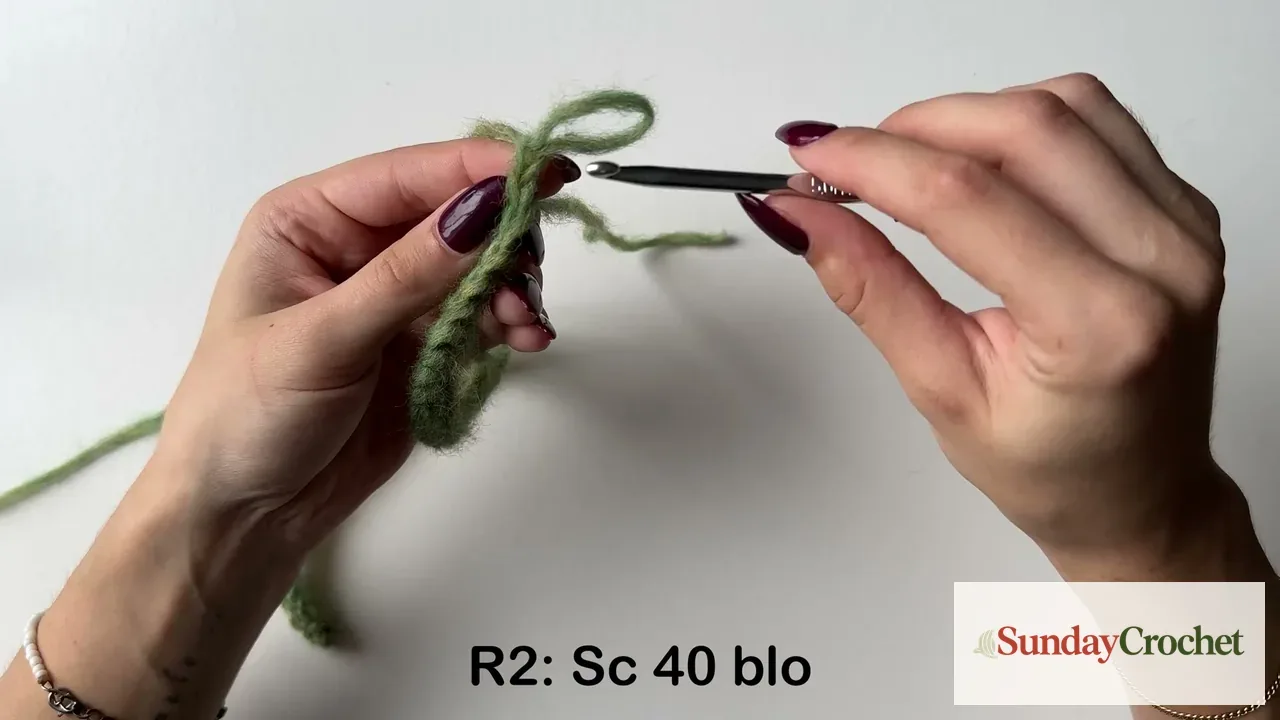
Rows 2–27: Sc in the BLO of each stitch across. 40 sc per row. Ch 1 and turn after every row except row 27. This forms the first ribbed panel. Keep your tension even and count each row, because you will use the row ends as a placement guide next.
At the end of row 27, do not chain 1. Rotate the work so the row edges are facing you. Work 27 sc along the side edge, placing one stitch in each row end. 27 new edge stitches; 67 stitches across the L-shaped working edge when counted together with the original 40-stitch row. Look for a consistent opening along the side of each row instead of forcing the hook through the top loops.
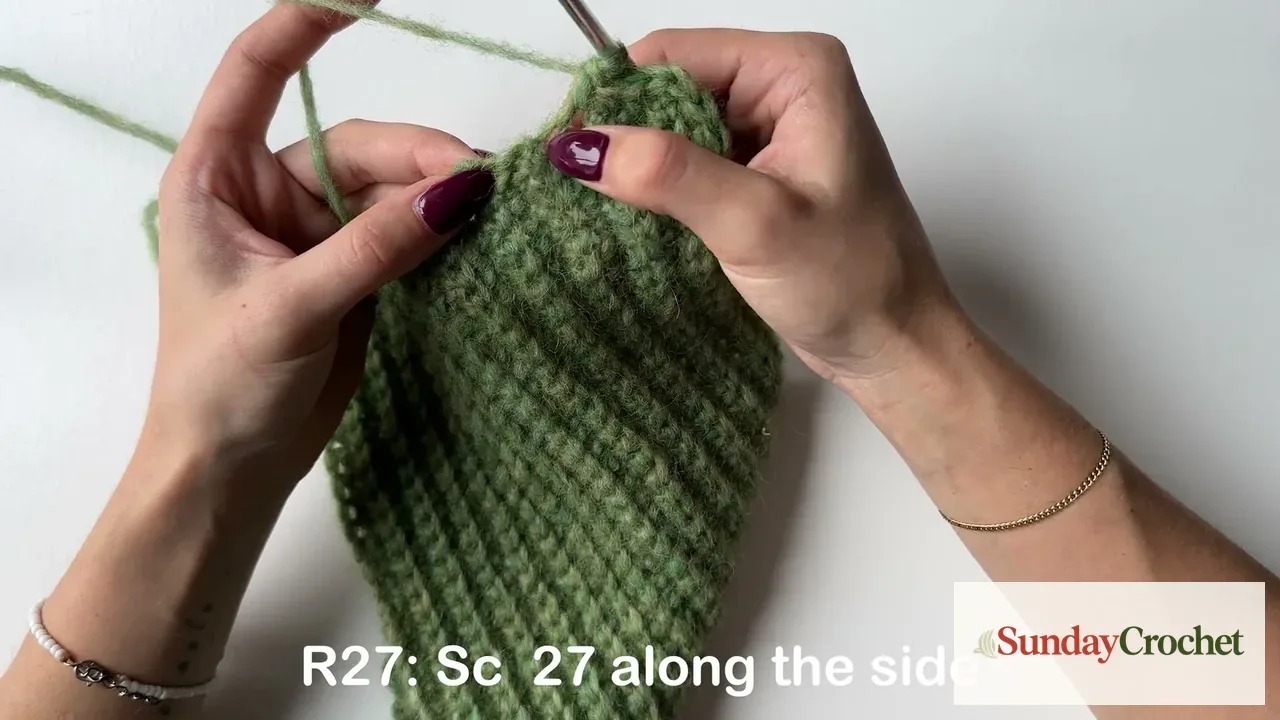
Rows 28–46: expand the panel
Row 28: Ch 1 and turn. Sc in the BLO across the full L-shaped edge, working one stitch into each of the 67 stitches. 67 sc. Ch 1 and turn.
Rows 29–46: Repeat row 28. 67 sc per row. After row 46, the panel is wider and should resemble a rectangle with the original ribbed section extending from one side. Keep the count steady. If a row has 66 or 68 stitches, check the corner where the original panel meets the side pickup before continuing.
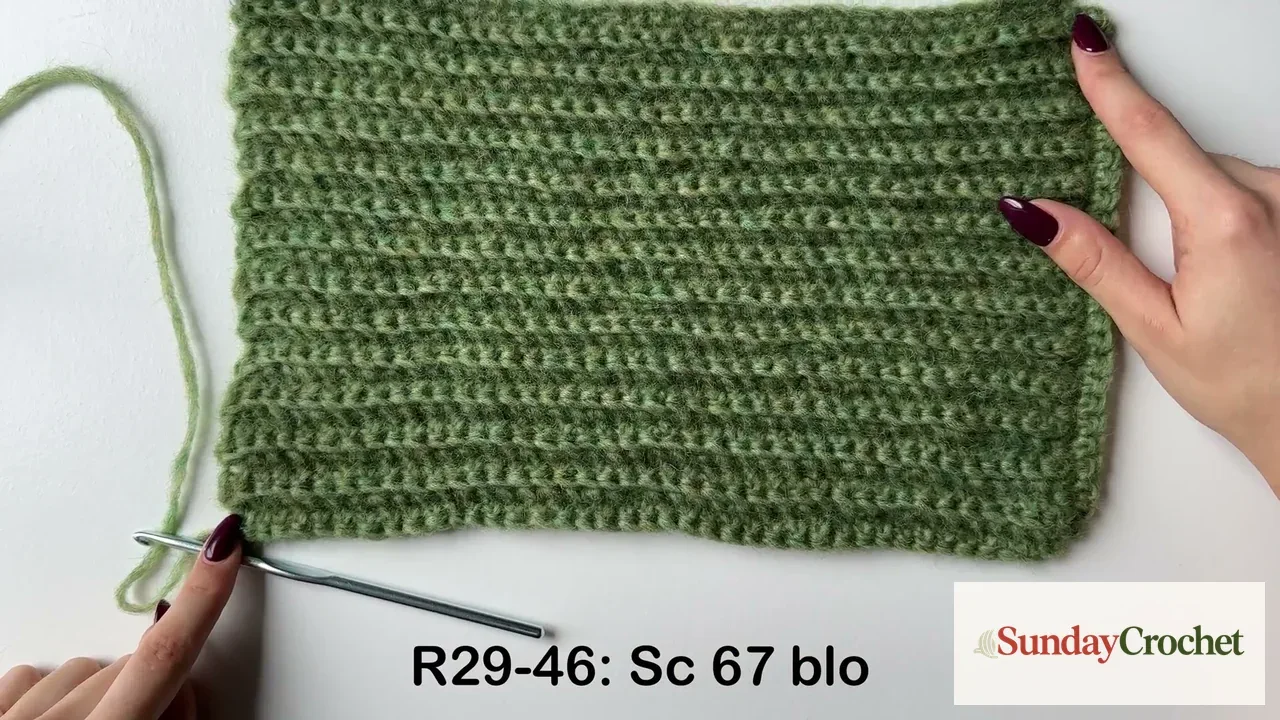
Rows 47–72: join the crown with short rows
These rows return to the narrower 40-stitch width while joining the crown edge to the expanded panel. The two slip stitches attach the row to the next two edge stitches. They are joiners, not part of the 40-stitch row count.
Row 47: Ch 1 and turn. Sc in the BLO of the next 40 stitches. Sl st into the next two stitches along the panel edge. 40 sc, plus 2 joining sl sts. Ch 1 and turn.
Row 48: Skip the two joining slip stitches. Sc in the BLO of the 40 single crochets from the previous row. 40 sc. Ch 1 and turn.
Rows 49–72: Repeat the two-row sequence from rows 47–48. On each joining row, work 40 sc in BLO, then sl st into the next two available edge stitches. On the return row, skip those two joiners and work 40 sc in BLO. Continue until you have 72 rows in total. The sample uses 26 rows in this short-row section, with 40 sc in each row and 2 joining sl sts on every other row. Place a marker in the first sc after the skipped joiners if the fuzzy yarn makes the row start hard to see.
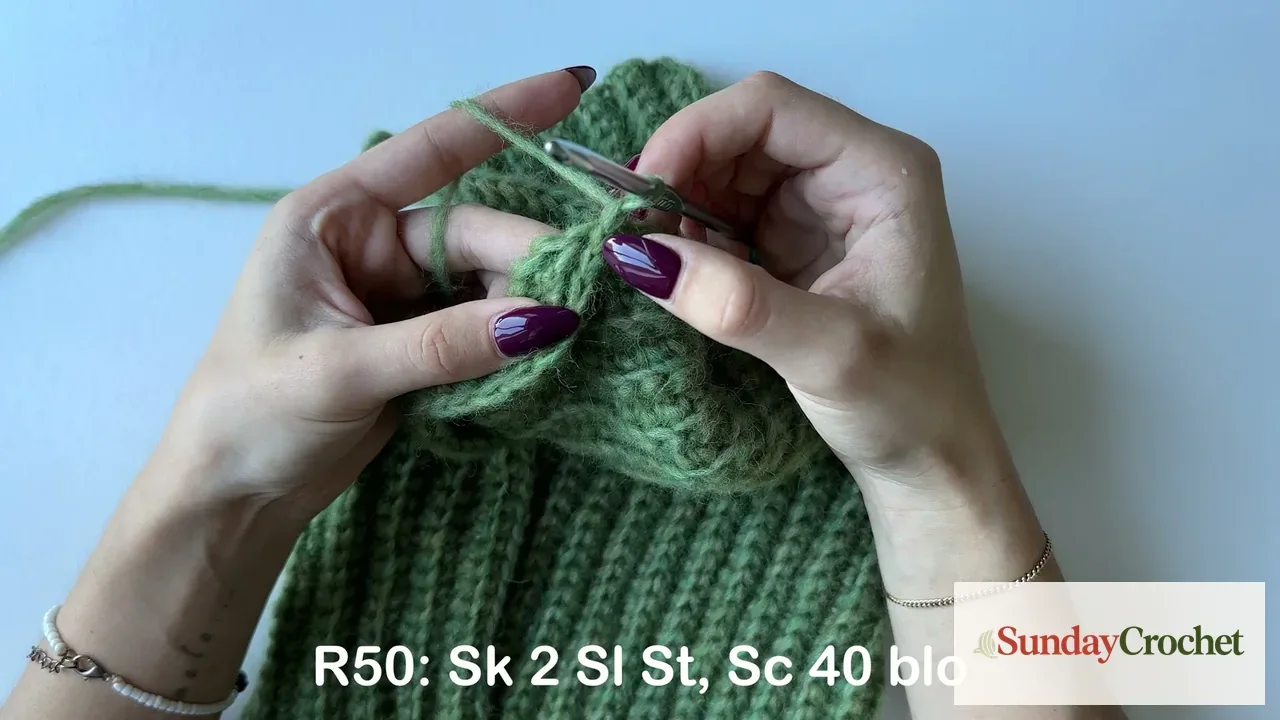
Rows 73–92: add the neck panel
After row 72, begin the narrower neck section. Rows 73–92: Ch 1, turn, and work 18 sc in BLO across. 18 sc per row for 20 rows. Keep the short edge even, since it will be joined to the corresponding 18-stitch edge.
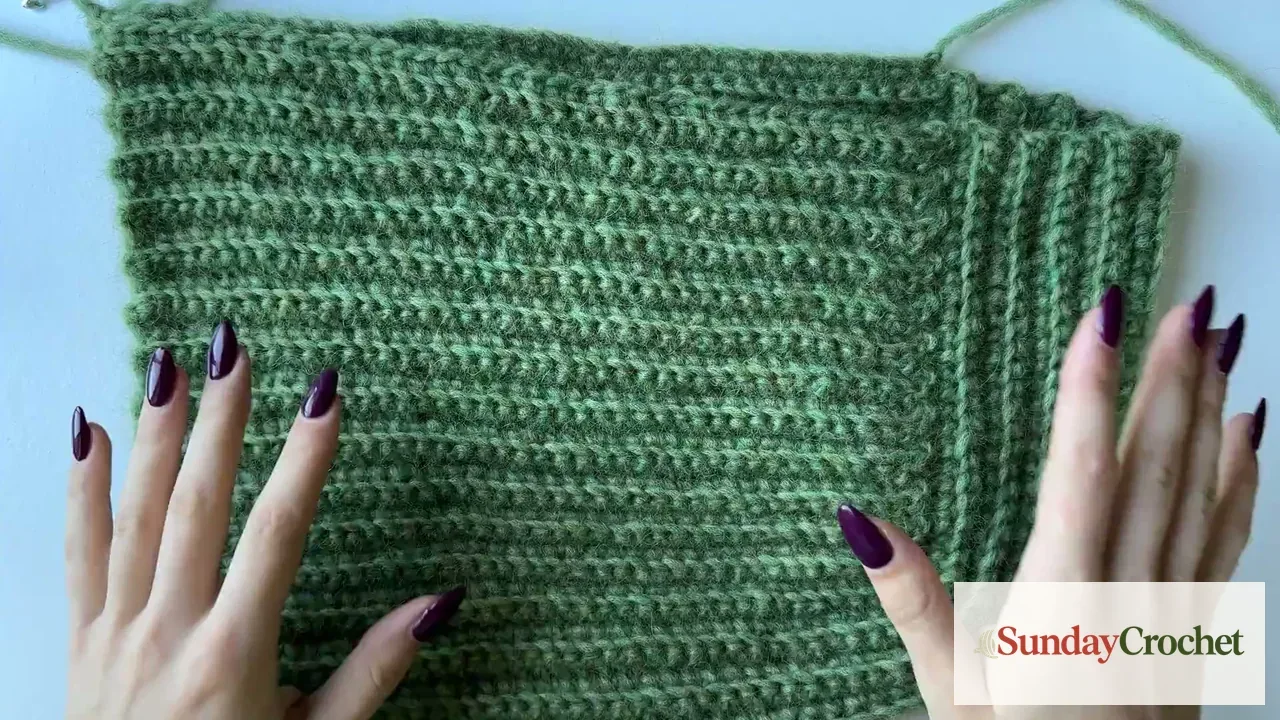
When the 20 rows are complete, use 18 slip stitches to join this short edge to the matching edge on the opposite side. Insert the hook through the corresponding chain on the far edge and through the back loop of the current work, then slip stitch them together. Repeat across all 18 stitches. This closes the short neck seam while keeping the longer face and neck openings open. Ch 1, then turn the work right side out.
Ribbed edge around the face
Join the yarn at the face opening and ch 7. The first six chains form the ribbing width; the seventh is the turning chain.
Edging row 1: Starting in the second chain from the hook, sc across the six chains. Work 2 sl sts into the next two spaces along the face opening, then ch 1 and turn. 6 sc, plus 2 joining sl sts.
Edging row 2: Skip the two joining sl sts and work 6 sc in BLO across the ribbing strip. 6 sc. Ch 1 and turn.
Edging row 3: Work 6 sc in BLO back across the strip. Sl st into the next two spaces along the face opening, then ch 1 and turn. 6 sc, plus 2 joining sl sts.
Edging rows 4–6: Repeat the alternating rows: on one row, work 6 sc in BLO and attach to the next two spaces with 2 sl sts; on the return row, skip the joiners and work 6 sc in BLO. The sample labels row 6 as the return row. Continue the same alternating sequence around the opening, attaching every other row, until the edging reaches the front neck section. There, attach with 1 sl st into each stitch along the edge. The sample uses 86 edging rows total, though your count may vary with the opening circumference. The strip remains 6 sc wide throughout; the joining slip stitches do not count toward that width.
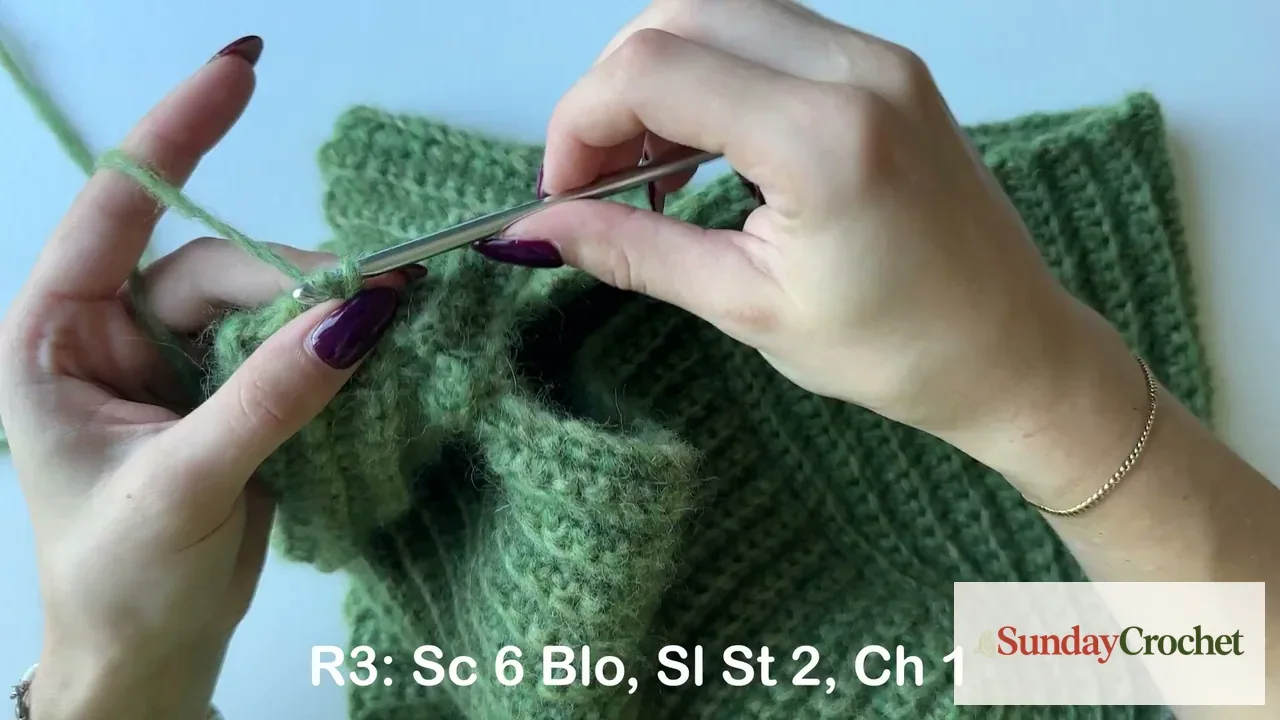
When you reach the starting point, fold the two ends of the ribbing together with right sides facing. Join across the six-stitch width by slip stitching through the back loop of the last row and the foundation chain. Make 6 sl sts, then ch 1 and fasten off. Use the tapestry needle to weave the tail back through the slip stitches and a few nearby stitches so the seam stays secure. The face edging should lie flat without pulling the opening tight.
Fit and finishing
Try the balaclava on before weaving in every tail. The ribbed fabric has stretch, and the loose shape is part of the design, but the hood should still sit securely over the head and cover the ears. Check that the face opening feels comfortable and that the neck panel reaches the coverage you want. If the lower section feels short, add length to the 18-stitch rows before joining them. If the face edge is too snug, undo part of the edging and use a looser tension or continue the strip with more rows before closing it.
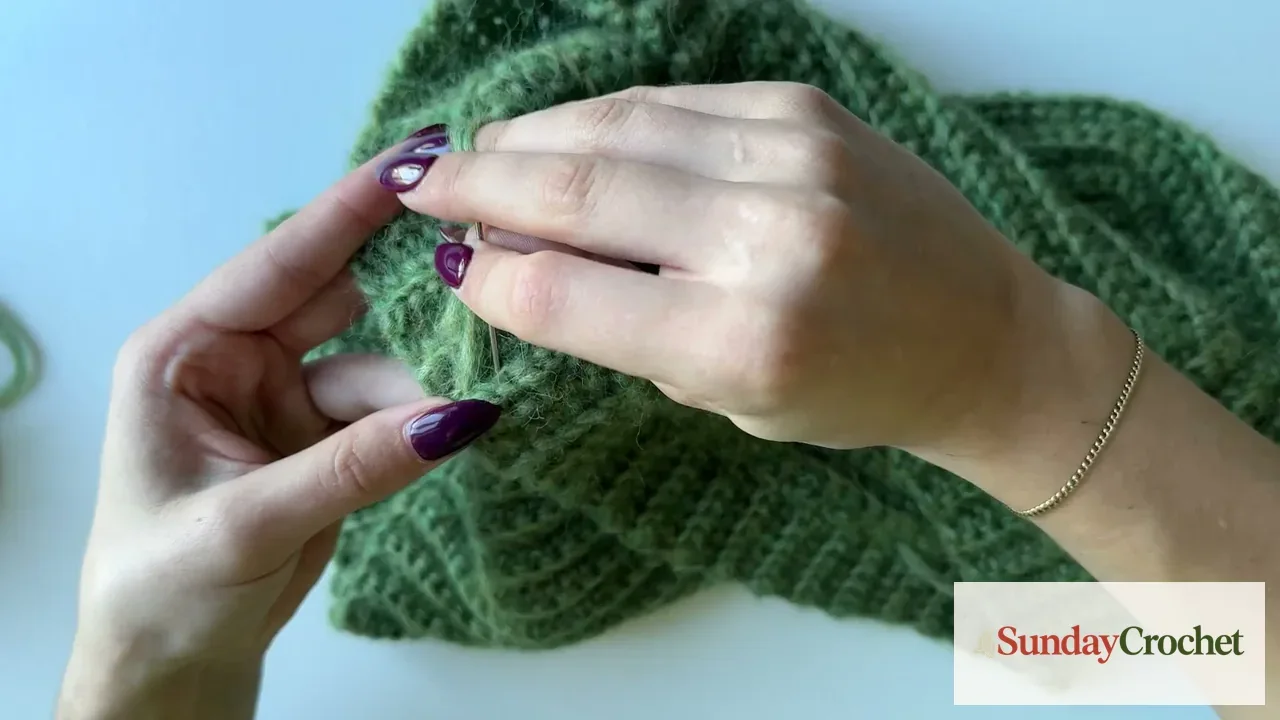
The sample’s 5 mm hook and DROPS Air yarn make a soft, airy fabric. A different yarn can change both drape and warmth, even when the stitch counts stay the same. Check fiber care before washing, and avoid stretching the face edge while it is wet. If you are choosing between fibers for another winter project, this comparison of cotton and acrylic crochet yarn explains how fiber affects feel and care.
Common questions
Is the pattern written in US or UK terms?
It uses US terms. Sc means single crochet, and sl st means slip stitch.
What is the crochet gauge?
A crochet gauge is not stated. The yarn label includes a knitting gauge of 17 stitches and 22 rows over 10 × 10 cm, but that measurement is for knitting and should not be treated as crochet gauge. If you substitute yarn, make a small swatch and check that the fabric has the stretch and drape you want.
How many stitches should I have?
The main panel starts with 40 sc per row. After adding 27 stitches along the side, rows 28–46 have 67 sc each. Crown rows 47–72 return to 40 sc per row, with two extra slip stitches used to join every other row. The neck panel has 18 sc per row, and the face edging is 6 sc wide, with 86 edging rows in the sample.
Can I change the size?
The sample does not include finished measurements or a size chart. Check the first ribbed panel against the wearer before adding the side stitches. You can add or remove rows to adjust the length of the neck panel, but changing the 40-stitch width or 67-stitch expanded rows will also change how the crown fits. Make one adjustment at a time and try the piece on before finishing the seams.
For a warm winter set, the loose hood layers easily with a coat and scarf. Choose a soft neck layer with enough drape to sit comfortably under the balaclava.