
· Sunday Crochet
In this pattern
01 · A star-shaped bag built from two panels02 · Yarn & tools03 · The pattern04 · Make the strap05 · Join the star panels and attach the strap06 · Keep the points and edges even07 · Common questions08 · A colorful everyday makeA star-shaped bag built from two panels
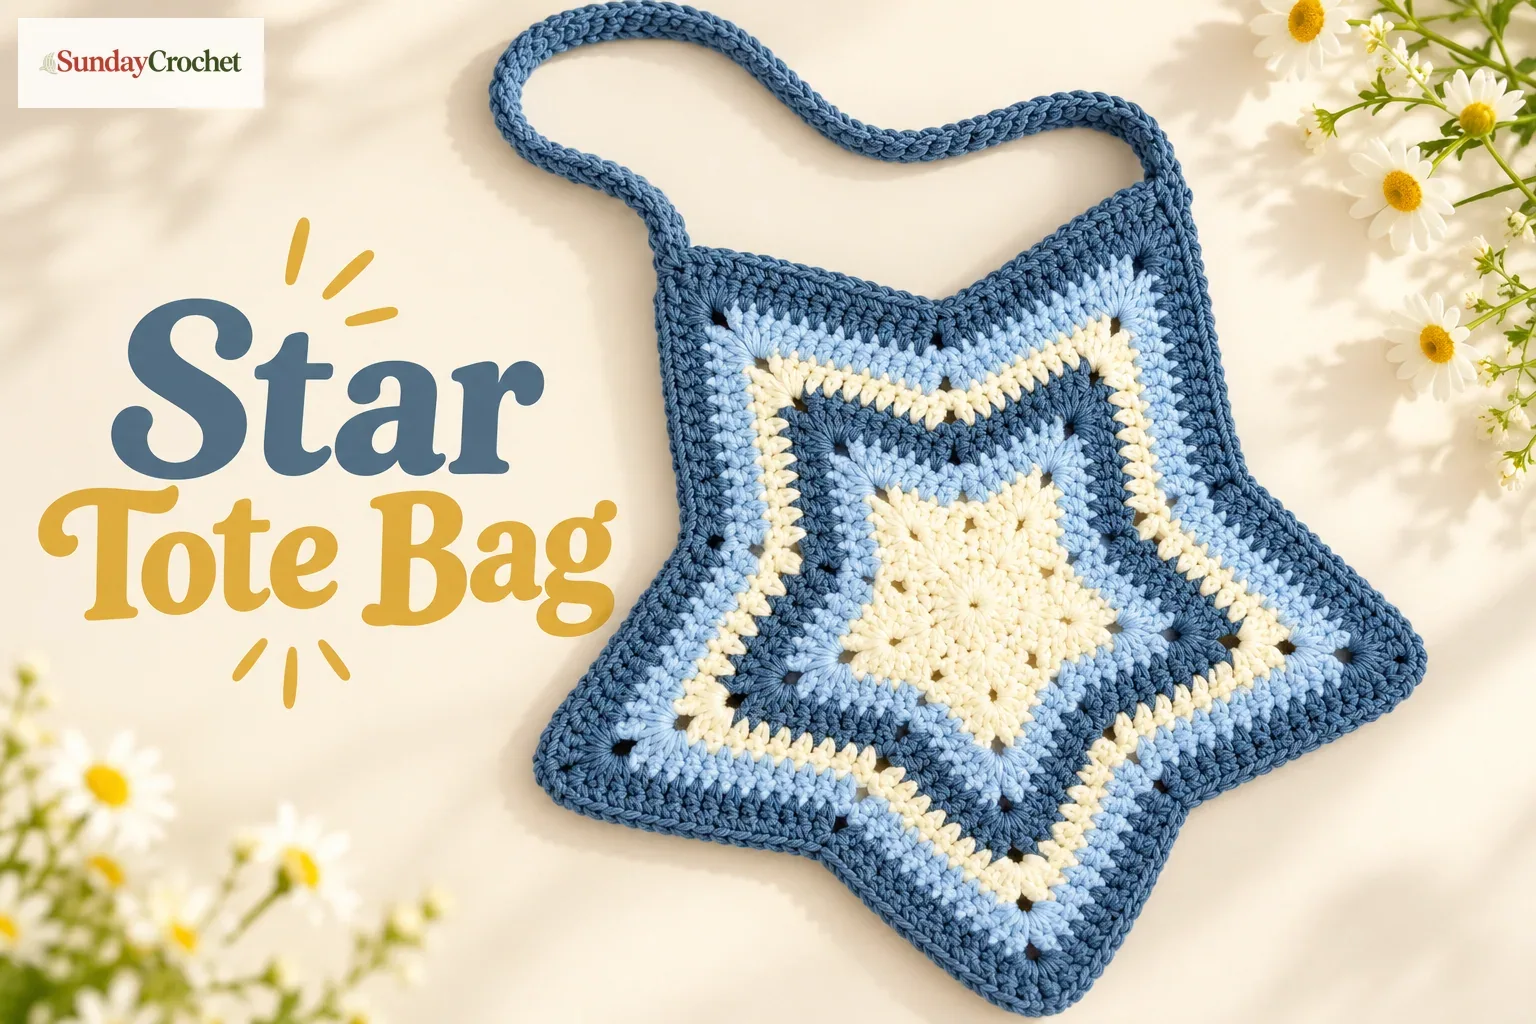
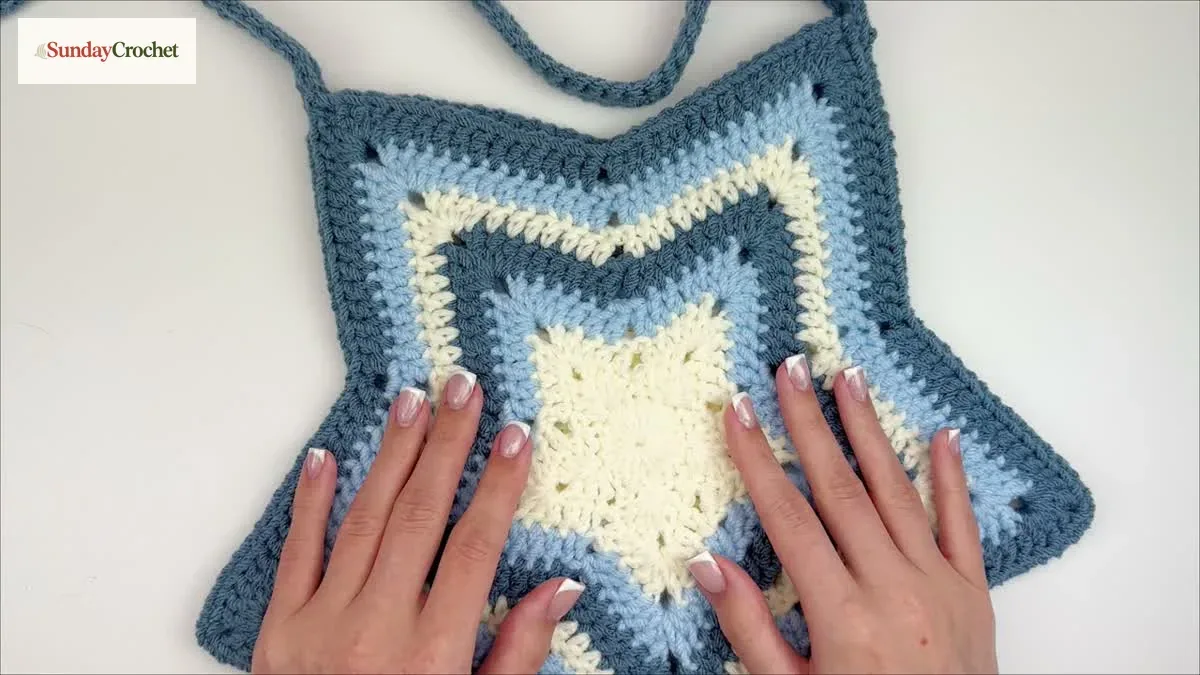
This crochet star tote is made from two matching five-point motifs. Each star begins with a small circle, grows outward with a familiar point repeat, and becomes one side of the bag. A crocheted strap and a simple seam turn the flat shapes into a roomy, soft-sided carryall. The sample uses cream, light blue, and slate blue, but the number and order of colors are your choice.
I’ll show you how I build both star panels, keep the points even as the rounds grow, and finish the bag with a strap that suits the way you want to carry it. The sample panel has eight rounds, but you can continue the repeat for a larger bag or stop sooner for a smaller one. There is no fixed finished measurement or yarn quantity, so the final size depends on your yarn, hook, tension, and how many rounds you work.
Yarn & tools
The sample uses worsted-weight acrylic yarn and a 4.5 mm hook. Keep enough yarn available for two matching panels, the strap, and the seams. A specific yardage is not given. If you are choosing between fibers, compare how cotton and acrylic behave in crochet before settling on a yarn for a bag.
Stitches and abbreviations
These directions use US crochet terms:
- ch: chain
- sl st: slip stitch
- sc: single crochet
- dc: double crochet
- st(s): stitch(es)
- ch-2 space: the space made by chaining two at a star point
If you want a quick reminder of the basic crochet stitch motions, review those before beginning. The stitches here stay the same from round to round, so once the first star point makes sense, the repeat becomes easier to see.
The pattern
Before you begin
Make two identical star panels. The written sample has eight rounds in each panel. Every point is built in a ch-2 space with 3 dc, ch 2, 3 dc. As the star grows, the straight sections between each point gain two dc on each side per round. The valleys between neighboring points remain separate by skipping two stitches.
You can change colors at the end of any round or keep the panel in one color. To change color, work the joining slip stitch with the new yarn, then secure the two tails together at the back. The tails can be carried under later stitches or woven in afterward. Color changes are optional and do not alter the stitch counts.
Round 1
Make a slip knot and chain four. Join the first and last chain with a sl st to form a small ring. This is a faux magic ring; if you already prefer a magic ring, that can be used instead. Chain two. This beginning chain does not count as a stitch.
Work 20 dc into the center of the ring. Slide the stitches along the ring if you need room. Join with a sl st to the top of the first dc, skipping the beginning ch-2. Pull the yarn tail firmly to close the center.
Round 2
Make a sc in the same stitch as the joining sl st. Repeat the following sequence five times around the ring: skip one stitch, work 3 dc, ch 2, 3 dc into the next stitch, then skip one stitch. The next sc begins the next repeat. The five ch-2 spaces are the five points of your star.
Join with a sl st into the first dc of the first group. Watch the stitches after each shell: the last dc can hide the next stitch, so check carefully that you skip only one stitch before the next sc.
Round 3
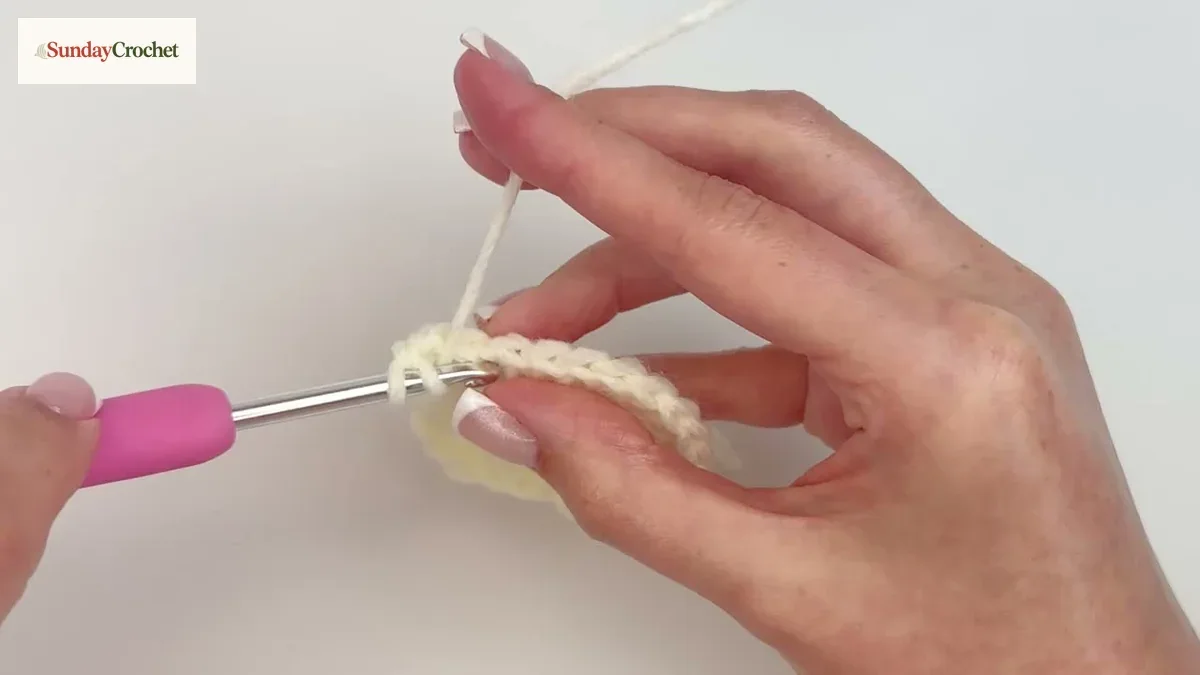
Sl st into the next stitch, then dc into that same stitch and the next stitch. At the first ch-2 space, work 3 dc, ch 2, 3 dc into the space.
On the side after the point, skip the first stitch and work one dc in each of the next two stitches. Skip the next two stitches at the inner valley, then work one dc into each of the following two stitches. Continue around, repeating the same point at every ch-2 space and the same two-dc sections between points. Join with a sl st to the first dc.
Round 4
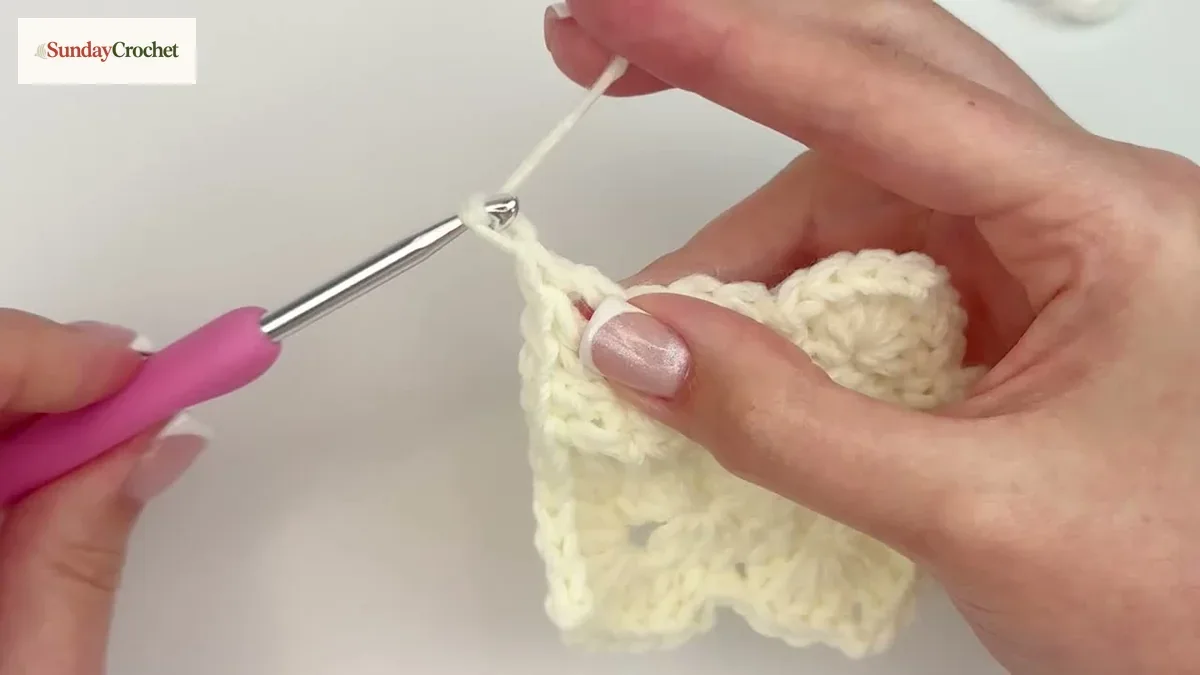
Sl st into the next stitch and dc into that same stitch. Work until you reach a point, keeping four dc on each side of the ch-2 space. In every ch-2 space, make the usual 3 dc, ch 2, 3 dc. Unlike Round 3, do not skip the first small stitch after the point. At each inner valley, skip two stitches, then work four dc along the next side. Join with a sl st when the round is complete.
Round 5
Repeat the point in every ch-2 space. Work six dc on each side of each point, skipping the next two stitches at each inner valley. Join to finish the round. If you are changing colors, make the final joining sl st with the new color, then secure the tails at the back.
Round 6
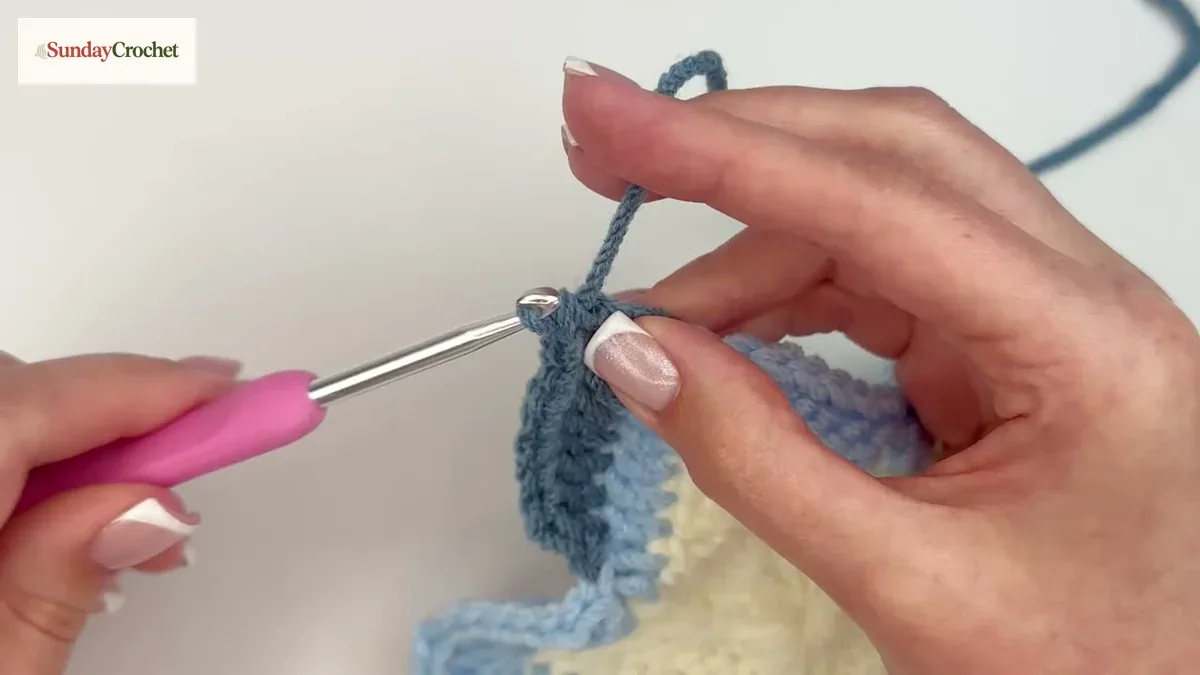
At each point, work 3 dc, ch 2, 3 dc in the ch-2 space. Work eight dc on each side of the point, skipping two stitches at every inner valley. Join with a sl st to complete the round.
Round 7
Repeat the same corner and valley sequence. Increase to ten dc on each side of every point. Keep the five ch-2 spaces centered at the tips and skip two stitches at each valley. Join the round.
Round 8
Work the same point in each ch-2 space and twelve dc on each side. Skip two stitches at every inner valley, then join to the first dc. This completes the eight-round sample panel.
For a smaller bag, stop after fewer rounds. For a larger bag, continue in the same rhythm: add two dc to each side of every point on each new round, keep the point repeat unchanged, and skip two stitches at each valley. Make a second panel with the same number of rounds as the first. Tie off each panel by chaining one, cutting the yarn, pulling the end through, and weaving in the tail.
Make the strap
Make a slip knot and chain until the foundation is the length you want for the handle. A shorter chain makes a hand-carried bag; a longer one can sit on the shoulder or cross the body. The finished length is not specified, so measure it against how you plan to carry your bag before working the rows.
Strap Row 1
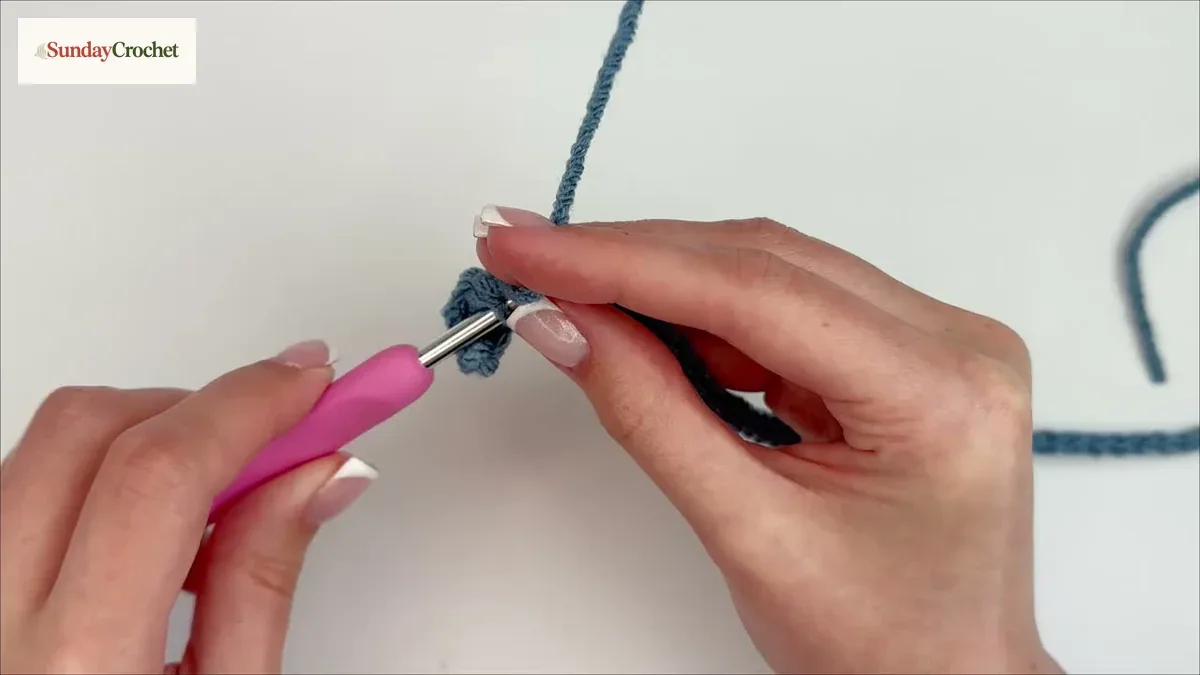
Starting in the second chain from the hook, work one sc into every chain to the end. If the chain curls, flatten it as you work. The first row forms one long edge of the strap.
Strap Row 2
Chain one. This turning chain does not count as a stitch. Turn the work and make one sc in every stitch across, including the last stitch. This is the sample strap width. To make the strap wider, repeat this row as many times as you like, chaining one and turning before each new row. Tie off and leave a tail for sewing.
Join the star panels and attach the strap
Place the two panels together with their wrong sides facing each other. Match the points and rounds, then decide which gap between two neighboring points will be the bag opening. Start at one corner of that opening, leaving the space between the two opening corners unsewn.
Thread the tapestry needle with yarn in the color of the outer round, if you want the seam to blend in. Sew through the back loop of the nearest panel stitch and the matching back loop on the opposite panel. Continue around the outside edge until you reach the other corner of the opening. Keep the stitches aligned as you go so the two star shapes do not shift. Leave the opening clear.
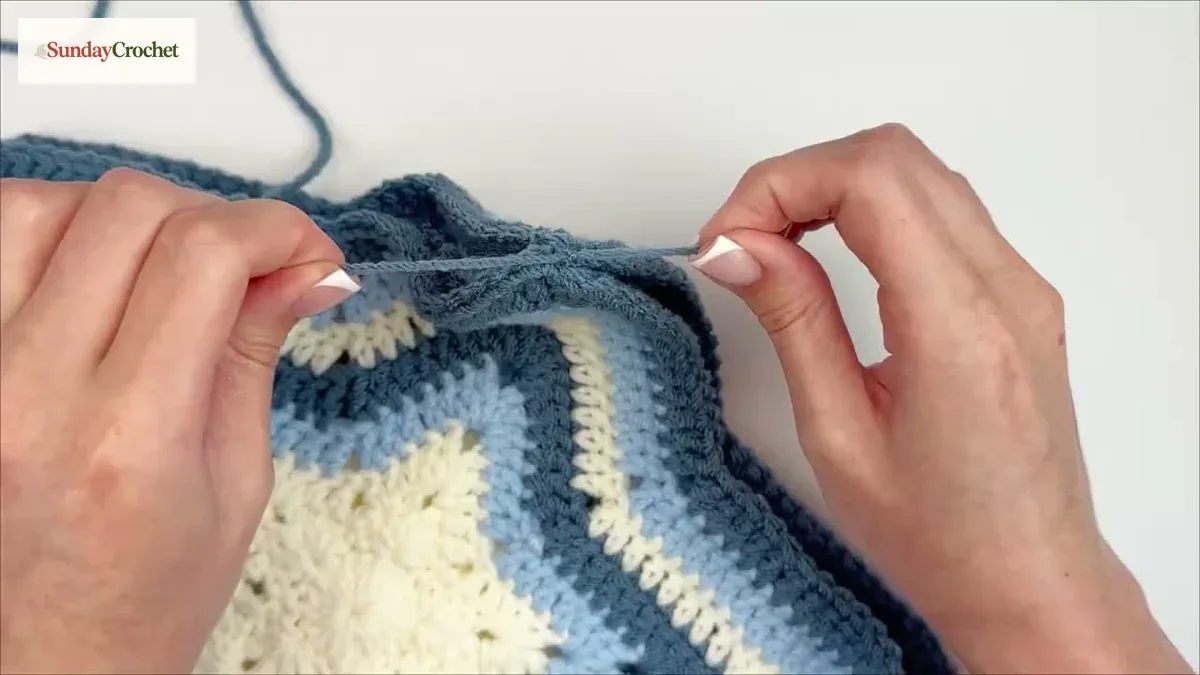
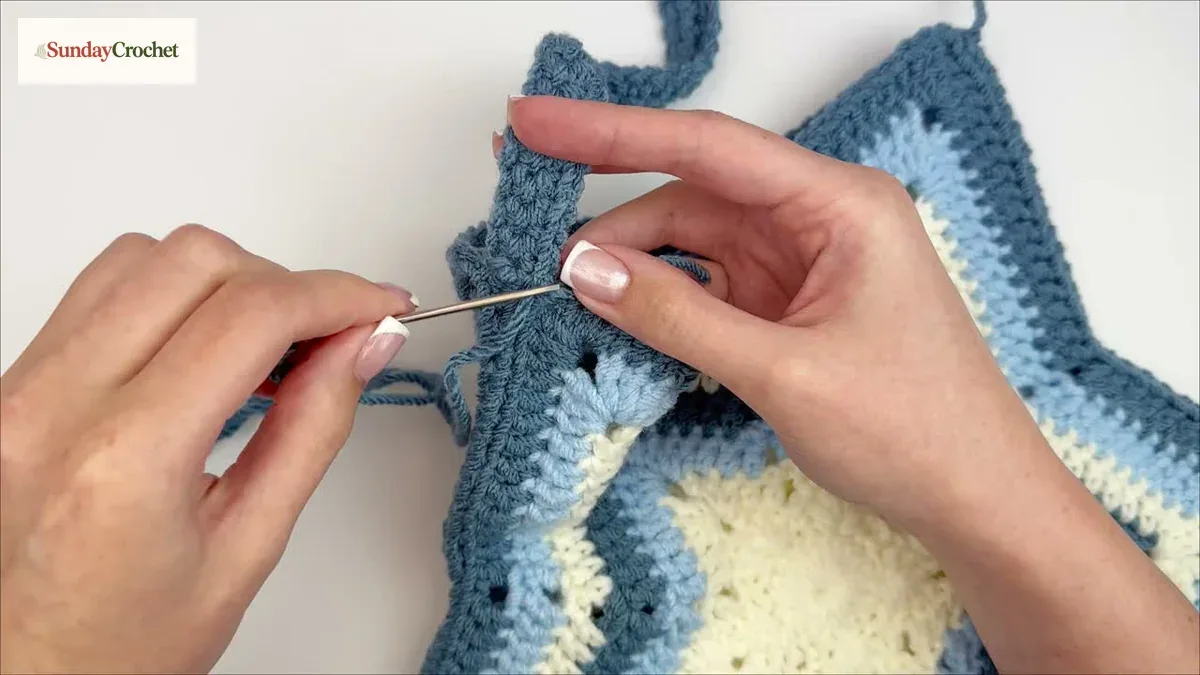
Position one end of the strap at a corner of the opening and sew it securely to the bag. Keep the strap flat rather than twisted. Attach the other end at the opposite opening corner in the same way. Weave in the remaining tails and check that the seam and both strap joins feel secure before using the bag.
Keep the points and edges even
- Count the five ch-2 spaces. Each one becomes a point. If a corner seems to disappear, check that its chain space was not accidentally worked into as an ordinary stitch.
- Keep the corner repeat consistent. Every point uses 3 dc, ch 2, 3 dc in the same space. The point repeat does not change as the panel grows.
- Track the side counts. Round 3 has two dc per side, Round 4 has four, and the count rises by two each round. In the eight-round sample, Round 8 has twelve dc on each side.
- Skip two at each inner valley. These skipped stitches help separate one star point from the next. Count the valley stitches before moving into the next side.
- Check the color join. When changing colors, use the new yarn for the joining sl st, then secure both tails at the back. This keeps the join tidy and gives you a clean place to begin the next round.
- Match both panels. Use the same number of rounds in each star. Before sewing, lay one panel over the other and line up all five points.
- Leave a clear opening. Choose the gap between two points before you sew. Stop at the opposite opening corner instead of joining the whole perimeter.
The star panels are soft crochet fabric rather than a lined or reinforced bag. The instructions do not include a lining, closure, exact measurements, or weight limit, so use the finished tote for light items that suit an unlined crochet bag. The hook and yarn can change how large and flexible the fabric feels, but the pattern does not specify gauge or a target size.
Common questions
How many rounds should I crochet?
The sample uses eight rounds per panel. You can stop earlier for a smaller bag or keep repeating the growing-star round for a larger one. Make both panels the same size, and remember that the strap length is chosen separately.
Can I use one color?
Yes. Color changes are optional. The sample changes yarn colors to make the rounds stand out, but you can keep one color throughout or choose your own sequence. The point and side counts remain the same.
How long should the strap be?
The pattern leaves the chain length up to you. Measure a chain against your preferred carry style before working the single-crochet rows. The strap can be short for hand carry or longer for a shoulder or crossbody length.
Can I make the strap wider?
Yes. After the first two rows, repeat Strap Row 2 to add more rows of single crochet. The sample uses two rows, but the number of repeats is flexible.
Can left-handed crocheters follow the written pattern?
Yes. The stitch names, counts, and repeats stay the same. Work with the hook in your comfortable hand, and turn the panel as needed to reach the next stitch. The written directions use US terms.
Is the finished size fixed?
No finished measurement or gauge is specified. The example uses eight rounds with worsted-weight acrylic yarn and a 4.5 mm hook. Your dimensions will vary with your materials, tension, and the number of rounds you make.
A colorful everyday make
Once you understand the point repeat, the star grows in a steady rhythm: work each corner into its chain-two space, add two double crochets along each side, and skip two stitches at each valley. Make a matching pair, choose an opening, sew the outer edges, and add a strap at the two corners. The same steady counting that shapes the star will help you keep both panels even from the first round to the final seam.


