
· Sunday Crochet
In this pattern
01 · An easy poncho from one rectangle02 · How the rectangle becomes a poncho03 · Yarn & tools04 · Before you start05 · The pattern06 · Fold and join the neckline07 · Finishing and fit notes08 · Common questionsAn easy poncho from one rectangle
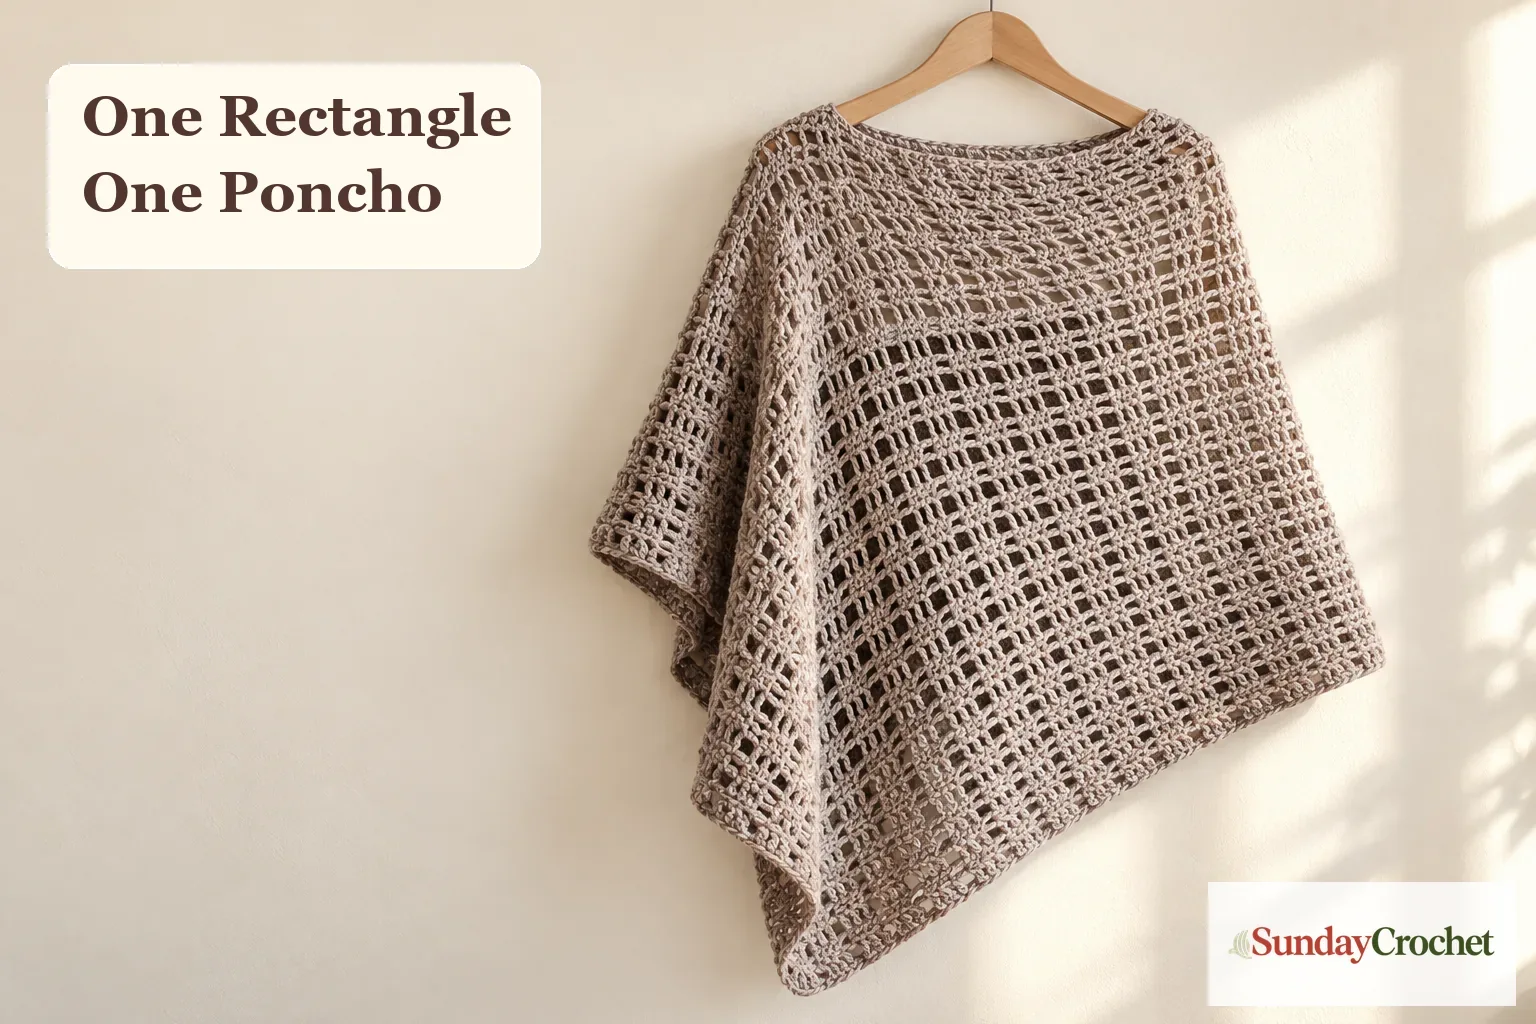
A crochet poncho can look like a complicated garment, but this design begins as one simple rectangle. The open mesh gives it a light drape, and a short slip-stitch seam turns the flat fabric into an asymmetrical layer you can pull over your head. You do not need to shape sleeves or make separate panels. The main job is to measure as you crochet and keep the stitch pattern consistent.
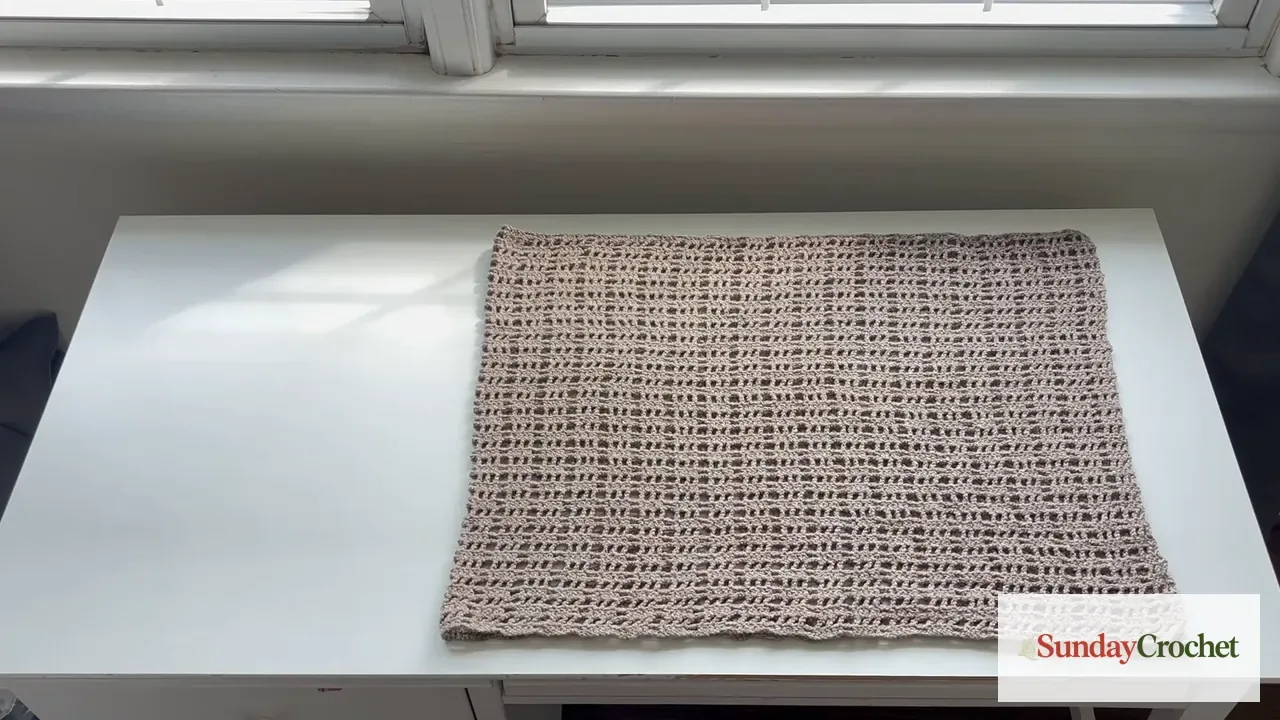
I’ll show you how I do this with a woven mesh made from five-double-crochet clusters, chain spaces, and a taller treble row. The sample rectangle measures about 21 by 56 inches, with a second version around 21 by 66 inches. Those are useful references, not strict sizes. Your yarn and tension will change the measurements, so I’ll explain how to size the rectangle to your own body before you begin.
How the rectangle becomes a poncho
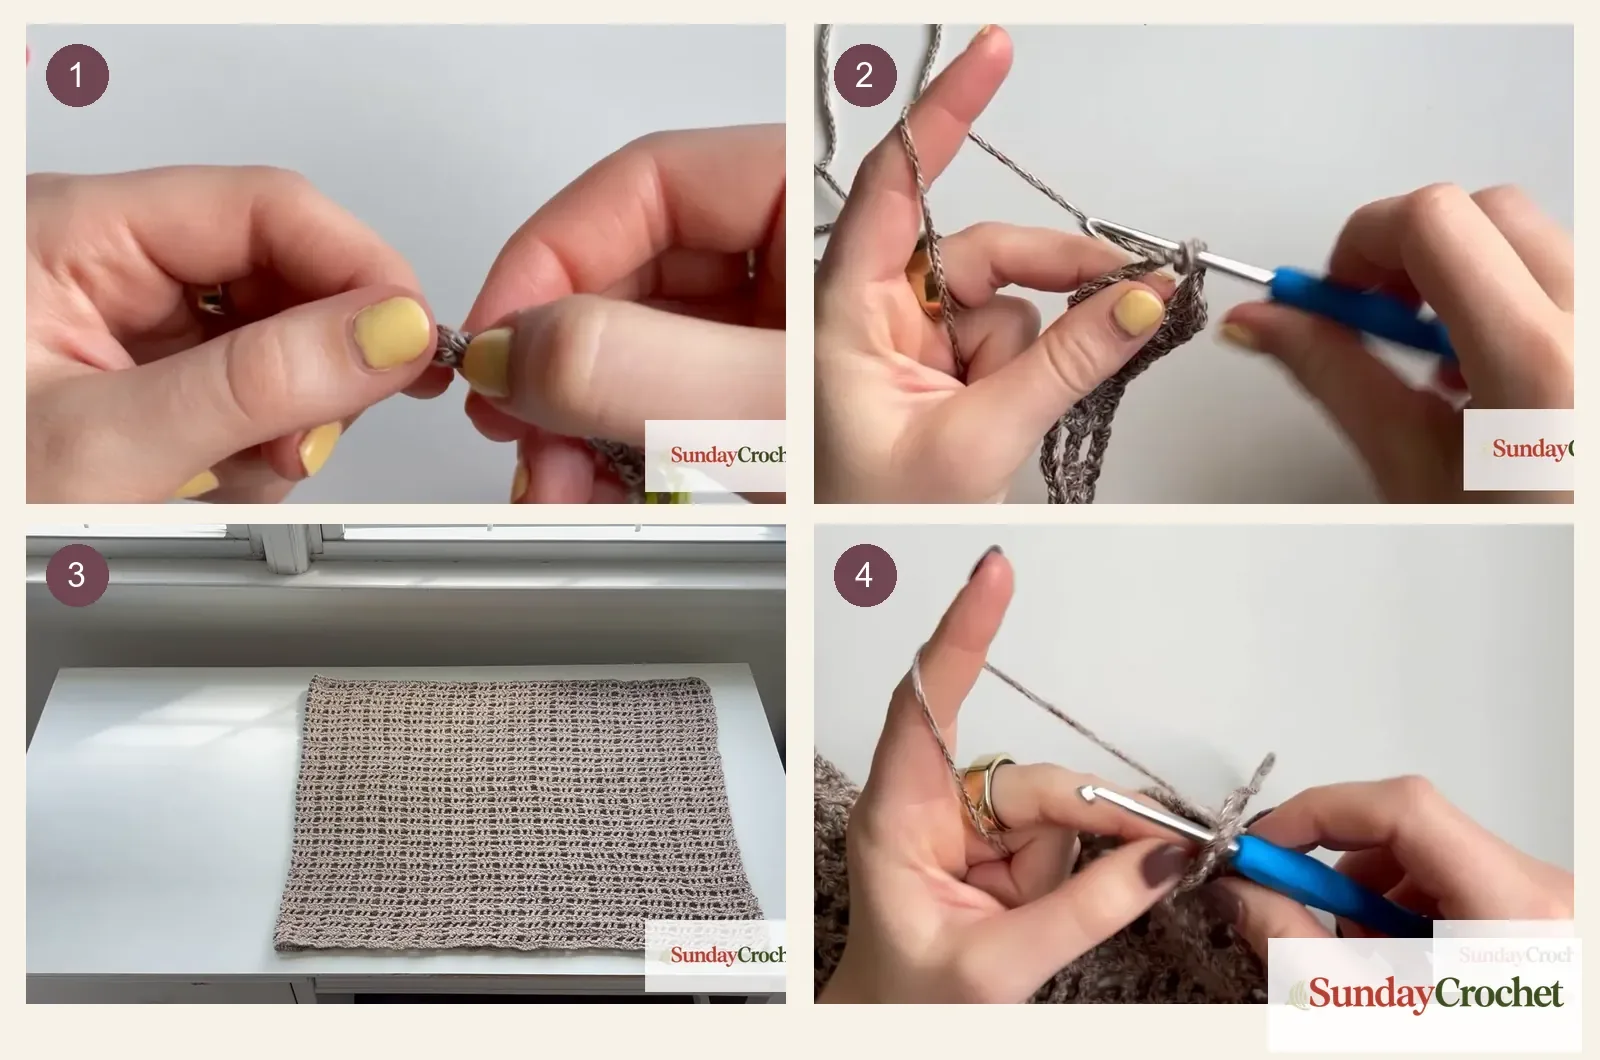
The short measurement controls how far the poncho hangs from your shoulder toward your arm. Measure from your collarbone to the point where you want the hem to fall. The sample is about 21 inches deep. If you prefer more coverage, increase that measurement and keep working rows until your fabric reaches it.
The long dimension controls the wrap and the amount of drape. One helpful starting point is to make it about twice your short measurement, then add roughly 24 inches. For a 21-inch depth, that points to about 66 inches. A shorter 56-inch sample creates a more compact version. Try the rectangle around your shoulders before joining, and choose the amount of overlap and drape that feels comfortable.
After crocheting, fold the rectangle in half to create a smaller rectangle. Match the stitches along the long edge, mark an opening of about 12 inches for your head, and slip stitch the remaining section from the corner to the marker. Turning the joined piece changes how it sits and gives the poncho its asymmetrical drape. You can make the opening larger or smaller to suit your head and the way you want the neckline to sit.
Yarn & tools
The woven sample uses a wool-and-cotton blend and a 4 mm hook. A little more than six 164-yard skeins were used, so plan for a little over 984 yards for a similar size and fabric. This is an estimate from one particular yarn and tension, not a guaranteed yardage for every poncho. Buy enough yarn from the same dye lot when possible, and remember that adding length or width uses more.
A second, simpler mesh version was made with acrylic yarn and a 5 mm hook. The stiffer fabric draped differently. If you are comparing fibers, consider how cotton and acrylic behave in a finished crochet project before choosing. A quick refresher on the basic crochet movements can also help if chains or double crochet are new to you.
Before you start
This pattern uses US terms: chain (ch), double crochet (dc), treble crochet (tr), and slip stitch (sl st). The ch-3 at the beginning of a double-crochet row counts as one dc. In the treble row, ch 5 counts as one tr plus a chain-one space. The stitch pattern alternates a row of five-dc clusters with chain-three gaps and a row of treble posts separated by chain-one spaces and chain-three gaps.
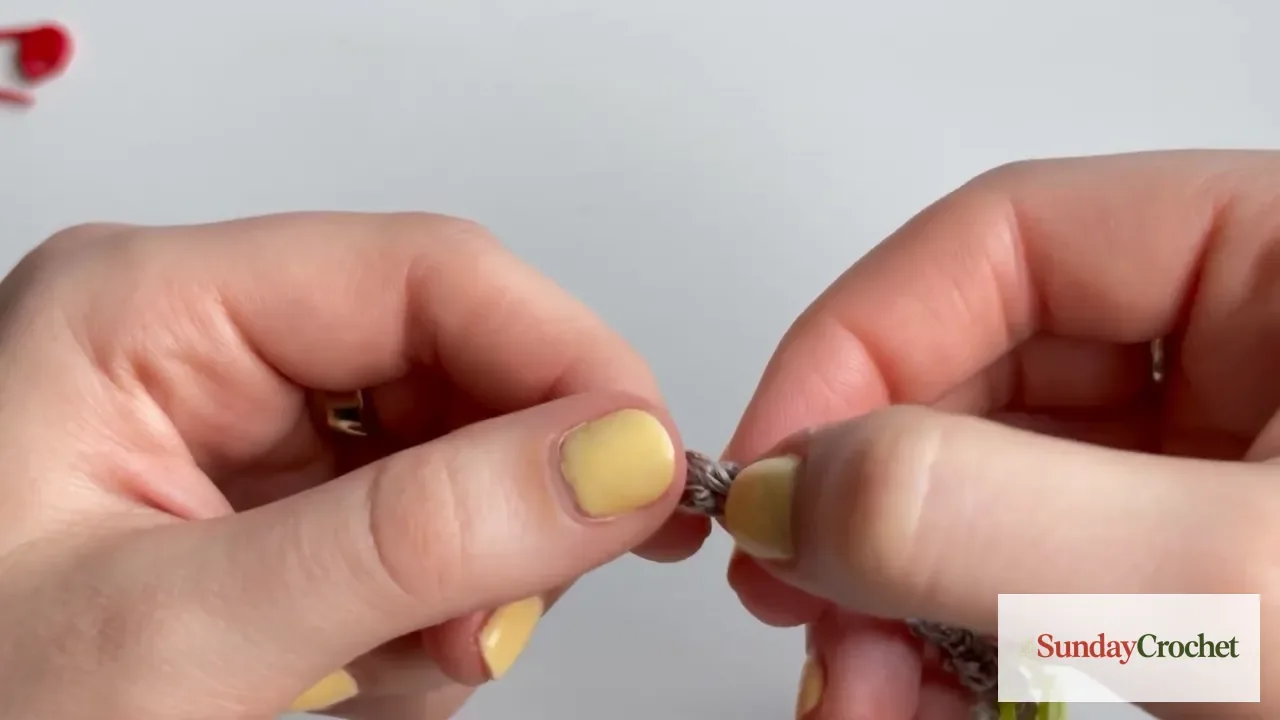
The sample foundation is 319 chains, which follows the repeat multiple of 8 plus 7: 39 sets of 8, then 7 extra chains. It measures about 56 inches with the yarn and hook used for that sample. Your chain count may differ for the same measurement. If you want to size the rectangle, make a short swatch first, measure how many chains give you the width you need, and adjust the count to a multiple of 8 plus 7. Place a marker every 24 or 48 chains so it is easier to spot a skipped or added chain.
The pattern
Foundation chain
Chain a multiple of 8, then add 7. For the sample, chain 319 (39 × 8 + 7). Keep the chain relaxed rather than pulling it tight. Lay it flat and measure its length before you move on. If it is shorter than your target, add a complete repeat of 8 chains at a time, plus the same 7-chain setup. If it is too long, remove a repeat and measure again.
Row 1: five-double-crochet clusters
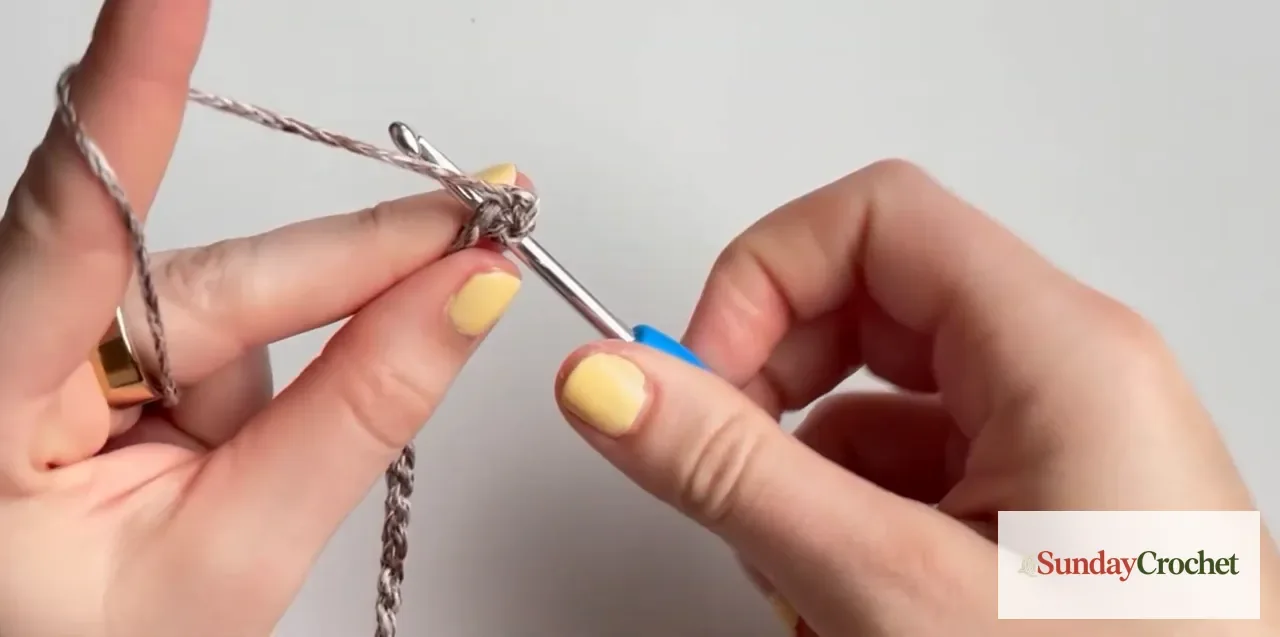
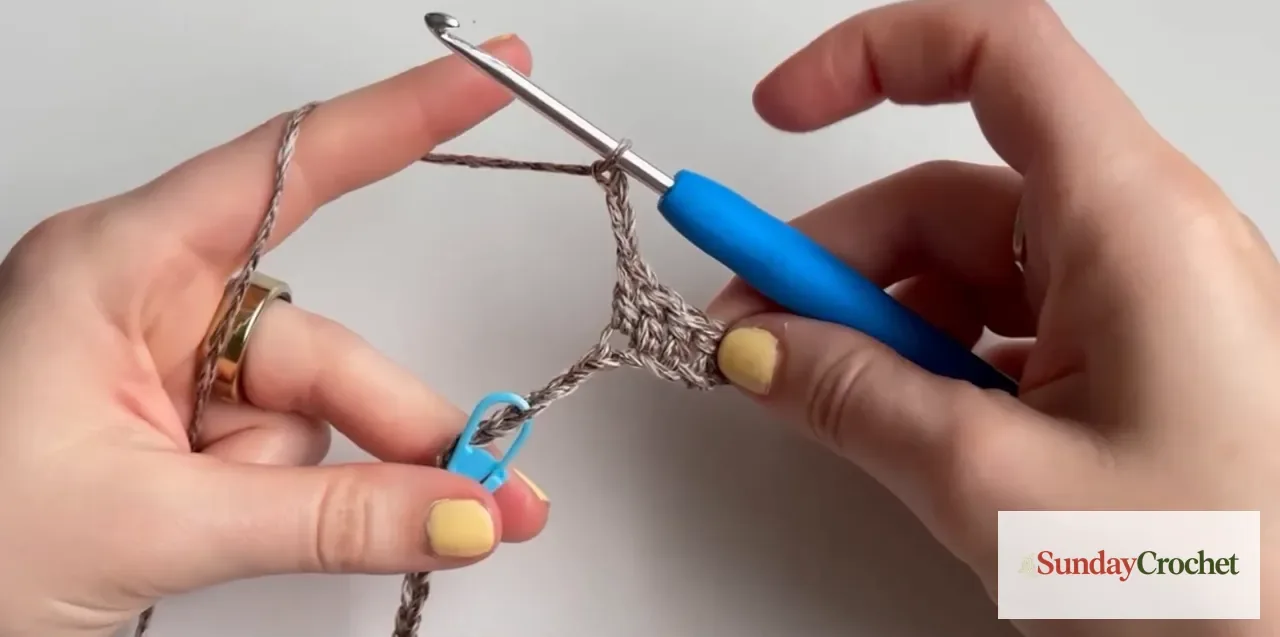
Chain 3. This turning chain counts as the first dc of the first cluster. Work 1 dc into the fourth chain from the hook, then work 3 more dc into the next 3 chains. You now have a cluster of 5 dc when the turning chain is included.
Chain 3, skip the next 3 foundation chains, then work 5 dc in the next 5 chains. Repeat from the chain 3 across. With a 319-chain foundation, you will make 40 five-dc groups in total, including the first group formed with the turning chain, and 39 chain-three spaces. At the end, the final dc should land in the last chain. If your count drifts, pause at a stitch marker and check that each repeat has 3 chains skipped and 5 dc worked into the following 5 chains.
Row 2: treble posts
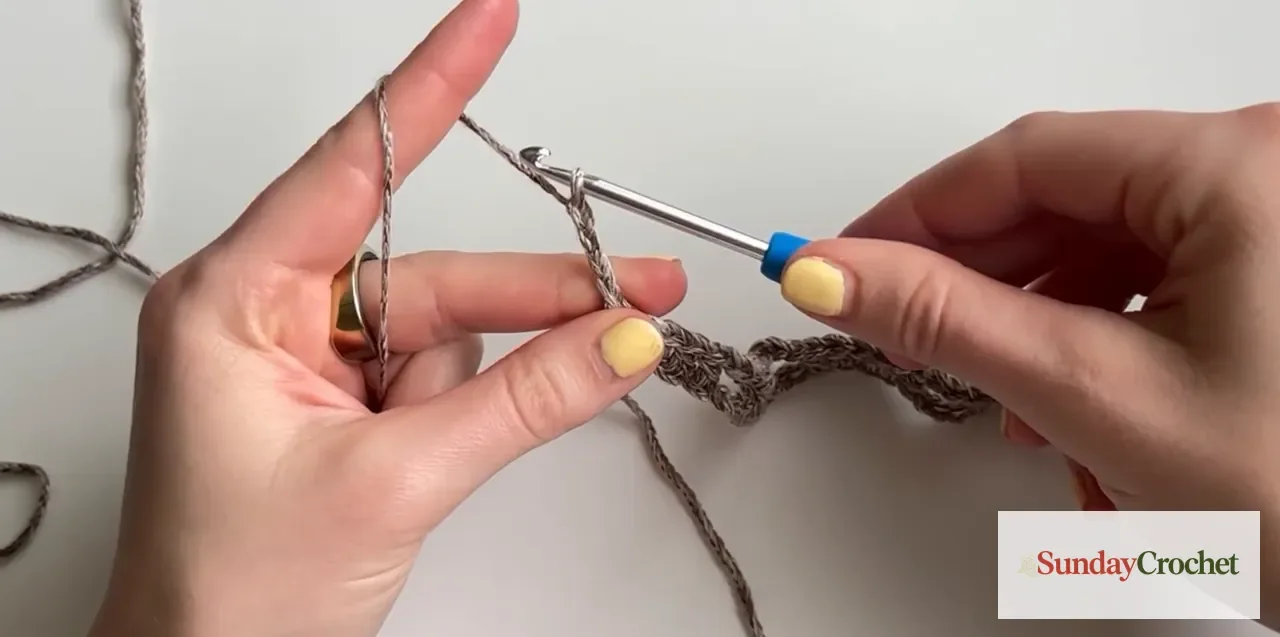
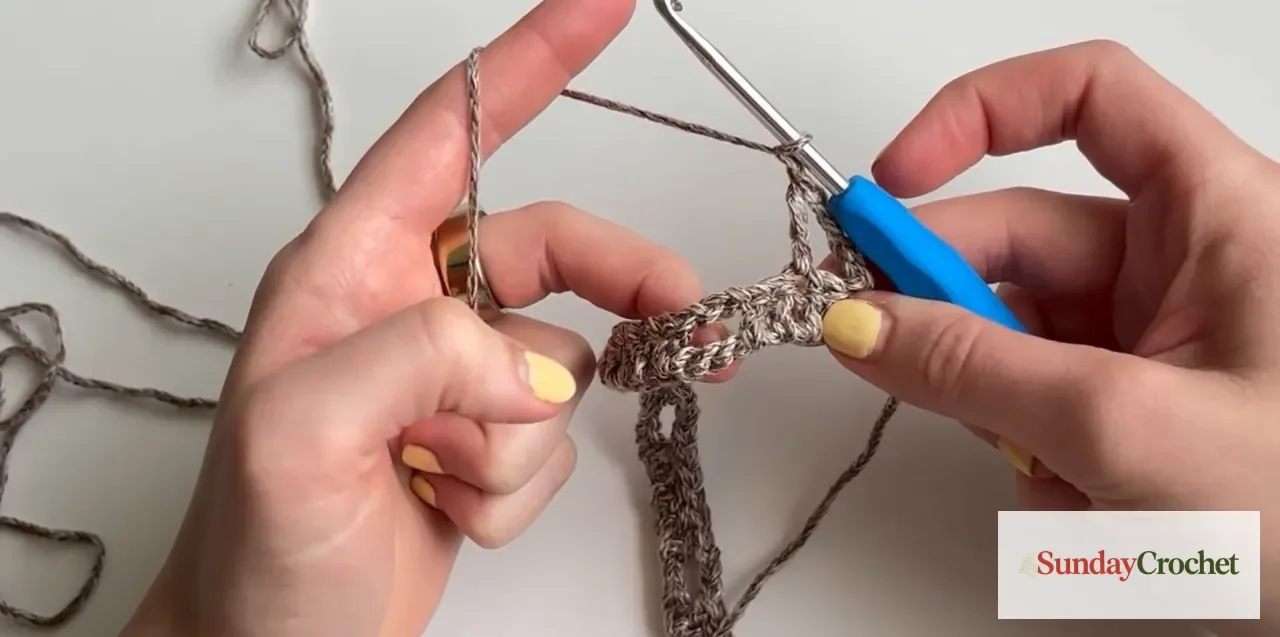
Chain 5. The first 4 chains count as a treble crochet, and the fifth chain counts as the first chain-one space. Work 1 tr into the third dc of the first five-dc cluster, chain 1, then work 1 tr into the fifth dc of that cluster. Chain 3 to reach the next cluster.
For each following five-dc cluster, work 1 tr into the first dc, chain 1, 1 tr into the third dc, chain 1, and 1 tr into the fifth dc. Chain 3 between clusters. At the row end, place the last tr into the top of the starting chain-3 from the previous row. You should see three tall posts over each five-dc group, with a small chain-one opening between neighboring posts.
Row 3: double-crochet clusters
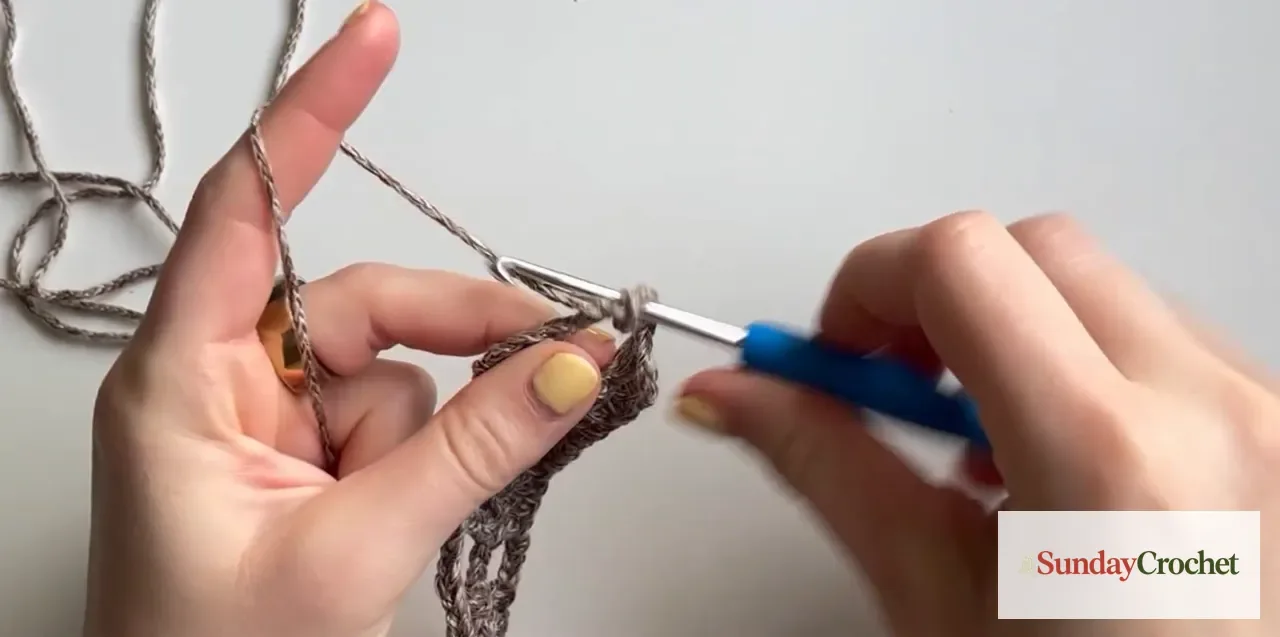
Chain 3, counting it as the first dc. Across the first group, work 1 dc into the chain-one space, 1 dc into the top of the next treble, 1 dc into the next chain-one space, and 1 dc into the top of the final treble. Together with the turning chain, these make a five-dc cluster.
Chain 3, then work 5 dc across the next set of three treble posts and two chain-one spaces: dc in each post and in each space. Repeat this cluster and chain-three gap across the row. The last cluster should finish at the top of the turning chain from the row below. This row returns the fabric to the low cluster shape and forms the alternating open mesh.
Repeat and measure
Repeat Rows 2 and 3, alternating treble-post rows with double-crochet cluster rows. Work until the rectangle reaches your chosen short measurement. The sample is about 21 inches deep. There is no set row count because row height changes with yarn, hook, and tension. Measure the fabric lying flat without stretching it.
If your edges begin to slope or the number of clusters changes, count the groups at the end of each row. Keep the same 40 clusters across the sample width, or use the number established by your adjusted foundation. The chain-three gaps between clusters should remain consistent from row to row. For a sturdy edge at the eventual join, finish on a double-crochet cluster row.
Fold and join the neckline
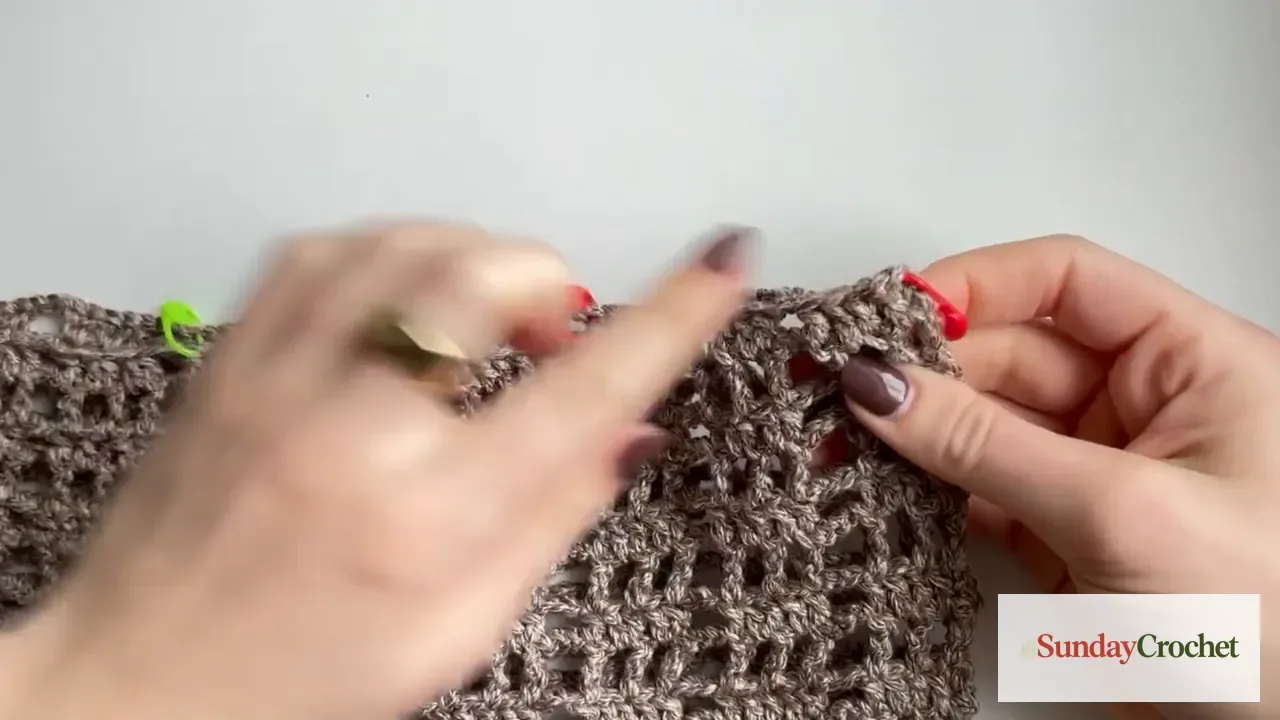
Lay the rectangle flat and fold it in half to make a smaller rectangle, bringing the short ends together. Align the long edges and use stitch markers to hold the layers so the stitch columns match. Measure about 12 inches along the edge where the two layers meet and place a marker at that point. That unjoined section becomes the head opening. If you need a roomier neckline, mark a longer opening before you begin seaming.
Starting at the corner, slip stitch the aligned edges together until you reach the neckline marker. Insert the hook through matching stitches on both layers each time so the seam stays even. Avoid pulling the slip stitches tight; a tight seam can draw the fabric in and reduce the opening. Check that the two sides still line up before continuing past each marker.
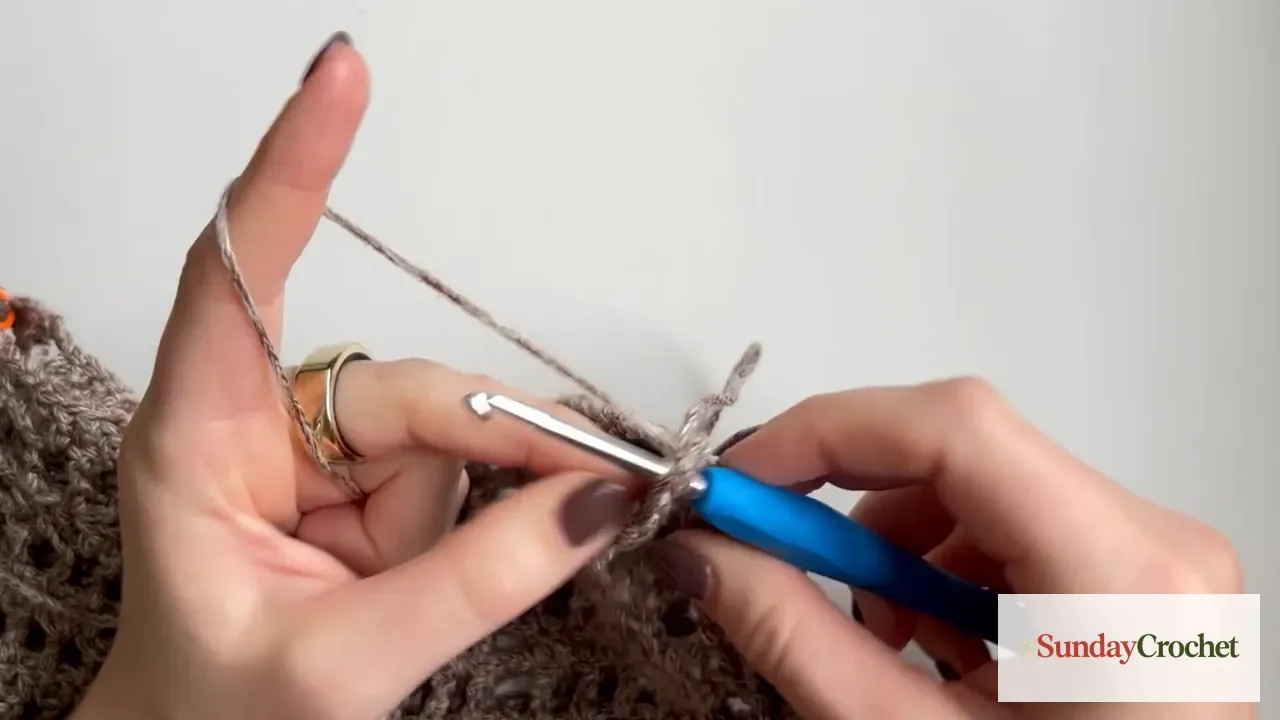
Fasten off, weave in the loose ends, then turn the poncho right side out. Rotate it to find the asymmetrical drape. Before weaving in every tail, try it on carefully and check that the neck opening feels comfortable and that the seam rests where you want it. If it needs adjustment, undo a few slip stitches and move the marker rather than forcing the fabric over your head.
Finishing and fit notes
The mesh should hang freely instead of standing away from the body. If your fabric feels stiff, a larger hook may help, but swatch first because a hook change can also alter the finished dimensions. If the rectangle is too short, continue alternating the two pattern rows. If it is too long, undo rows before seaming. The foundation chain sets the other dimension, so make that measurement before investing time in the full rectangle.
Blocking is optional. Follow the care instructions for your yarn. For washable fibers, you can gently wet the finished piece, press out water without wringing, roll it in a towel, and lay it flat in shape to dry. Keep the neckline and seam straight as it dries. Avoid heat or aggressive stretching unless the yarn label says it is safe.
This open mesh is an easy place to practice even tension because the chain spaces make irregularities visible. Count one repeat at a time rather than trying to inspect the whole long row. Stitch markers every 24 or 48 chains are useful on the foundation, and additional markers along the folded seam make the matching stitches much easier to manage.
Common questions
Can I make this poncho in a different size?
Yes. Use the collarbone-to-hem measurement to choose the short side, and adjust the foundation chain for the long side. The sample uses about 21 inches for the short measurement and either 56 or 66 inches for the long measurement. The 319-chain count belongs to one yarn, hook, and tension combination, so measure your chain rather than relying on that count alone. Keep the foundation multiple at 8 plus 7 for this woven mesh.
How many rows should I crochet?
There is no fixed row count. Alternate the treble and double-crochet rows until the rectangle measures your chosen depth. The sample is about 21 inches deep. Your row count will depend on how tall your stitches are and how closely you work.
Is the neckline always 12 inches?
No. Twelve inches is the sample opening. Measure and adjust it for your comfort. A larger opening makes the poncho easier to put on, while a smaller opening sits closer to the neck. Mark the opening before you join so the seam stops at the right point.
Can I use the simpler double-crochet mesh instead?
Yes. A second version uses a basic double-crochet mesh with chain spaces rather than the woven cluster pattern written here. That version was made with a 5 mm hook and acrylic yarn, and it had a firmer feel. Choose one stitch option for the whole rectangle so the fabric stays consistent, then measure the finished piece before folding.
What if the edges do not match when I fold the rectangle?
Lay both layers flat and match the stitch columns before sewing. Add markers at intervals, then slip stitch between them. If one edge has extra stitches, pause and recount the final row before joining. Keeping the last row in double crochet gives the seam a more stable edge to work into.


