
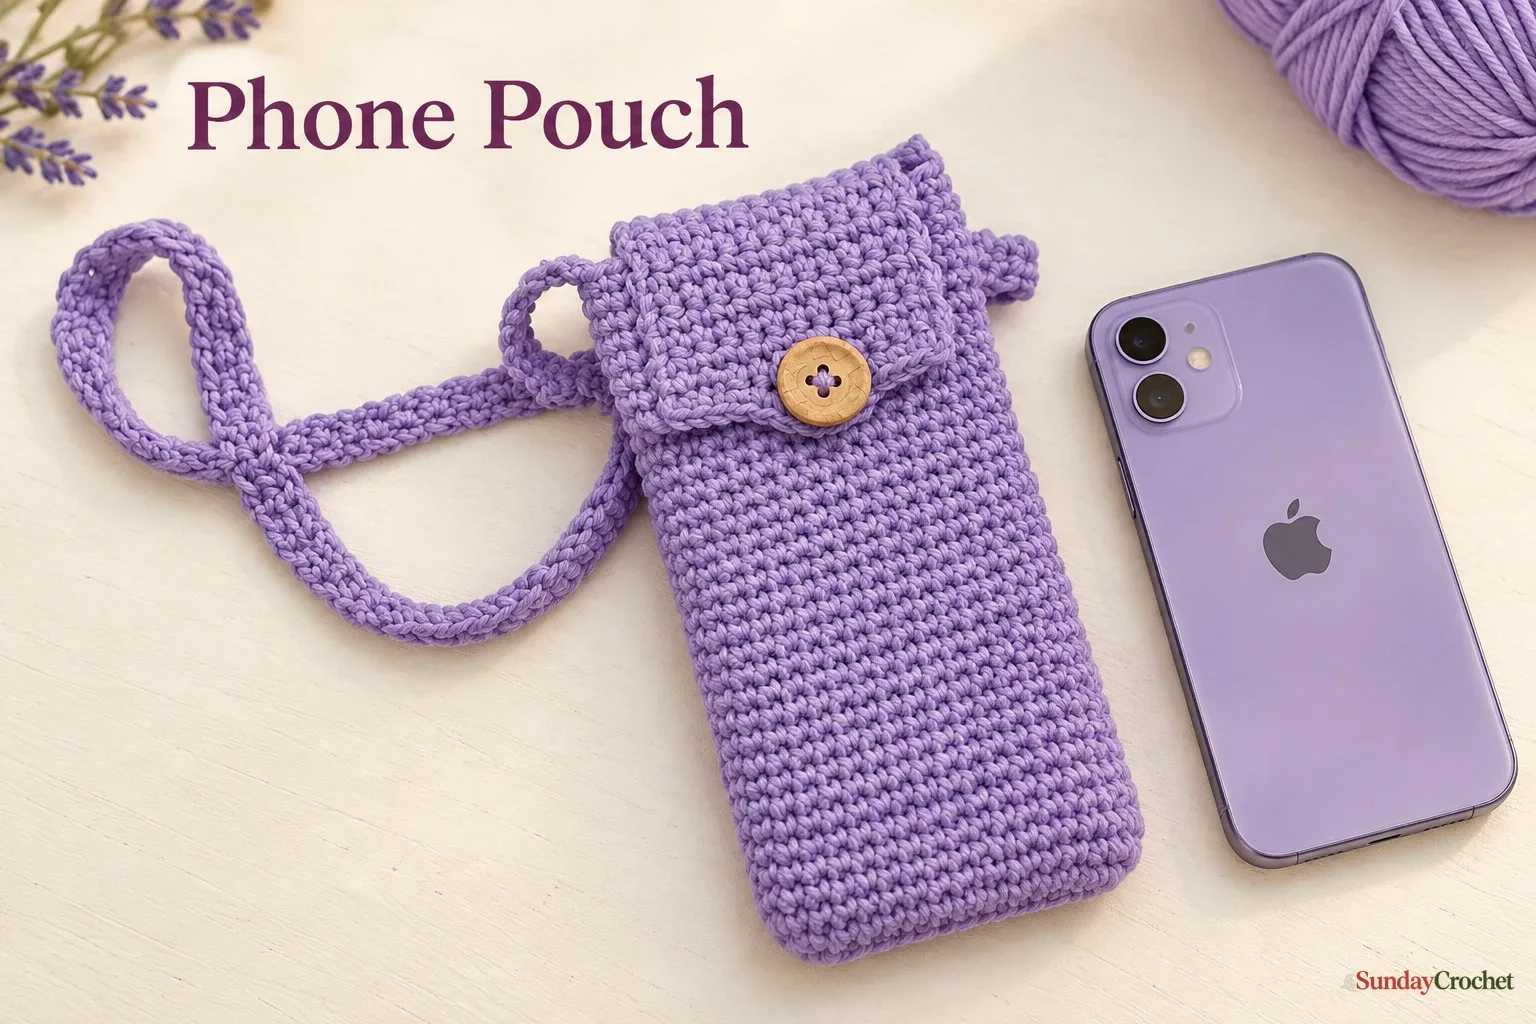
A soft lavender pouch with a simple button closure and optional crossbody strap. · Sunday Crochet
In this pattern
01 · A simple pouch that fits your phone02 · Before you begin03 · Yarn & tools04 · Pattern notes05 · The pattern06 · Finishing touches07 · Common questionsA simple pouch that fits your phone
A small phone pouch keeps your device close without carrying a full-size bag. This one starts with an oval base, grows into a single-crochet tube, then gets a flap with a buttonhole. You can leave off the strap and use it as a pouch, or add a narrow crochet strap for hands-free carrying. The stitch counts below describe a sample made with a 16-chain foundation, and the shape is easy to adjust for a different phone or small tablet.
I’ll show you how I do this, including where to place the increases, how to keep the joined rounds even, and how to size the flap and strap without guessing. The pattern uses US crochet terms and simple single crochet throughout.
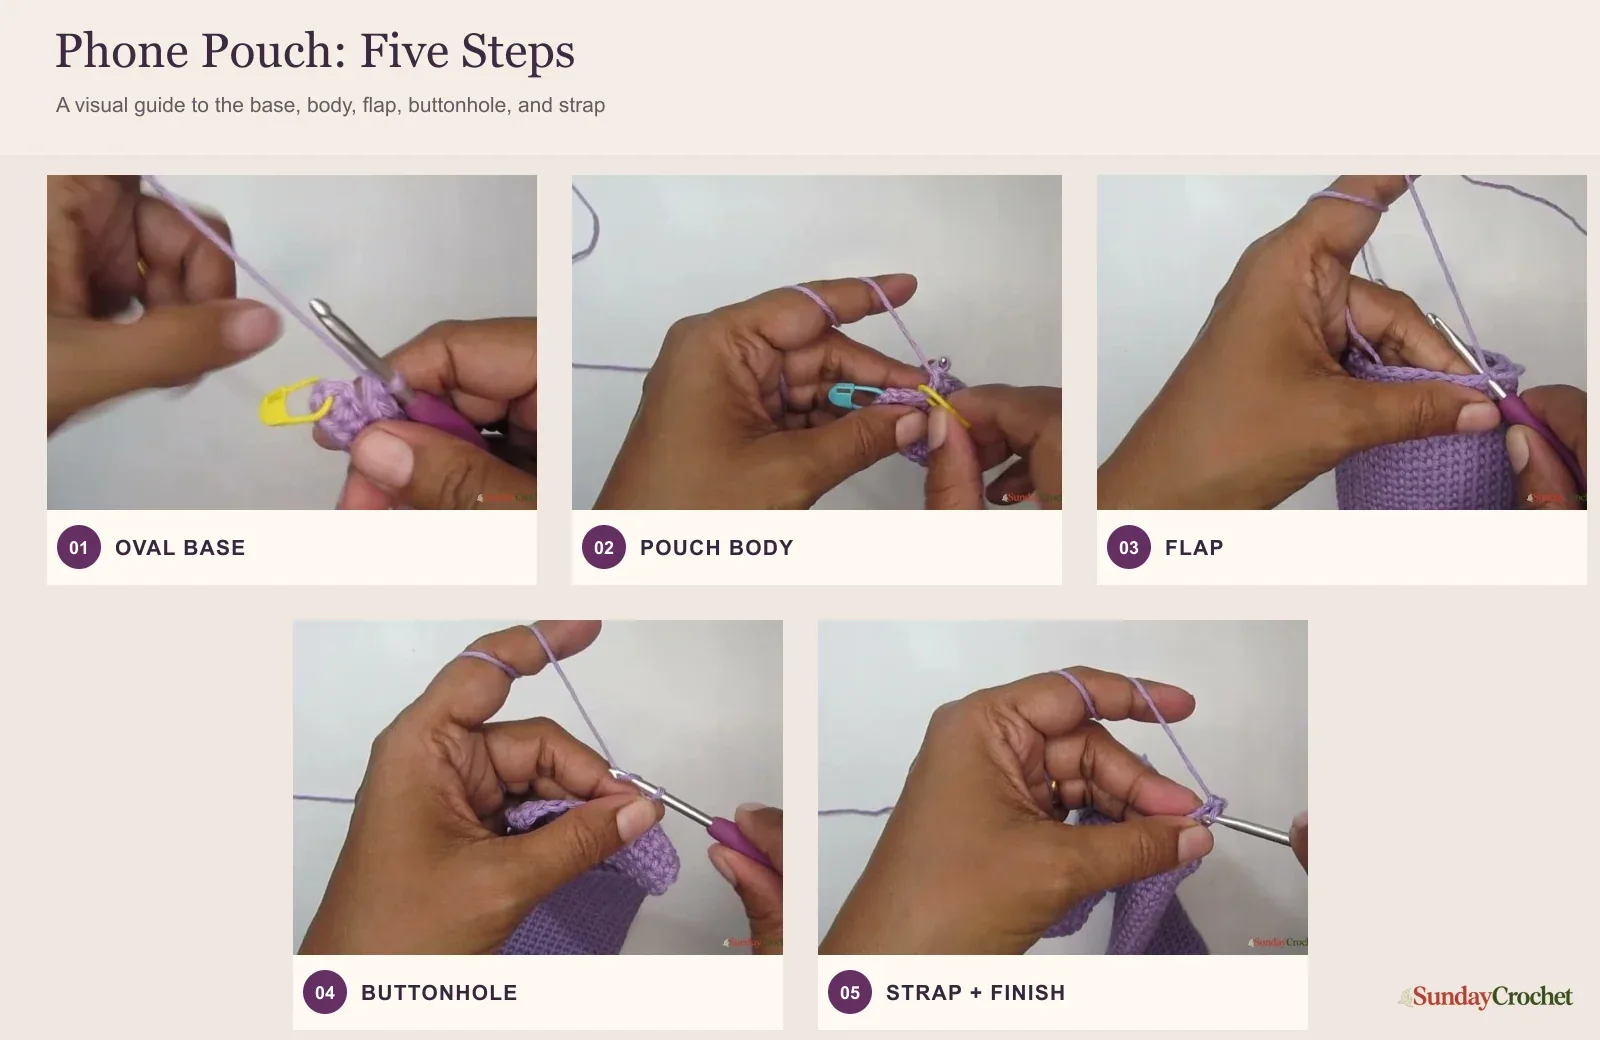
Before you begin
The sample pouch uses 100% cotton weight 3 yarn and a 4 mm, US G-6 hook. Cotton gives the fabric a neat, sturdy feel, but acrylic yarn is also suitable. If you choose weight 4 yarn, the tutorial recommends moving up to a 5 mm, US H-8 hook. The exact fit still depends on your yarn and tension, so treat the stitch counts as a starting size rather than a finished measurement.
For a beginner-friendly refresher, the basic yarn-holding and stitch explanations in my first crochet stitches guide can help before you start. If you are choosing a substitute yarn, compare its thickness with the weight and drape of common crochet yarns. Keep your phone nearby while you work. It is the most useful measuring tool for this project.
Yarn & tools
The instructions do not specify a yarn brand, yardage, gauge, or finished dimensions. The amount of yarn will vary with the size of your device, the strap length, and your yarn choice.
Pattern notes
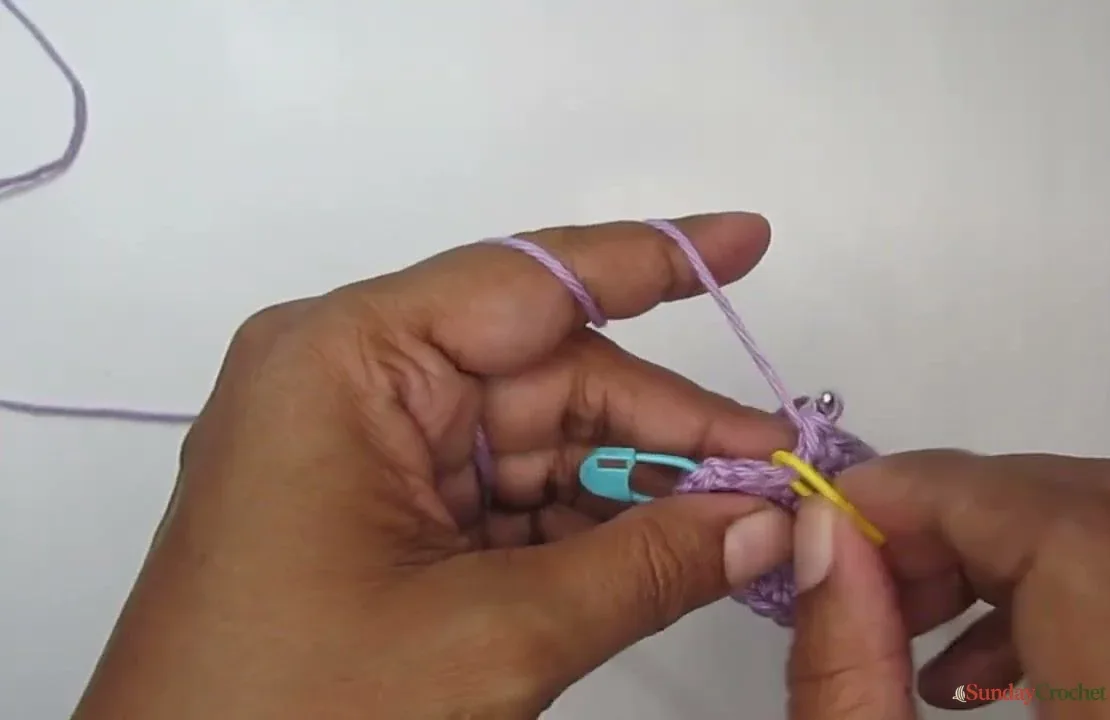
The body is worked in joined rounds around both sides of a starting chain. At the end of each round, slip stitch to the first single crochet. The chain 1 at the beginning of a round is only a turning chain and does not count as a stitch. Mark the first stitch, or mark both the first and last stitches if that makes the join easier to see.
The sample begins with 16 foundation chains. If you change that number to fit your device, the first round will have twice the number of foundation chains plus two stitches. For example, 16 chains become 34 single crochets; 20 chains become 42. Keep the increases only at the two ends of the chain. From Round 2 onward, work one single crochet into every stitch so the base turns upward into the pouch walls.
The pattern
Foundation and first round
Make a slip knot and chain 16. Before you add the extra turning chain, lay the chain against the device and check that its length suits the pouch you want. For the sample, 16 chains cover the phone. If you are making a larger pouch, add chains until the foundation reaches the measurement you need. The example shown for a Kindle calls for roughly seven or eight more chains than the 16-chain phone sample, but measure your own device rather than relying on that estimate.
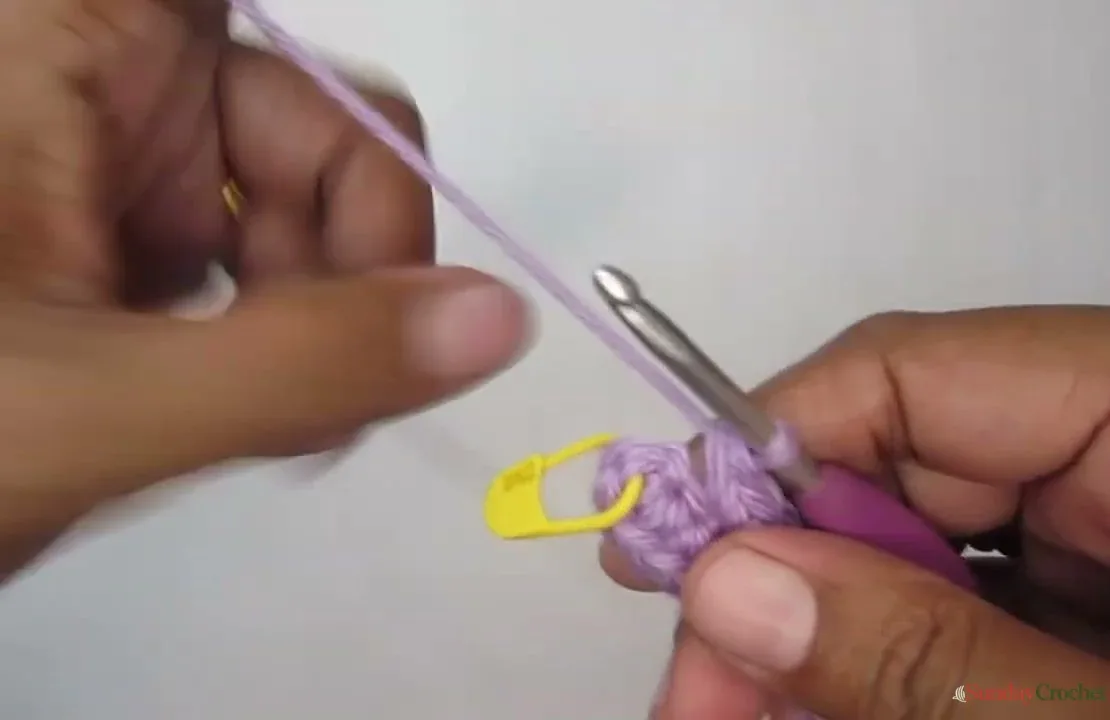
Chain 1 more. This extra chain is not counted in your foundation number. Skip it, then work 3 single crochet into the next chain. Place a marker in the first of these three stitches. Work 1 single crochet in each of the next 14 chains. In the last foundation chain, work 3 single crochet. You have now reached the other side of the chain. Work 1 single crochet into each of the 14 exposed loops along the underside, carrying the yarn tail alongside the stitches if you find that comfortable. You should have 34 single crochet around the oval.
Join with a slip stitch to the first single crochet you marked. Do not work an extra stitch into the slip stitch or the turning chain. If you prefer not to crochet over the yarn tail, leave it to weave in later with the yarn needle.
Build the pouch body
For Round 2, chain 1, then single crochet once into each of the 34 stitches around. Work evenly around both curved ends; do not add extra increases at the turns. Slip stitch to the first single crochet to close the round. Count before joining: for the sample, every body round should have 34 stitches.
Repeat Round 2 for the height you need. In the sample, the body is worked for 36 rounds in total, including the first round around the foundation. That gives a phone-sized pouch, but your phone may call for more or fewer rounds. Slide the pouch over the device after a few rounds, then keep going until the body reaches the height you want. The top edge should sit below the phone’s top so there is room for the flap to close over it.
The join can look like a small seam, which is normal. Keep it aligned along the back of the pouch so it is less noticeable. A stitch marker at the first stitch helps prevent the extra stitch beginners sometimes add near the chain 1. The chain and slip stitch can look like another opening, but only crochet into the actual first single crochet. If the tube starts to curl with the wrong side facing outward, turn it right side out before continuing.
Shape the flap
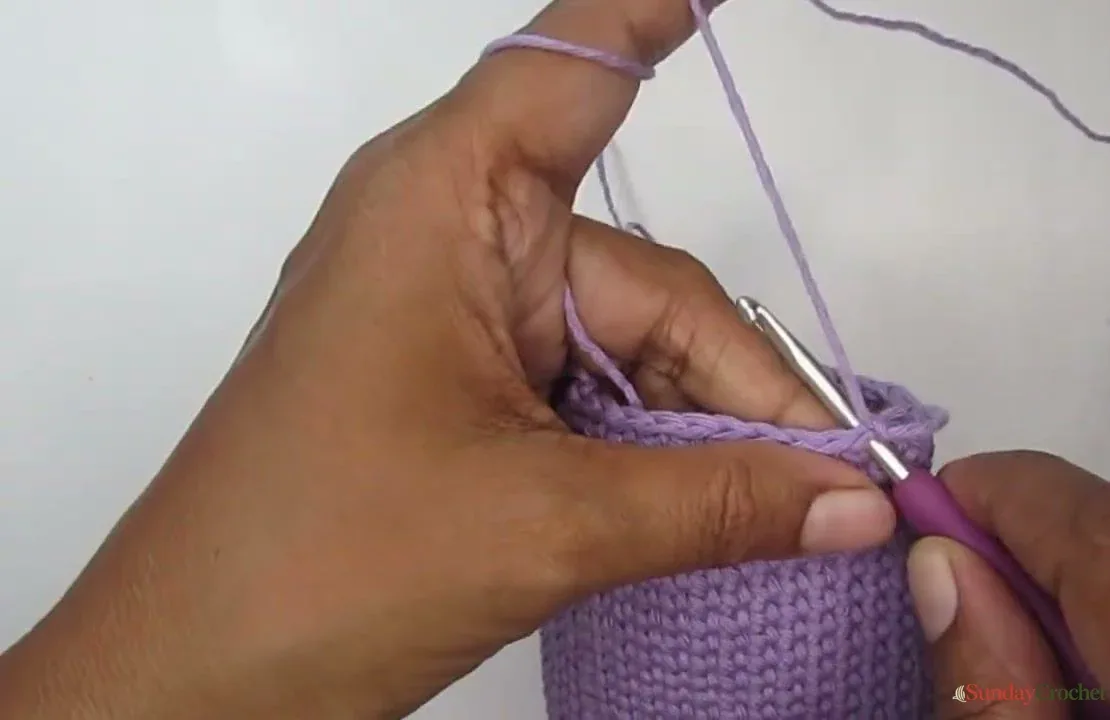
Fasten off the body and decide which side will be the front. Keep the seam at the back, then flatten the opening so you can see the front section clearly. Attach yarn along the front edge for the flap. The sample flap is 12 stitches wide. If your pouch is wider, choose a centered section that covers the opening and keep the same stitch count on every flap row.
Chain 1 and work 1 single crochet across each of the 12 flap stitches. Chain 1, turn, and work 12 single crochet back across. Continue in rows, chaining 1 and turning at the end of each row, until you have 11 rows of single crochet. The flap should reach far enough over the phone opening for the buttonhole to line up with the front of the pouch.
Add the buttonhole
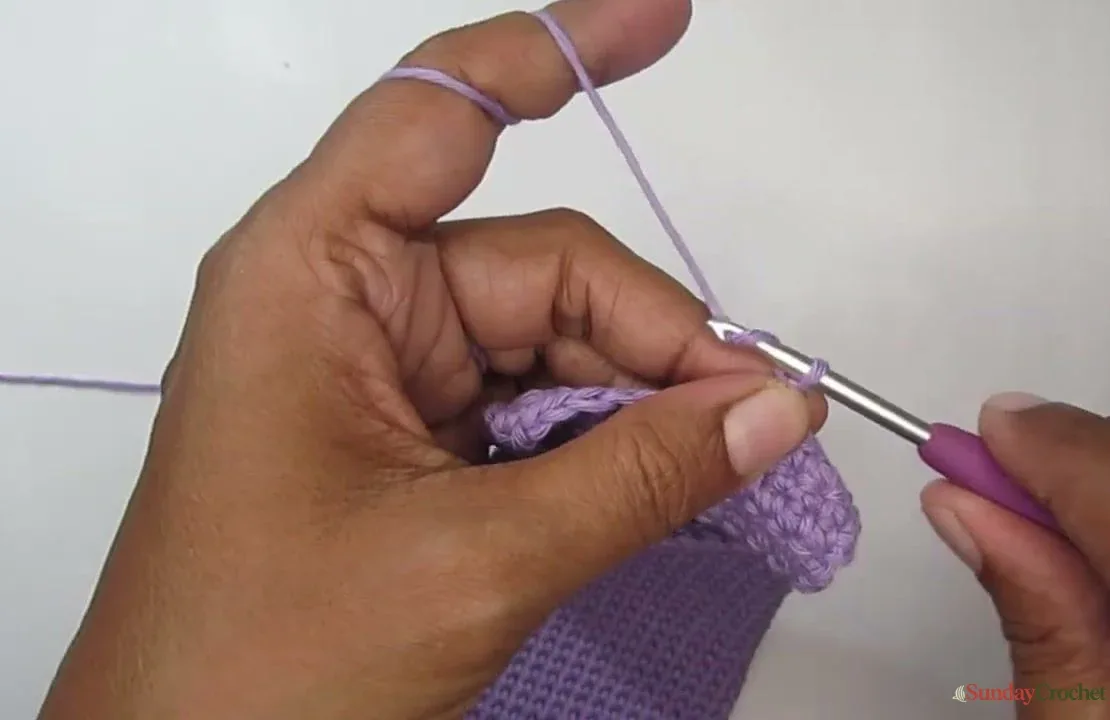
On the next row, chain 1 and turn. Work 5 single crochet, chain 4, skip the next 2 stitches, then work 5 single crochet. This makes the sample buttonhole across the 12-stitch flap. The opening is sized for a button about ¾ inch, or 2 cm, in diameter. If you use a larger or smaller button, adjust the chain space so the button passes through without stretching the flap.
For the following row, chain 1 and turn. Work 5 single crochet, then 4 single crochet into the chain-4 space, followed by 5 single crochet. This fills the chain loop and gives the buttonhole a finished edge. The return row has 14 stitches because the four chains are each worked into, while the buttonhole row skipped two stitches.
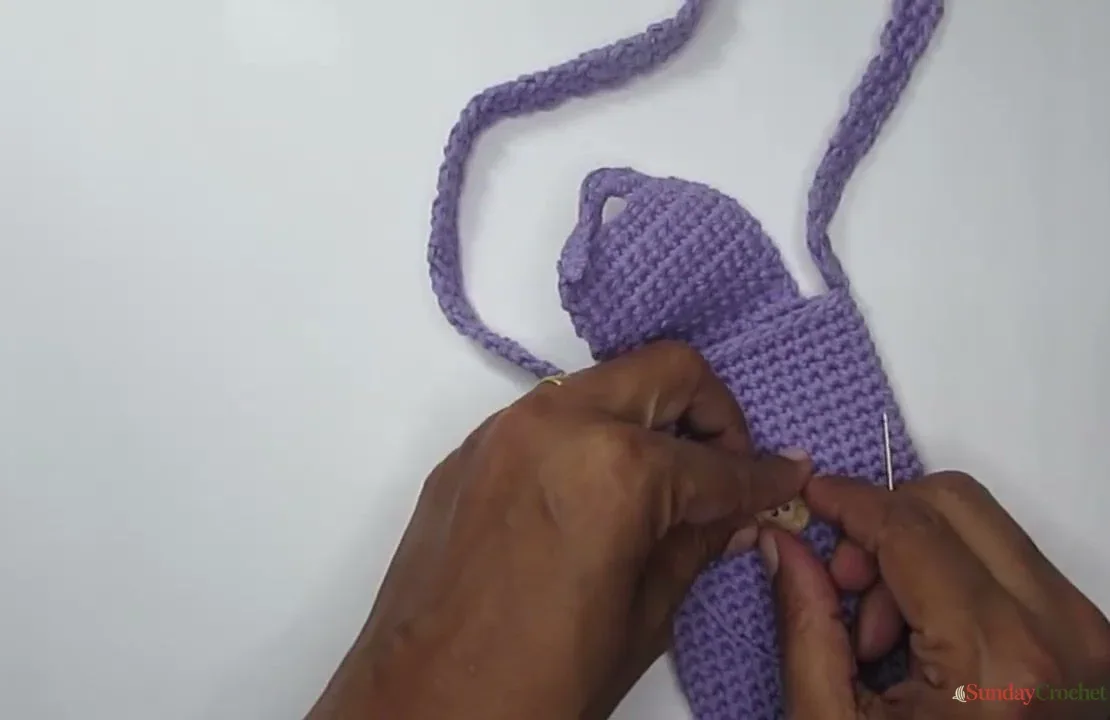
Fasten off and weave the flap ends through stitches on the inside of the pouch. Avoid pulling the yarn so tightly that the flap puckers. Fold the flap down and mark the spot where the button sits directly beneath the buttonhole. Sew the button securely with a yarn needle. A smaller needle can make it easier to pass yarn through the buttonholes. Knot the yarn on the inside and weave in both ends.
Add an optional strap
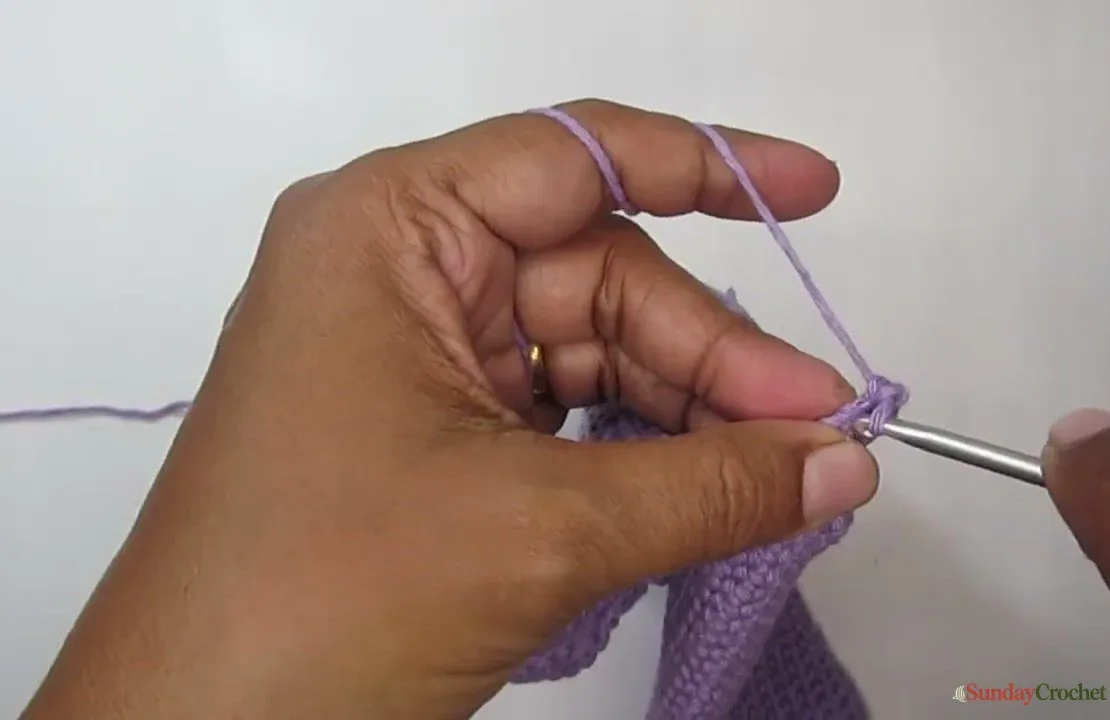
You can stop with the buttoned pouch, or make it a small sling bag. To start the strap, attach yarn at the side edge near the top opening. Use two neighboring stitches as the strap base. Chain 1, make 1 single crochet into the same stitch, and 1 single crochet into the next stitch. Chain 1, turn, and work 2 single crochet back across. Repeat those two stitches in rows, chaining 1 and turning each time, until the strap reaches a comfortable length.
Try the strap over your shoulder before fastening off. The instructions do not give a fixed row count because the length is personal and changes with the pouch size. Keep the strap flat as you work so it does not twist. To attach the free end, use the yarn needle to sew it to two stitches at the opposite side of the opening. Pass through the join several times to secure it, checking that the strap is not twisted before you knot the yarn.
Finishing touches
Weave each remaining yarn tail through several stitches on the inside of the pouch. Change direction once or twice so the end is held in place, then trim the excess. Keep the fabric relaxed while weaving so the bottom oval and the flap keep their shape. Check that the buttonhole clears the button and that the strap seams feel secure before carrying a phone in the pouch.
The oval base and repeated single-crochet rounds make the sizing straightforward: adjust the foundation to fit your device, then adjust the body-round count for its height. A shorter strap can also turn the project into a small shoulder pouch that sits close to your body.
Common questions
Can I make the pouch for a Kindle or small tablet?
Yes. The foundation chain and the number of body rounds can both change. Measure the chain against the device before crocheting the oval, then work enough joined rounds for the pouch to reach the device height. The sample estimate of seven or eight extra chains for a Kindle is only a rough starting point.
Why does my pouch have more stitches than the pattern?
The most common place to add an accidental stitch is at the join. Do not crochet into the chain 1 or into the slip stitch that closes the round. Put one single crochet in each real stitch, then join to the marked first stitch. The sample count stays at 34 from Round 2 through the last body round.
Can I use the phone pouch without a strap?
Yes. The buttoned pouch is complete before the strap is added. Fasten off and weave in the ends after sewing on the button, then use it as a simple pouch or slip it into a larger bag.
How long should I make the strap?
There is no fixed count. Work the strap in two-stitch rows and try it over your shoulder as it grows. Stop when it hangs at the length you want, then sew the free end securely to the opposite side.


