
· Sunday Crochet
In this pattern
01 · A little apple for your nightstand02 · Yarn & tools03 · Abbreviations04 · The pattern05 · Stem, leaf, and seeds06 · Tips for a neat little dish07 · A pumpkin variation08 · Common questionsA little apple for your nightstand
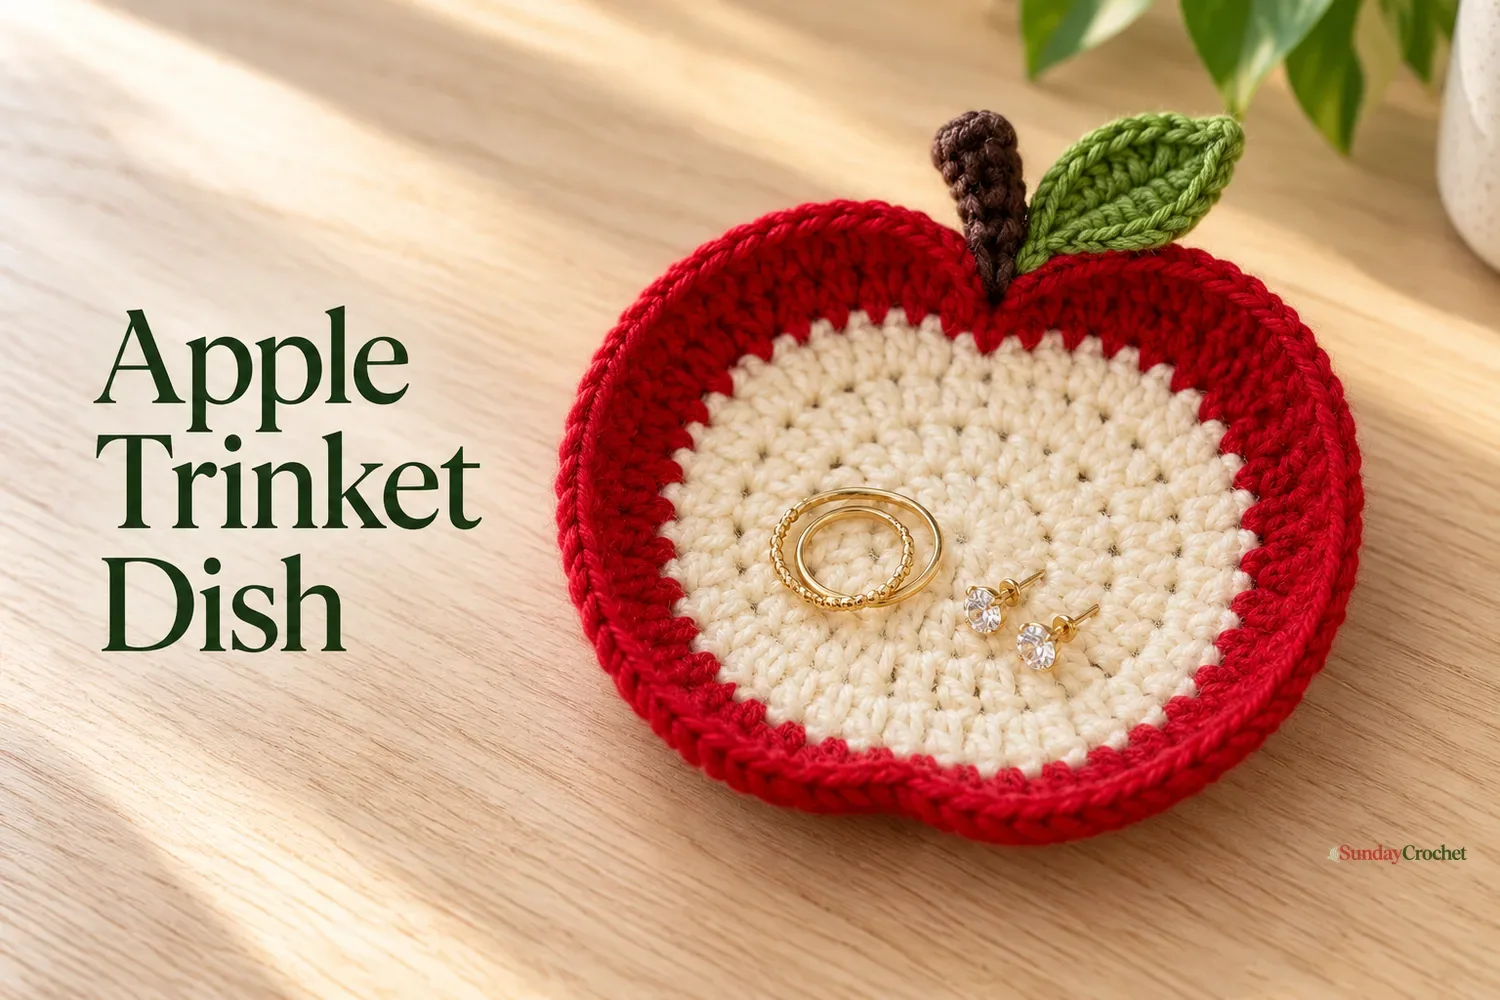
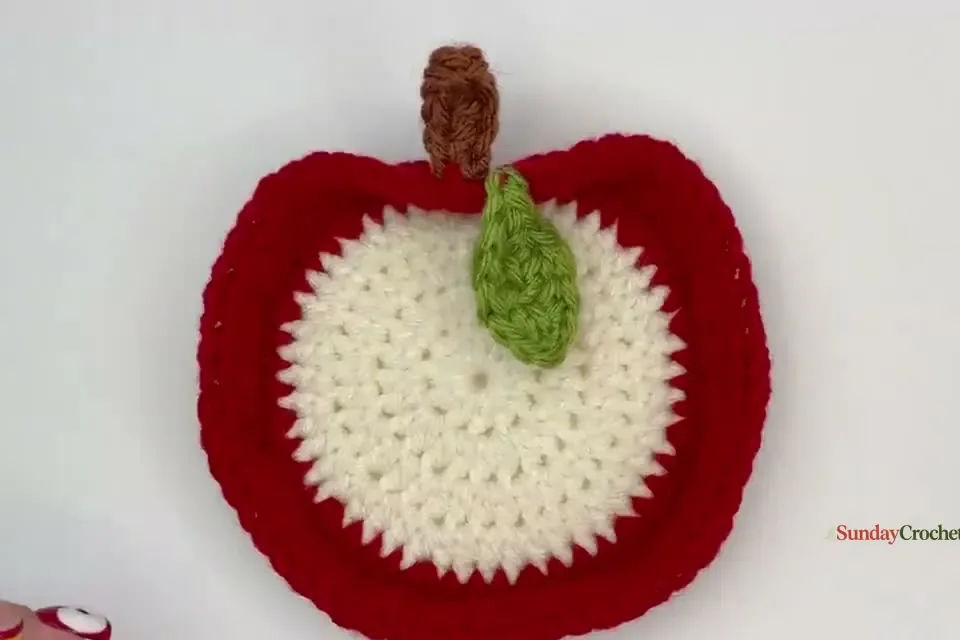
This apple trinket dish is a small, useful crochet project: a flat cream center becomes a shallow red-edged bowl, then a short stem, a simple leaf, and two embroidered seeds turn it into an apple. The shape comes from increasing in joined rounds and then working a back-loop round to lift the edge. It is a friendly project for practicing half double crochet, color changes, and a few finishing details.
I’ll show you how I do this from the center ring through the last embroidered seed. The pattern uses US crochet terms. Its finished measurements and gauge were not specified, so think of this as a small catchall for lightweight jewelry, stitch markers, or other little notions rather than a rigid dish.
Yarn & tools
The piece uses very little yarn, which makes it a nice scrap project. The cream yarn forms the center, red makes the outer apple and rim, brown makes the stem and seeds, and green makes the leaf. You can substitute a regular magic ring if that is already comfortable; the chain-ring start below is an alternative that does not require holding an adjustable loop.
Abbreviations
- ch: chain
- sl st: slip stitch
- sc: single crochet
- hdc: half double crochet
- dc: double crochet
- BLO: back loop only
- inc: increase, meaning two stitches worked into one stitch
- st(s): stitch(es)
A turning or starting chain 1 is used for height and does not count as a stitch unless stated. Join each circular round with a slip stitch into the first actual stitch, not into the chain 1. Place a stitch marker in that first stitch if the join is difficult to spot.
The pattern
Round 1
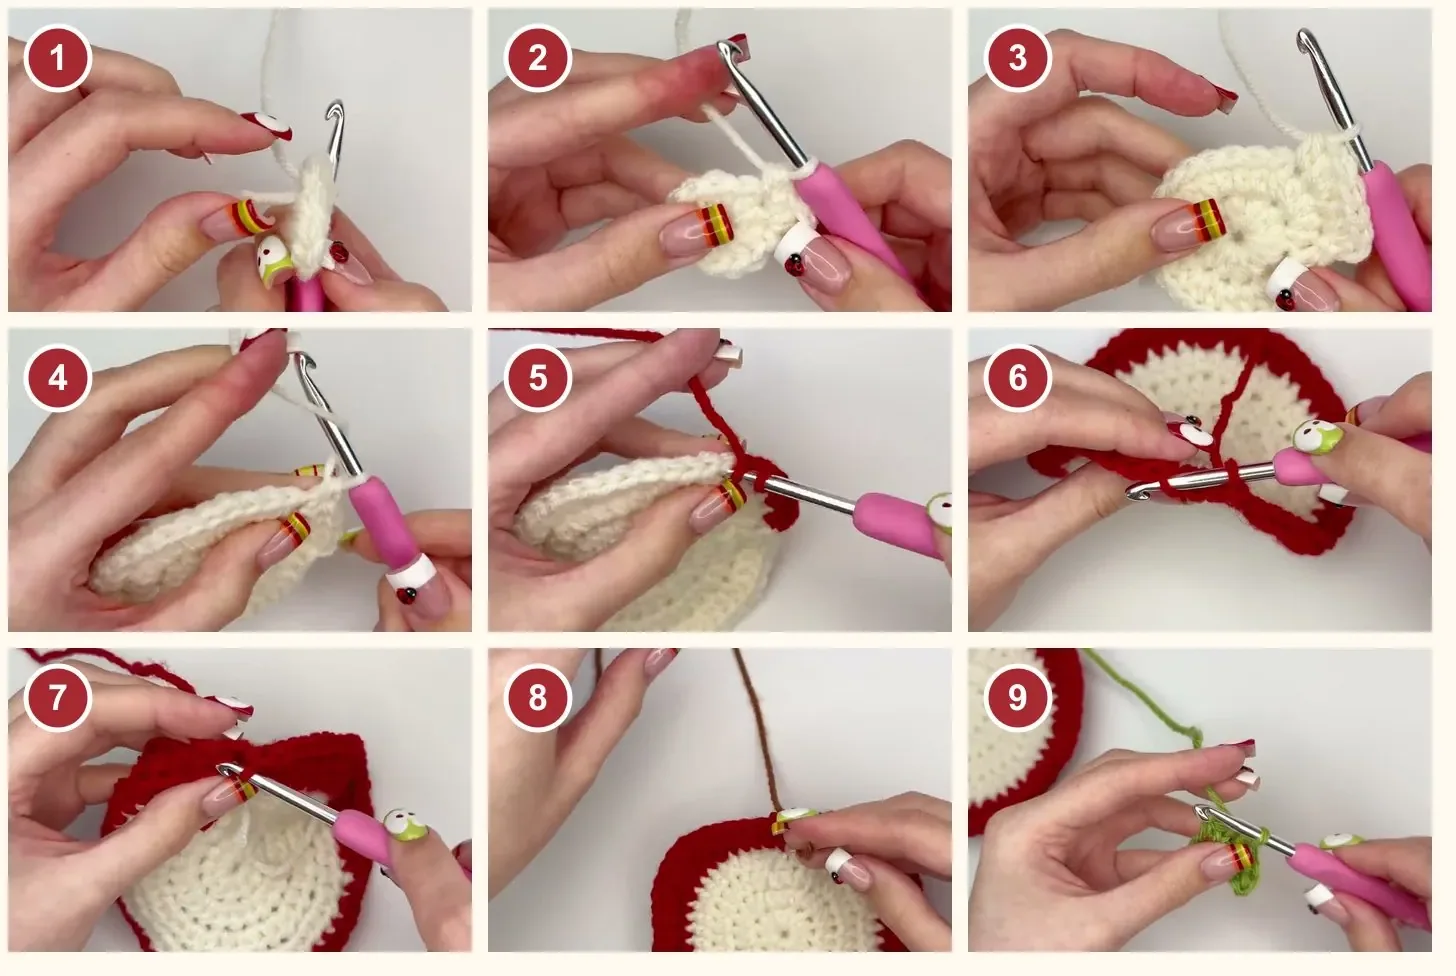
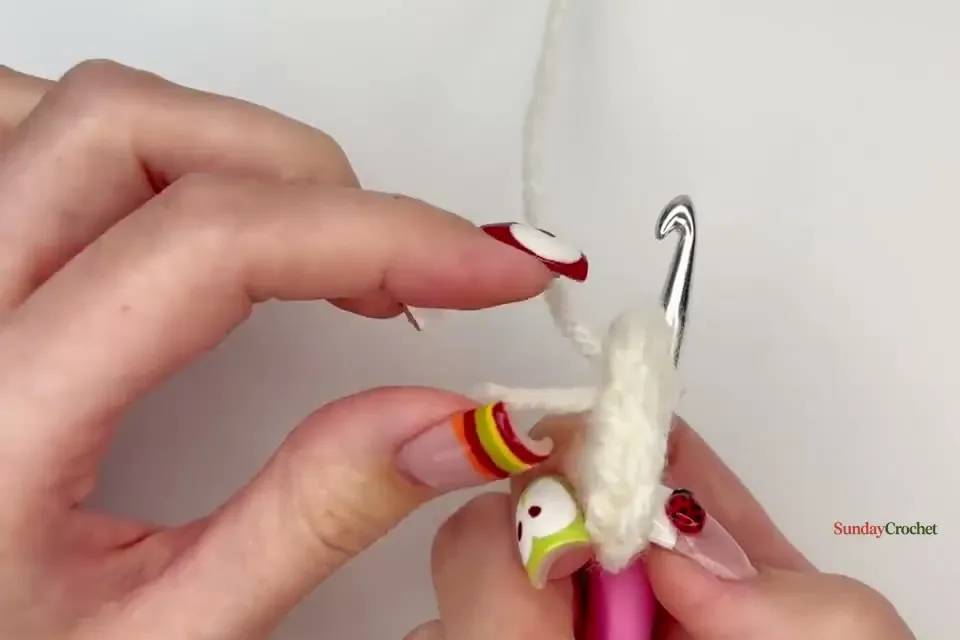
With cream yarn, make a slip knot and chain 4. Join the first and last chain with a slip stitch to form a small ring. (A regular magic ring is also fine.) Chain 1; this chain does not count as a stitch. Work 12 hdc into the center of the ring. Join with a slip stitch to the first hdc, skipping the starting chain. Pull the starting tail to close the center as much as it will comfortably close.
The half double crochet is yarn over, insert the hook, yarn over and pull up a loop, then yarn over and pull through all three loops on the hook. Scoot the stitches around the ring as you work to make room for all 12.
Round 2
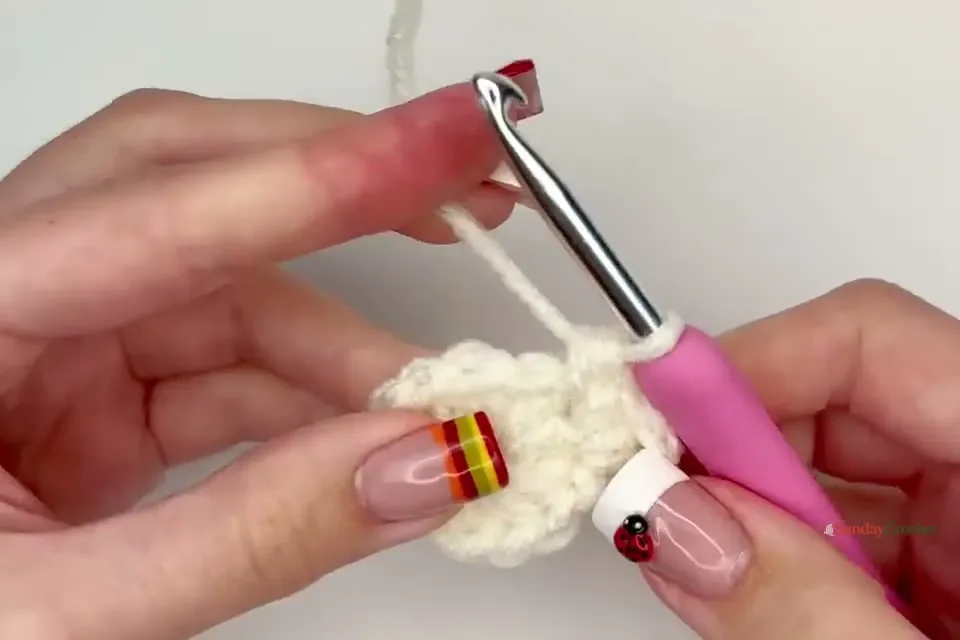
Chain 1. Work 2 hdc into every stitch around: 24 hdc total. Join to the first hdc with a slip stitch. The starting chain and the joining slip stitch are not worked as stitches in the next round.
Round 3
Chain 1. Repeat 2 hdc in the next stitch, 1 hdc in the next stitch around. You should have 36 hdc. Join to the first hdc with a slip stitch.
Round 4
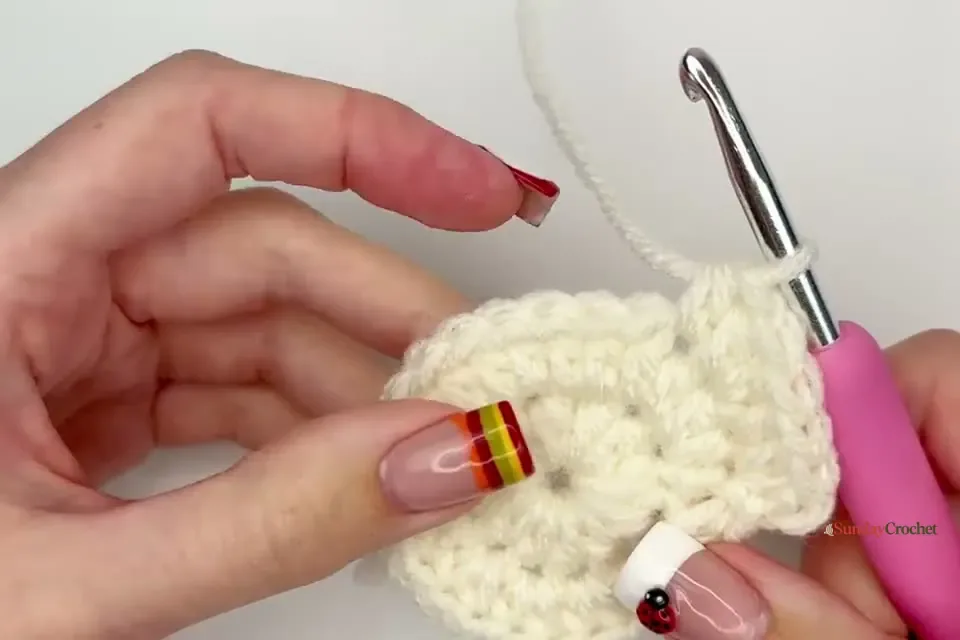
Chain 1. Repeat 2 hdc in the next stitch, 1 hdc in each of the next 2 stitches around. You should have 48 hdc. At the final join, switch to red: insert the hook into the first hdc as usual, but complete the joining slip stitch with red yarn. Cut the cream yarn and secure the tails at the back; weave them in later.
Round 5
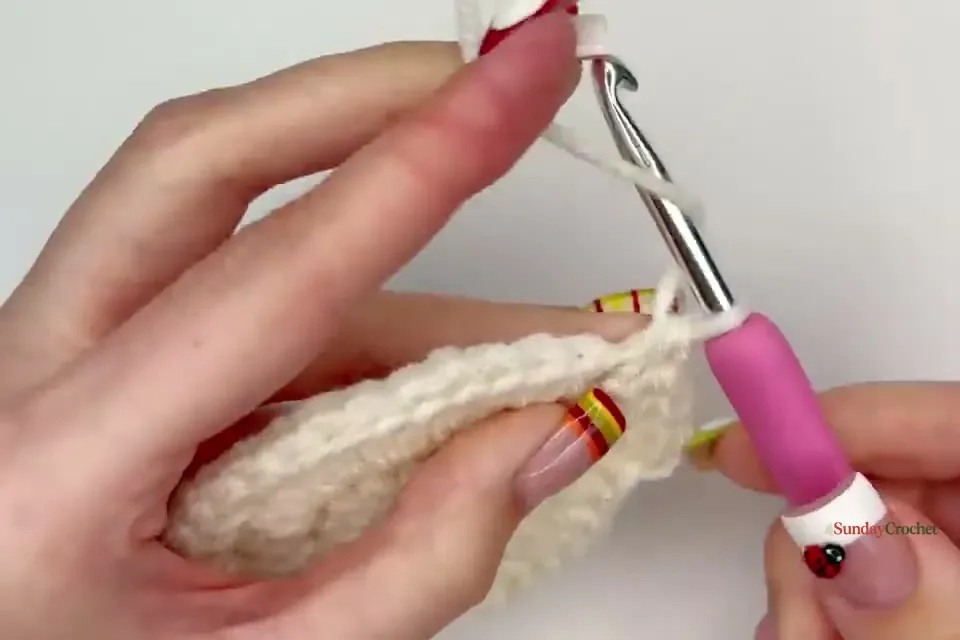
Do not chain 1. In the same first stitch where you joined Round 4, make 1 sc. Then repeat 2 hdc in the next stitch, 1 hdc in each of the next 3 stitches around to shape the apple. In the final stitch, make 1 sc, then join with a slip stitch to the first sc.
The instructions for this shaping round do not provide a final stitch count, so follow the placement of the increases and the two single crochets rather than forcing a count that is not specified. Keep the fabric relaxed and check that the round lies evenly before you join.
Round 6
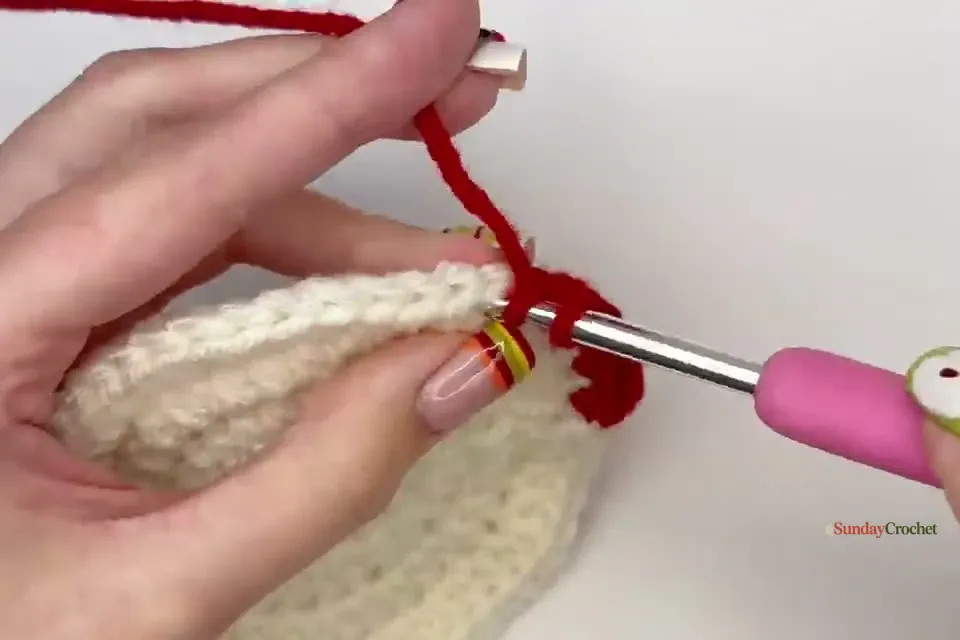
Chain 1, then turn the work over and crochet in the opposite direction, with the wrong side facing you; this side will form the bottom of the dish, leaving the right side on the inside. Work 1 hdc in the back loop only of every stitch around, including the first stitch. Join with a slip stitch to the first hdc. Working into the back loops creates the turning ridge where the wall begins to rise.
Round 7
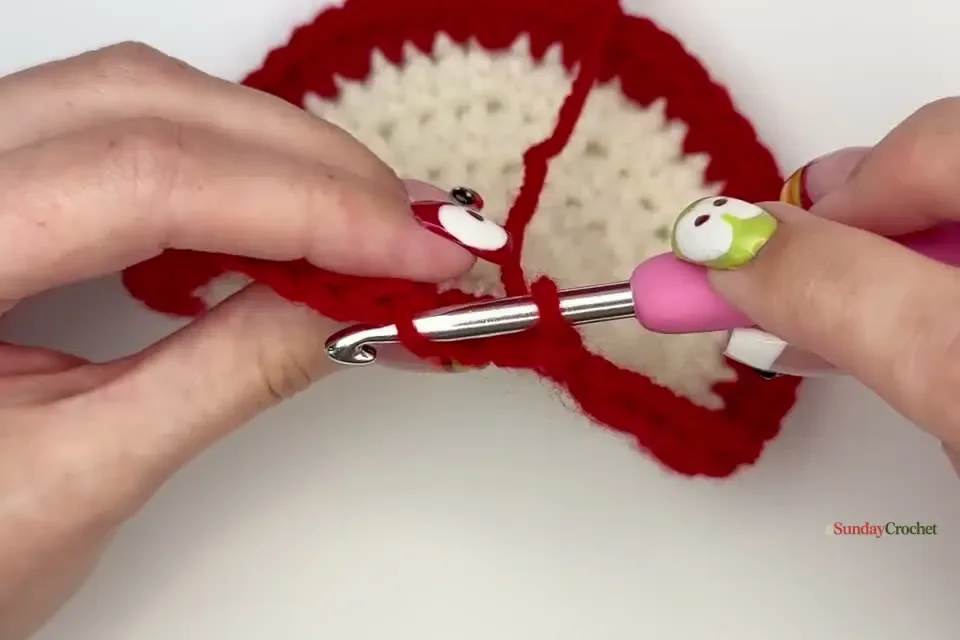
Chain 1. Work 1 hdc into both loops of every stitch around. Join with a slip stitch to the first hdc. This is the last round of the dish body. Chain 1, cut the yarn, pull the tail through the chain to fasten off, and weave in the end.
Stem, leaf, and seeds
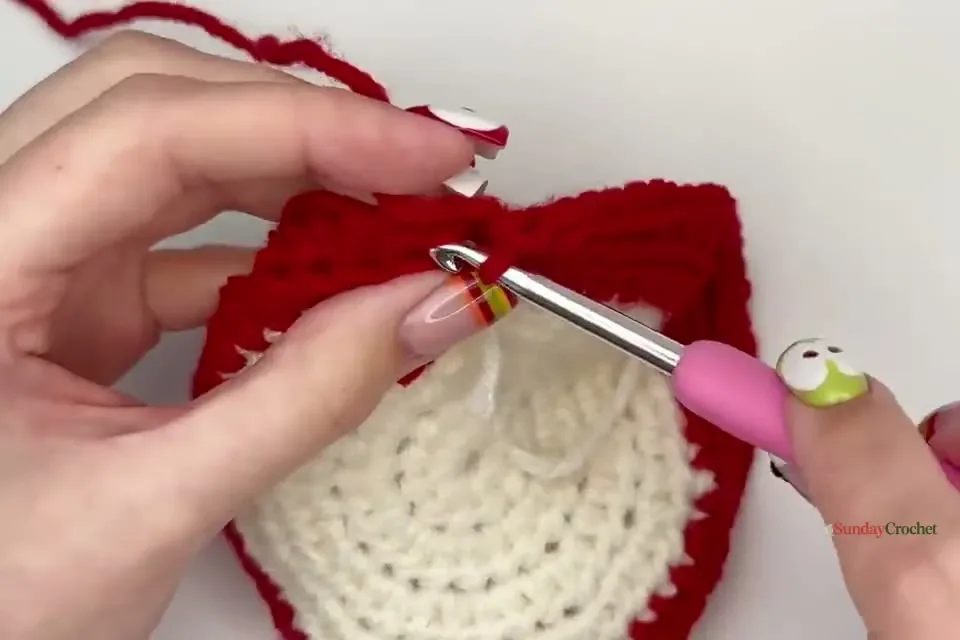
Make the stem
Attach brown yarn through a back loop near the center of the apple, about one stitch to the right of the exact middle. Reinsert the hook into that same back loop, yarn over, and pull up a loop. Chain 5 for a short stem; adjust the chain length if you want a different proportion. Starting in the second chain from the hook, work 1 hdc into each chain. That makes one fewer hdc than the number of chains. Slip stitch into the back loop of the stitch directly to the left of the attachment point to anchor the stem. Chain 1, fasten off, and weave in the ends.
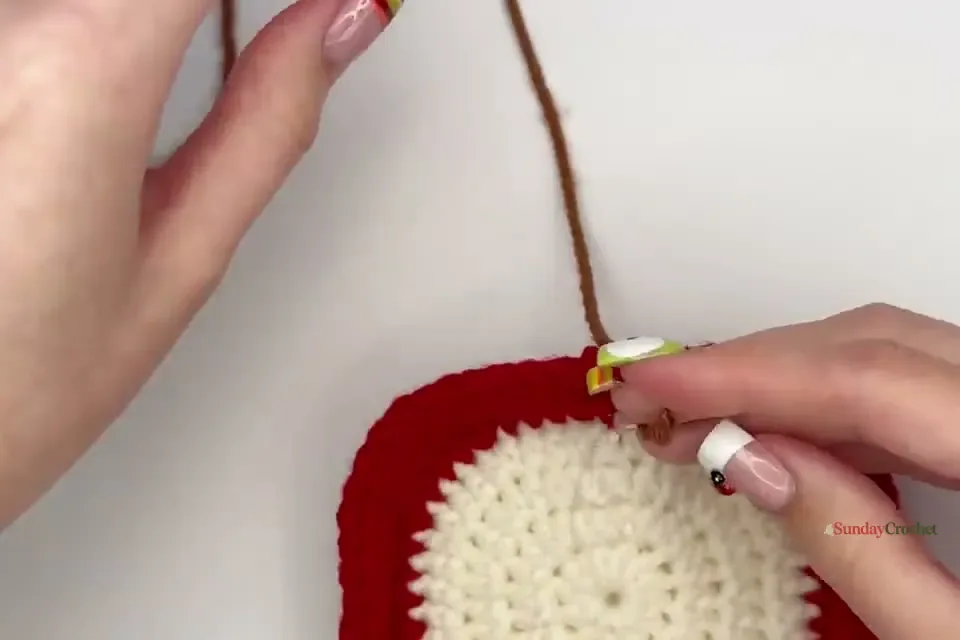
Crochet the leaf
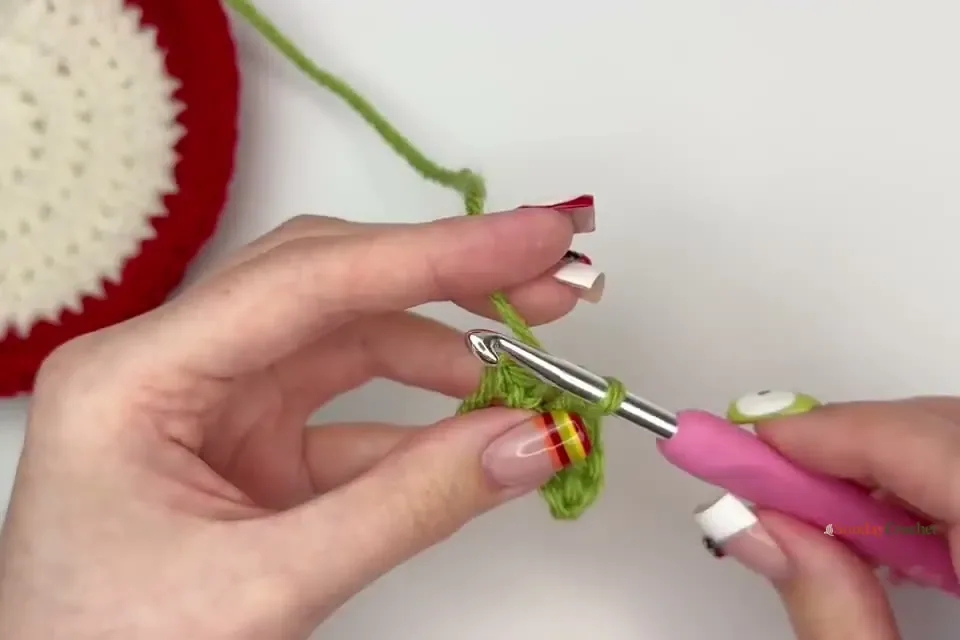
Make a slip knot with green yarn and chain 6. Starting in the second chain from the hook, work 1 sc, 1 hdc, 1 dc, and 1 hdc into the next four chains. Work 2 sc into the final chain. Now rotate the chain and work along its opposite side: 1 sc, 1 hdc, 1 dc, 1 hdc, and 1 sc into the remaining loops. Slip stitch into the last loop at the tip and fasten off, leaving a tail to weave in.
Attach the leaf with a slip stitch to the stitch immediately to the right of the stem; the left side works too. Chain 1, fasten off, and weave in the tail. The leaf is worked around both sides of the starting chain, so it forms a small flat shape without needing to sew a separate seam.
Add the seeds
Thread brown yarn onto a tapestry needle and sew two small seed shapes in the cream center. Keep the stitches short and secure the yarn tails on the back. This detail is optional, but it makes the apple recognizable at a glance.
Tips for a neat little dish
- Keep the joins consistent. Every joined round ends in the first actual stitch. Skipping the chain 1 and the previous slip stitch prevents accidental extra stitches from creeping into the circle.
- Check your count in the center. Rounds 1 through 4 have clear totals: 12, 24, 36, and 48 hdc. Count before joining if the circle starts to ruffle or cup unexpectedly.
- Let the back-loop ridge do the work. Round 6 turns the flat circle upward. If the rim starts leaning the wrong way, pause and confirm the project was turned and the hook is entering only the back loop.
- Expect your own size. There is no stated finished measurement or gauge. A different yarn, hook, or personal tension changes the diameter and wall height, so use the 5 mm hook and worsted-weight yarn as the starting point.
- Finish ends before adding details. Weaving in the cream and red ends before the stem and leaf are attached keeps the center and rim tidy. The beginner stitch reference can help if you want to review the basic motions, and the pattern-reading guide explains repeats and stitch abbreviations in more depth.
A pumpkin variation
The same dish body can become a pumpkin by using orange instead of the cream-and-red apple colors, then adding the brown stem. For a curled vine, make a chain and work 2 sc into every chain beginning in the second chain from the hook. That fuller stitch treatment makes the chain curl. This simple color change is a quick way to coordinate a seasonal set while keeping this apple as the main project.
Common questions
Can I use a regular magic ring?
Yes. The four-chain ring is offered as a beginner-friendly alternative, but a regular adjustable magic ring works for Round 1 too.
What size will the finished dish be?
The pattern does not give a finished measurement. Size depends on the yarn, hook, and your tension. The sample uses worsted-weight acrylic or cotton yarn and a 5 mm hook.
Does the chain 1 count as a stitch?
No. The chain 1 at the beginning of the circular rounds provides height only. Work the first stitch into the first actual stitch, and join to that stitch at the end of the round.
Is the dish washable?
Care depends on the yarn you choose. Check the yarn label and clean the finished dish accordingly; remove jewelry or other contents first. This soft crochet dish is intended as a lightweight catchall, not as a food-safe or heat-resistant container.


