
· Sunday Crochet
In this pattern
01 · A little bee made from simple rounds02 · Yarn & tools03 · Before you begin04 · The pattern05 · Crochet and sew the wings06 · Stuff and close the body07 · Common questionsA little bee made from simple rounds
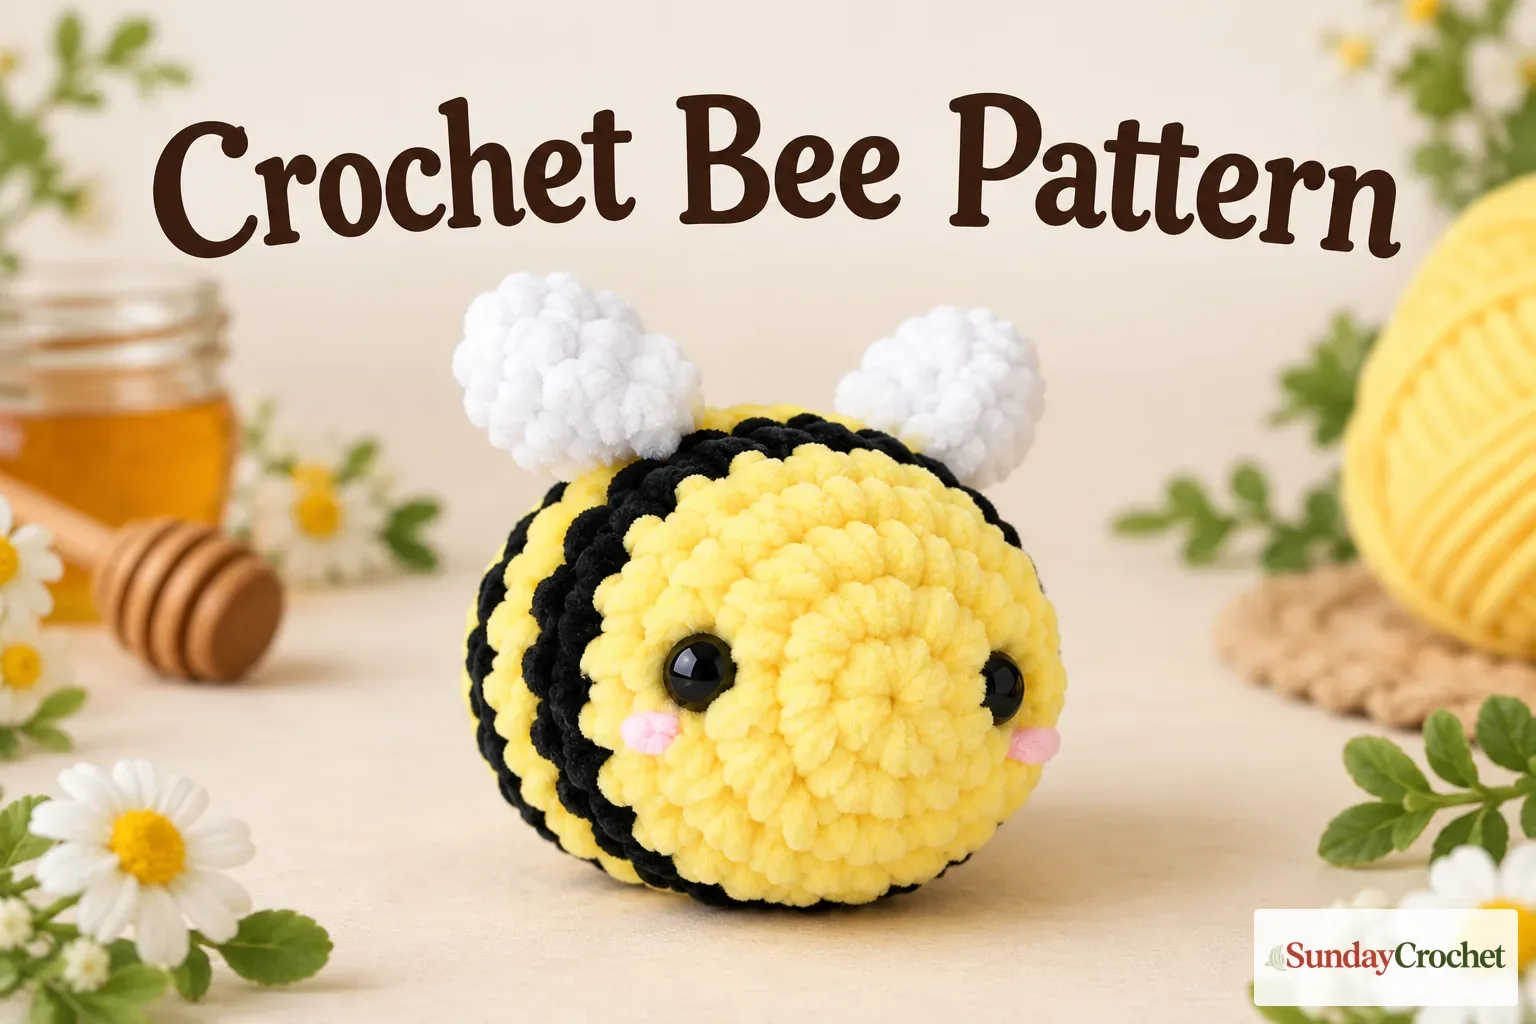
This mini crochet bee is a soft, palm-sized amigurumi with a sunny face, two dark stripes, and a pair of small white wings. Its plump body is worked in continuous rounds, beginning with a flat circle and narrowing at the end. The wings are made as two separate circles and sewn on after the striped body is crocheted. The sample measures about 10 cm long, though your finished bee may be slightly larger or smaller with a different yarn or tension.
I’ll show you how I work the increases, change colors, and attach the wings so the stripes sit toward the back. The body uses only single crochet, increases, and decreases, and the pattern gives a stitch count for every round. Once the body is shaped, the last steps are to add stuffing, close the opening, and weave in the ends. If you are new to pattern notation, this guide to reading crochet repeats will help you follow the abbreviations and counts.
Yarn & tools
The sample uses Premier Parfait Chunky yarn, but the instructions can be worked in another yarn. A different fiber and hook can change the scale, softness, and stitch definition. The finished size noted here is the sample's approximate 10 cm length, not a guarantee for every yarn. No yardage is specified, so have enough of each color to complete a small stuffed toy. The change of color is easiest to see with three high-contrast shades: yellow for the face and ends, black for the stripes, and white for the wings.
Abbreviations
- ch: chain
- sc: single crochet
- inc: increase, work 2 single crochets in the same stitch
- dec: decrease, combine 2 stitches into 1
- MR: magic ring
- [ ]: stitch count after the round
- ( ) x 6: repeat the stitches inside the parentheses six times
Before you begin
The sample begins with a two-chain version of a magic ring. Make a slip knot, chain twice, and work the first six single crochets into the first chain. If you already prefer an adjustable magic ring, you can use that for the same six starting stitches.
Work the body in continuous rounds and mark the final stitch of each round with a small piece of scrap yarn. Move the marker as you go. The marker makes it easier to see where each round ends, especially while working the color changes and the decreases at the face end. Do not add a joining slip stitch between rounds; keep crocheting around the body.
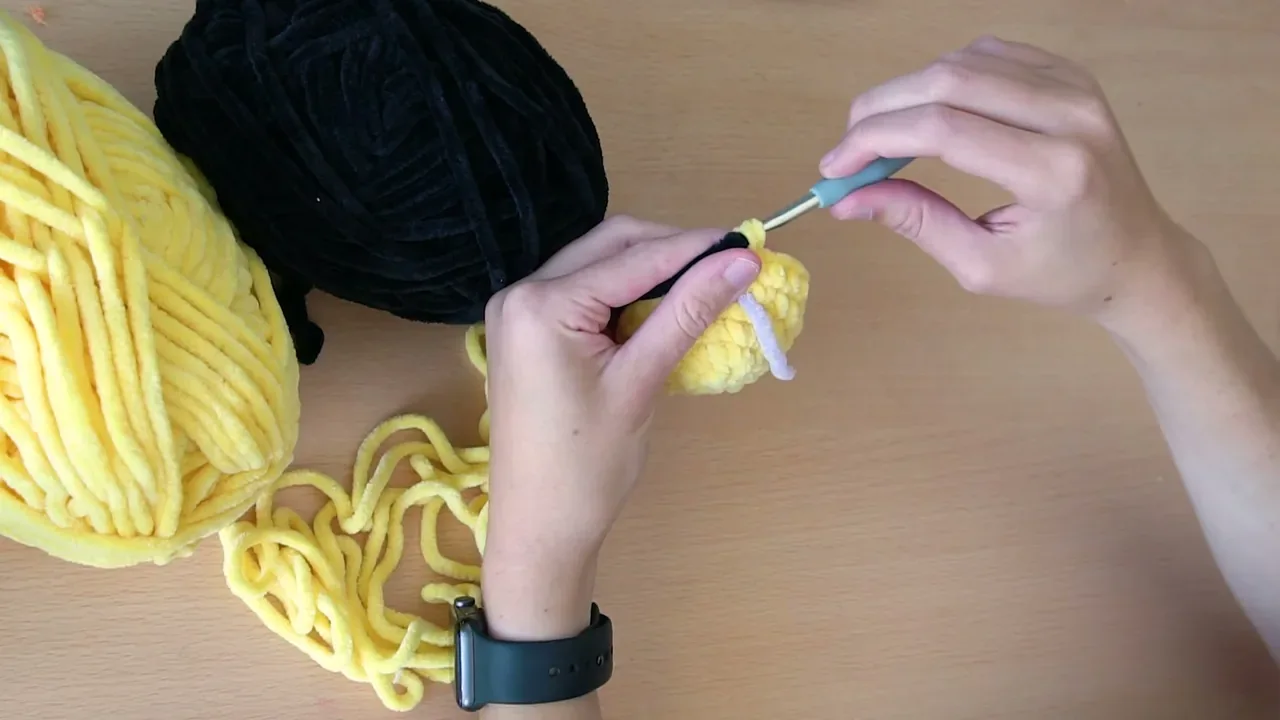
When a color change is listed, begin the last single crochet of the current round with the old color. Draw up a loop, then use the new color to yarn over and pull through the two loops on the hook. This completes the stitch in the new shade. Tie the old and new tails together on the inside with a secure double knot, as shown, and keep the knots tucked within the stuffed body.
The pattern
The body begins in yellow and grows to 24 stitches. Two black rounds and two more yellow rounds create the first bands, followed by a second black band. The final three rounds return to yellow and taper the face end. Keep the color-change side at the back of the bee; you will sew the wings on the opposite side.
Round 1
Ch 2. Work 6 sc into the first chain. [6]
Round 2
Work 2 sc in each stitch around. [12]
Round 3
Repeat (sc, inc) 6 times. [18]
Round 4
Repeat (2 sc, inc) 6 times. [24]
Round 5
Sc in each stitch around in yellow. At the final stitch, begin the sc with yellow and complete it with black. [24]
Round 6
Sc in each stitch around in black. [24]
Round 7
Sc in each stitch around in black. At the last stitch, complete the color change to yellow. [24]
Round 8
Sc in each stitch around in yellow. [24]
Round 9
Sc in each stitch around in yellow. At the last stitch, complete the color change to black. [24]
Round 10
Sc in each stitch around in black. [24]
Round 11
Sc in each stitch around in black. At the last stitch, complete the color change to yellow. [24]
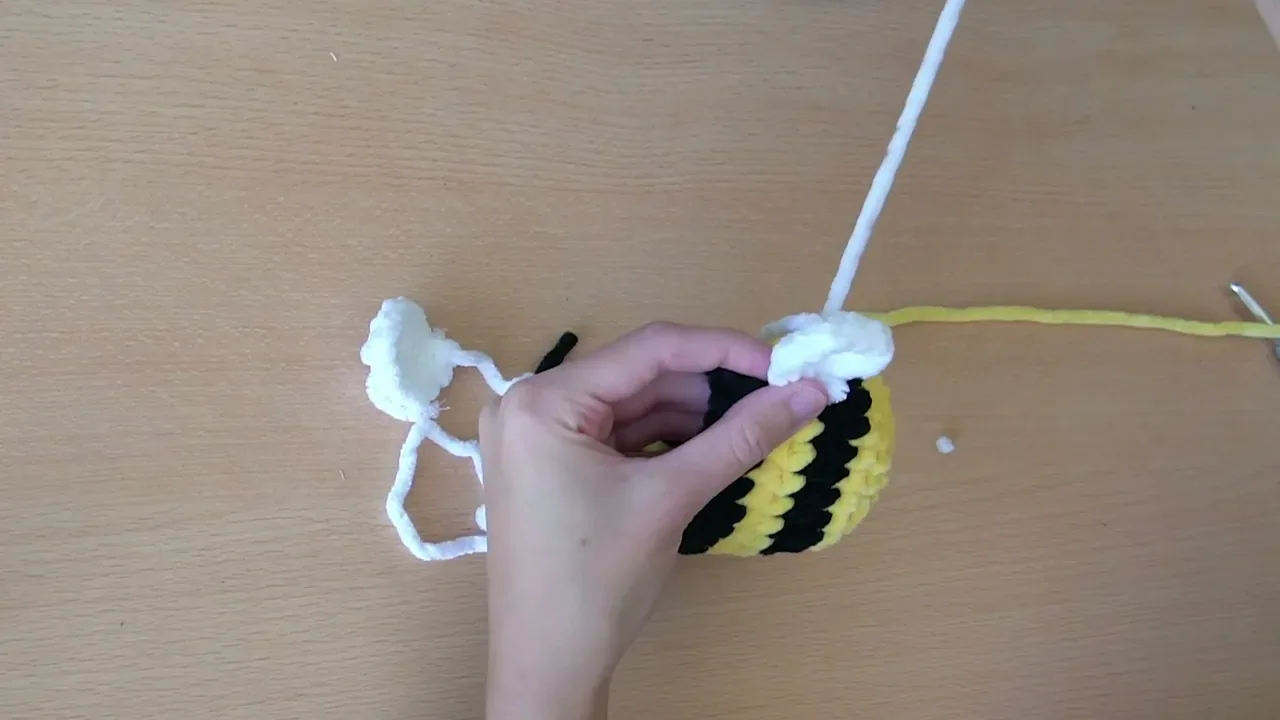
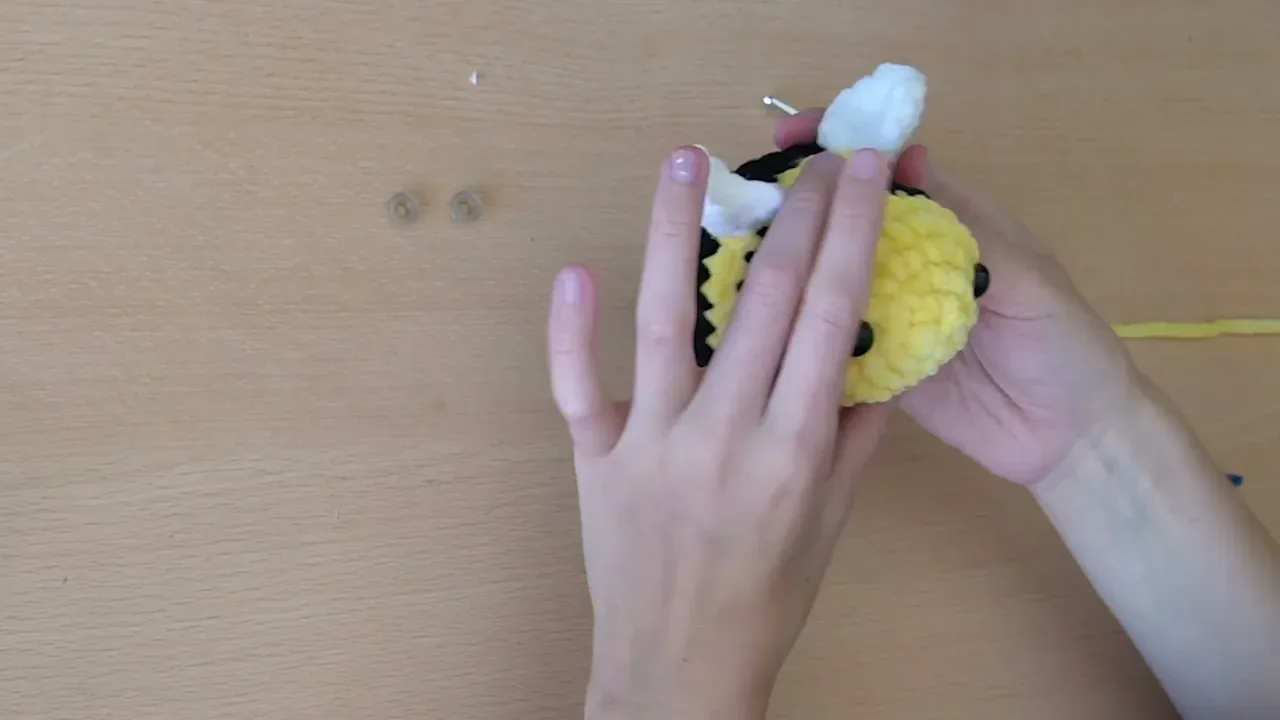
Before you begin the decreases, crochet two wings in white and sew them onto the body opposite the color-change seam, side by side on top of the bee. Place the 12 mm safety eyes centered on the yellow face. Check the position from the front before you secure the backs. You can embroider the eyes with black yarn instead if you prefer not to use safety eyes.
Round 12
Repeat (2 sc, dec) 6 times in yellow. [18]
Round 13
Repeat (sc, dec) 6 times in yellow. [12]
Round 14
Work 6 decreases in yellow. [6]
Crochet and sew the wings
Make two identical white wings. For each wing, make a slip knot and begin with the same two-chain ring start used for the body. Leave a long yarn tail when you finish; the tail is used to sew that wing to the bee.
Wing round 1
Ch 2. Work 6 sc into the first chain. [6]
Wing round 2
Work 2 sc in each stitch around. [12]
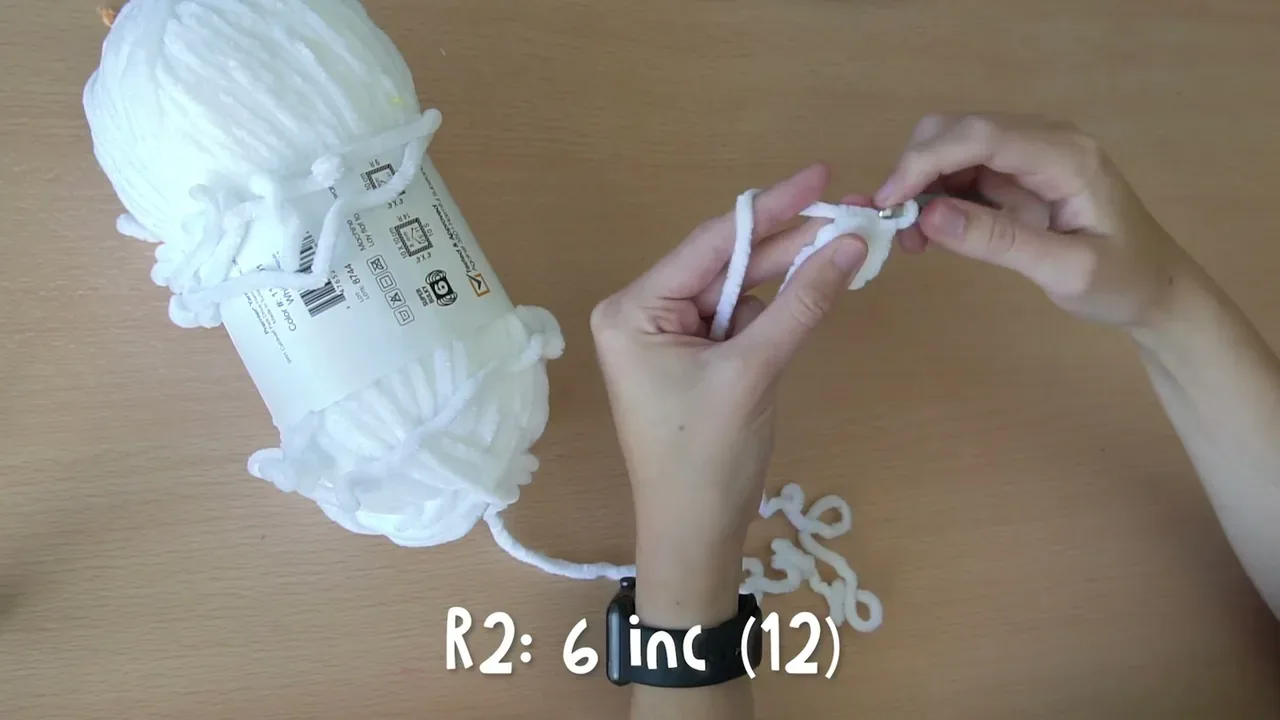
Use the side opposite the color-change seam as the front. Sew the two wings next to each other on top of the bee. With the yarn needle, pass through the white wing and the bee body several times, changing the entry point so the wing is held evenly. When it feels secure, bring both yarn tails to the inside and tie them together. Repeat for the second wing, keeping it close beside the first.
The safety eyes go in the center of the yellow face. If you are using safety eyes, put the backs on from inside the body before closing the last rounds. The pattern uses 12 mm eyes with the plush yarn. If you would rather embroider the face, black yarn can be sewn in place instead. Small features are part of the bee's expression, so take a moment to check that both eyes look level before tightening the backs.
Stuff and close the body
After Round 13, the opening has 12 stitches. Add stuffing through this opening before working Round 14. Fill the bee well enough for a rounded shape, but leave some room so you can still work the final decreases without struggling to get your hook into the stitches. You can add a little more stuffing after Round 14 and before sewing the remaining gap shut.
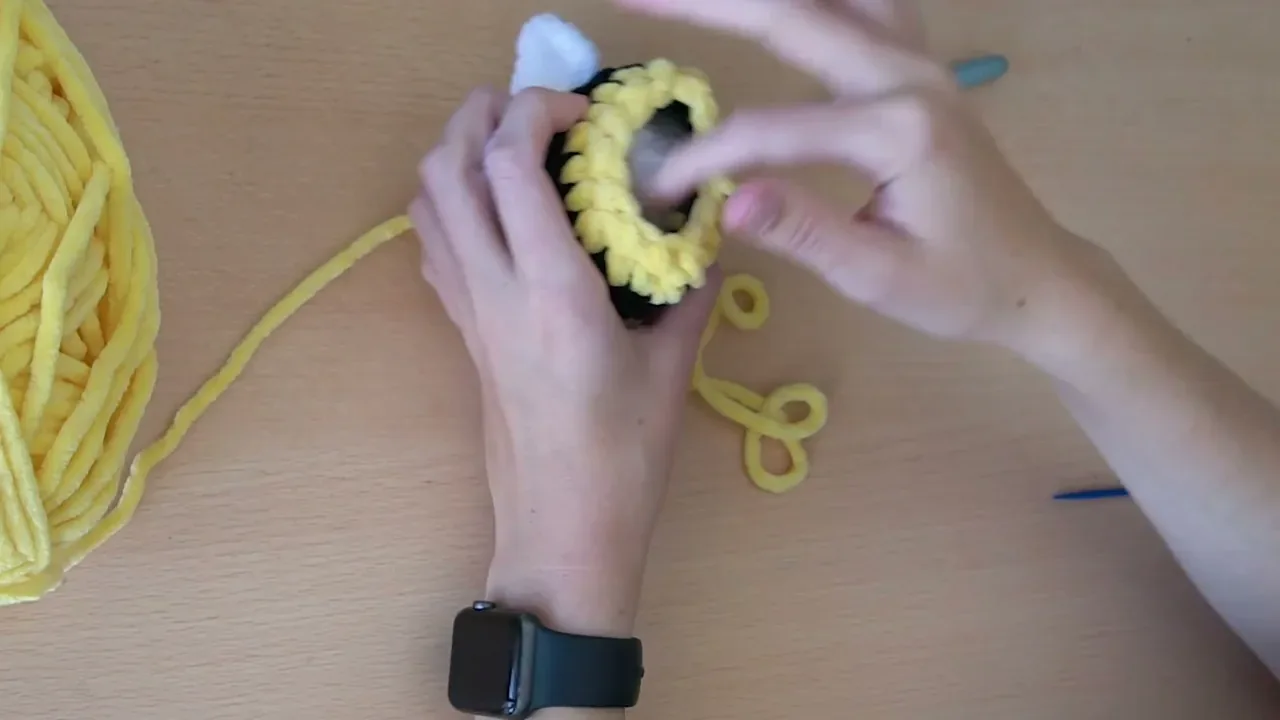
After the last round, cut the yarn with a length left for sewing and pull the tail through the final loop. Thread the tail through the yarn needle. Sew between pairs of stitches around the small opening, drawing the yarn snug as you go. Pass through the remaining gap once or twice until it is closed, then secure and weave the end into the body. Trim the excess yarn only after the tail is secure.
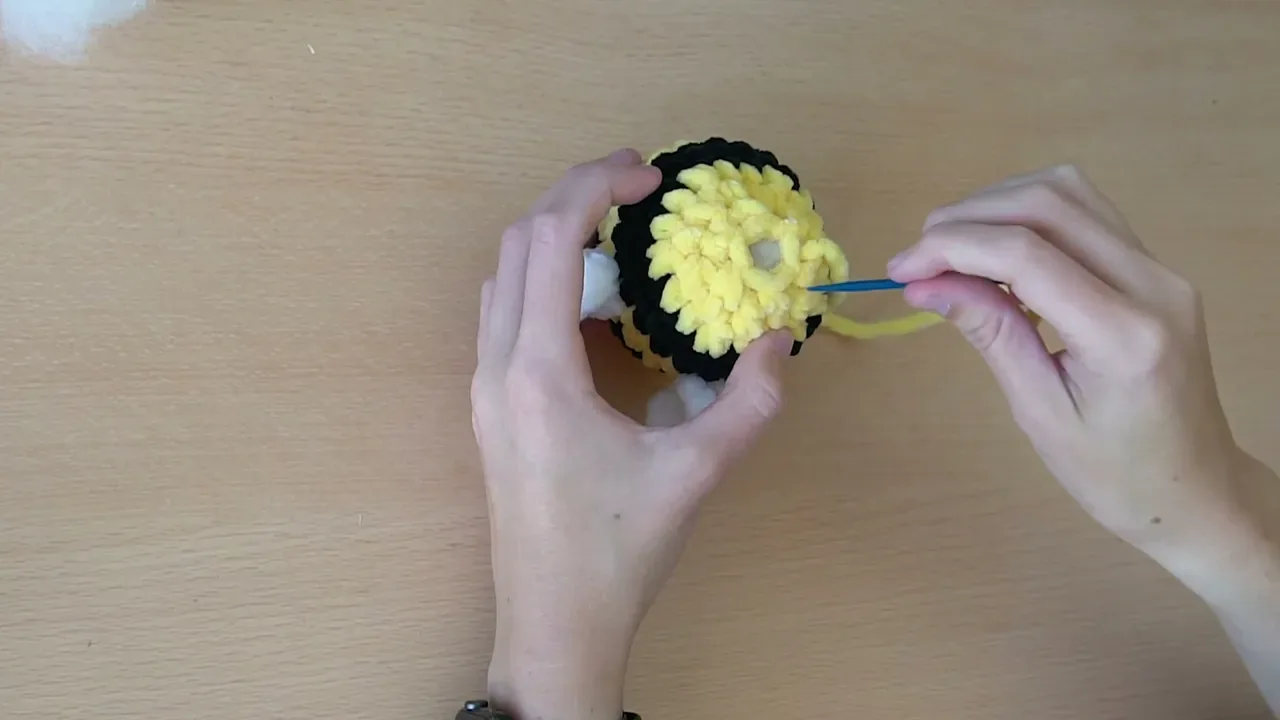
Take a final look at the stripe seam, wings, and eyes. The color-change side belongs at the back, with both wings near one another on top and the face centered on the yellow end. Because the body is small, the details are close together; checking the bee from the front and side helps catch a wing or eye that shifted while sewing.
Common questions
How big is the finished crochet bee?
The sample is about 10 cm long. That is an approximate finished size, and your bee may differ if you use another yarn, hook, or tension. The pattern does not specify gauge or yarn quantity.
Can I use another yarn?
Yes. The sample uses Premier Parfait Chunky yarn with a 5.5 mm hook, and a 6 mm hook is also used with that yarn. Another yarn can change the size and texture. The pattern's stitch counts and color sequence stay the same.
Can I embroider the eyes instead?
Yes. The 12 mm safety eyes are optional; the instructions also allow black yarn sewn on for the eyes. Attach the eyes while the opening is still accessible, before finishing the last decreases.
Why do the wings go opposite the color-change seam?
The seam marks the back of the bee. Sewing the wings on the other side places them on top and leaves the yellow face clear at the front. Keep them close together and check their placement before tying the yarn tails inside.
What does “(sc, inc) x 6” mean?
Work one single crochet in the next stitch, then make an increase in the stitch after it. Repeat that pair six times. The bracketed number is the total stitch count after the round. If you need a refresher on the basic hook movements, my beginner crochet guide explains chains, single crochet, and the first rows.


