· Sunday Crochet
In this pattern
01 · A warm layer with an open face02 · Yarn & tools03 · Pattern notes04 · The pattern05 · Fit and fabric checks06 · Common questions07 · A cozy finish for cold daysA warm layer with an open face
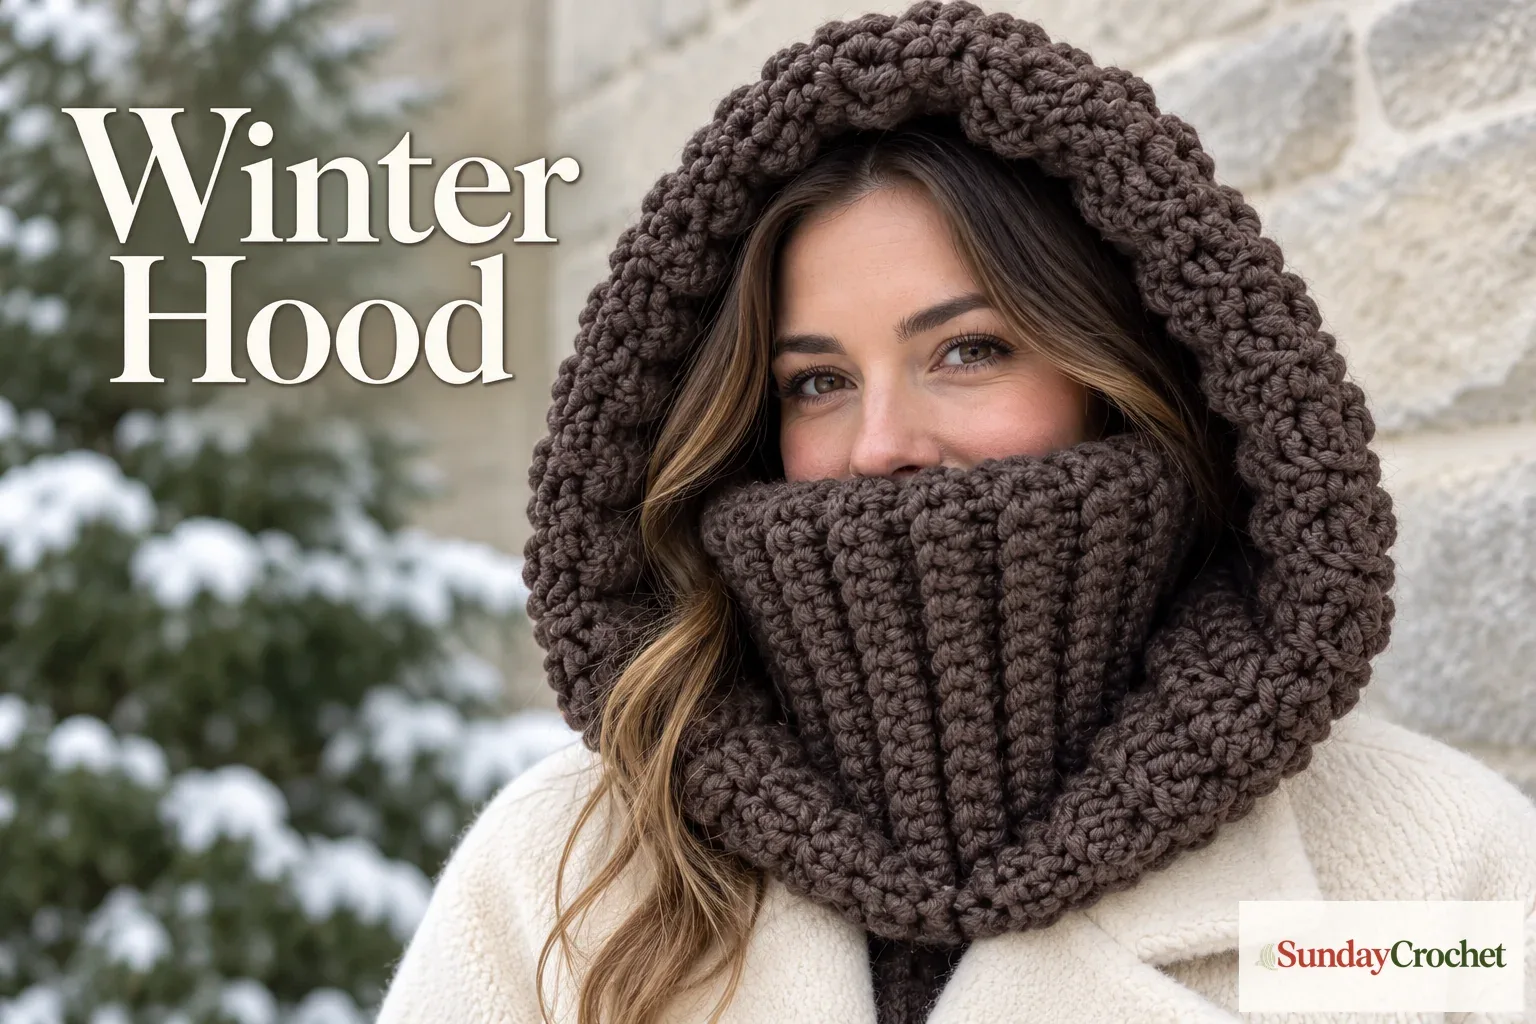
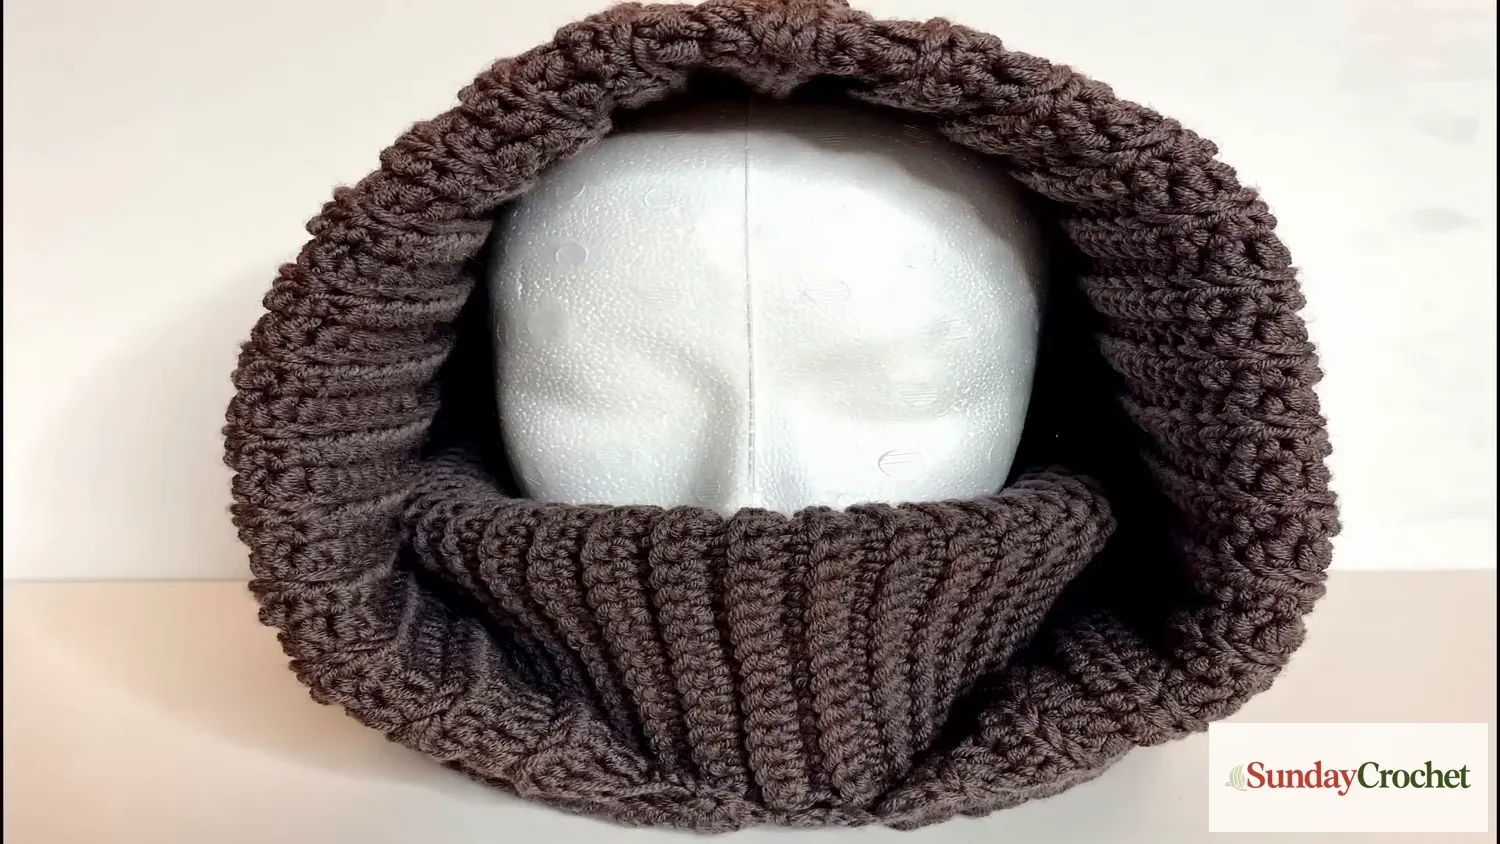
This crochet winter turtleneck hood combines a tall ribbed neck with a roomy hood that frames the face. The neck begins as a long, narrow strip worked in back-loop single crochet. Once the strip is joined into a tube, half double crochet builds upward from its edge, and short increases shape the top around the head. The front stays open, so the hood can be pulled on without a separate closure.
I’ll show you how I work the sample in US terms, keep the stitch counts organized, and shape the hood without closing the face opening. The construction uses only a few stitches, but the thick yarn makes counting and checking the fit especially helpful.
Yarn & tools
The skein label lists 17 stitches and 22 rows per 10 cm, but that is the yarn’s label gauge, not a crochet swatch measurement for this hood. The sample pattern does not give a crochet gauge. Yarn labels still help you compare fiber, weight, and length when choosing a substitute, though the finished drape may change. A yarn label’s weight and yardage are useful clues, not a replacement for checking the fabric as you work.
Pattern notes
This is a one-sample pattern, not a graded size range. The written counts and measurements below describe the sample: a 40-chain start, 39 stitches across each ribbed row, 94 rows around the neck, and a hood measured at about 30 cm from crown to brim. The increase section is measured to about 17 cm, and its exact row count is not stated, so use the measurement and stitch-count formula together.
The pattern uses US crochet terminology. A turning chain of one is not counted as a stitch in the neck strip. For the hood rows, the chain two counts as the first half double crochet. That distinction keeps your totals steady and is a useful habit when you are reading crochet pattern abbreviations and turning chains.
| Abbreviation | Meaning |
|---|---|
| ch | chain |
| sc | single crochet |
| hdc | half double crochet |
| sl st | slip stitch |
| BLO | back loop only |
The pattern
Step 1: Make the ribbed neck strip
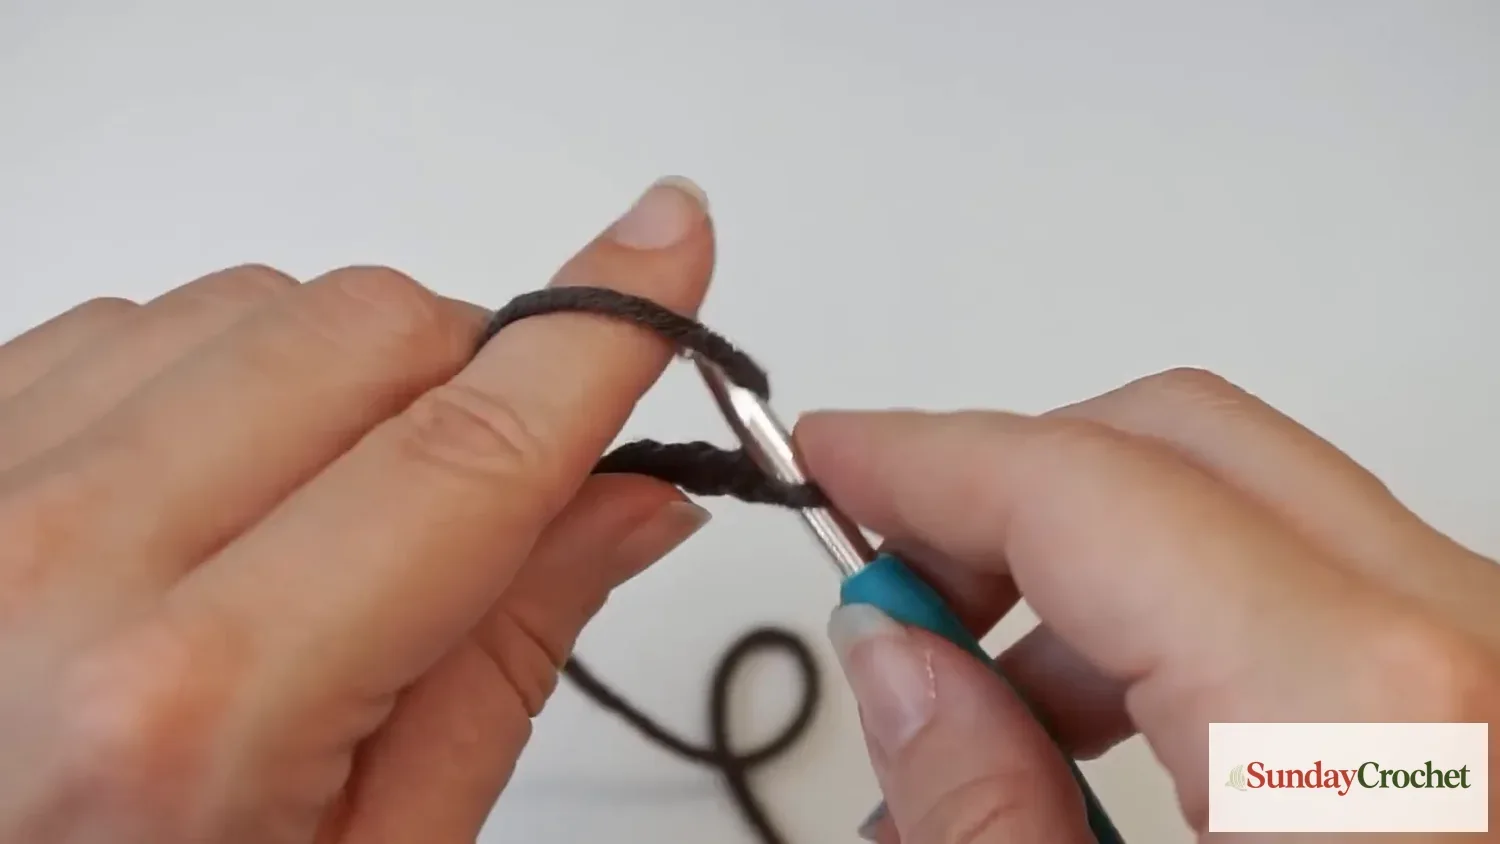
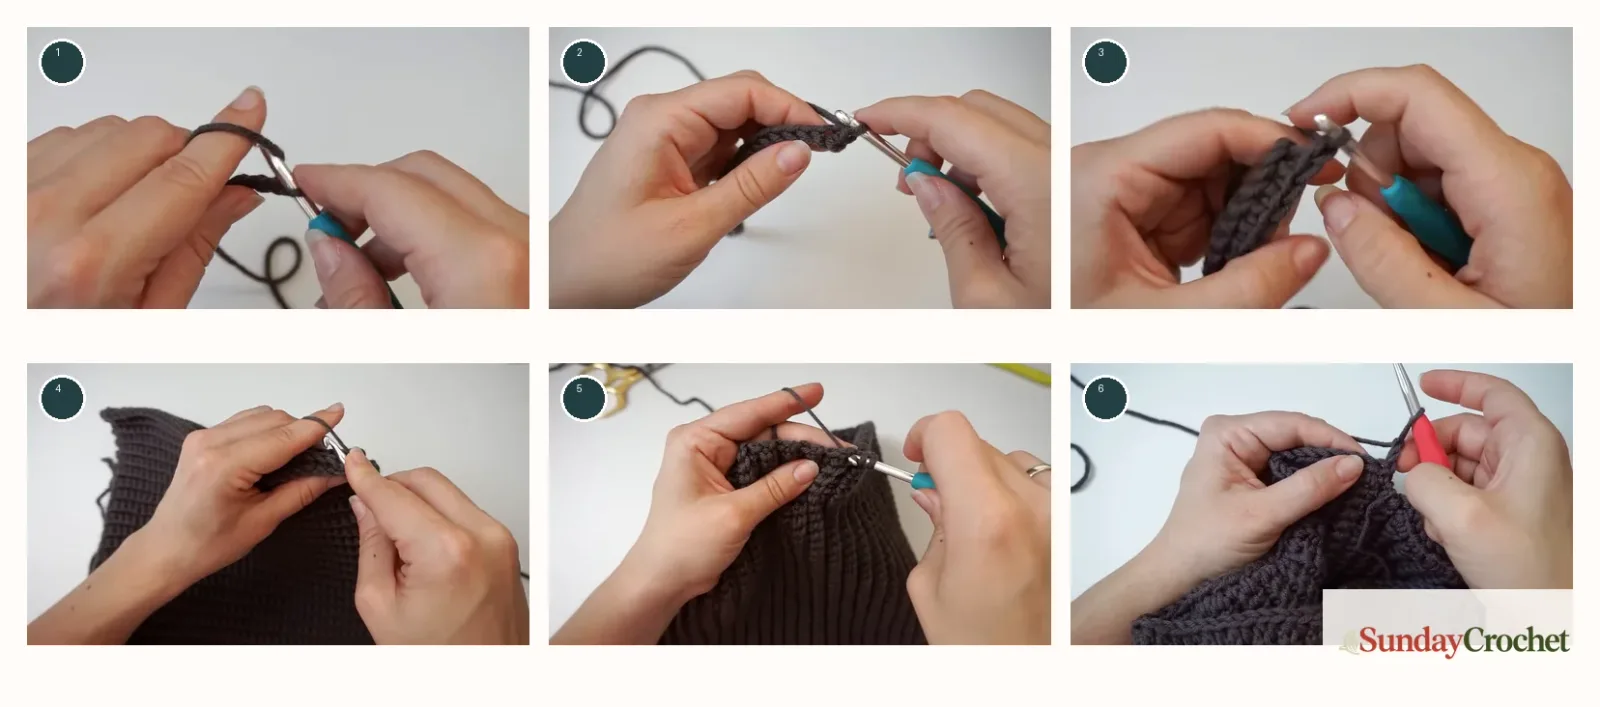
With the 5 mm hook, make a slip knot and chain 40. Keep the chain relaxed. It should measure just over 20 cm, about 7.9 in, in the sample. If the chain is very tight, the bottom edge will pull in and be harder to work into.
Row 1
Skip the first chain next to the hook. Make 1 sc in the second chain and 1 sc in every chain across. You will have 39 sc at the end of the row.
Rows 2–94
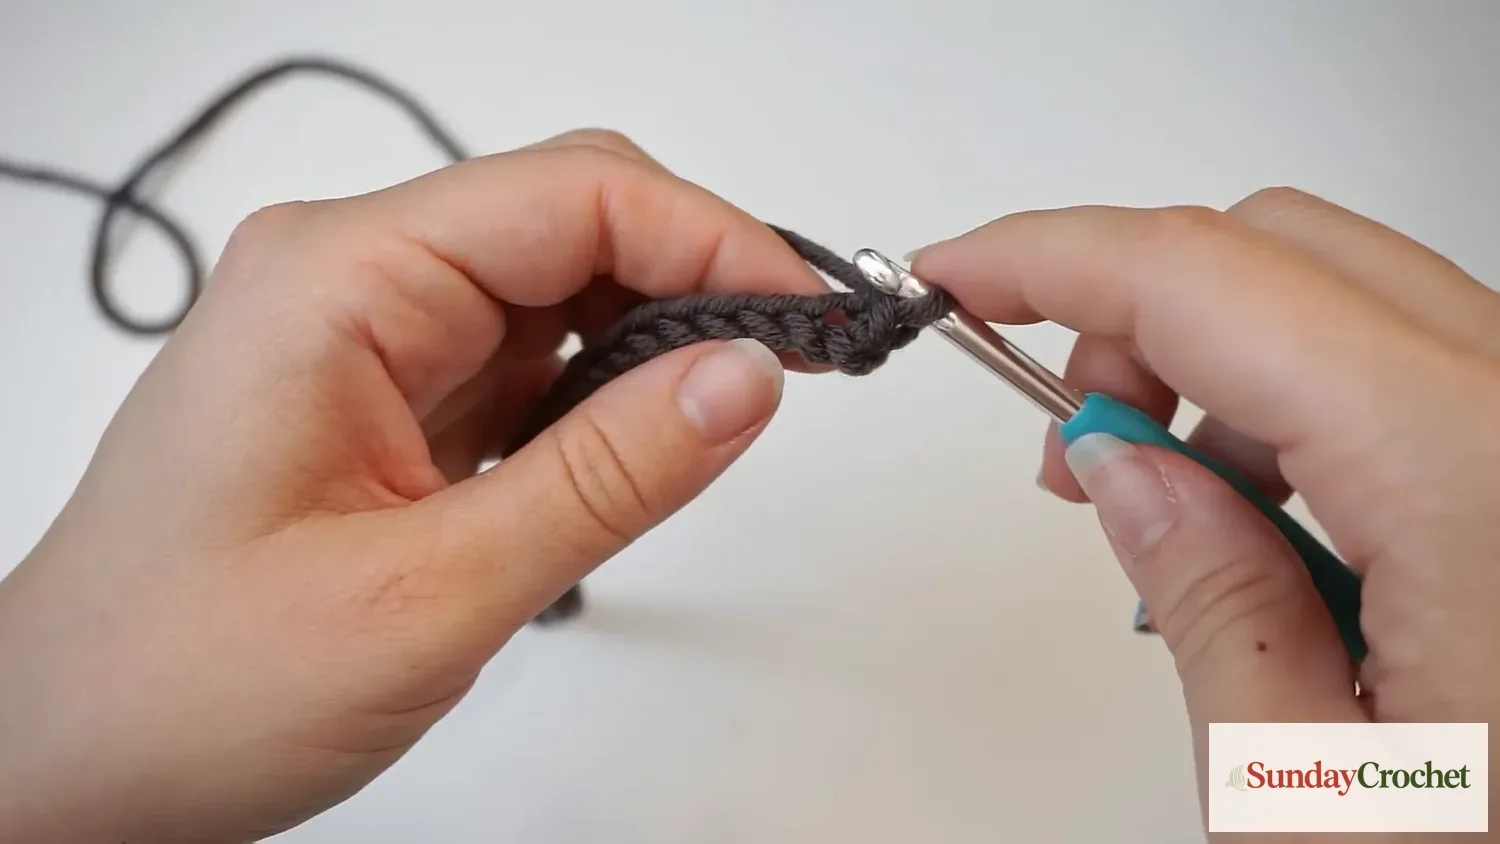
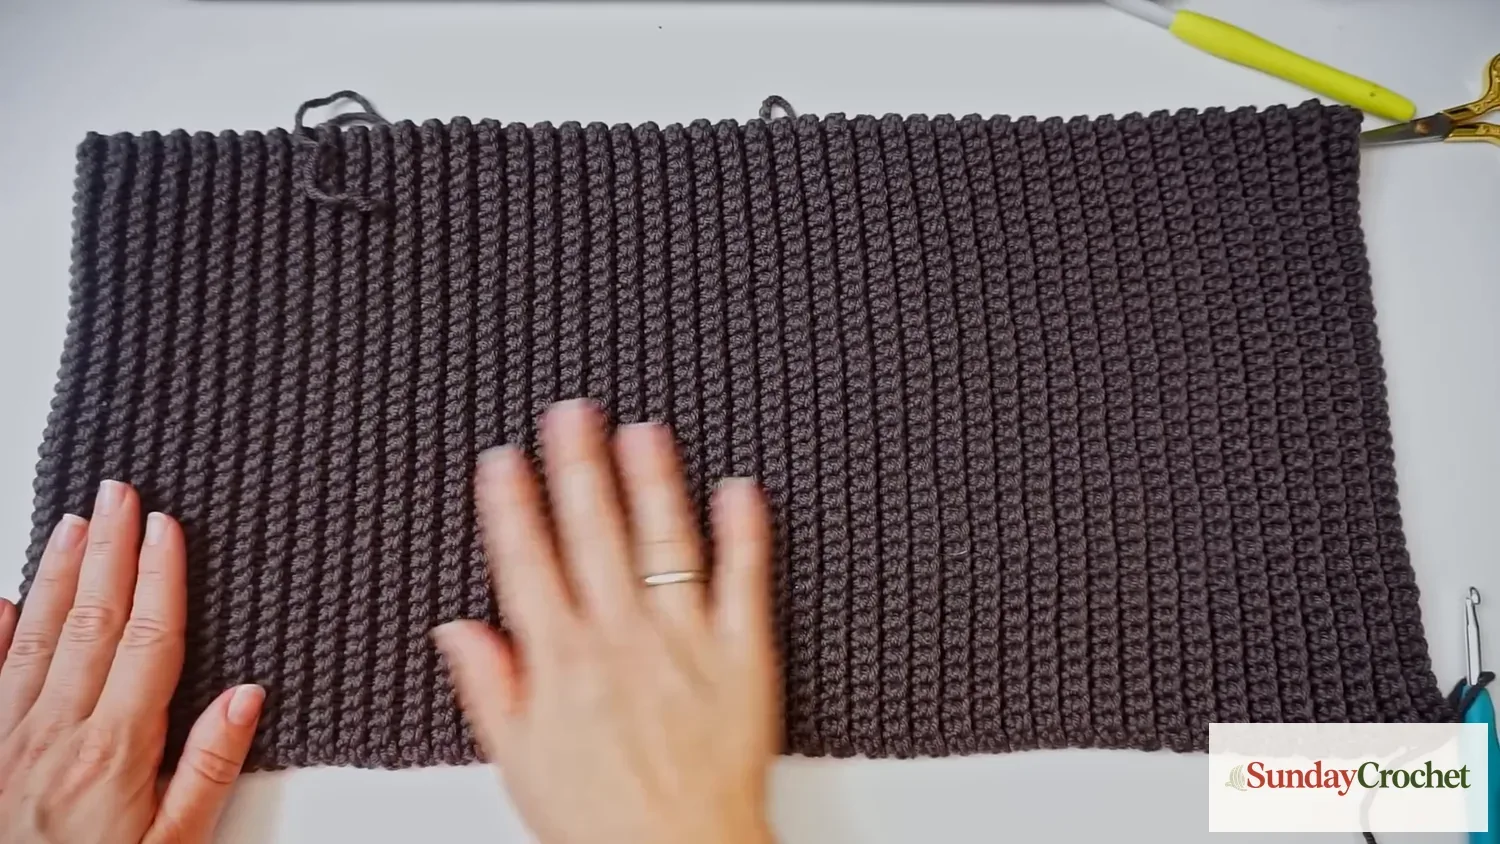
Ch 1 and turn. Treat the turning chain as a turning chain, not a stitch. Work 1 sc through the back loop only of each stitch across. Keep 39 sc in every row. Repeat this same row until you have 94 rows total, counting Row 1. The sample strip measures about 50 cm, or 19.7 in, along its long edge. The raised ridges form the stretchy ribbing on the finished neck.
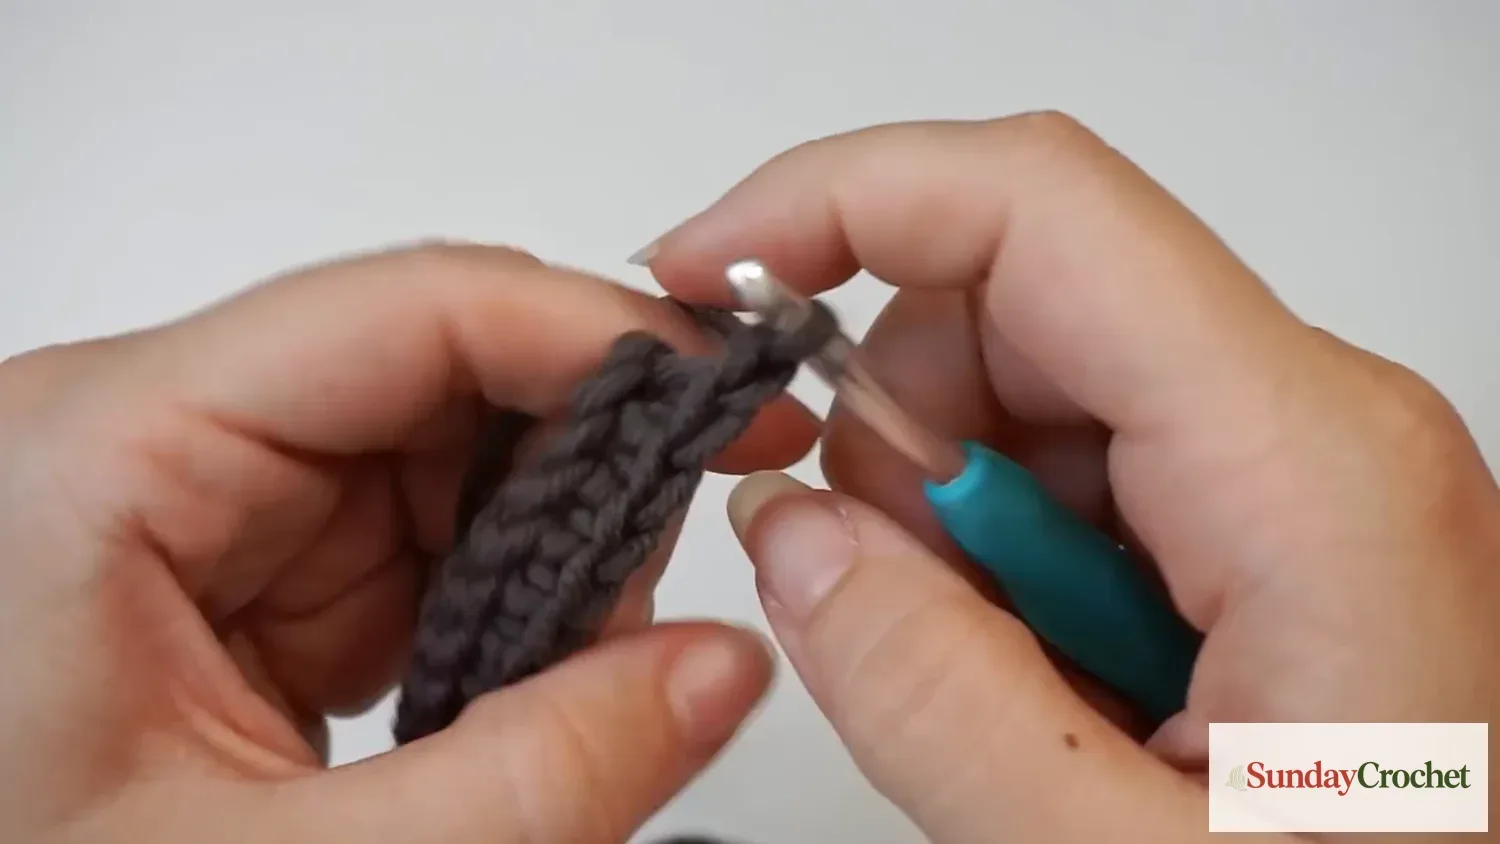
To find the back loop, look at the top of a stitch. The two loops form a small V. The loop nearest you is the front loop, and the loop farther from you is the back loop. Insert the hook under only that farther strand, yarn over, pull up a loop, yarn over again, and pull through both loops to complete the sc. The unused front loops make the ridges stand out.
Step 2: Join the neck into a tube
Fold the strip so the two short ends meet. With the 5 mm hook, join the matching edges using sl sts. Insert through the back loop of the near edge and the front loop of the opposite edge, then pull the yarn through the fabric and through the loop on the hook. Continue across the 39 stitch pairs. This seam sits neatly among the ribs. Fasten off and weave in the tail.
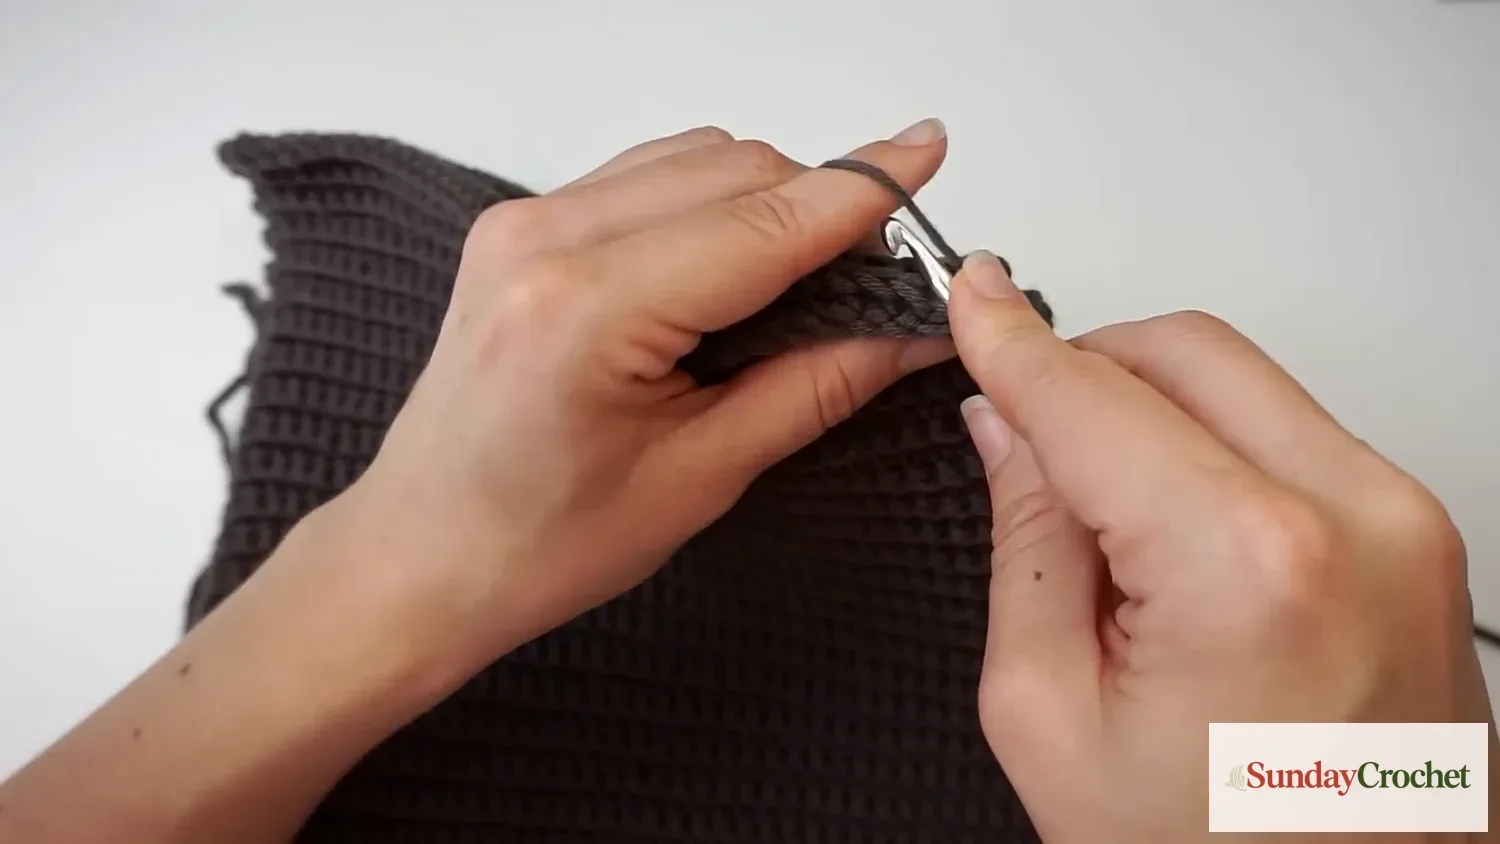
Step 3: Add the hood foundation
Turn the neck tube so the join is at the back. Attach the yarn at the seam on the open upper edge. With the 5 mm hook, ch 2, then make 1 hdc in each row end around the edge. The sample has 94 rows, so the foundation edge contains 94 hdc. Keep the stitches evenly spaced. If a row end is hard to see, work into the sturdy edge bar rather than splitting the yarn.
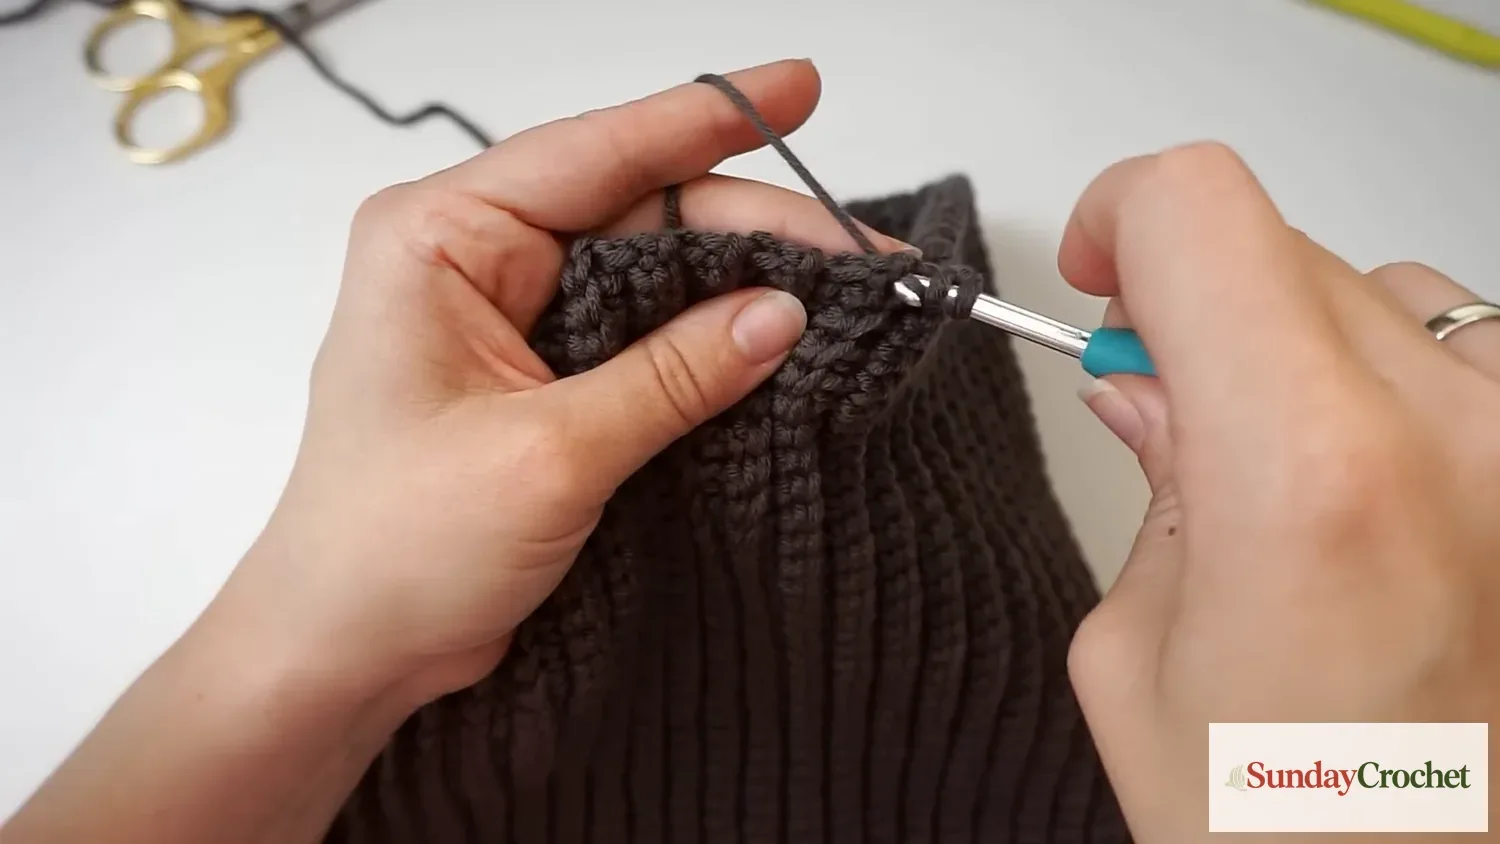
Step 4: Work the hood and shape the face opening
Change to the 6 mm hook. Do not join the hood row into a closed round. Ch 2 and turn so you can work back and forth, leaving the front opening unclosed. The ch 2 counts as the first hdc. Work the remaining stitches in BLO hdc across the row. At the final stitch, work 2 hdc in that same stitch. This first shaping pass ends with 95 stitches from the 94-stitch edge.
For the next row, ch 2 and turn. Since the ch 2 counts as the first hdc in the first stitch, work another hdc into that same stitch to make the first increase. Continue 1 BLO hdc in each stitch across, then make 2 hdc in the final stitch. The row count increases by 2, so it ends with 97 stitches. Continue increasing at the first and last stitch of each shaping row. Your stitch total goes up by 2 each time: 99, 101, and so on. Stop this increase section when it measures about 17 cm, or 6.7 in. The exact number of increase rows is not specified, so the measuring point is the sample’s reliable checkpoint.
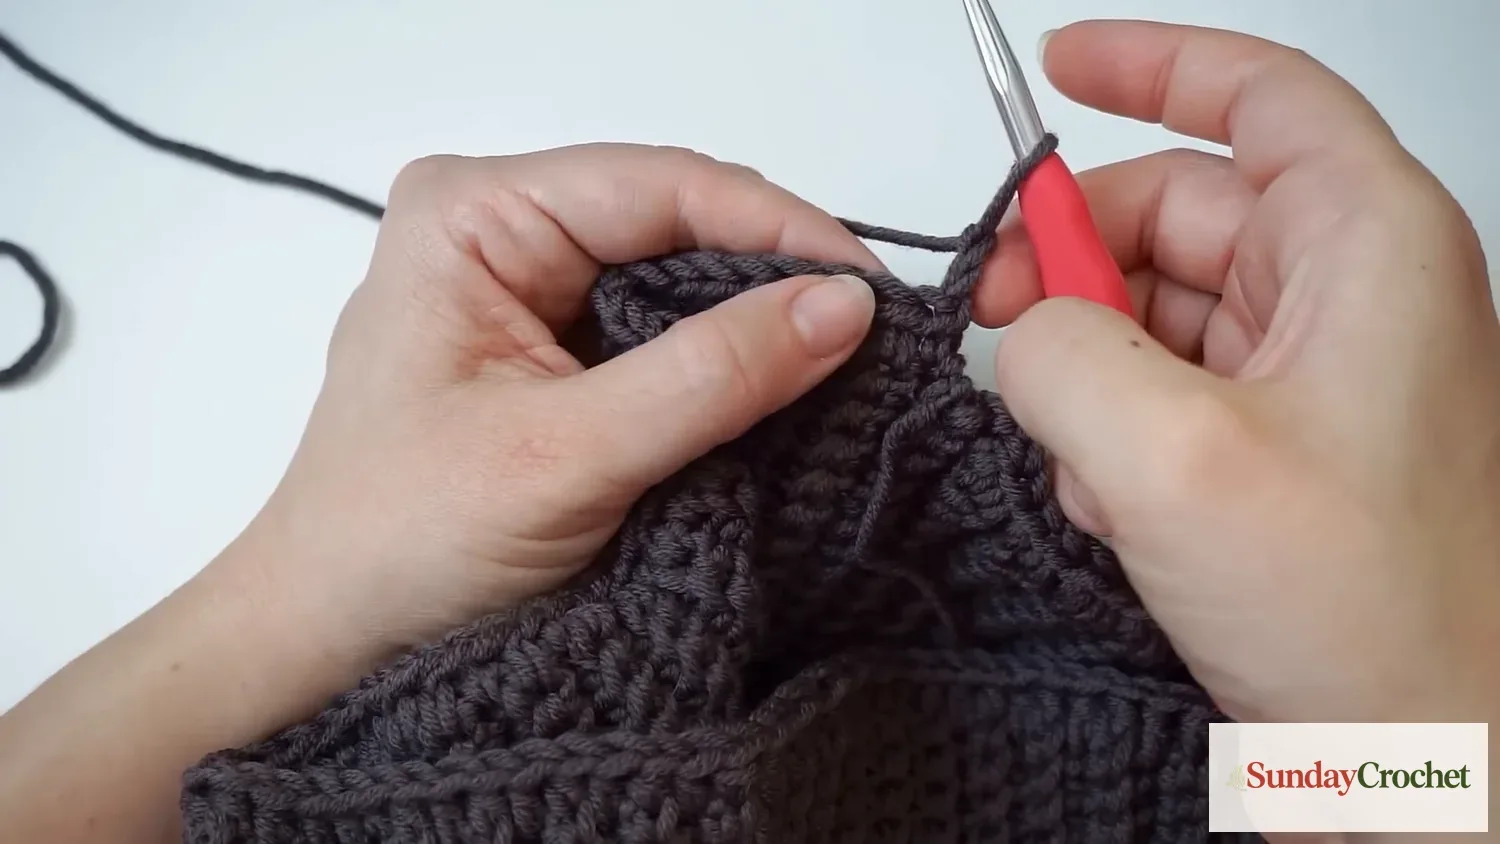
Step 5: Work the straight hood rows
When the increase section reaches about 17 cm, continue in BLO hdc without increasing at either edge for 12 rows. Ch 2 and turn at the end of each row. The stitch count stays the same as the last increase row. In the sample, the whole hood panel measures about 30 cm, or 11.8 in, from the top to the brim. Check that the panel reaches over the crown before closing it. If your yarn or tension differs, the measurement is more useful than trying to match an unstated row total.
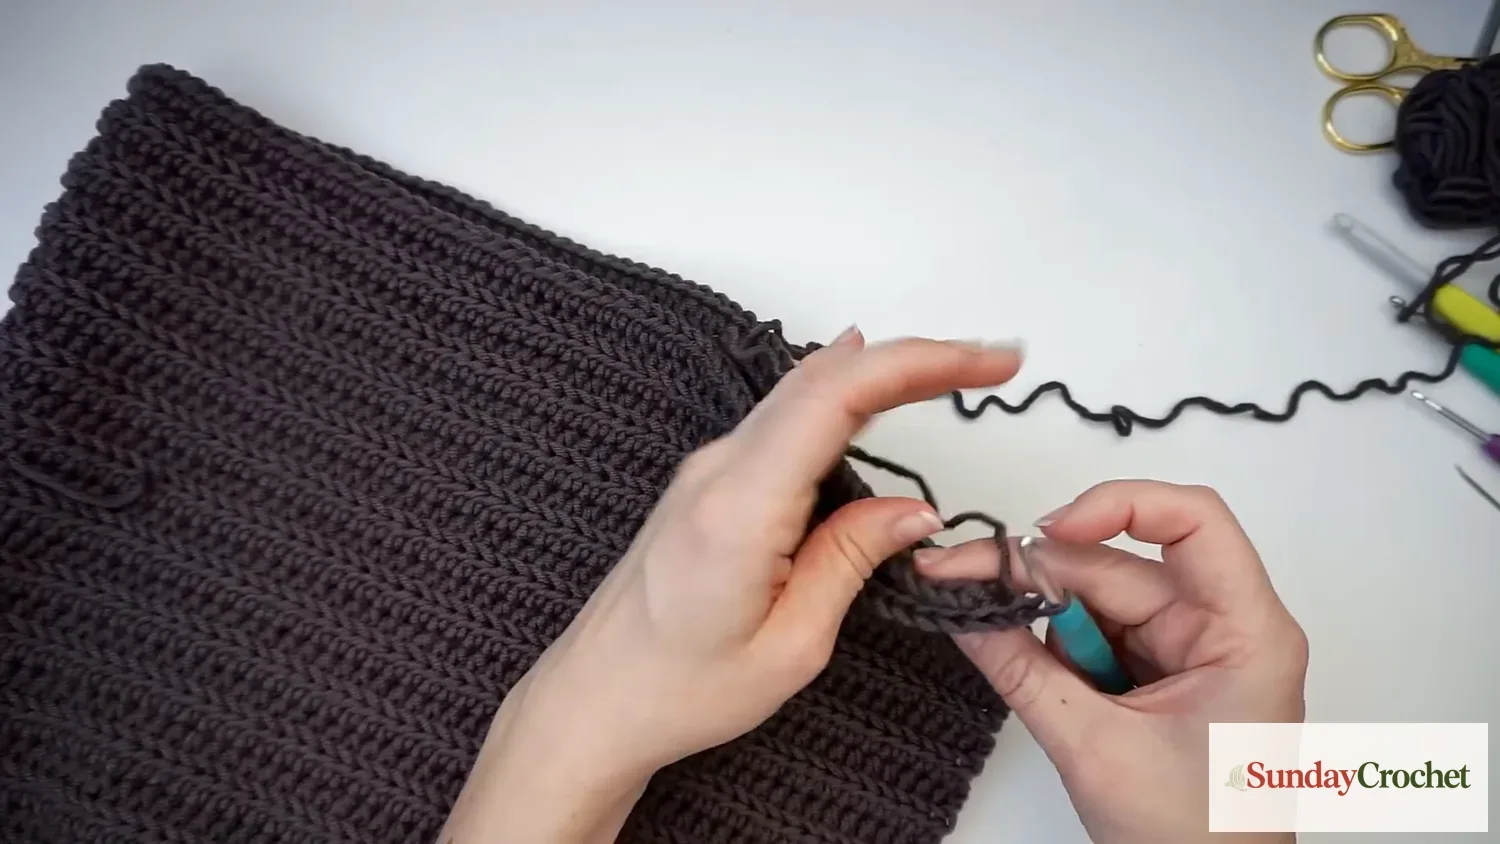
Step 6: Close the crown and finish
Fold the top of the hood so its two edges meet. Use the hook and yarn to join both layers with sl sts across the crown. Insert the hook through both layers, pull up a loop, then pull that loop through the loop already on the hook. Continue to the opposite edge to close the top seam. Fasten off and weave in every tail with a tapestry needle. Turn the hood right side out so the crown seam sits inside.
Fit and fabric checks
The sample begins with a neck strip just over 20 cm wide and 94 rows long, which wraps to about 50 cm around. These measurements describe the sample, not a universal adult fit. Before seaming the strip, wrap it around the intended wearer’s neck with a little ease. The ends should meet without stretching the fabric hard. If you change the number of rows to adjust the circumference, remember that the upper edge then has a different number of row ends, so the hood foundation count will change too. Keep a note of the count you actually make.
The fabric is dense and warm because the bulky wool and small hooks create close stitches. If your work feels stiff, check that you are not pulling each loop tight around the hook. If the hood panel curls at the edge, count the first and final stitches carefully. The chain two is the first hdc on hood rows, and the extra hdc at each edge is the increase. Missing either stitch will change the count and make the hood narrower than planned.
The yarn label’s gauge can help you recognize the yarn category, but it should not be used as the pattern’s gauge. This project has no specified crochet swatch gauge. If you choose another fiber, crochet a small sample in the same stitches and compare how thick and flexible it feels before committing to the full strip. A slippery smooth yarn may make the ribs less pronounced, while a much thicker yarn can make the neck tube too bulky to fold comfortably.
Common questions
Is this pattern worked in US or UK terms?
It is written in US terms. Single crochet is sc, and half double crochet is hdc.
What is the stitch count for the neck band?
The foundation chain is 40. Row 1 has 39 sc. Rows 2 through 94 each keep 39 BLO sc. The sample has 94 rows total, and the top edge receives 94 hdc, one for each row end.
How many rows are in the hood increase section?
The sample does not state a fixed row total. Increase at both edges until the shaped section measures about 17 cm. Start with 95 stitches after the first shaped pass, then add two stitches per increase row. Work 12 straight rows after the increase section.
What is the crochet gauge?
A crochet gauge is not provided. The yarn label lists 17 stitches and 22 rows per 10 cm, but that is the yarn label gauge and does not confirm this project’s crochet gauge.
Does the hood need stuffing or separate pieces sewn together?
No stuffing or separate panels are used. The neck strip is joined into a tube, the hood is crocheted from its upper edge, and only the top of the hood is slip stitched closed.
Can I make a child size from these instructions?
A child size is not included here. The sample measurements are the only size details specified. Use a separate size chart or a tested child-size pattern rather than assuming the adult sample can be reduced by a fixed percentage.
A cozy finish for cold days
The finished hood combines a close ribbed neck with a generous hood and an open face area. The most useful counts to keep beside you are 39 stitches across each neck row, 94 rows around the sample neck, and 94 half double crochets along the upper edge. From there, the hood grows with paired increases until it reaches the measured shaping depth, then continues for 12 straight rows before the crown seam closes it.
Keep the strip relaxed, watch the two edge stitches during the hood increases, and measure the sample checkpoints instead of guessing at missing row totals. That gives you a warm winter crochet hood with a soft turtleneck and a clear, repeatable construction.