
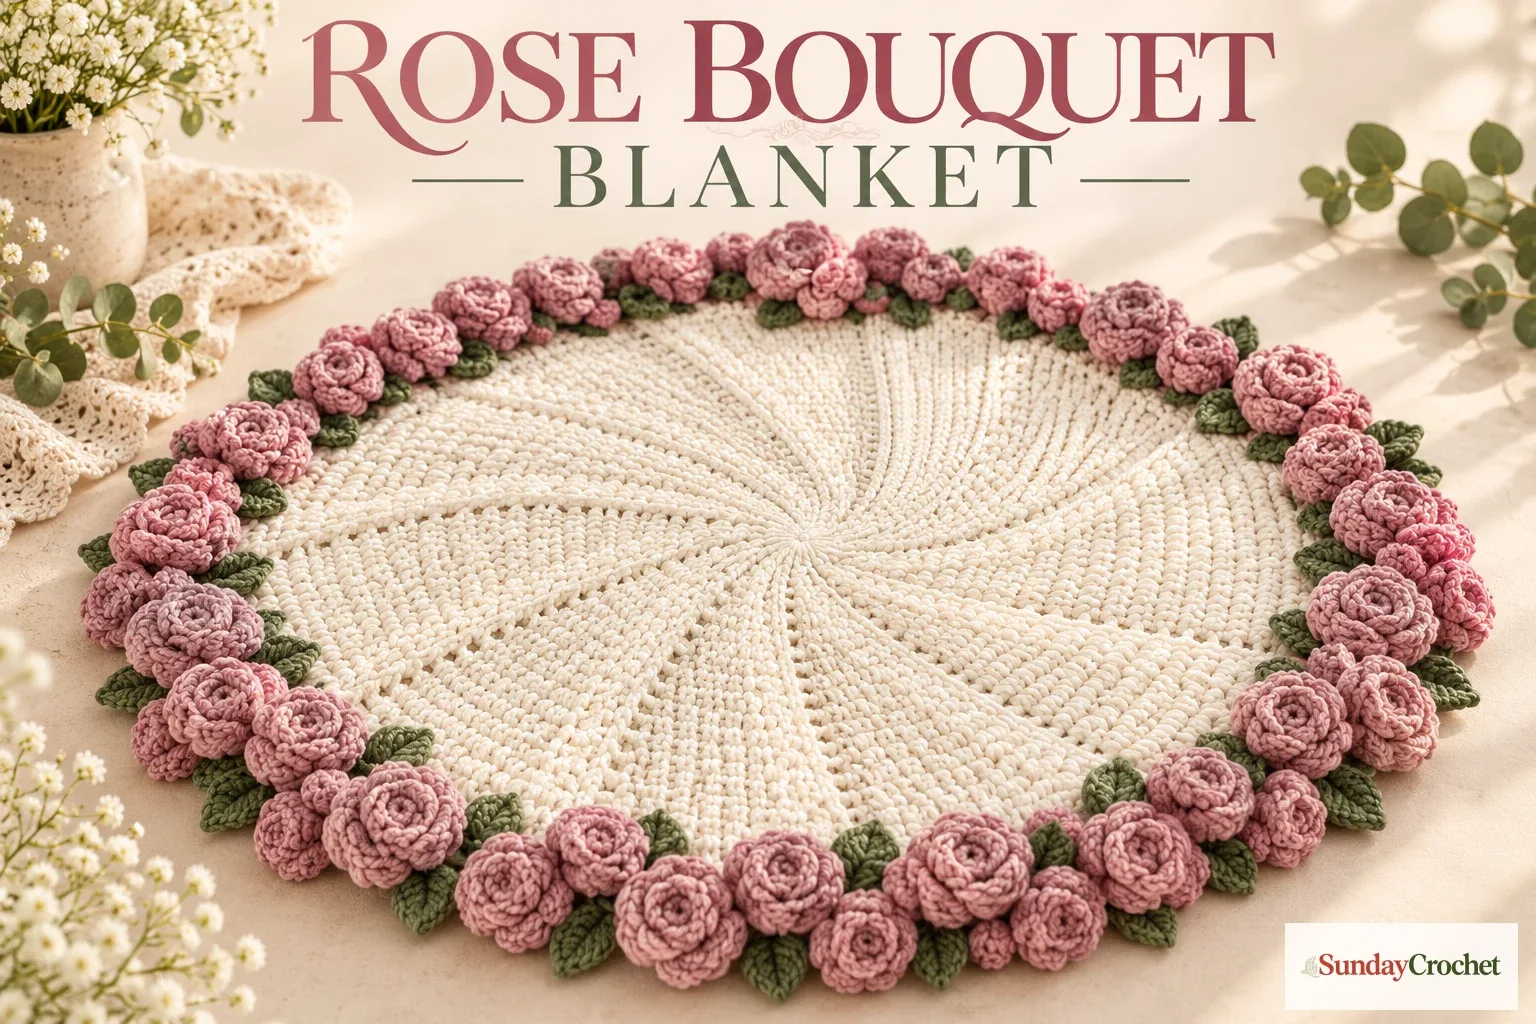
A round blanket center, green leaves, and raised pink roses create a bouquet-inspired finish. · Sunday Crochet
In this article
01 · A blanket that blooms around the edge02 · Yarn & tools03 · How the blanket is built04 · Helpful checks as you crochet05 · Common questions06 · A soft blanket with a garden edgeA blanket that blooms around the edge
A flower bouquet blanket pairs two things I love about crochet: the comfort of a soft, round blanket and the little sculptural details of a handmade flower. The center is worked in ivory, a leafy green band adds a garden-like edge, and raised pink roses bring the bouquet effect. It makes a thoughtful handmade gift, but the best part is watching the separate layers turn into one finished piece.
This version follows a left-handed demonstration and uses a flexible size, so it can grow to suit your plans. You will work the blanket first, then make and join the leaves and roses around its edge. I’ll show you how I organize each stage, keep the circle behaving, and finish the flowers neatly without losing the soft drape of the blanket.
Yarn & tools
The material list allows roughly 900 to 1,500 yards of yarn overall. A small lap throw and a larger blanket will use different amounts, and the raised roses also take yarn beyond what a plain circle would need. If you are deciding how many skeins to buy, check the yardage on each label and keep a little extra of the pink and green for the decorative border. Matching yarn weight across all three colors helps the roses sit at a similar scale to the base.
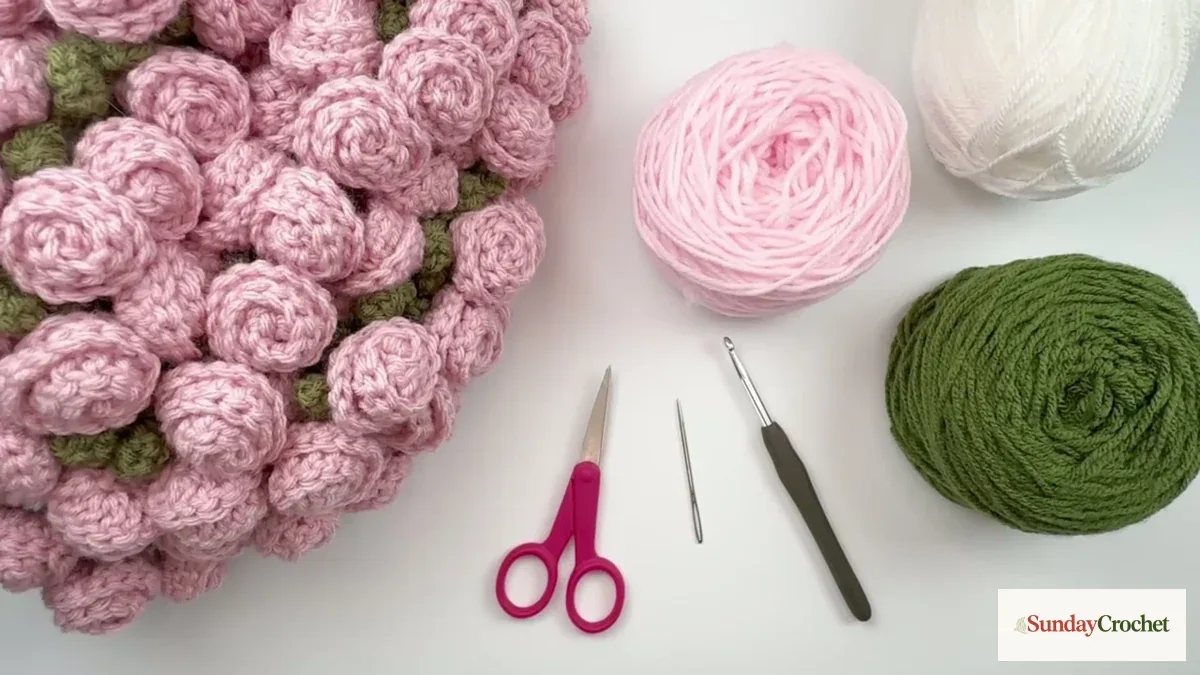
A different fiber or hook can change the blanket's size and feel. Before you begin, make a small swatch with the yarn and hook you plan to use. Check that the fabric feels comfortable and that your stitches are even. If the yarn label suggests a different hook, use that suggestion as a starting point and judge the fabric in your hands. For help comparing yarn categories, a quick yarn-weight reference can make substitutions easier to evaluate. If you are still practicing basic hand control, a short crochet-stitch refresher can help you settle into an even rhythm before beginning a large circle.
How the blanket is built
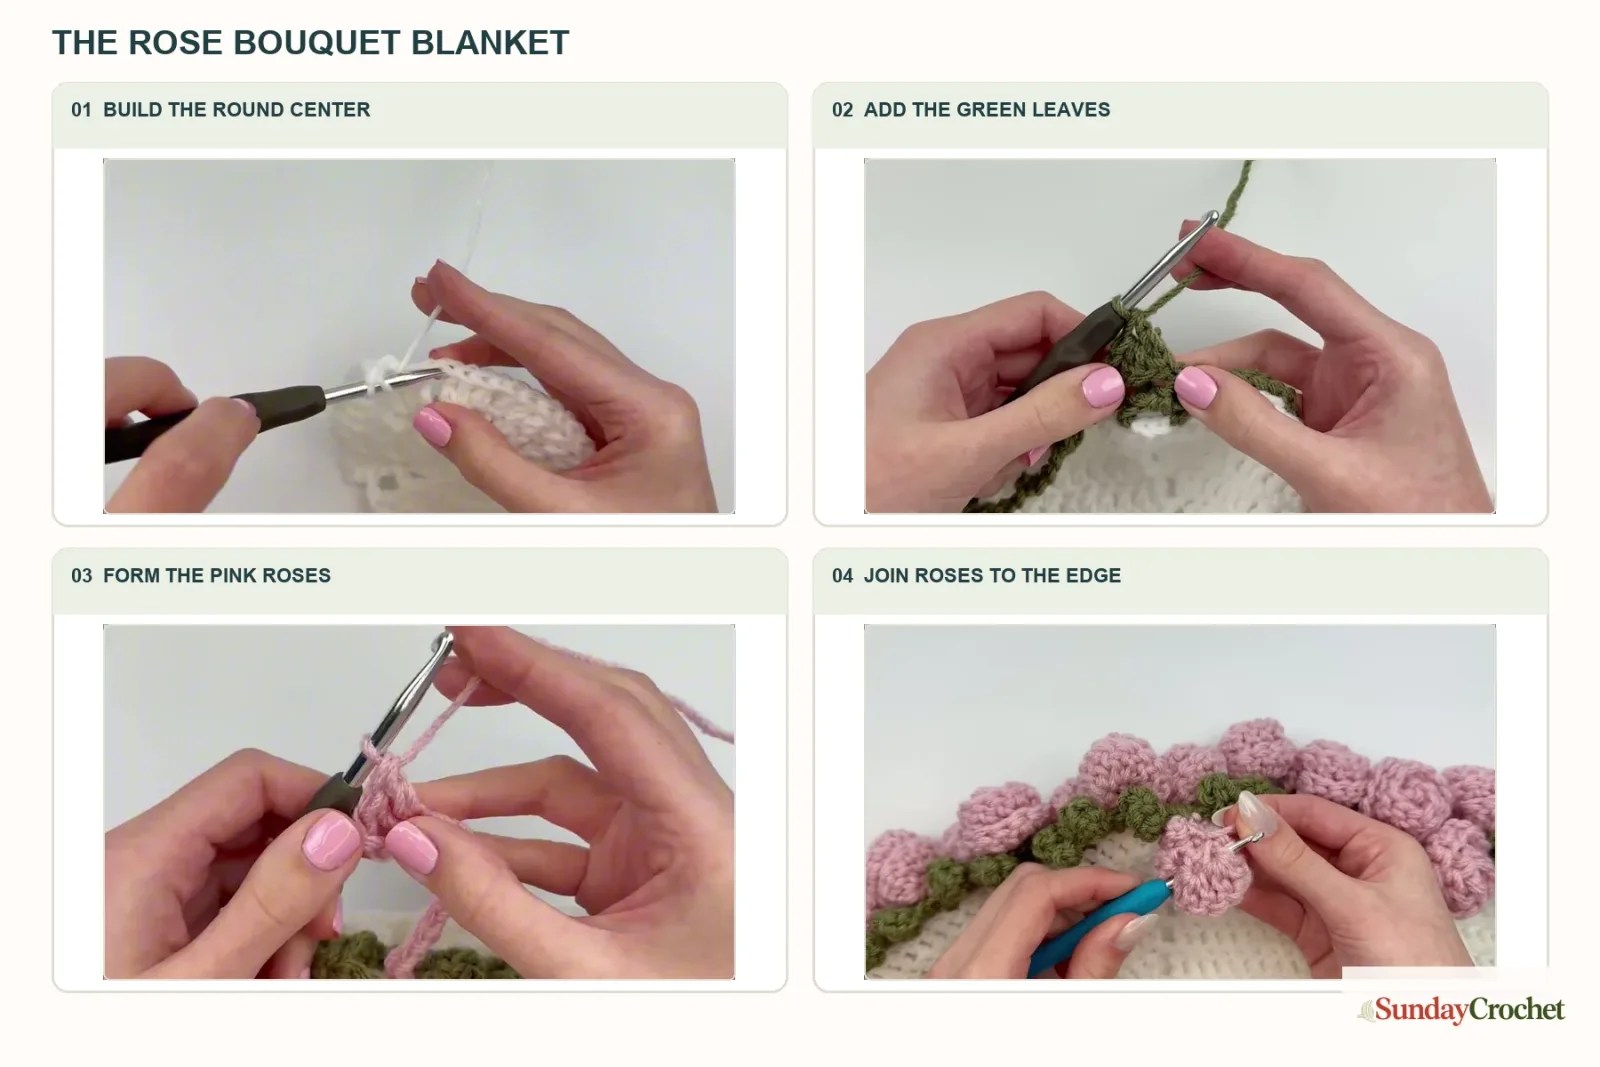
The project has four visible stages: a growing round center, green leaves at the outside, separate pink roses, and a joining pass that brings the flowers to the edge. Keeping these stages separate makes a large project feel manageable. You can work the blanket over several sessions, then make the smaller motifs whenever you want a change of pace.
1. Start the ivory center
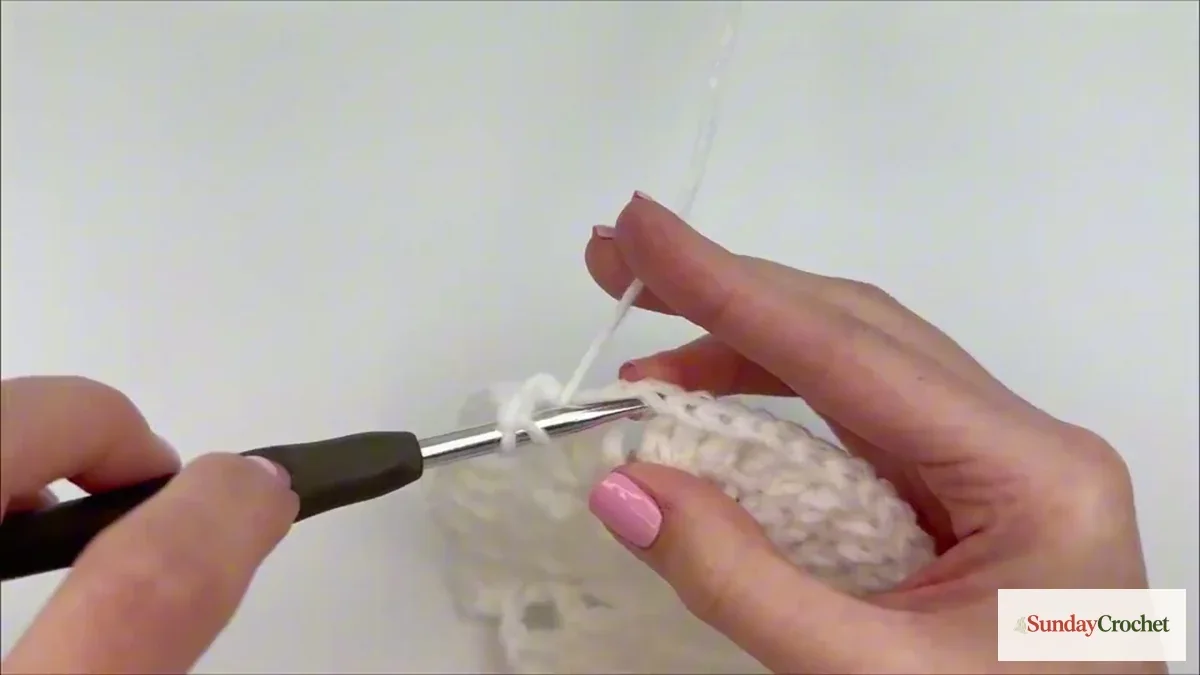
Begin with the ivory yarn and make a slip knot on the hook. Form the small starting center, then work the first round into it. Keep the first stitches close enough to cover the middle, but do not pull the yarn so tightly that you cannot work back into the opening. The first few stitches establish the direction of the circle, so pause to make sure the round lies flat before continuing.
The visual orientation here is left-handed. If you crochet with your right hand, mirror the hand movement and the direction you see the hook travel. The stitch structure and shaping are the same; it is the view of the work that changes. A stitch marker at the start of a round is helpful if you tend to lose the joining point while turning the blanket in your hands.
2. Grow the blanket in rounds
Continue working outward in the round, adding stitches evenly so the center expands rather than curling into a bowl. After each round, lay the work on a flat surface and look at the edge. A smooth circle should sit without puckering or forming a deep wave. If it cups, check whether the round needs more increases; if it ripples, check whether the edge has gained too many stitches. Count the stitches around each repeat before moving on, especially while the fabric is still small.
Keep the joins consistent from round to round. A neat join makes the outer edge easier to decorate and helps prevent a visible jog from interrupting the circular shape. The finished size is flexible: continue the center until it is wide enough for the way you plan to use the blanket, remembering that the green leaves and roses will add extra width and texture around the outside.
Once the center reaches your chosen diameter, finish the round cleanly and prepare for the green border. Take a moment to smooth the fabric and check that the edge is not stretched. A flat, even base gives the raised flowers a stable place to sit.
3. Add the green leaf edge
Join the sage-green yarn at the outside of the ivory circle and work the leafy edging around the perimeter. The leaves form a repeated border rather than one long flat stripe. As you make each unit, keep its base aligned with the blanket edge and let the pointed or rounded tip sit outward. This creates the green layer that will show between the pink roses.
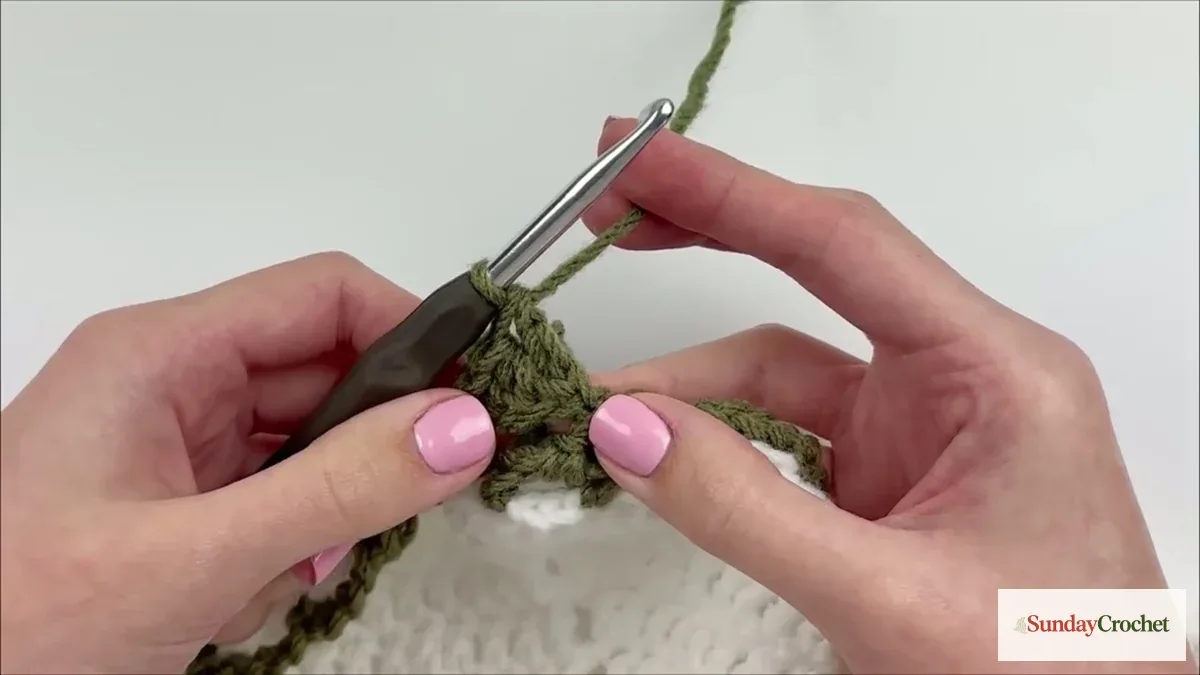
Work the leaf sequence at a steady tension. If the leaves are pulled too tight, the blanket edge may draw inward; if they are much looser than the ivory fabric, they can droop and leave gaps. It helps to finish a few leaves, lay the circle flat, and inspect the spacing before you continue all the way around. Adjust your hand tension while the round is still easy to undo.
The green row is also your visual guide for flower placement. Try to keep the repeated leaves a similar size so the border looks intentional even when the roses overlap part of it. You do not need every leaf to be identical, but a consistent rhythm around the circle makes the finished edge feel balanced.
4. Make the pink roses
Use the dusty-pink yarn to make the flower motifs one at a time. The roses are worked with the hook, then shaped into raised blooms. Pay attention to the direction the stitches are facing as the motif grows; a small change in how the petals turn can make the rose sit flatter or stand more proudly. Keep the yarn tail long enough to help secure the motif if your finishing method uses it.
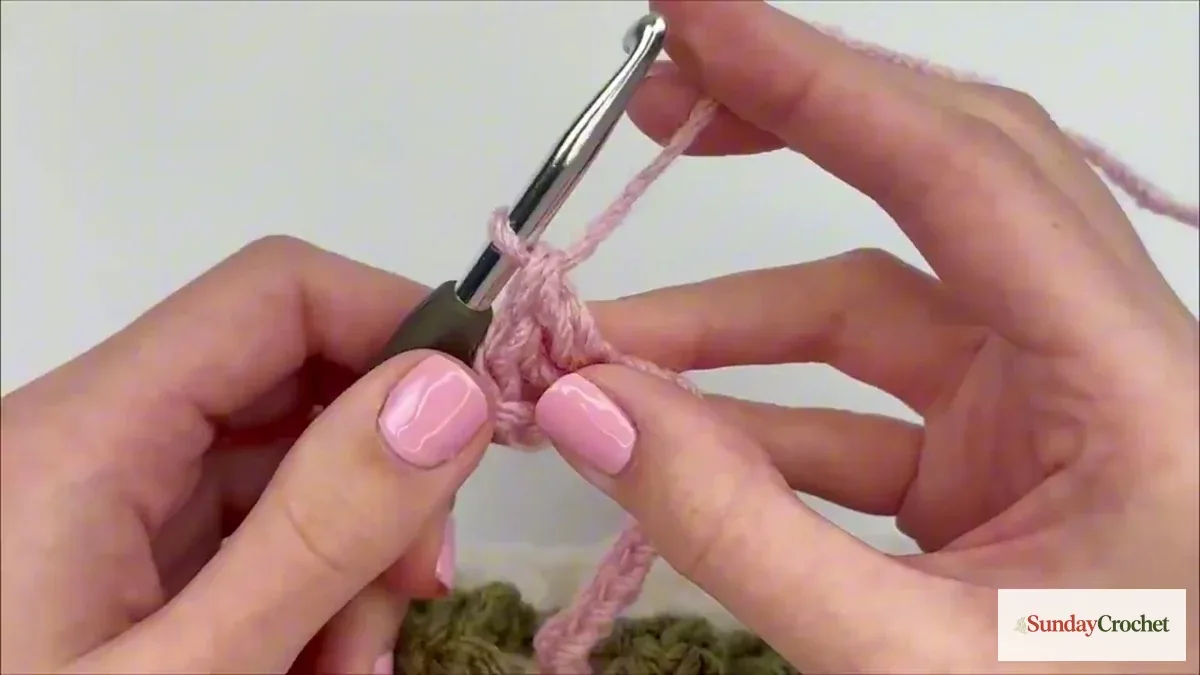
Before making a full set, complete one rose and check how its size relates to the leaf edging. If the flowers look crowded, make the next motifs with a lighter hand or leave a little more space when joining. If there is too much green showing, reduce the gaps between roses. Making one sample first gives you a chance to settle on the look before repeating the work around the entire blanket.
One sample rose is a useful warm-up if you want to practice shaping petals and managing yarn tails before making a decorative border. This blanket's flowers are attached as motifs, so keep their bases tidy and make sure the raised petals remain visible from the front.
5. Join the flowers to the leaves
Arrange the roses around the green edge before joining them. This dry layout is worth the few minutes it takes: it lets you balance the spacing and see whether one section needs another flower or a little more room. Keep the roses facing outward and place their bases over the leafy band so the green remains visible underneath.
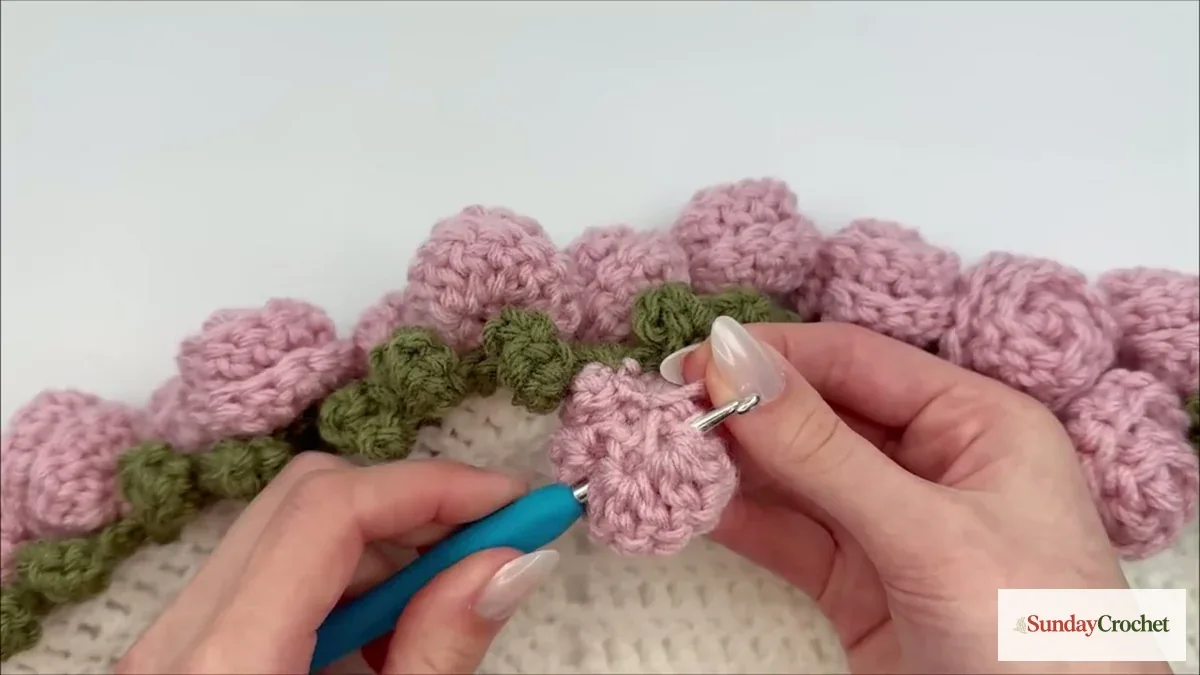
Join each flower at its base to the green border, following the same attachment point from rose to rose. Work through the solid part of the motif rather than the loose tips of the petals. That keeps the decorative edge secure while allowing the rose surface to stay dimensional. Pause after attaching a few flowers and gently lift the blanket to check that the edge can still move without pulling the white center into a cup.
Take care not to sew or join through the entire depth of the petals. The goal is to anchor the flower, not flatten it. When the full ring is attached, inspect the underside and weave in the remaining ends with the tapestry needle. Tuck each tail through nearby stitches on the same color section where possible, then trim only after it feels secure.
6. Shape and check the finished edge
Lay the blanket flat and arrange the roses with your fingers. Separate any petals that have folded under during joining and smooth the green leaves so they frame the blooms. Check the edge from a few angles, because a circle that looks balanced in your lap can reveal a crowded section when laid out fully.
If you want to block the blanket, follow the care instructions for your yarn fiber and test a small area first. The roses are dimensional, so avoid pressing them flat. Gentle shaping is usually enough to settle the center and let the flowers sit naturally. A flatter flower silhouette can be a useful small practice piece for learning how repeated stitch groups form petals before you return to the raised roses.
Helpful checks as you crochet
The circle is curling. Lay the blanket down before assuming the problem is in the border. If it cups during the white rounds, review the increase pattern and your stitch count. A decorative edging will not correct a center that is already pulling inward.
The edge is wavy. Compare the last round with the one before it. Extra stitches can create ripples, while a loose working loop can make one section look uneven. Count around the repeat and compare the curve from several points.
The flowers do not sit evenly. Arrange them around the edge before joining the full set. Keep the base of each rose anchored in the green row and check the spacing after every few attachments. Consistency in placement matters more than forcing every rose to face exactly the same way.
The blanket feels heavy. A thick worsted yarn and a dense circular center can make a substantial project. Use the same yarn weight throughout, keep the fabric flexible, and choose a diameter that feels comfortable for the intended use. The listed yardage is broad because size and tension change the total.
Common questions
Is this suitable for a beginner?
The construction uses a repeating round base and separate decorative motifs, so a patient beginner can approach it in stages. It helps to be comfortable making a slip knot and working consistent stitches before starting a large blanket. Practice the leaf and rose shapes on small samples first if the raised edge is new to you.
Can a right-handed crocheter make it?
Yes. The demonstration is left-handed, but the project can be mirrored for a right-handed view. Keep the same stitch structure and counts from your working instructions; reverse only the hand movements you watch.
How large should I make the center?
Choose a diameter that suits your plan and remember the green leaves and roses extend beyond the ivory base. The project can be sized by continuing the round center, but larger versions need more yarn and more motifs. Measure the flat circle as you go instead of relying on a size that has not been tested with your yarn and tension.
How many roses do I need?
The number depends on the blanket's circumference and the size of each flower. Arrange the roses around the leaf band before joining them, then make additional motifs only if you see open spaces. This gives you a more even border than deciding on a fixed number before checking the actual size.
A soft blanket with a garden edge
This rose bouquet blanket is a satisfying project because each stage has its own payoff: the ivory circle grows quickly into a usable base, the green leaves define the edge, and the pink roses turn that edge into a small garden. Work in manageable sections, check the circle as it grows, and give yourself time to arrange the flowers before you attach them. Those simple pauses make the finished blanket feel thoughtful and balanced, whether you keep the colors soft and classic or choose a palette of your own.


