
· Sunday Crochet
In this pattern
01 · An airy tote made in one mesh repeat02 · Yarn & tools03 · Before you begin04 · The pattern05 · Follow the construction at a glance06 · Sizing and everyday use07 · Common questionsAn airy tote made in one mesh repeat
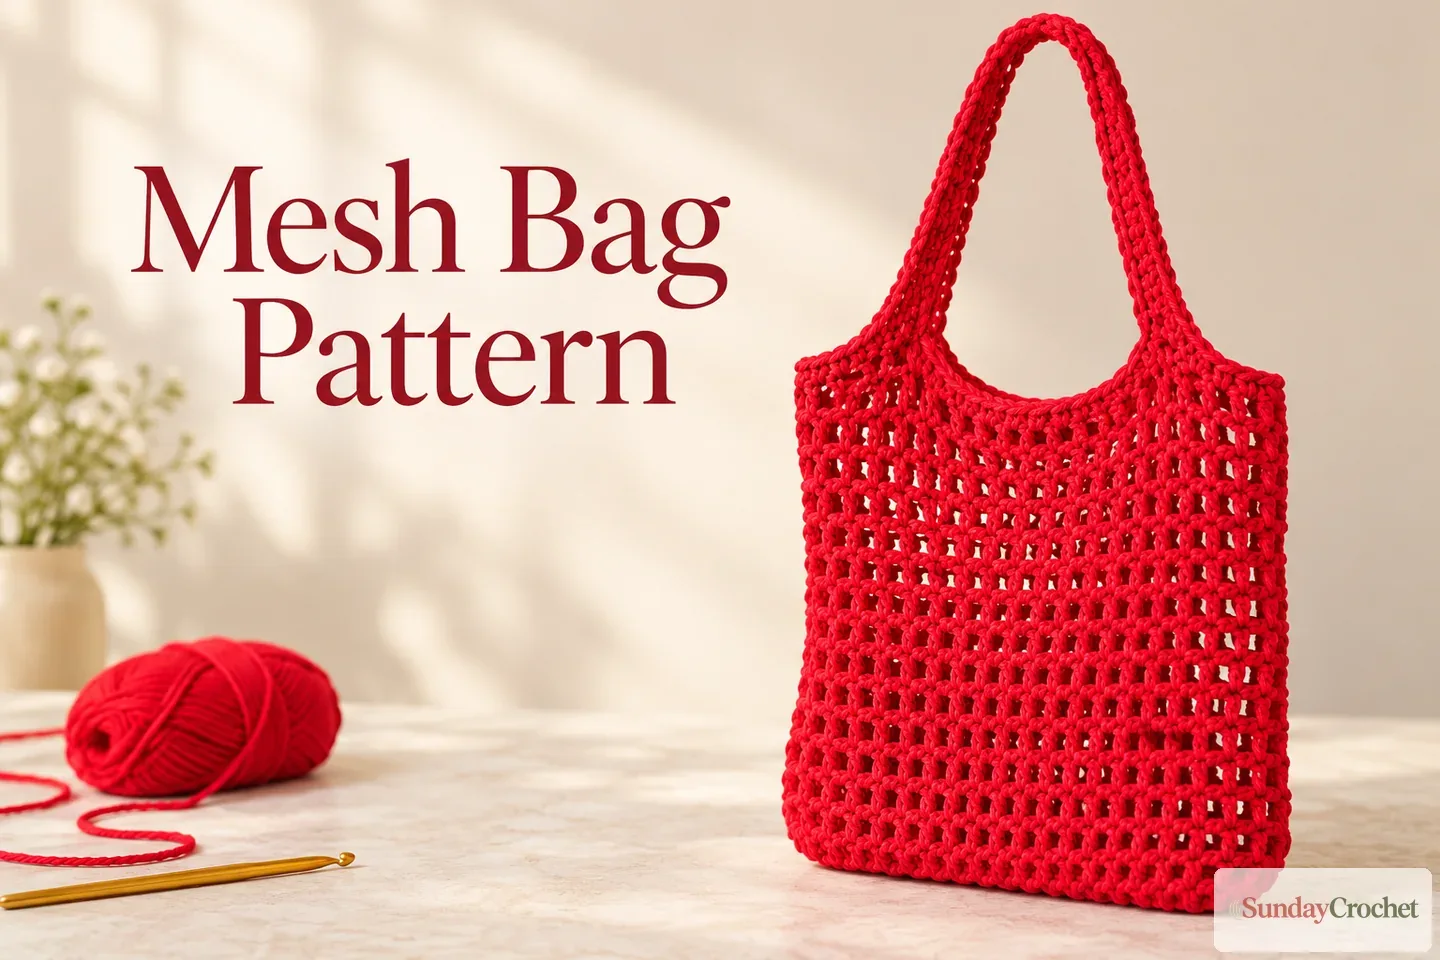
This crochet mesh market bag is worked in the round from a long foundation chain, so the base and both sides become one continuous piece. Once the first round is in place, the body uses a simple chain-and-double-crochet repeat. Two long crocheted straps grow from marked sections at the opening, then slip stitches reinforce them so they are less likely to stretch with use.
I’ll show you how I make the foundation, repeat the mesh to the height I want, and shape the handles with clear stitch counts. The sample is made in bright red cotton, but you can choose another color or fiber. Cotton was used in the sample because it stretches less than acrylic. The bag itself is open mesh, so it is best for items that can sit comfortably inside a net-style tote.
Yarn & tools
Before you begin
The starting chain sets the width. For the sample width of about 12 inches, chain 47. For a wider bag around 15 to 16 inches, chain 59. Both are odd numbers, which matters for the mesh repeat. These are approximate widths because yarn, hook, tension, and the stretch of the finished fabric all affect the measurement.
The sample uses about 18 mesh rows before the handles and measures roughly 11 to 11.5 inches high after stretching. Mesh fabric can lengthen as it carries weight, so use the height as a checkpoint and stop a little shorter if you prefer a compact bag. The pattern does not specify a gauge or a fixed yarn amount.
The abbreviations below use US terms: ch means chain, dc means double crochet, and sl st means slip stitch. A chain space is the opening made by a chain between two double-crochet posts.
The pattern
Round 1
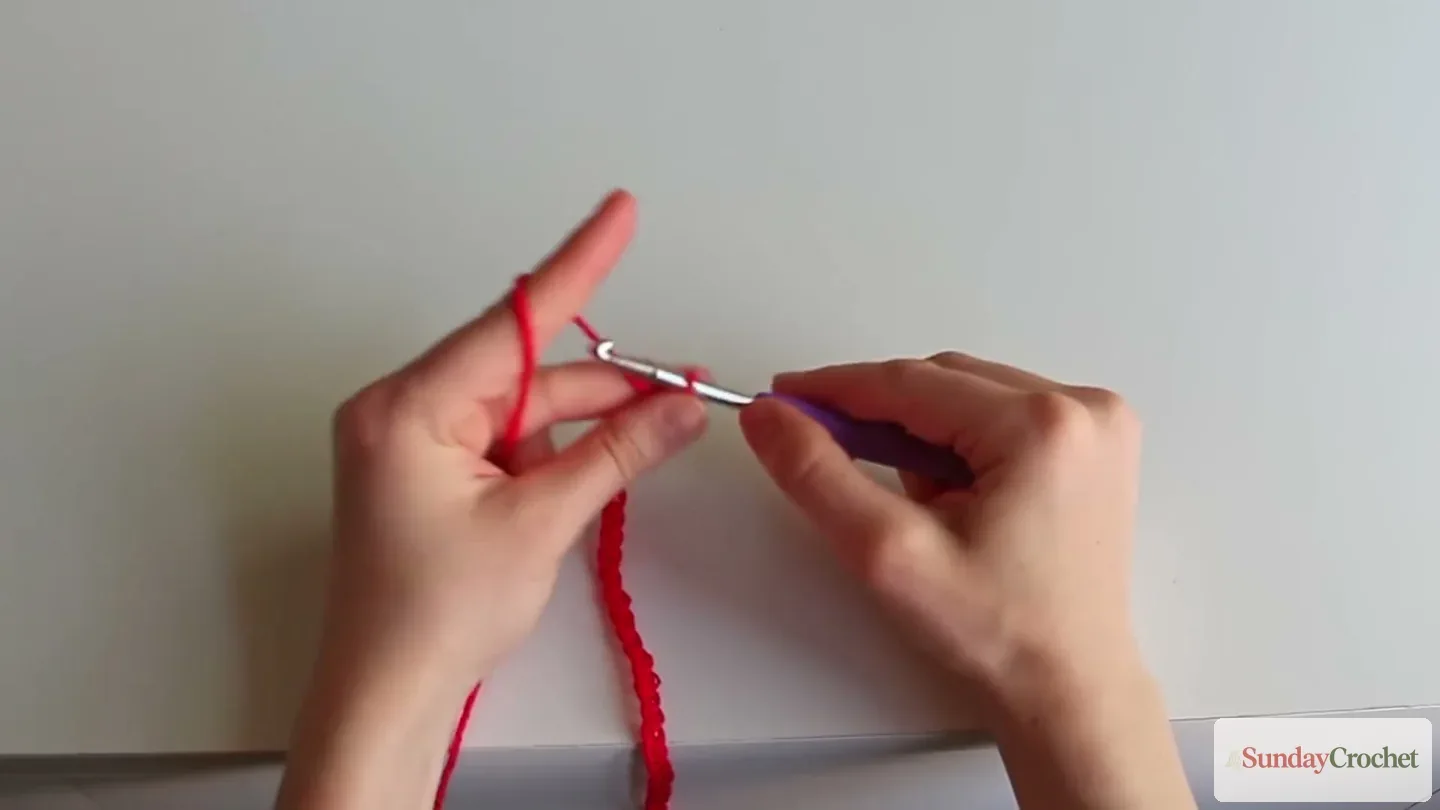
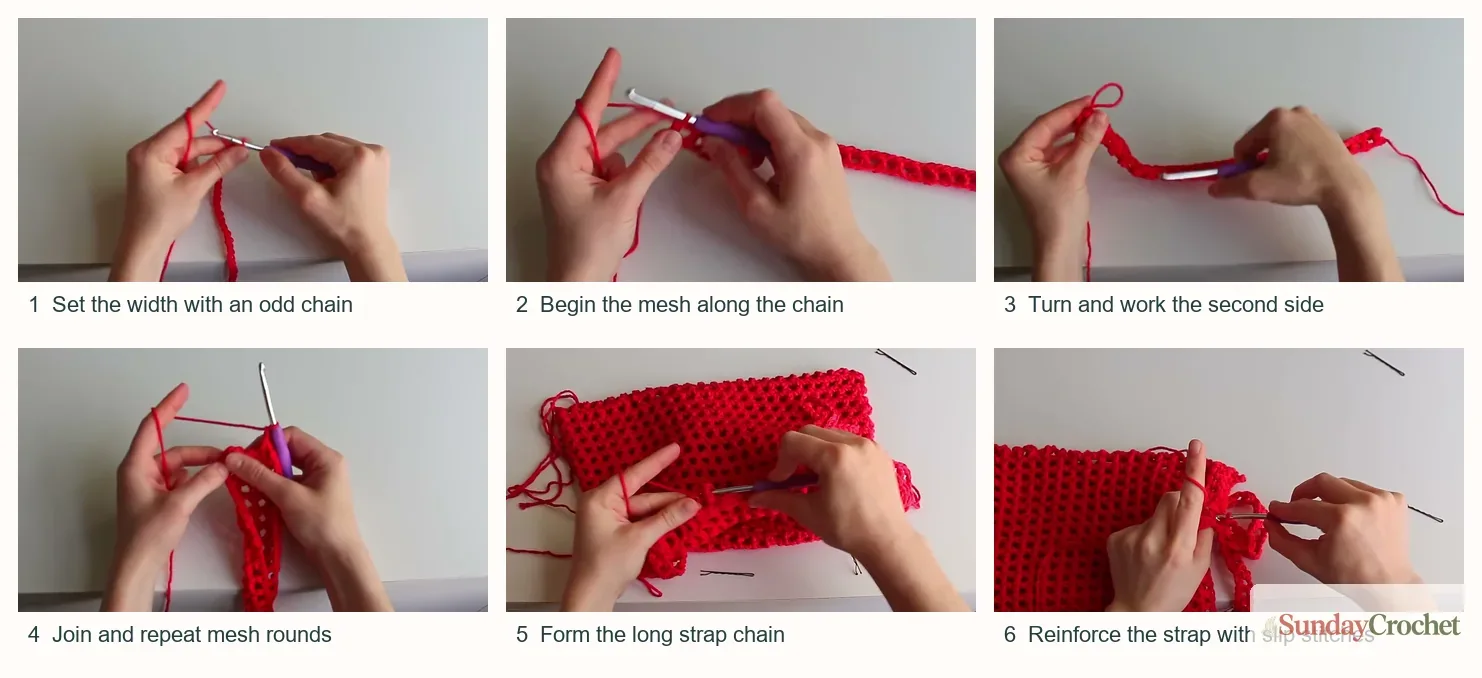
Make a slip knot and chain an odd number for the width you want: 47 for the sample width, or 59 for the wider option. Add 4 more chains. The extra chains form the beginning height and spacing for the mesh.
Work a dc into the 7th chain from the hook. Then repeat a chain 1 and a dc into the next designated chain along the foundation. Keep the chain-1 openings and dc posts evenly spaced as you move toward the end. Work the final dc into the last available stitch of the foundation.
Now turn the foundation so you can work into the unused loops along its opposite side. Continue the same mesh rhythm around the underside, placing a dc opposite each post from the first side and keeping the chain-1 spaces consistent. When you reach the starting chains, chain 1 and work a dc into the second chain from the hook to make the two sides meet evenly. Chain 1, then sl st into the 3rd chain of the original starting chain to join. The foundation should now fold into the beginnings of the bag’s front and back.
Round 2
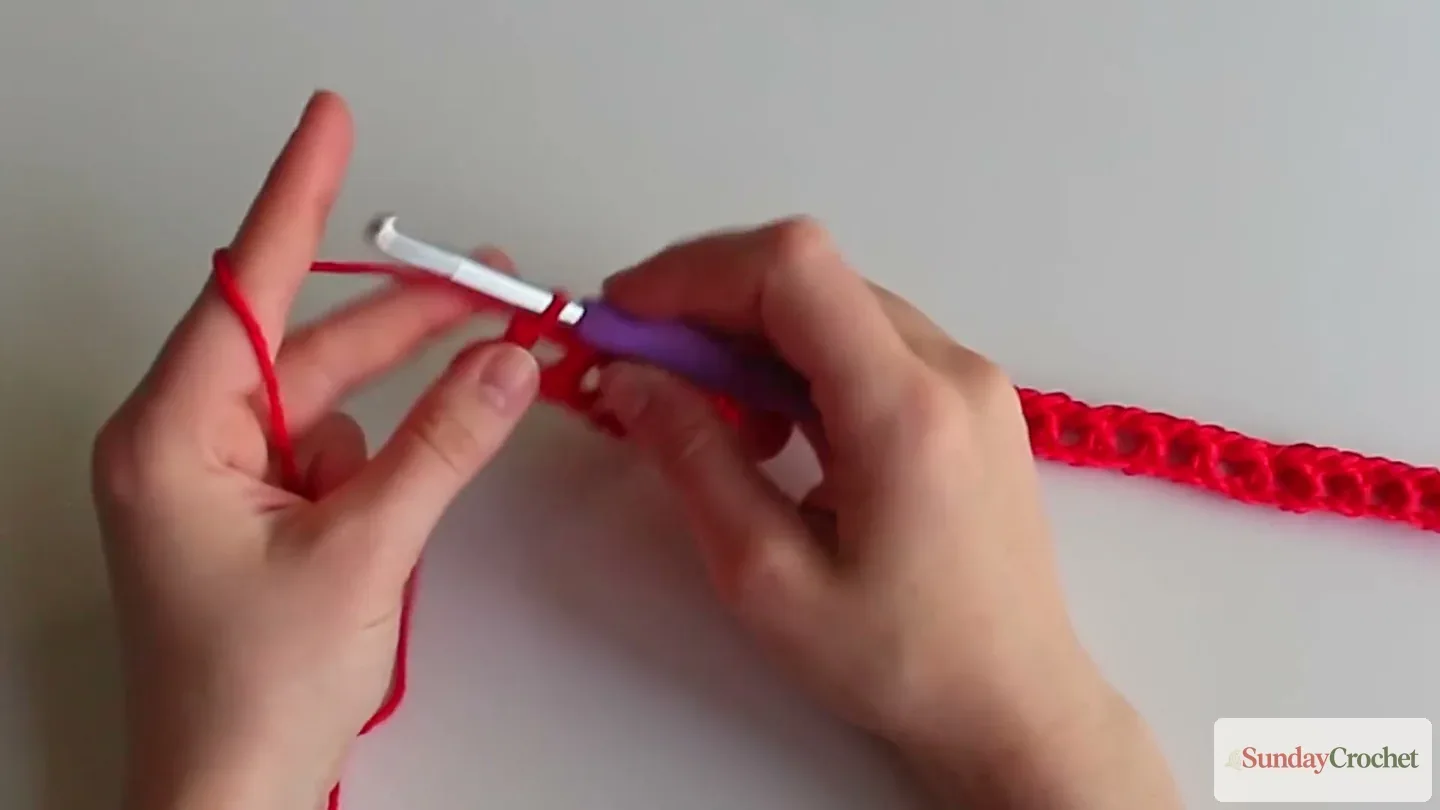
Chain 4. Work a dc into the next dc from the previous round. Then repeat chain 1 and dc into the next dc around the opening. Keep each new dc aligned over a dc post, with one chain space between posts. When you return to the beginning, chain 1 and sl st into the 3rd chain of the starting chain to join.
Round 3
Repeat Round 2.
Round 4
Repeat Round 2.
Round 5
Repeat Round 2.
Round 6
Repeat Round 2.
Round 7
Repeat Round 2.
Round 8
Repeat Round 2.
Round 9
Repeat Round 2.
Round 10
Repeat Round 2.
Round 11
Repeat Round 2.
Round 12
Repeat Round 2.
Round 13
Repeat Round 2.
Round 14
Repeat Round 2.
Round 15
Repeat Round 2.
Round 16
Repeat Round 2.
Round 17
Repeat Round 2.
Round 18
Repeat Round 2.
The sample works about 18 rows before making the straps and measures approximately 11 to 11.5 inches high after stretching. The exact count can vary with tension and how you count the setup round. Measure the bag as you go rather than relying on height alone, since open mesh can grow when it is loaded.
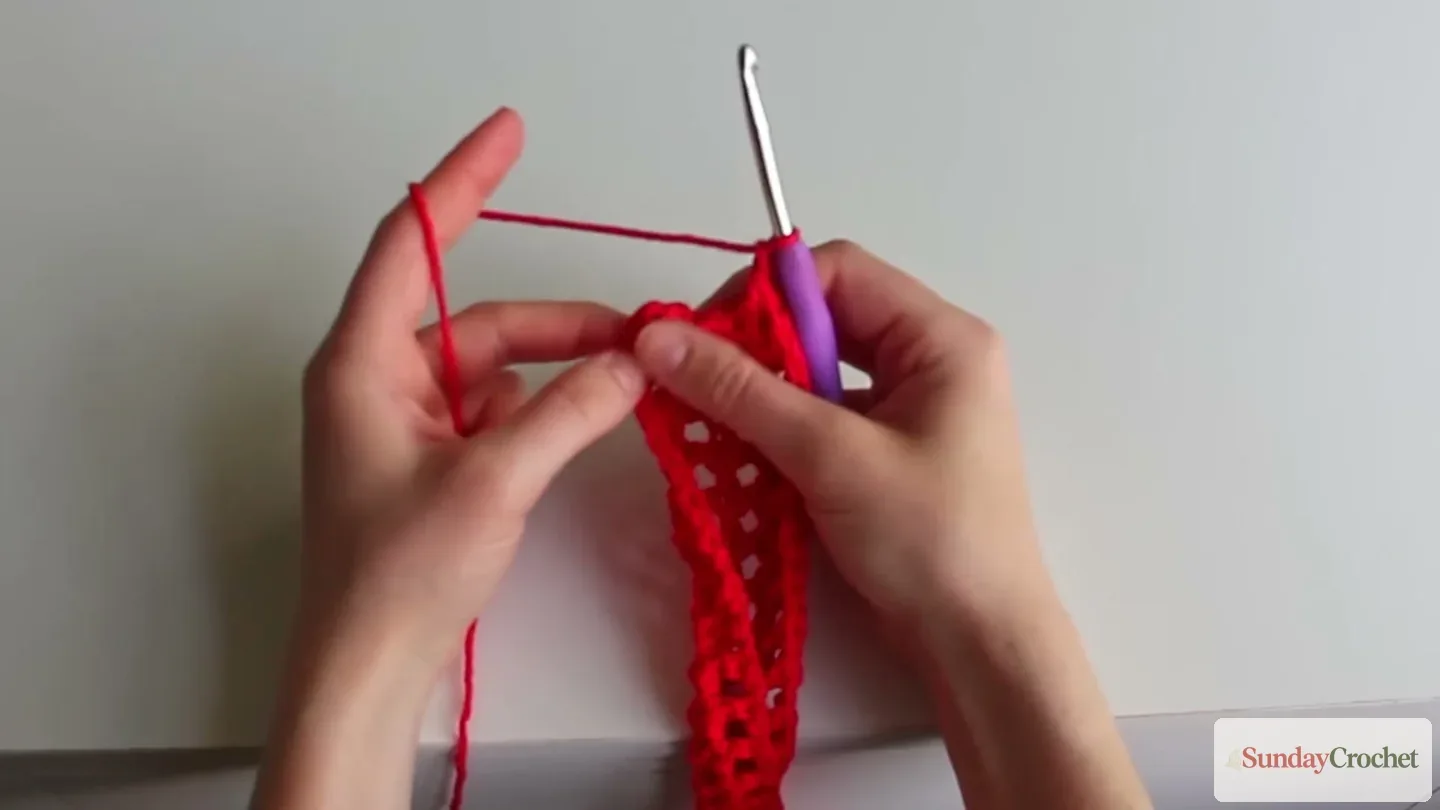
Make the straps
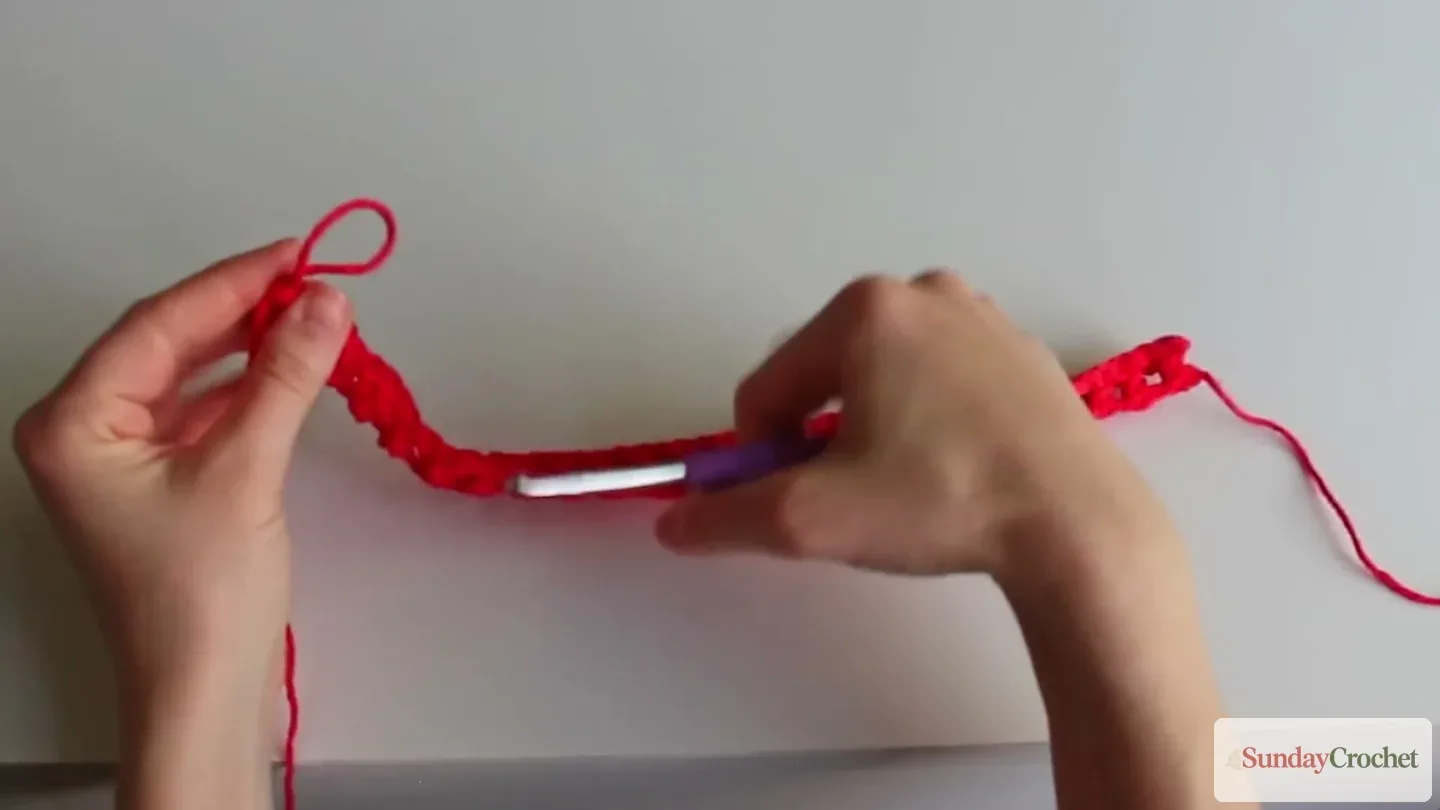
Lay the opening flat and divide the front and back into thirds with stitch markers. In the sample, each face has 24 dc, so one third is 8 dc. Place markers after each group of 8 dc on the front, then place matching markers in the same positions on the back. These marks show where each long handle section begins and ends.
When you reach a marker while continuing the mesh pattern, remove it and work a dc into that marked stitch. Chain an odd number for the handle length. The sample uses 61 chains. This is a length count, not a universal measurement, so you can adjust it to suit how you want the bag to sit. Keep the chain even and relaxed rather than pulling it tight.
Remove the next marker and work a dc into that marked stitch to anchor the chain. Continue the mesh round to the next marked section. To carry the mesh across the long chain, chain 1, skip the next chain, and dc into the following chain. Repeat along the chain, then sl st into the next dc at the opening. Work the matching strap section at the other marked positions using the same chain count so the handles stay balanced.
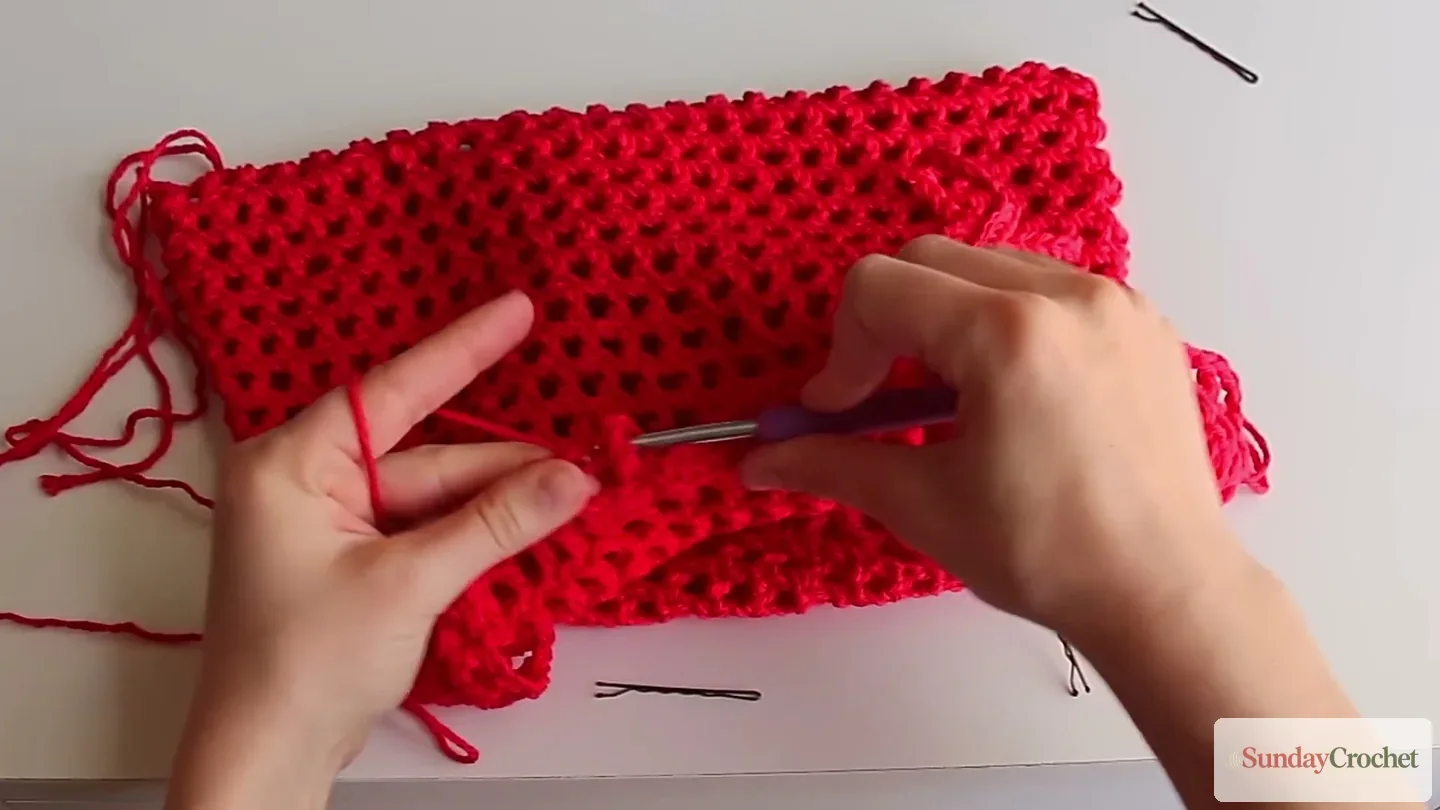
Reinforce and finish
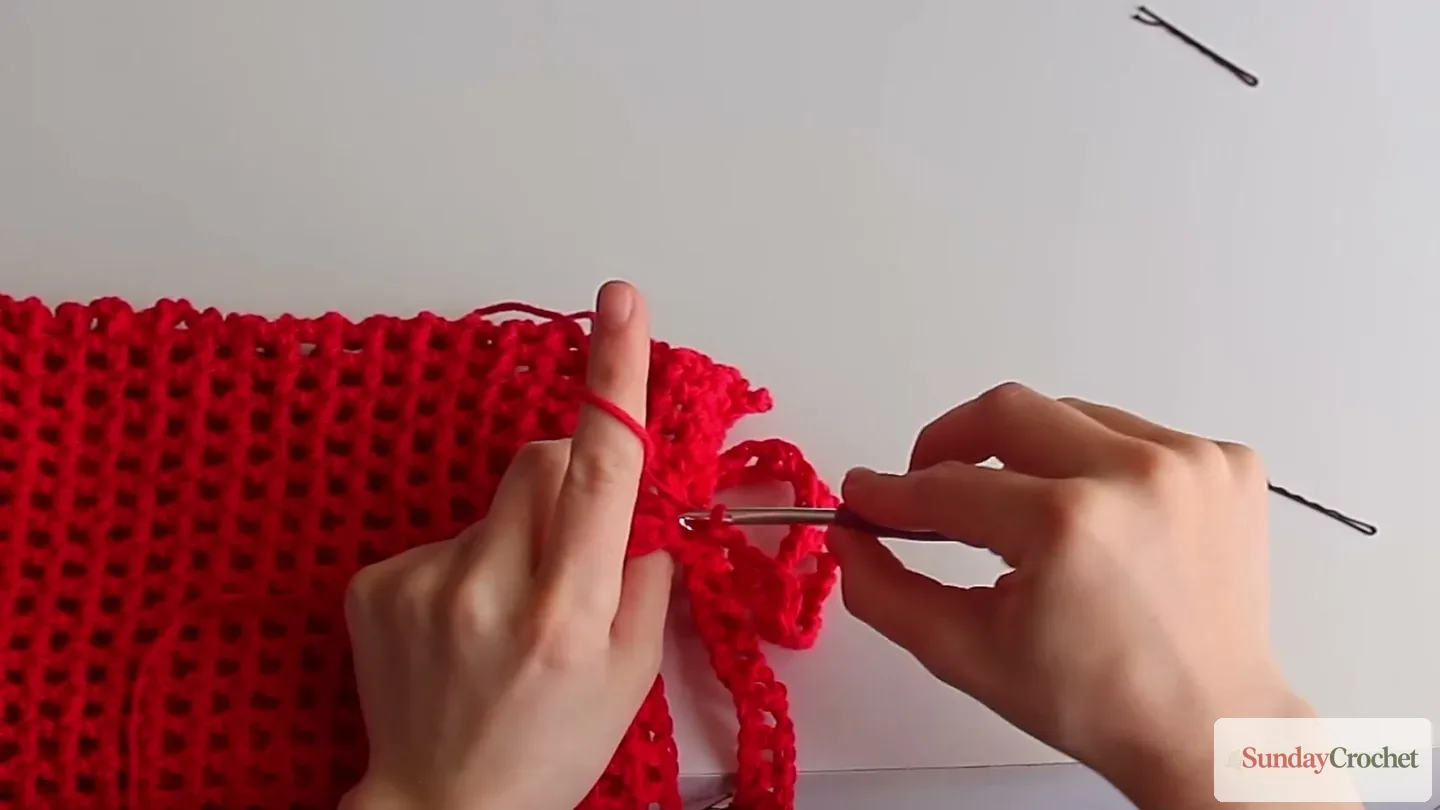
The strap is made from open mesh, so the sample adds slip stitches along it to reduce stretching. Starting at one side of a strap, sl st along the edge of the dc post, across the chain stitches, and up the opposite dc post. Continue the reinforcing slip stitches along the other side of the strap and back to the opposite attachment. The hook can feel snug through some of the stitches. Work slowly and ease it through rather than tugging the mesh out of shape.
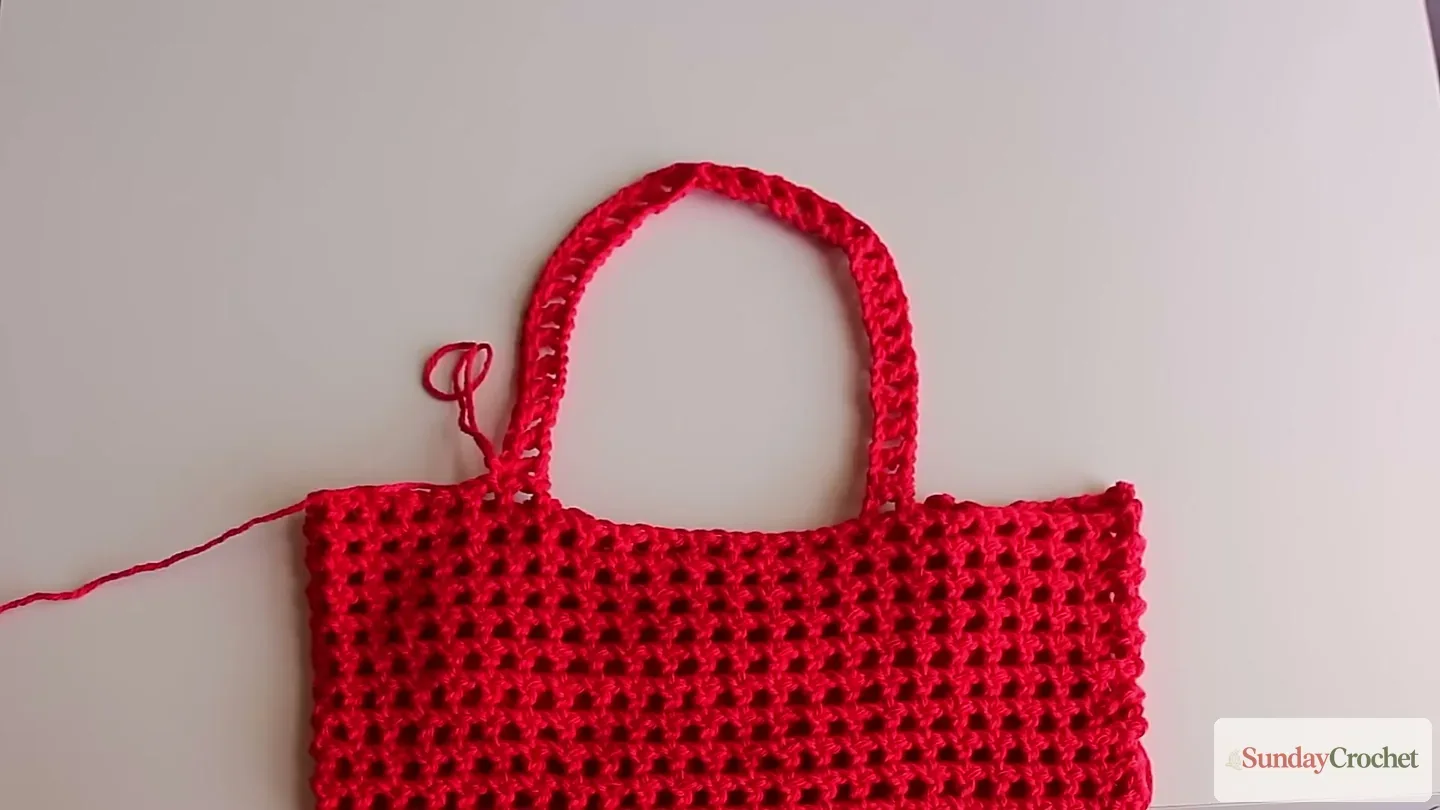
Repeat the same reinforcement for the second strap section. Continue the mesh pattern around the opening between the marked areas, then finish the round, fasten off, and weave in the yarn ends with a needle. Check that both straps lie flat and that their attachment points match before trimming the tails.
Follow the construction at a glance
Sizing and everyday use
The foundation chain is the easiest place to change the width. The 47-chain version is about 12 inches wide, while 59 chains makes a 15- to 16-inch version in the demonstrated yarn and hook. A longer chain uses more yarn, and the body and straps add more, so the precise amount depends on your materials and tension. The original instructions do not give yardage.
Height comes from repeating the joined mesh round. Around 18 rows gives the sample about 11 to 11.5 inches of height once stretched, but you can stop when your own bag reaches the depth you want. Keep in mind the open stitch pattern has give. Cotton helps limit stretch compared with acrylic, but it will not make the bag rigid or lined.
The strap chain can also be adjusted. The sample’s 61-chain handle is a useful starting point. If you change its length, use the same odd number for both handles and keep their attachment points mirrored. The slip-stitch reinforcement is part of the design because it helps the long mesh strap resist stretching. This bag is intentionally airy rather than a close-woven carryall.
If you enjoy handmade bags with a firmer shape, the smaller ring-handle design uses a compact body and metal handles. For a roomy carryall built from shaped panels, the star motif version joins two matching panels.
Common questions
How wide is the sample bag?
The sample starts with 47 chains for a width of about 12 inches. The wider option uses 59 chains for approximately 15 to 16 inches. Treat these as estimates, since your yarn, hook, and tension change the result.
How many rows should I crochet for the body?
The sample uses about 18 rows before the straps and measures around 11 to 11.5 inches high after stretching. Repeat the mesh round until your bag reaches the depth you prefer, and remember that the open fabric can lengthen with use.
How long should I make the handles?
The sample uses 61 chains for each long handle section. The chain count is adjustable, but keep it odd and use the same count for both sides. The strap is then worked in mesh and reinforced with slip stitches.
Is cotton required?
No. Cotton is used in the sample because it stretches less than acrylic, but another yarn can be used. The exact yardage is not provided, and a different fiber may change the bag’s size and stretch.
Does the pattern include a lining?
No. The tote is an open mesh bag with no lining or closure. Choose items that are suitable for an airy, unlined bag.
The mesh repeat makes this tote easy to resize without changing the construction. Pick a width with an odd foundation chain, repeat the body to the depth you want, then keep the two handles matched and reinforced. The result is a lightweight bag that folds flat and opens up when you need a little more carrying room.


