
· Sunday Crochet
In this pattern
01 · A roomy tote with a graphic finish02 · Yarn & tools03 · The pattern04 · Fit and finishing tips05 · Common questionsA roomy tote with a graphic finish
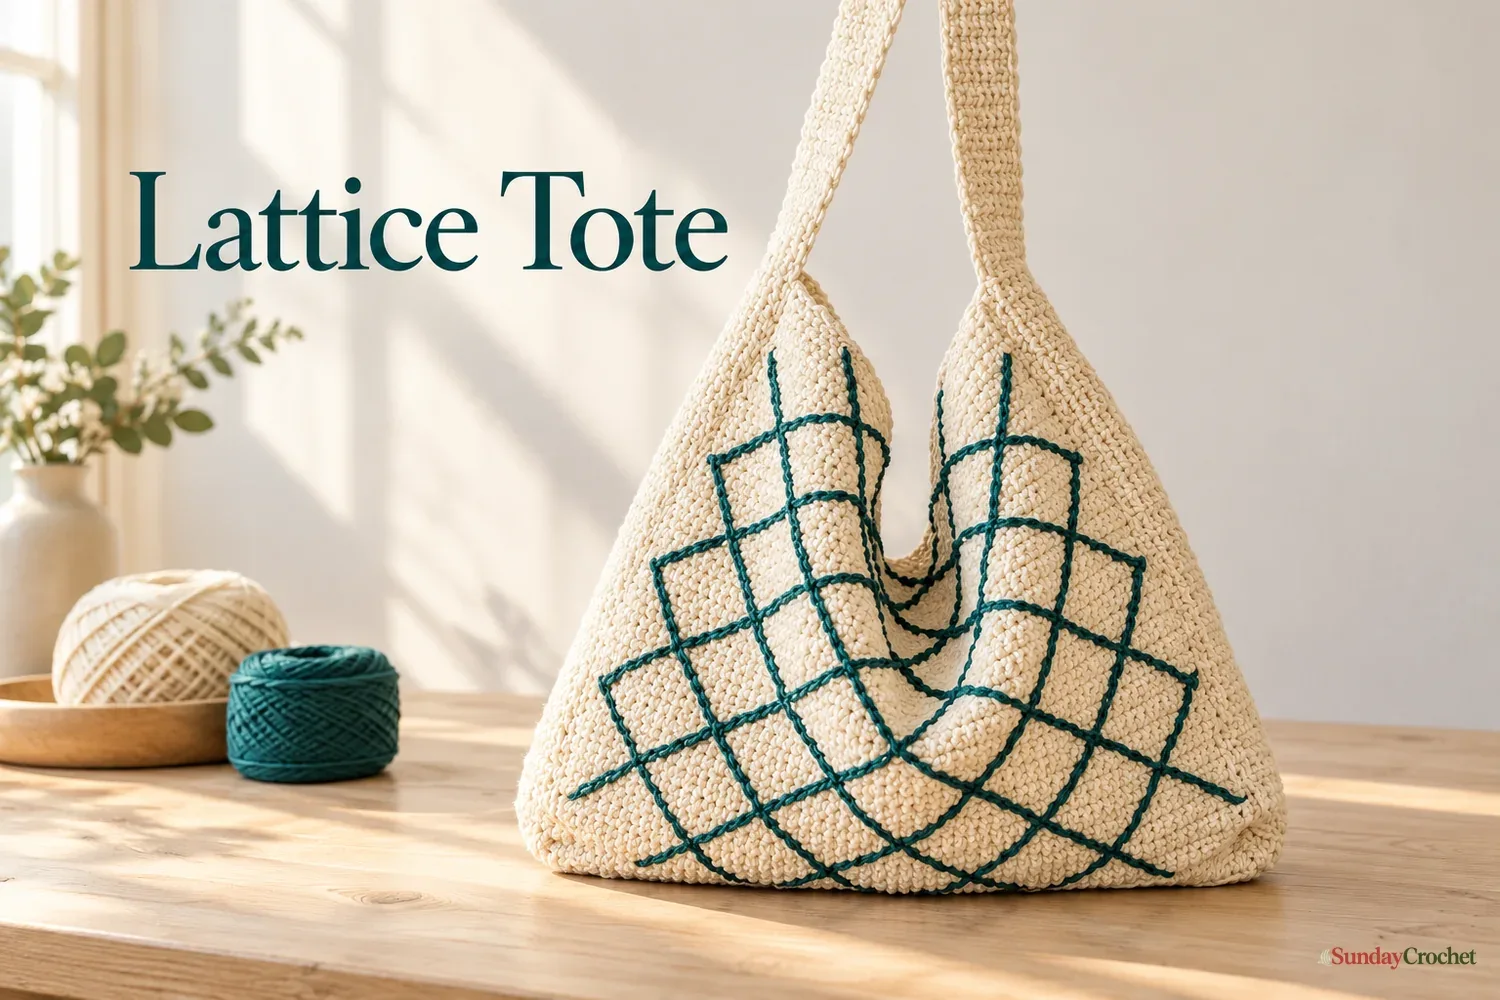
This crochet tote starts with two simple rectangular panels and turns them into a sturdy, everyday bag with a dense bottom and a long strap. Surface slip stitches create the diamond lattice on the front and back, so there is no colorwork to manage while building the main fabric. The sample combines ecru cotton with a dark teal accent, but the same construction works with any two colors that contrast clearly.
I’ll show you how I make the panels, map the lattice so both sides match, and join the bottom, border, and strap. The finished sample measures about 14 inches long by 16 inches wide, with a 2-inch-wide strap and a 16-inch drop. Crochet tightly enough to make a firm fabric, especially if you plan to carry heavier items.
Yarn & tools
Mercerized cotton gives the bag good stitch definition and a little structure while staying flexible. A sturdy worsted-weight cotton substitute is fine. Keep the hook size that helps you meet gauge; if your fabric feels loose or floppy, try a smaller hook and check the swatch again. This comparison of cotton and acrylic yarn can help you decide whether another fiber suits the way you plan to use the tote.
The lattice is added with surface slip stitches after each panel is complete. Choose a contrast shade that is easy to see against the main color. The base and strap are worked in the main color with a thermal stitch, a dense technique that catches a loop from the current row and a loop from the row below.
Abbreviations
These instructions use US crochet terms: ch = chain, hdc = half double crochet, lp = loop, rep = repeat, RS = right side, sc = single crochet, sl st = slip stitch, st(s) = stitch(es), and WS = wrong side. A turning chain of 1 does not count as a stitch. When a direction says “back loop,” work under the back loop only unless it says otherwise.
The pattern
Before you begin
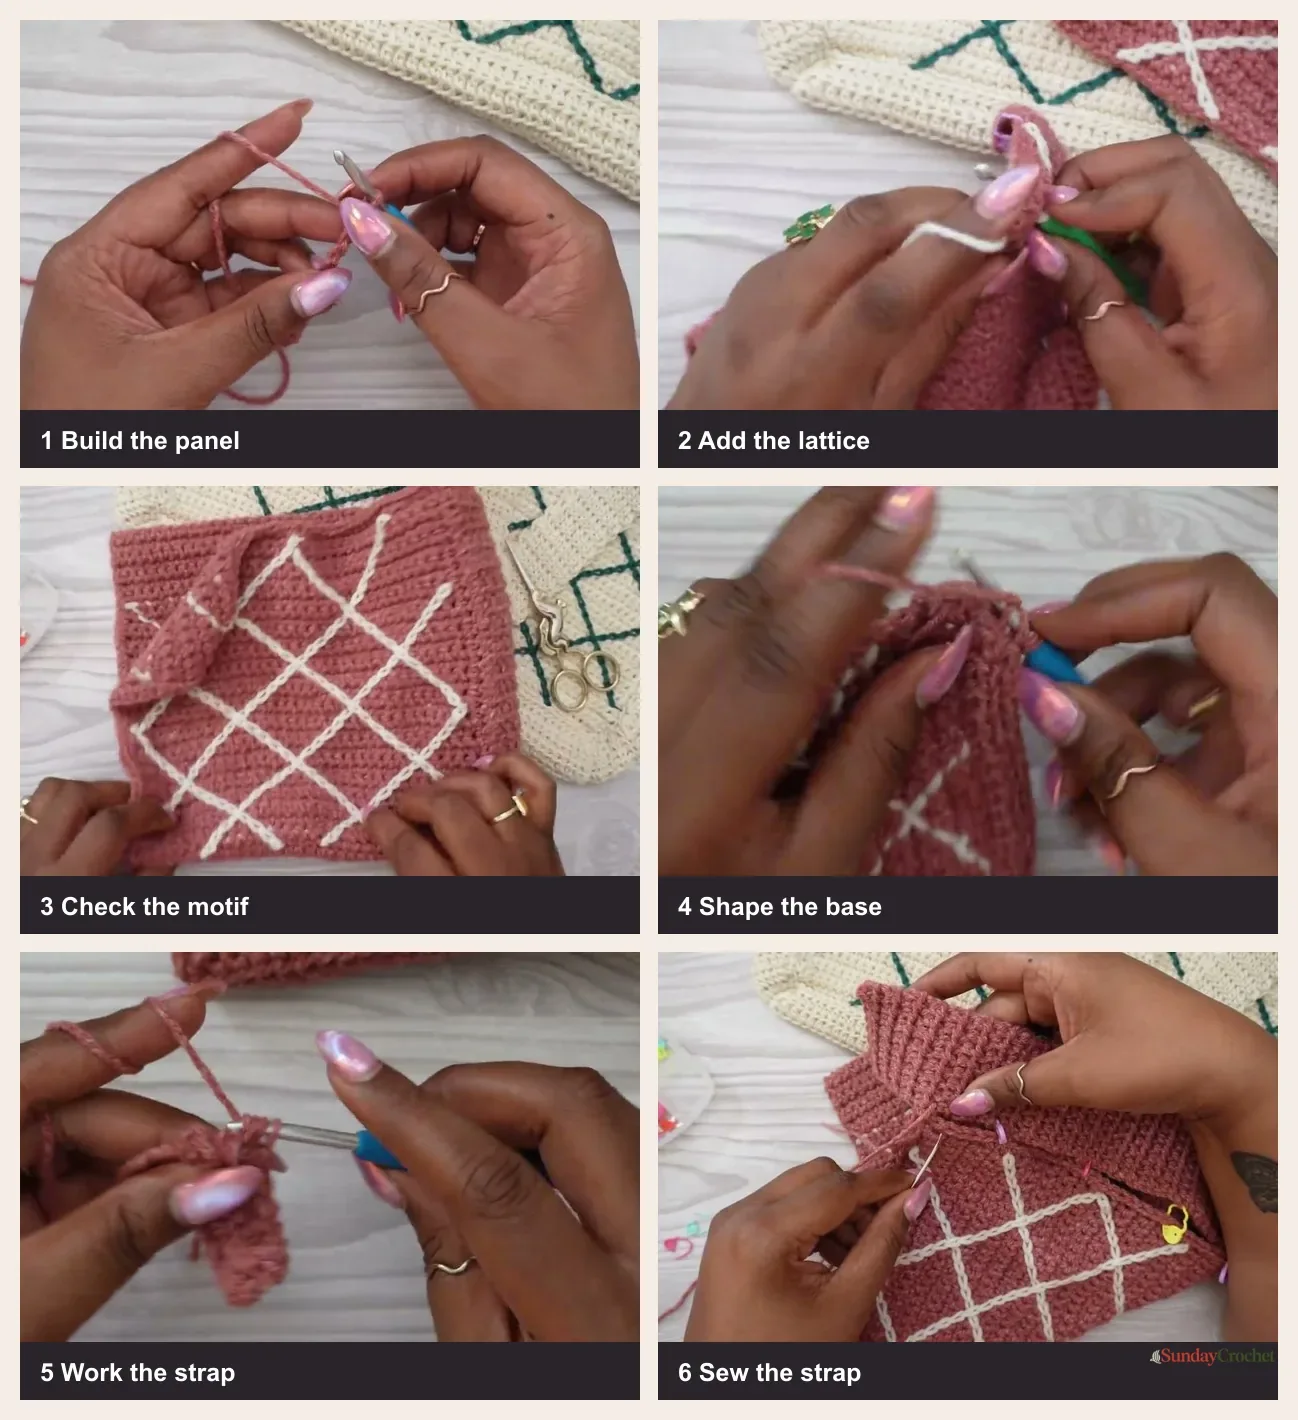
Make two matching panels, then add the lattice to each one while it is flat. The bottom is worked along the foundation edge of one panel, across eight rows, then whip-stitched to the second panel. A single crochet border tidies the sides and opening. The strap is a separate thermal-stitch strip, so you can test its length before sewing it in place.
Gauge is 16 sc and 16 rows over 4 inches. To check it, crochet a small single-crochet swatch in the same yarn and hook, then measure after it has relaxed. If you have more stitches in 4 inches, your stitches are tighter than the pattern gauge; if you have fewer, they are looser. The tote can still work with a different gauge, but the finished measurements and amount of yarn will change.
Main panels, make 2
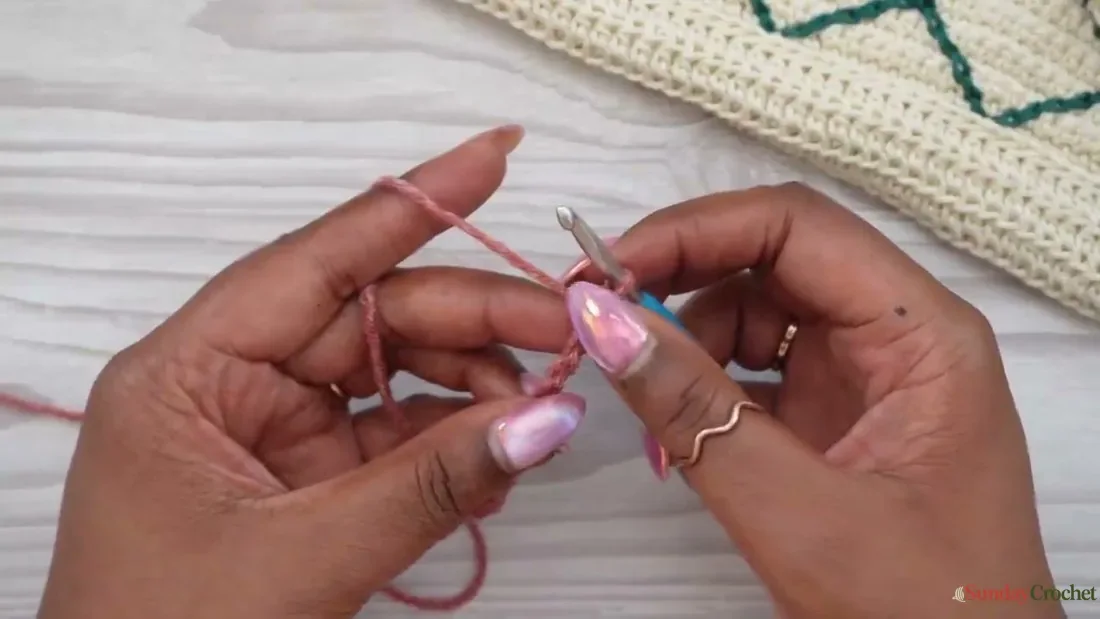
With the main color, chain 58. Work into the back bumps of the chain for a neat foundation edge.
Row 1, RS: Sc in the back bump of the second ch from the hook and in each ch across. You will have 57 sc. Turn.
Row 2, WS: Ch 1, then sc in each st across. The ch 1 is only for height and does not count as a stitch. Turn.
Rows 3–55: Repeat Row 2. Keep the edges straight and count the stitches now and then. Each row should have 57 sc. Fasten off and weave in the end. Make a second panel the same way.
The main fabric should be dense enough that the lattice sits on top without sinking into large gaps. Before you add the contrast yarn, lay both panels flat and confirm that their top edges, side edges, and row counts match.
Mark the lattice
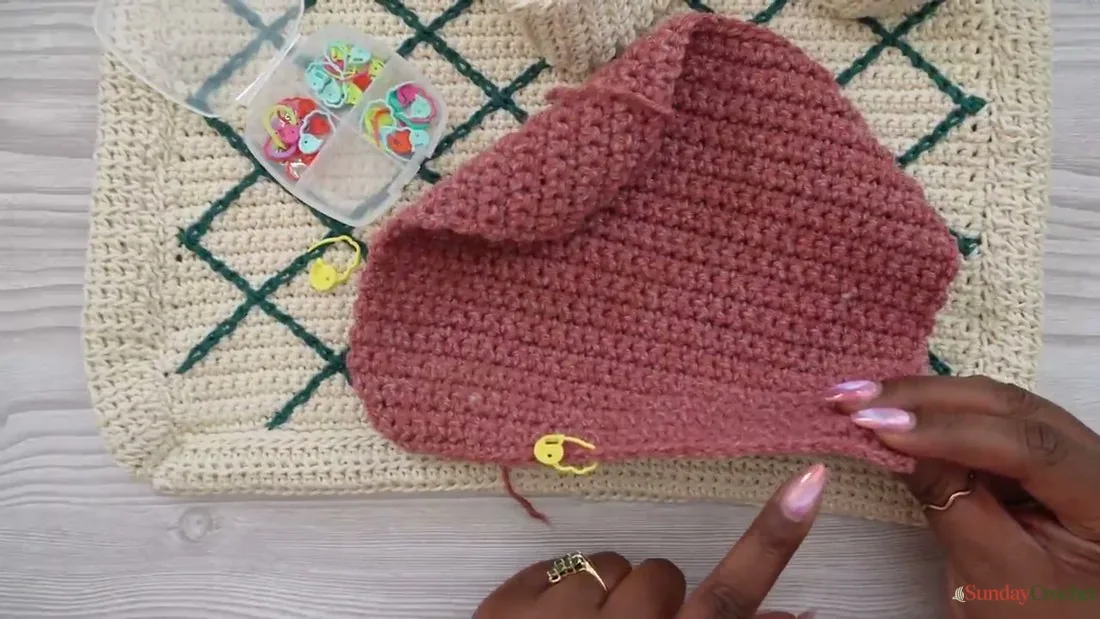
Work with the RS of one panel facing you. Use locking markers to mark the points where the diagonal lines begin and end. These markers are guides, not stitches.
Along the bottom foundation chain, count from the right toward the left and place markers at chains 18, 29, 40, and 51. Along the top edge, again count from right to left and mark stitches 18, 29, 40, and 51. Along the left edge, count rows from the bottom upward and mark rows 5, 16, 27, 38, and 49.
Surface-crochet the diamonds
Use the contrast color and keep the RS of the panel facing you. The yarn travels along the WS as you surface-crochet, so avoid pulling it too tight. Each surface slip stitch should lie flat on the fabric without puckering it.
For a diagonal that climbs toward the right, make a slip knot and place it on the hook. Insert the hook through the fabric at one of the bottom markers, yarn over from the WS, and pull a loop through to the RS. Insert the hook one stitch to the right and one row higher, yarn over from the WS, and pull through the fabric and the loop already on the hook. That is one surface slip stitch. Continue in the same direction, moving one stitch right and one row up for each stitch, until you reach the right edge of the panel. Fasten off.
Repeat for each bottom marker. Then work from the left-edge markers at rows 5, 16, 27, and 38, moving up and right until each line reaches the right edge. Do not start from row 49 for this upward set. These parallel lines form one half of the diamond grid.
For the crossing diagonals, begin at each top marker and work down toward the right. Move one stitch right and one row down for each surface slip stitch until the line reaches the right edge. Repeat at all four top markers. On the left edge, work from rows 16, 27, 38, and 49, moving down and right to the right edge and leaving out row 5 for this downward set. Fasten off each line and weave in the contrast-color ends on the WS.
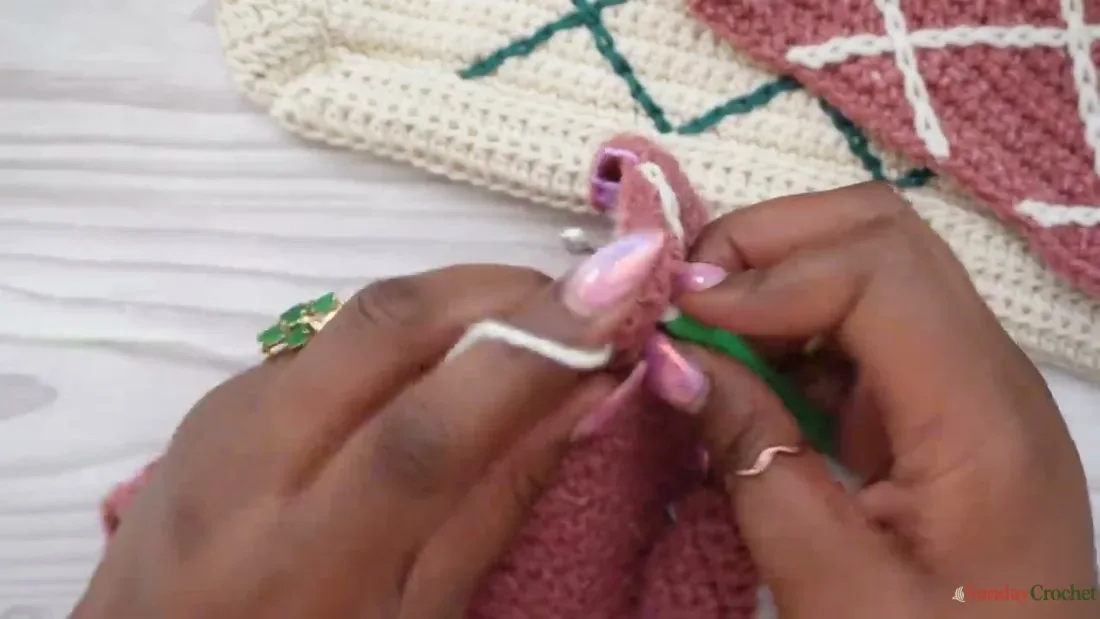
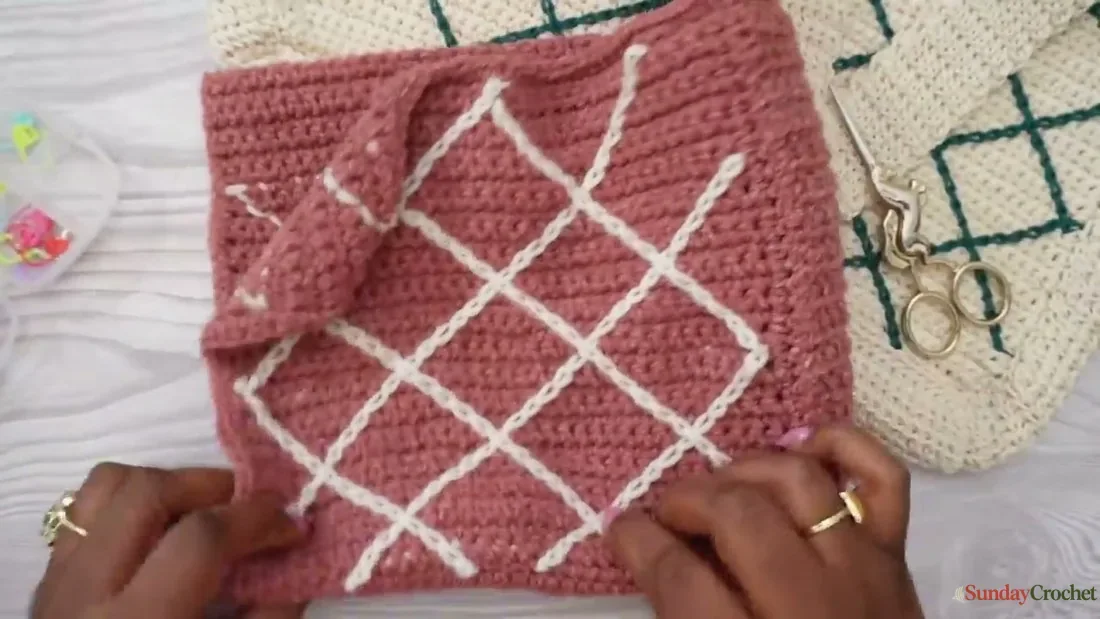
Repeat the same marker placement and line directions on the second panel. Lay the panels side by side with the lattice oriented the same way before moving on. This quick check prevents one side from looking like a mirror image of the other by accident.
Work the thermal-stitch bottom
Choose one panel and rotate it so the foundation chain is at the edge nearest your hook. Keep the RS facing up. Join the main color with a slip stitch at the bottom-right corner.
Row 1: Ch 1, then hdc in the back loop of each foundation chain across. You will have 57 hdc. Turn.
Row 2: Ch 1. Hdc across, inserting the hook through the back loop of the current stitch and the free loop of the foundation chain below it. Turn.
Row 3: Ch 1. Hdc across, catching the back loop of the current row and the free loop from one row below. Turn.
Rows 4–8: Repeat Row 3. The stacked loops create a thick, firm base. Fasten off with a tail about 2.5 times the width of the panel. Keep the tail long enough to sew the last bottom row to the foundation edge of the second panel.
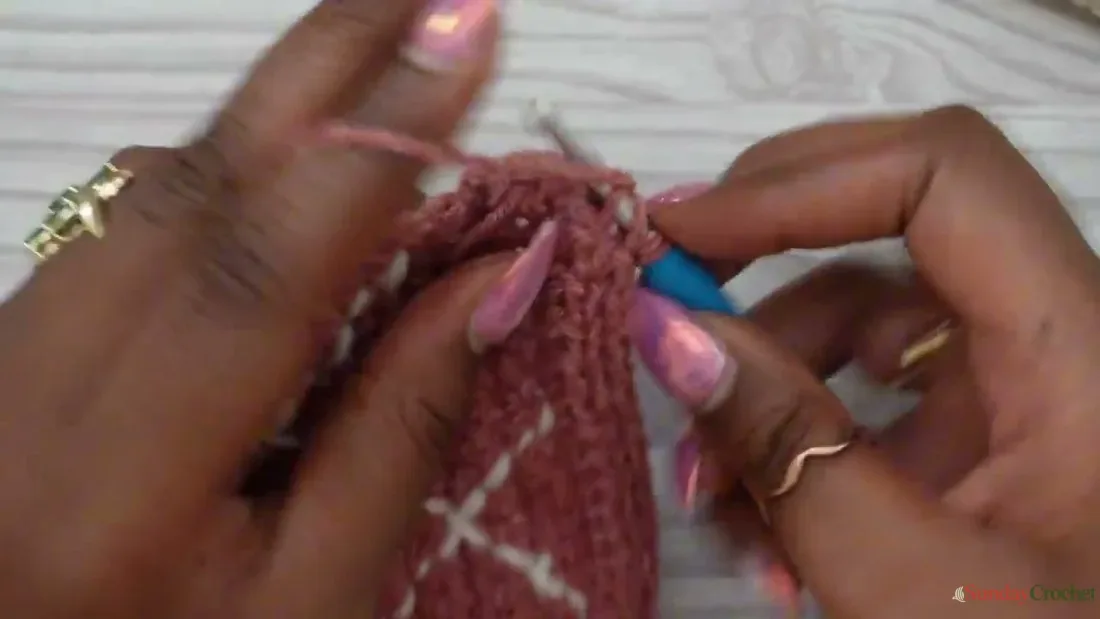
Lay the second panel flat with its RS facing up. Place the first panel beside it, also RS up, with the bottom strip between their foundation edges. Use the long yarn tail to whip stitch the last row of the strip to the bottom of the second panel. Take even passes through corresponding loops so the base does not twist. Weave in the tail securely.
Add the border
With the RS facing, join the main color with a slip stitch at the upper-left corner of one panel and ch 1. Sc in the same stitch. Work down the side by placing one sc in each row end, across the bottom edge, and up the opposite side. At the top corner, work 3 sc into the corner stitch to turn neatly.
Continue across the top opening with one sc in each stitch, then work 3 sc into the next corner. Continue around the remaining edges, placing 3 sc in each corner as you reach it. When you return to the beginning, work 2 sc into the first stitch and join with a slip stitch to the first sc. Fasten off and weave in the ends. Keep your border stitches even, especially along the row ends, so the opening stays level.
Make and attach the strap
With the main color, chain 9. Work an hdc into the back bump of the second chain from the hook and each chain across. You will have 8 hdc. Turn.
Row 2: Ch 1, then hdc across, catching the back loop of each stitch and the free loop of the starting chain below. Turn.
Row 3: Ch 1, then hdc across, catching the back loop of the current stitch and the free loop one row below. Turn. Repeat Row 3 until the strap measures about 60 inches long, or until it reaches the drop you want. The sample strap is about 2 inches wide and has a 16-inch drop when attached. Pin it temporarily to the bag and try the length before fastening off; add or remove rows to suit your height and carrying preference.
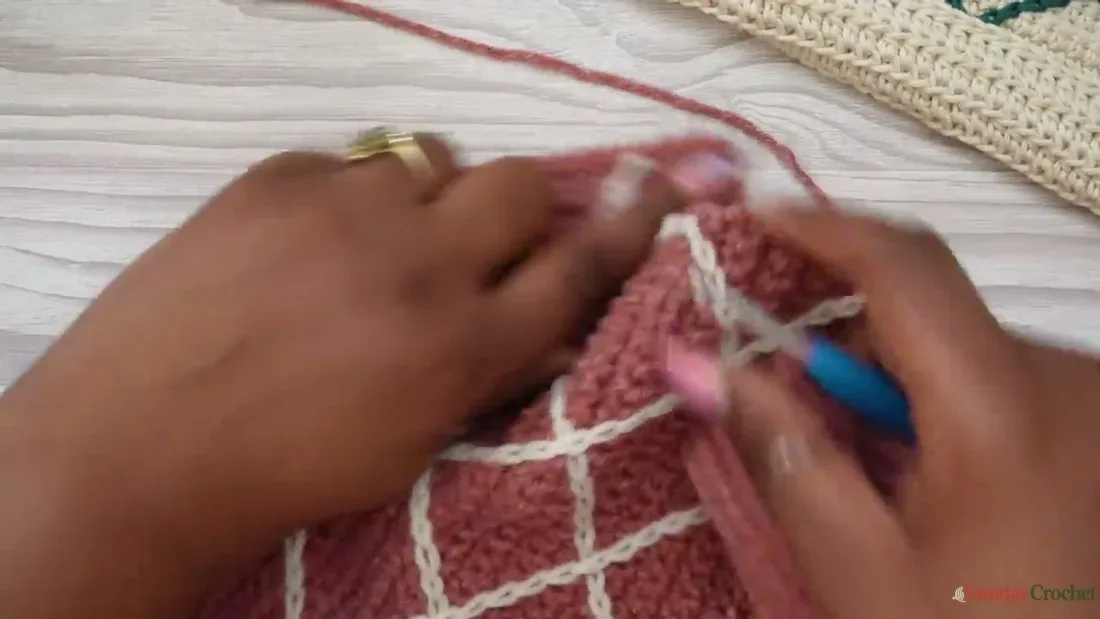
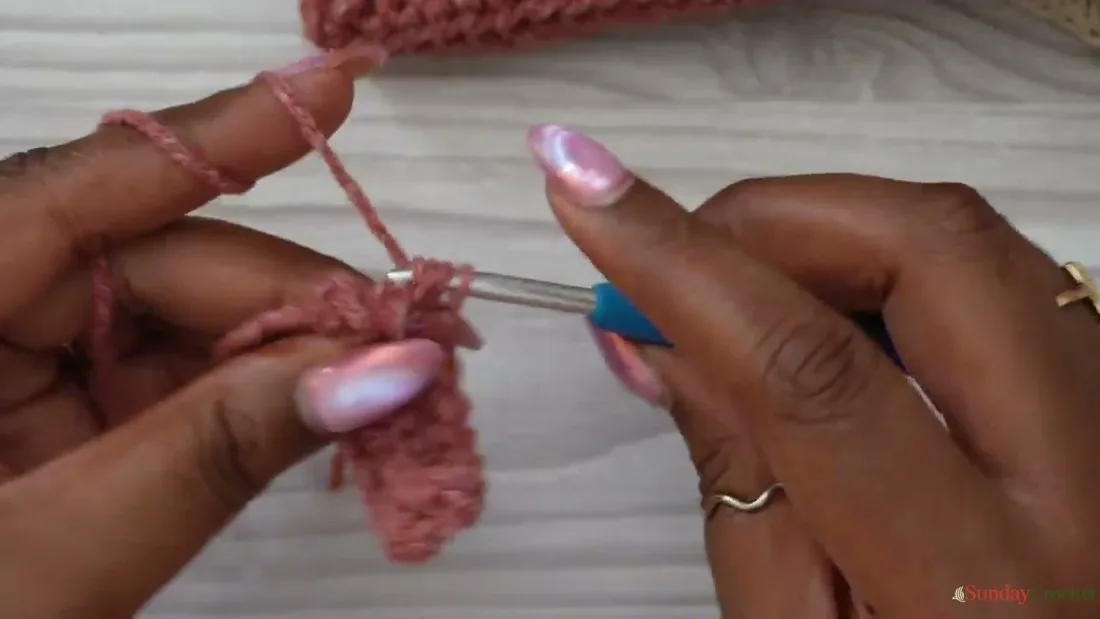
Fold the bag in half with the wrong sides facing each other. Align one end of the strap with the bottom and pin it in place. Match the sides of the panels evenly along the strap, pinning as you go so the strap lies naturally without being stretched. With the main color and starting at the top-left corner, whip stitch the strap to the bag along the pinned edge. Repeat on the other side, keeping the panels and strap aligned.
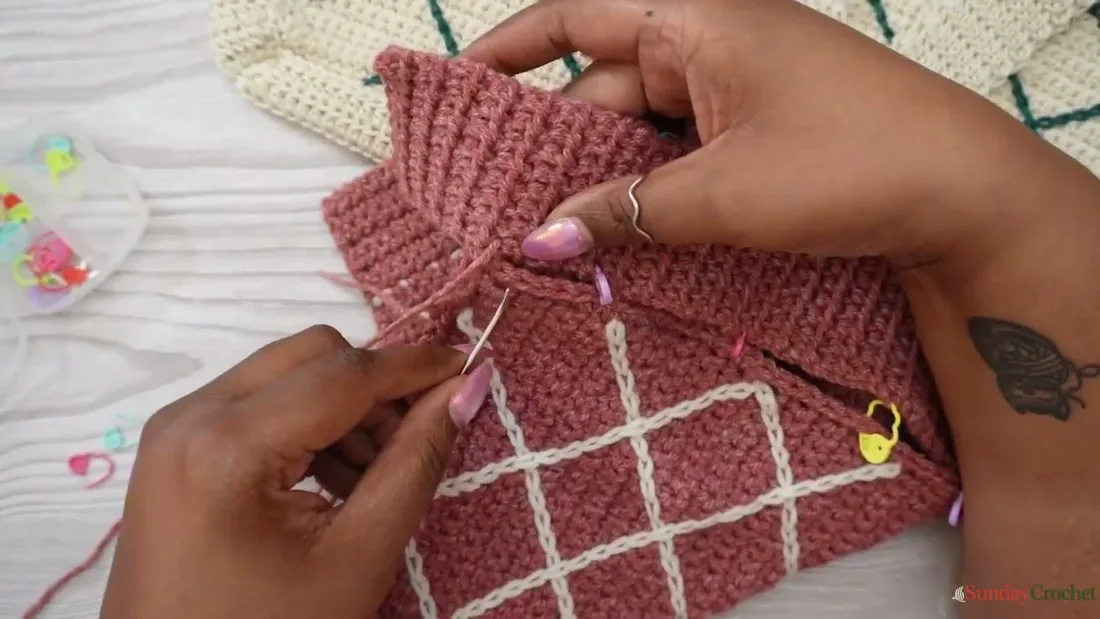
Weave in all remaining ends. Lightly steam block the bag if the panels or border need to relax into shape. Keep the iron or steamer just above the cotton rather than pressing down on the stitches, and let the piece dry fully before loading it.
Fit and finishing tips
The panel size is set by the 58-chain foundation and 55 rows, so changing either measurement changes the bag proportions. If you want a narrower or wider tote, adjust the number of starting chains while keeping an even, firm fabric. If you change the panel length, keep the two panels identical. The surface lattice spacing comes from the marked chain, stitch, and row positions, so recalculate those positions evenly if you resize substantially.
The strap is the easiest part to personalize. Try the bag on with the strap pinned in place, then adjust the length before weaving in the final end. A shorter strap makes a high crossbody fit, while extra rows lower the bag.
Common questions
Is this tote suitable for a first crochet project?
It is a good project for someone comfortable with chains, single crochet, half double crochet, slip stitches, counting rows, and basic sewing. The panels are repetitive, but the surface lattice and thermal stitch require a little attention. If these terms are new, this plain-language guide to written crochet instructions can make the abbreviations and row directions easier to follow.
Can I use acrylic yarn?
You can, but cotton gives the bag a firmer fabric and crisp stitch definition. Acrylic may stretch more under weight, so make a gauge swatch and consider whether that drape suits your intended use.
Do I have to use two colors?
No. The contrast lattice is decorative. A single-color bag will still have the same shape and construction, though the diamond pattern will be subtler.
How do I keep the two lattice panels aligned?
Use the same marker counts and keep both panels oriented with the foundation edge at the bottom. Before joining, place them side by side with the right sides up and compare the direction of the diagonal lines.
Can I change the strap length?
Yes. The strap is worked until it reaches about 60 inches, then pinned to the bag for a fit check. Add or remove rows before attaching it so the finished drop feels comfortable on your body.


