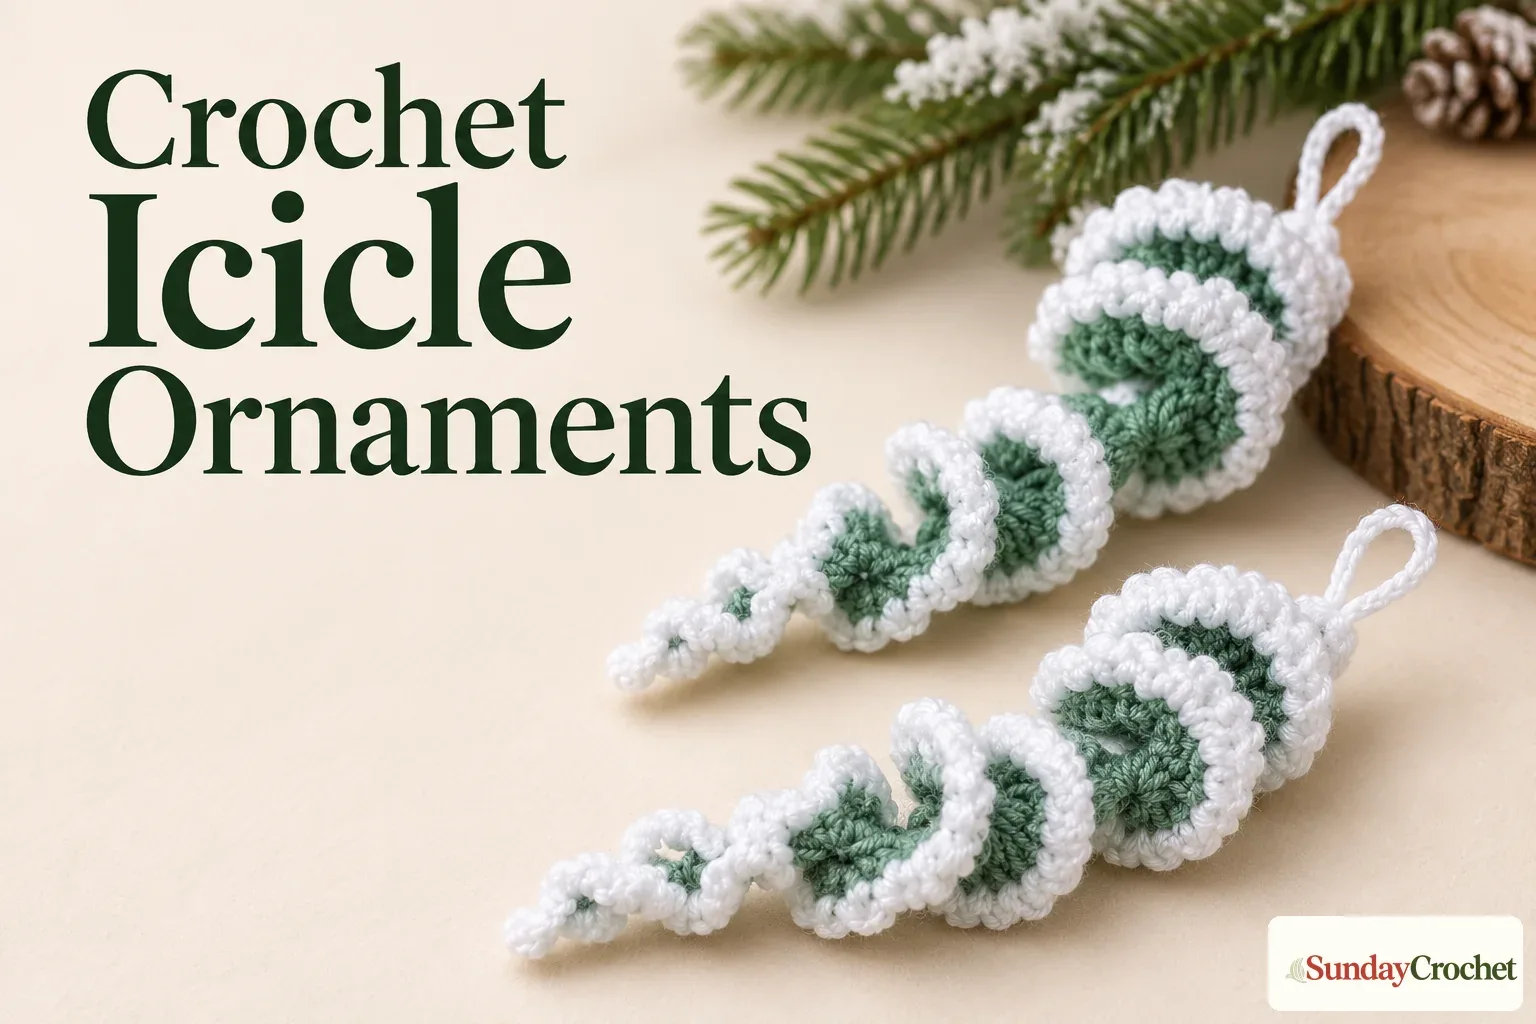
A ruffled spiral and a hanging loop give this two-color icicle its wintery shape. · Sunday Crochet
In this pattern
01 · A frosty spiral for your tree02 · At a glance03 · Yarn & tools04 · Abbreviations05 · Before you begin06 · The pattern07 · Stitch counts, gauge, and finished size08 · Finishing and assembly09 · Common questions10 · A quick spiral ornament for a handmade treeA frosty spiral for your tree
This small crochet icicle ornament gets its ruffled shape from fan-like stitch groups worked along both sides of a foundation chain. The stitches step from tall to short, then back to tall, while a contrasting slip-stitch edge adds a bright outline. A long chain loop finishes it as a hanger. Make one in icy white and green, or change the colors to suit the rest of your holiday decorations.
I’ll show you how I make the foundation, build the five stitch-height groups, and finish the little spiral with an edging and hanging loop. The project uses familiar US stitches, but it moves between several heights, so count each cluster as you go. The stitch counts below are the counts clearly given for each group. No gauge, finished measurement, or complete total for each edge round is provided, so I’ll keep those limits visible rather than guess.
At a glance
- Skill level: Confident beginner, an editorial assessment. You should know chain, slip stitch, single crochet, half double crochet, double crochet, and triple crochet.
- Terminology: US crochet terms throughout.
- Finished size: Not specified. The final size depends on yarn, tension, and how tightly you shape the spiral.
- Gauge: Not specified and not needed to repeat the ornament as a decorative accent.
- Construction: One long foundation chain is worked on both sides. A contrasting edge, a small chain point, and a hanging loop complete the piece.
- Stuffing or sewing: None. The ornament is not stuffed and has no separate parts to sew together.
Yarn & tools
Use a smooth yarn that lets you see where the foundation chain sits beneath each cluster. A little contrast helps the edge read clearly, but the colors do not have to be green and white. A white and silver combination, two shades of blue, or a classic red and cream pair would all suit the same form. Check the label if you want to substitute fiber or yarn weight, since those choices change the size and stiffness. This quick yarn-label check can help you compare fiber, weight, and care information before you begin.
Abbreviations
- ch: chain
- sl st: slip stitch
- sc: single crochet
- hdc: half double crochet
- dc: double crochet
- tr: triple crochet
- edc: elongated double crochet, the taller-than-dc stitch used between the double and triple crochet groups
These are US names. A UK pattern may use different names for the same stitch heights, so it helps to check the terminology and repeat instructions before starting. The stitch groups in this ornament are worked into selected anchor chains rather than one stitch into every foundation chain.
Before you begin
Make a slip knot and leave a tail long enough to weave in at the end. Keep the 34-chain foundation relaxed. A tight chain makes it hard to insert the hook into the anchor chains and can pull the center of the ornament into a stiff line. The three-chain bridges are part of the design, not extra slack to pull out.
The elongated double crochet is treated as its own stitch group. The written steps describe lengthening the first loop, then working yarn-over pull-through-two movements, but do not set out a complete standardized stitch formula. Use an elongated double crochet method you already know, and keep each one longer than an ordinary double crochet so the group sits between the shorter dc group and the taller tr group. The demonstrated motion lengthens the loop before completing the double-crochet pull-throughs. Keep all eight stitches at a similar height. If this stitch is unfamiliar, test one or two in spare yarn first, since uneven extensions can make the icicle twist lopsidedly.
The pattern
The piece is worked around the foundation, first along one side and then back along the other. The named stitch groups each contain eight working stitches. The first triple-crochet group is the exception in how it is formed: the four skipped chains count as its first stitch, so make seven triple crochets into the anchor chain to reach eight total.
Round 1
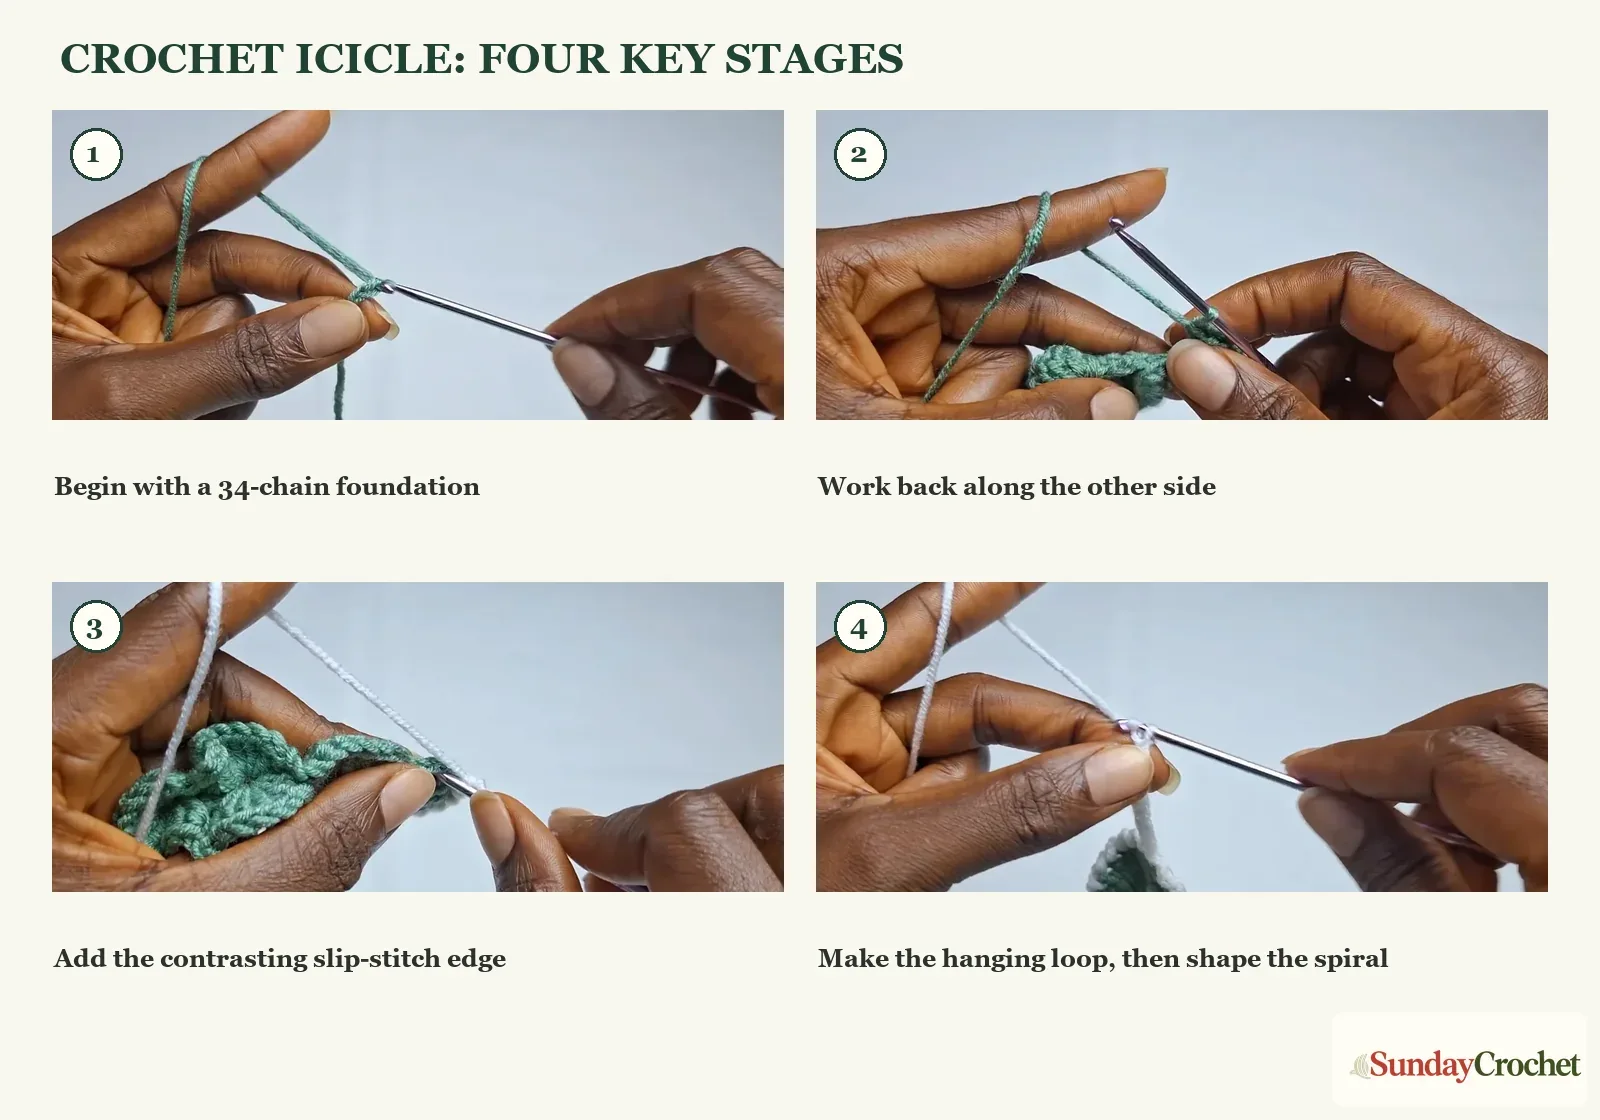
With color A and the 3 mm hook, chain 34. Skip the first four chains from the hook. Work 7 tr into the fifth chain. The four skipped chains count as the first tr, giving eight tr in this first group.
Chain 3, skip the next four foundation chains, and work 8 edc into the next chain. Chain 3, skip four chains, and work 8 dc into the next chain. Chain 3, skip four chains, and work 8 hdc into the next chain. Chain 3, skip four chains, and work 8 sc into the next chain. Keep each group in its own anchor chain so the fans spread out from the center.
Chain 3, skip the next four chains, and slip stitch into the following chain at the end of the foundation. Work 1 sc into that same chain. Chain 3, then begin the return side along the opposite edge of the foundation. Work 8 sc into the anchor space below the first sc group, chain 3, and work 8 hdc into the space below the hdc group. Continue with 8 dc in the next matching anchor, chain 3, 8 edc in the next, chain 3, and 8 tr into the anchor below the first tr group.
Join to the starting edge with a slip stitch. The two sides mirror one another, with the stitch heights rising toward the same end. Each side has five groups of eight stitches, or 40 stitches within the groups. That is a useful check while you work. It is not a complete round count because the chain bridges, skipped foundation chains, and joining stitches are not included in that subtotal.
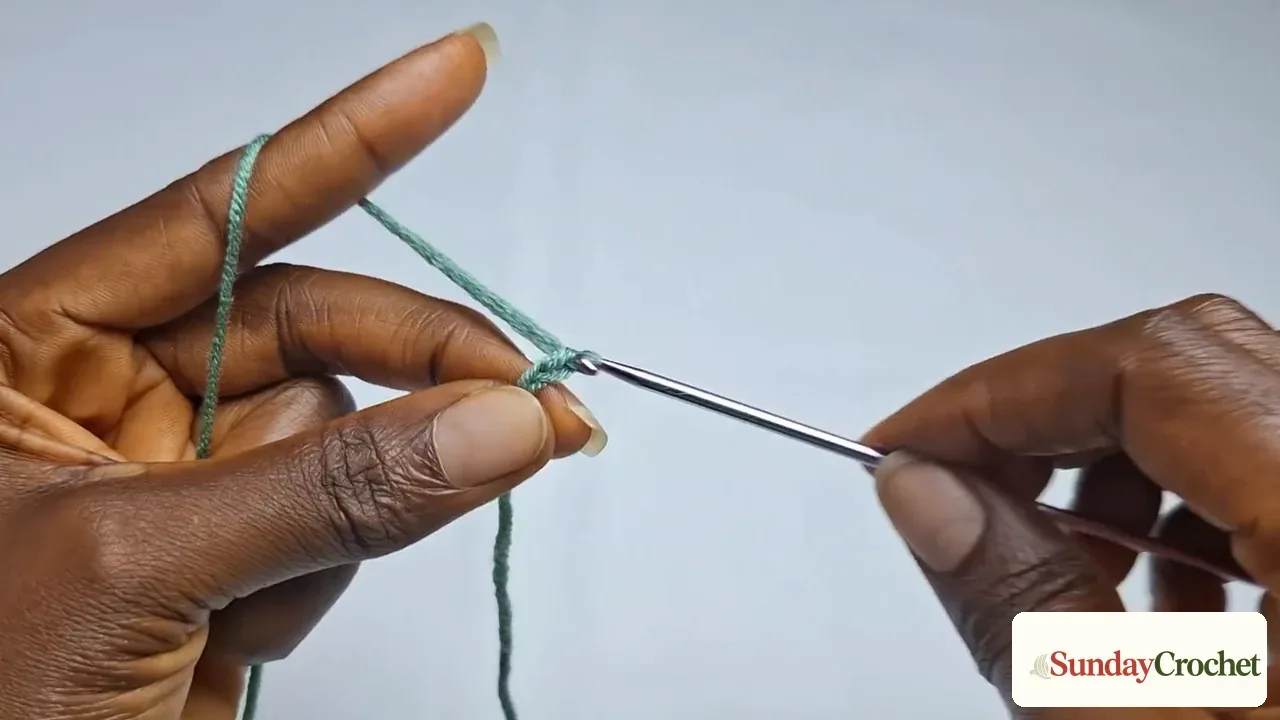
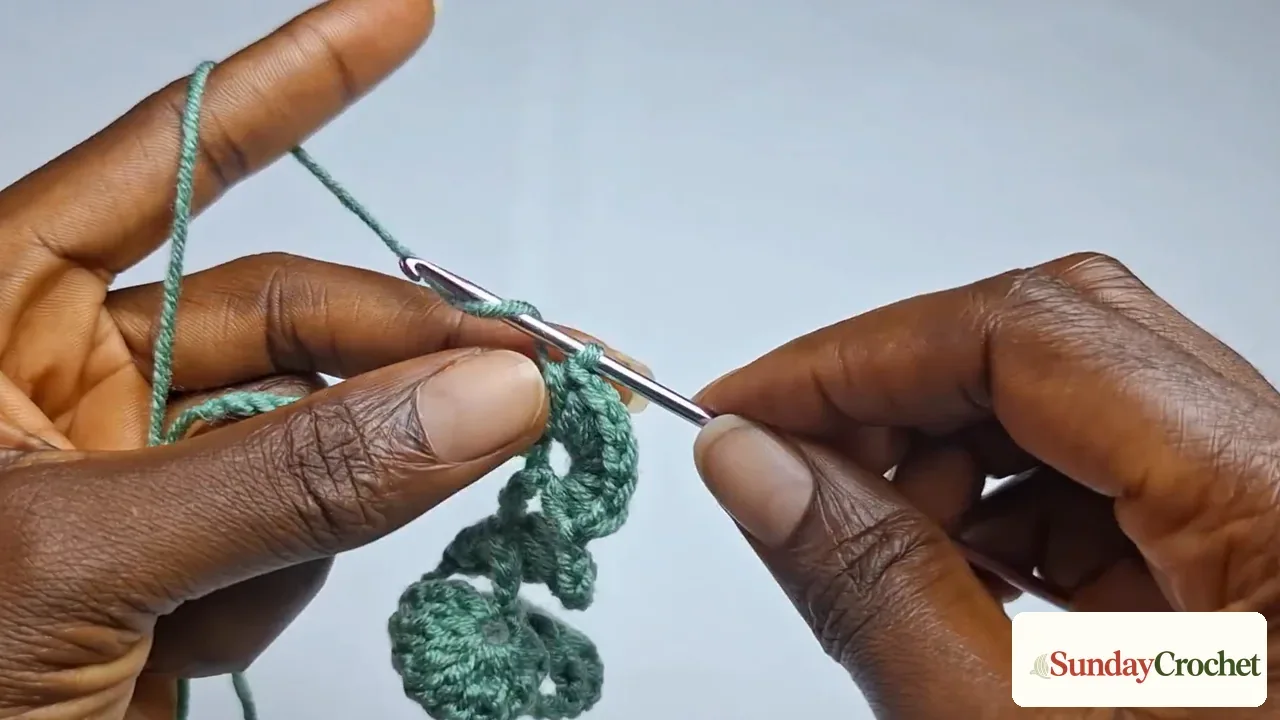
The longer groups create the rounded ruffles, while the short sc groups keep the narrow end from becoming bulky. If your foundation chain begins to curl before the return side is complete, loosen the chains and check that you are placing each eight-stitch group into the intended anchor. The first row should remain flexible enough to turn over the center chain.
Round 2
Join color B with a slip stitch into the starting chain space. Chain 1. Along the next edge, alternate a chain 1 and a slip stitch into the next stitch. Continue this rhythm across the stitches so the contrast color traces the outline rather than filling the green fan groups.
When you reach an open chain space, work the demonstrated small set of slip stitches into that space, placing a chain 1 between them. The wider turning spaces take more than one slip stitch so the edge does not sag open. Continue along the edge and across the opposite side. At the last chain space, finish the same way and slip stitch to the first stitch to close the edging.
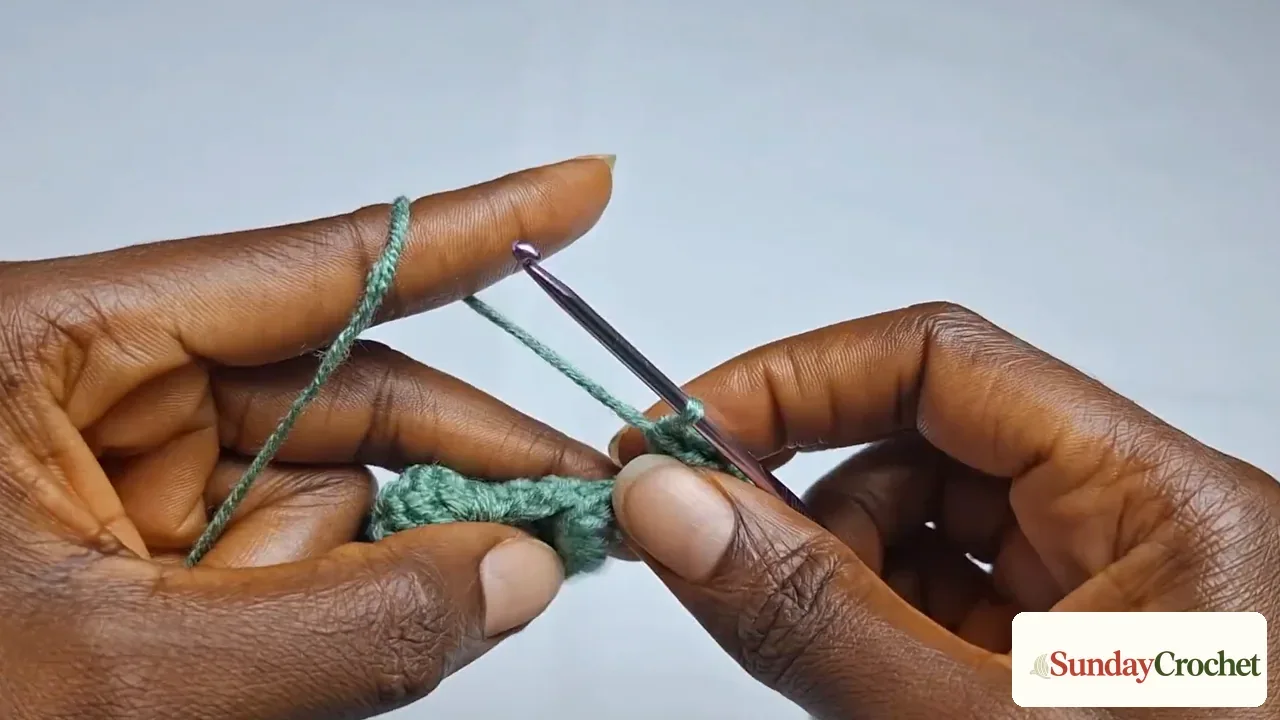
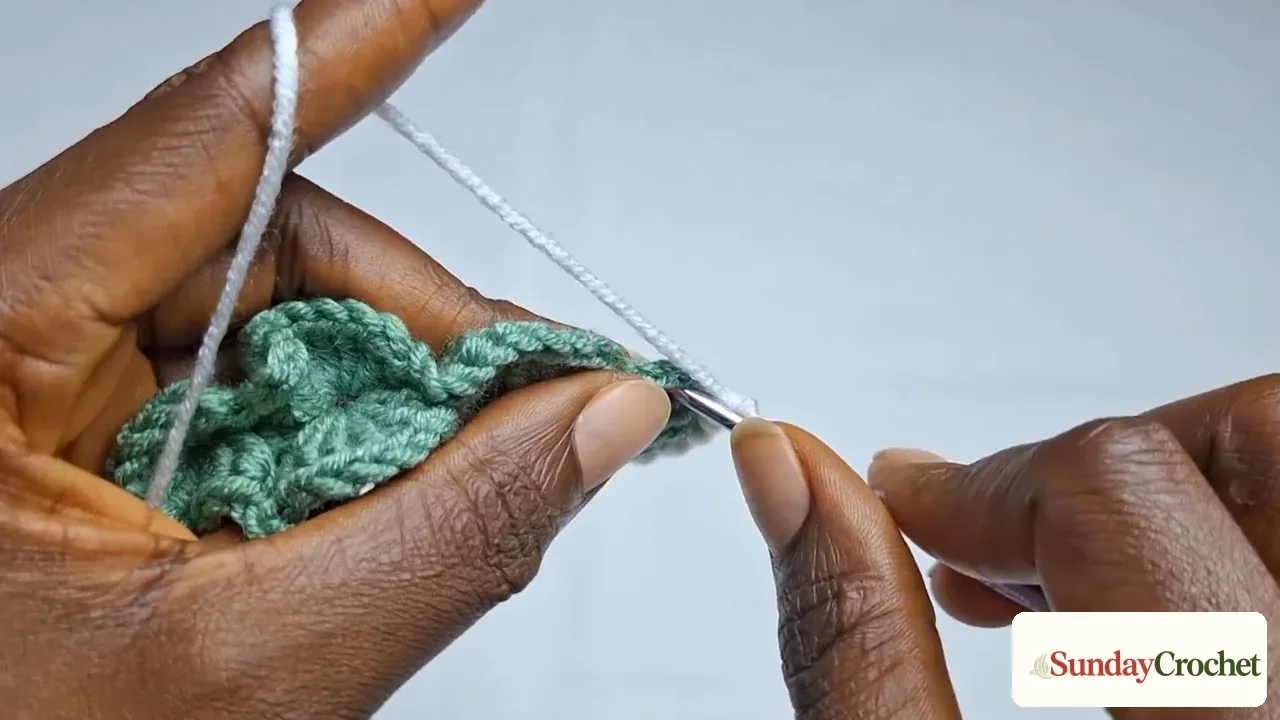
The exact number of slip stitches across a full edge is not stated. Use the stitch-by-stitch rhythm and add the extra slip stitches in the wider turning spaces as shown in the instructions above. Do not pull the chain 1 spaces tight. If the edging puckers, undo that section and lengthen the chains slightly; if it flares, check that you have not added extra chain spaces between ordinary stitches.
Round 3
Continue with color B. Work 3 sc into each indicated chain space along the edge. The groups of three create a soft scallop over the slip-stitch outline. At the pointed end, chain 5 and slip stitch back into the last stitch to secure the small point. Chain 1 and work 3 sc into the next open space, then continue with 3 sc in each following space along the other side.
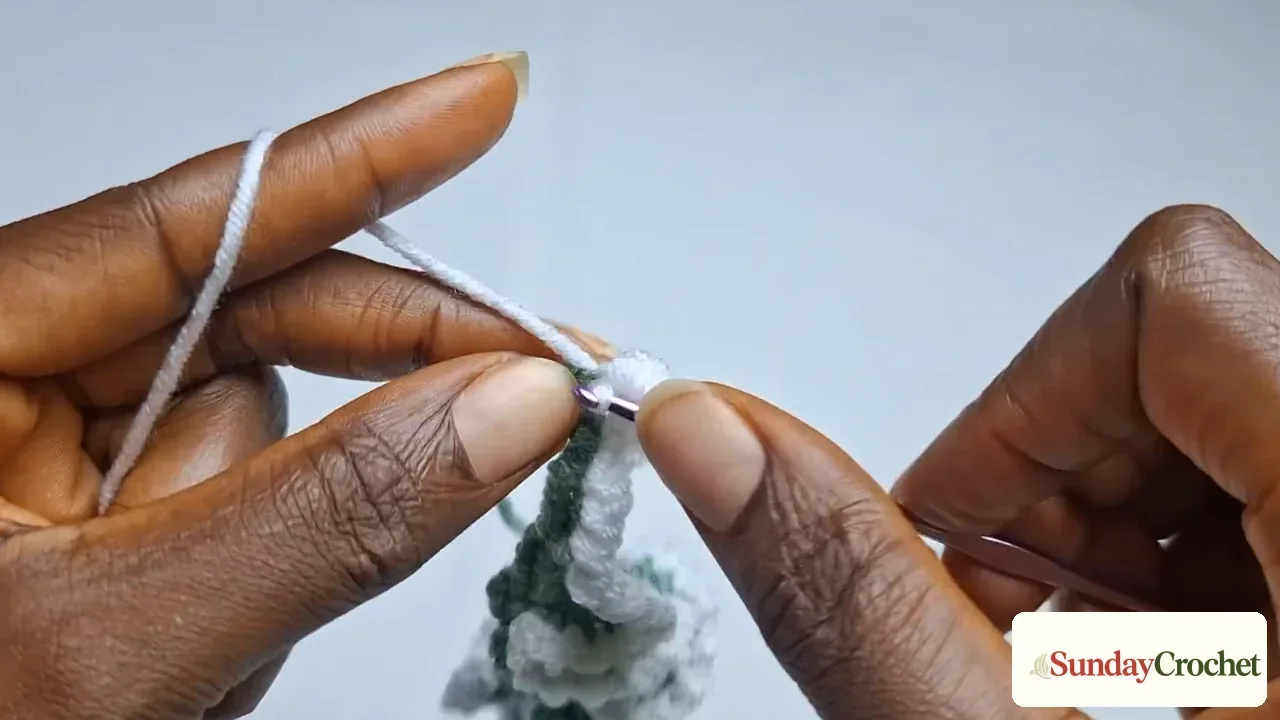
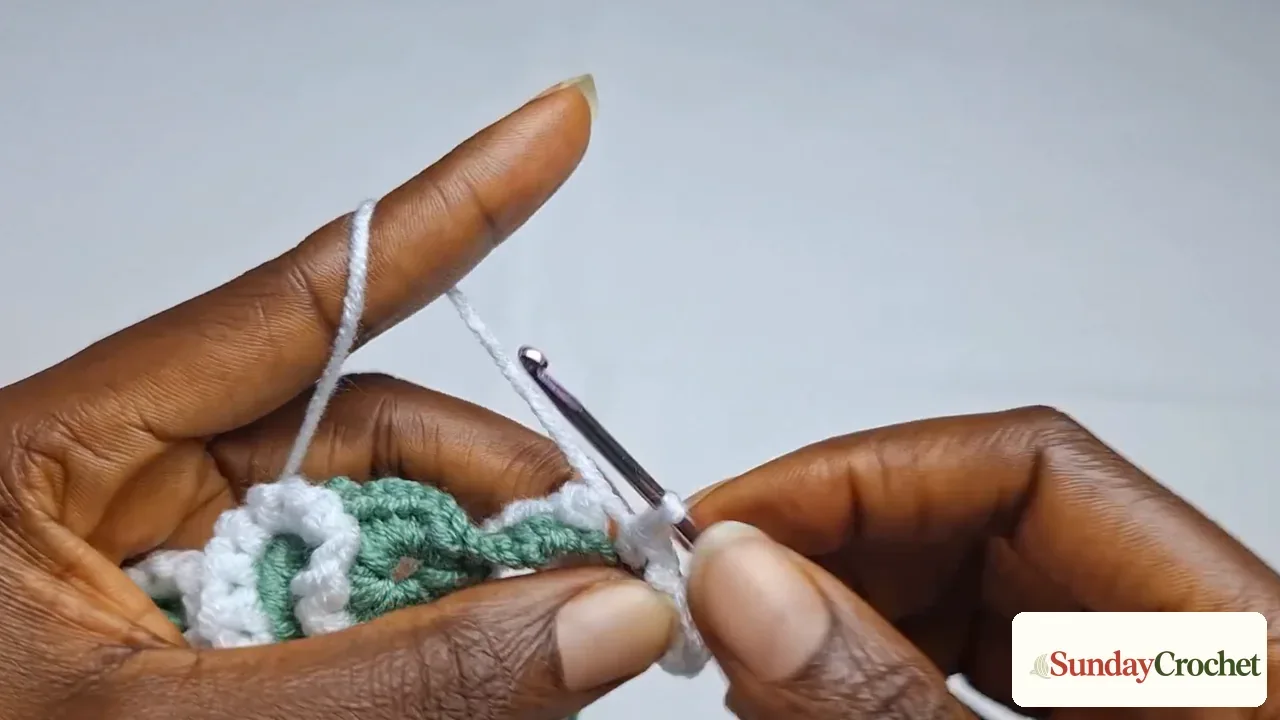
Keep the groups evenly spread instead of stacking them into one small hole. If the edge starts to cup, check that each open space has its three sc stitches. If it waves excessively, make sure you have not worked three stitches into an ordinary stitch instead of into the larger chain spaces. The five-chain point should remain open enough to show as a small tip rather than tightening into a knot.
Round 4
For the last decorative pass, work chain 1 and slip stitch into the next stitch along the single-crochet groups. Repeat that chain-and-slip-stitch rhythm to form the fine raised trim. At each wider chain-3 space, make the small sequence of chain 1 and slip stitch into the same space more than once to cover the gap. Continue around, then chain 1 and slip stitch into the first stitch to join.
From the joined stitch, chain 16 for the hanger. Slip stitch back into the same stitch to secure the loop. Chain 1, cut the yarn, and pull the tail through the final loop. A 16-chain hanger is the length demonstrated; if you adjust it, keep the loop large enough to pass over a branch or ornament hook.
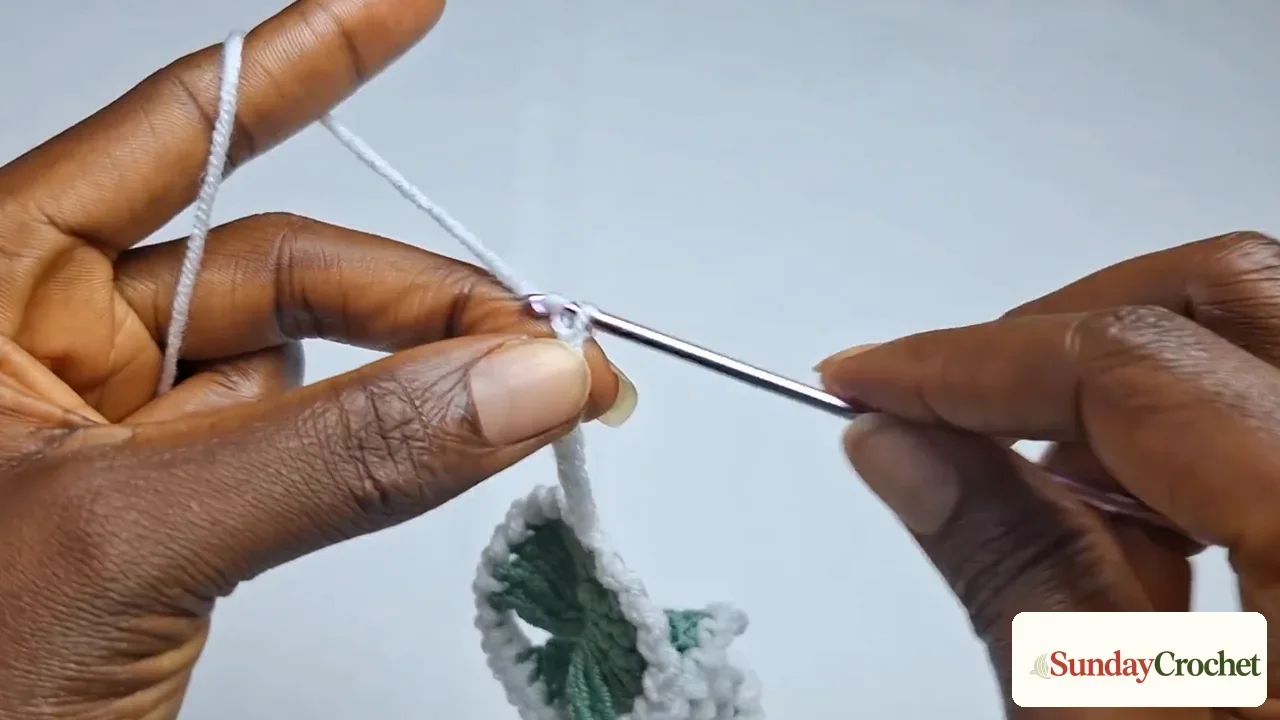
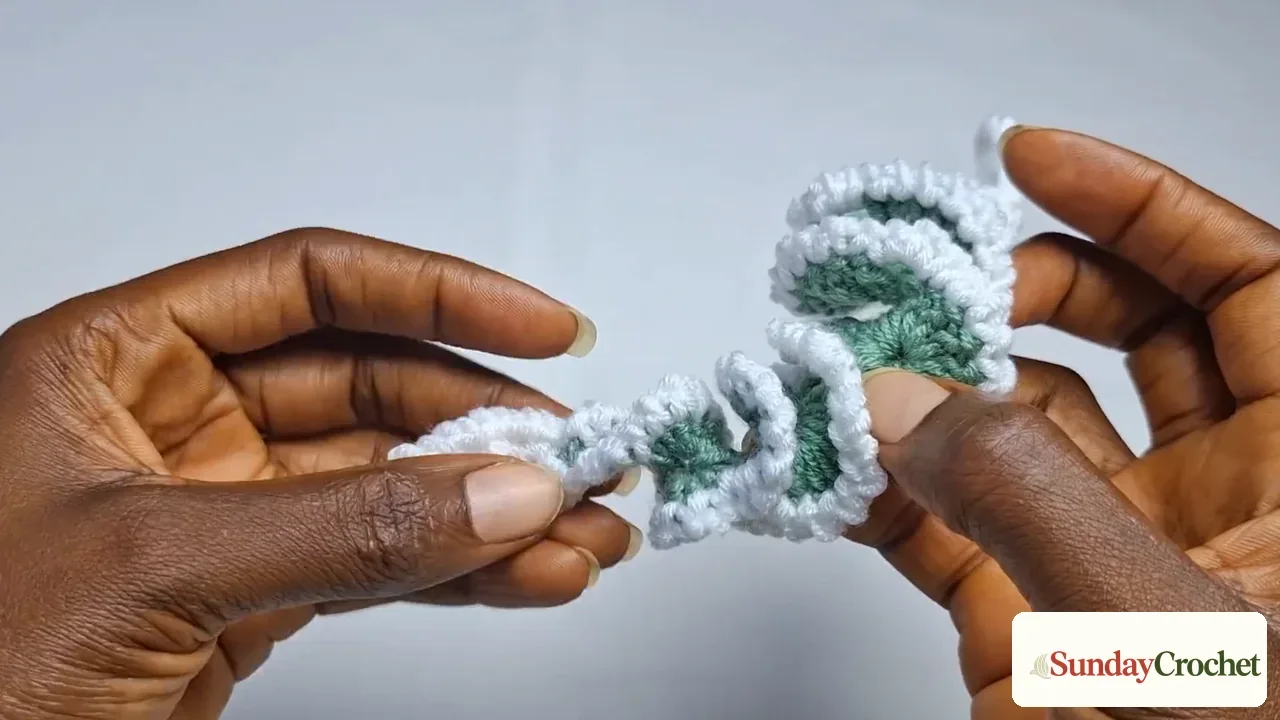
Weave in the loose ends with a yarn needle or by working them under nearby stitches with the hook. The design does not require sewing or stuffing. Gently ease the finished piece into a spiral with your fingers, separating the ruffled ridges so the contrasting edge remains visible.
Stitch counts, gauge, and finished size
The reliable counts to track are the 34-chain foundation, the eight stitches in each fan group, the seven new triple crochets plus four chains counted as the first triple crochet, the five-chain point, and the 16-chain hanger. On the return side, each of the five matching groups also contains eight stitches. These local totals make it easier to check the shape as you go.
A final stitch total for each complete round is not stated. The edge rounds travel through chain spaces and ordinary stitches, and the slip-stitch edging adds chain-1 spaces in several turning areas. Because no total is given for those passes, I have not assigned an overall stitch count. The pattern also does not provide a stitch-and-row gauge or finished measurements. Since this is an ornament, make a sample and judge whether its weight and hanging loop suit your tree before making a set.
Finishing and assembly
There are no separate pieces to join. The two sides are worked from a single chain, and the added edging stays attached as you go. After the last joining slip stitch, secure the 16-chain hanger, cut the yarn, and weave in the tails. The ornament is not stuffed, sewn, or blocked. Shape it by hand into a loose corkscrew, keeping the white edge visible on the outside of the green ridges.
If you are making several, finish each one fully before comparing their size. A tighter starting chain or denser acrylic can make one icicle feel firmer than the next. Keep the fan groups at eight stitches and use the same tension when you form the chain spaces. The color plan can vary from ornament to ornament, but staying consistent within each piece keeps the stripe and outline clear.
Common questions
Is this ornament stuffed?
No. It is a one-piece crocheted spiral. The shape comes from the stitch groups and the way you ease the finished fabric into a curl.
Is gauge or finished size specified?
Neither a stitch-and-row gauge nor a finished measurement is specified. The yarn and 3 mm hook are named, but your finished size will depend on your yarn and tension.
Can I use different colors?
Yes. The demonstration uses green with a white contrasting edge and notes that the ornament can be made in several colors. Choose a main shade and a second color that is easy to see against it.
Is there a complete stitch count for every round?
No complete round totals are provided. The countable groups are eight stitches each, and the chain, point, and hanging-loop counts are stated above. Use those confirmed counts and do not treat the group subtotal as the full round total.
Can I make the hanging loop longer?
The demonstrated loop uses 16 chains. You can adjust the length for your tree or hooks, but the source does not give a different measurement or a second loop option.
A quick spiral ornament for a handmade tree
This icicle comes together from a simple foundation, five fan-like groups, and two small edging passes. The stitch heights do most of the shaping, while the contrasting color emphasizes the ridges. Keep the local stitch counts steady, leave the chain bridges relaxed, and form the curl gently after fastening off. A few in coordinated colors can make a light handmade garland or fill spaces between other ornaments. A small tree-shaped crochet accent pairs naturally with the same palette.