
· Sunday Crochet
In this article
01 · A delicate scarf made from tiny crochet fans02 · Yarn & tools03 · Pattern notes04 · The pattern05 · Keeping the scarf even06 · Adjusting the length and wearing it07 · Finishing touches08 · Common questions09 · What to make nextA delicate scarf made from tiny crochet fans
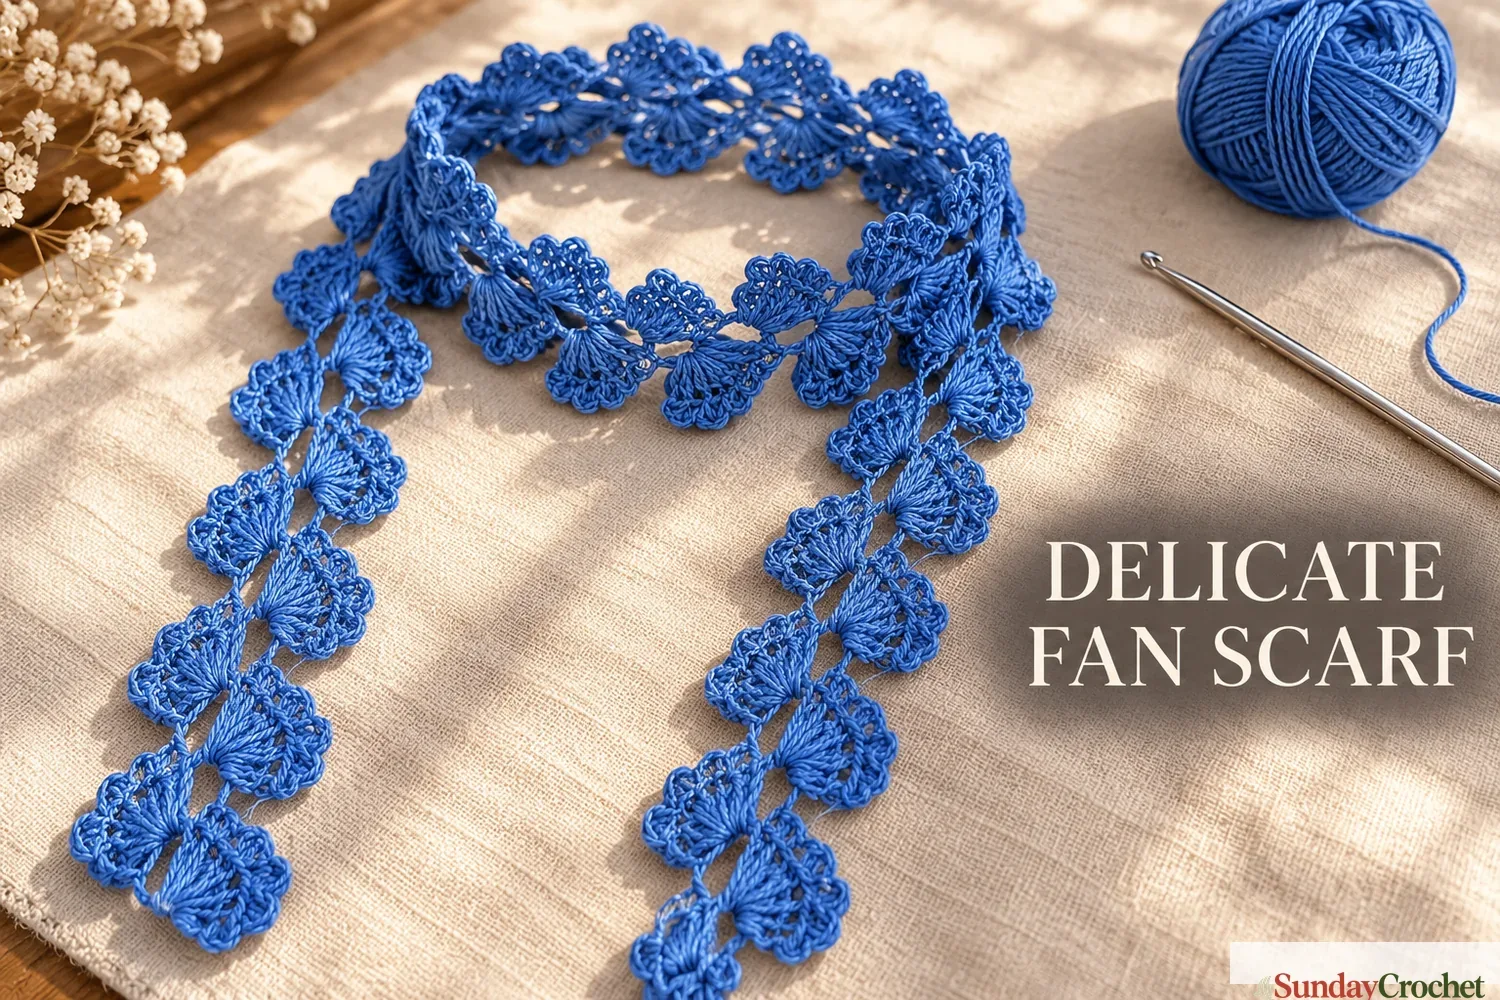
This light neck scarf is built from a surprisingly small set of motions: a short starting base, five double crochets, and chain loops that turn into soft scallops. Repeating the fan along an open chain spine makes a narrow accessory with plenty of drape and a romantic, airy look. It sits around the neck like a short scarf, but it remains an open strip rather than a sewn or joined cowl.
I’ll show you how I do this. We’ll set up the foundation, shape the first fan, and repeat the same chain-and-stitch rhythm until the scarf reaches the length you want. The sample directions call for cotton yarn and a hook that suits the yarn. They do not give a yarn weight, hook size, yardage, gauge, or finished measurements, so I’ll leave those open rather than guess.
Yarn & tools
Cotton is the fiber specified for this design. Choose a smooth strand so you can see the chain loops and count the five double crochets in each fan. The exact yarn weight and hook size are not provided. Check the yarn label for a starting hook recommendation, then crochet a short sample with relaxed, even tension. If your fabric feels stiff, try a larger hook; if the loops are floppy and hard to control, try a smaller one. The hook should move through the loops comfortably, and the open chain spaces should stay visible.
You will not need a large collection of tools. A stitch marker can help you keep your place in the repeat, but it is optional. For the basic loop and hook motions, this beginner crochet stitch refresher explains the same foundational movements in a slower, practice-friendly way.
Pattern notes
This pattern uses US crochet terms. The initial slip knot is not counted as a stitch. The starting chain is eight chains long. The small starting base is described as five double crochets total: three worked into the second chain from the hook, then two into the final chain of the foundation. The narration moves quickly through that placement, so count the five stitches carefully and use the close-up images to identify the two ends of the base.
After the foundation, the scarf grows through a repeated unit: chain 6, work 5 double crochets into that chain space, then chain 3 and turn. A slip stitch over each of the five double crochets, with a chain-3 loop between stitches, forms the scalloped fan edge. The short chain loops connect one fan to the next and create the open, lightweight spine.
| Abbreviation | Meaning |
|---|---|
| ch | chain |
| dc | double crochet |
| sl st | slip stitch |
The scarf length is adjustable because the repeat continues until the piece reaches the length you prefer. No target length or number of fans is given. The sample is styled as a narrow neck scarf with loose ends, not as a closed loop.
The pattern
Round 1
This is a flat, turning pattern, so “round” here means one pass across the work before you turn it. Begin with a slip knot on the hook. Chain 8, counting the chain stitches themselves and not the loop on the hook.
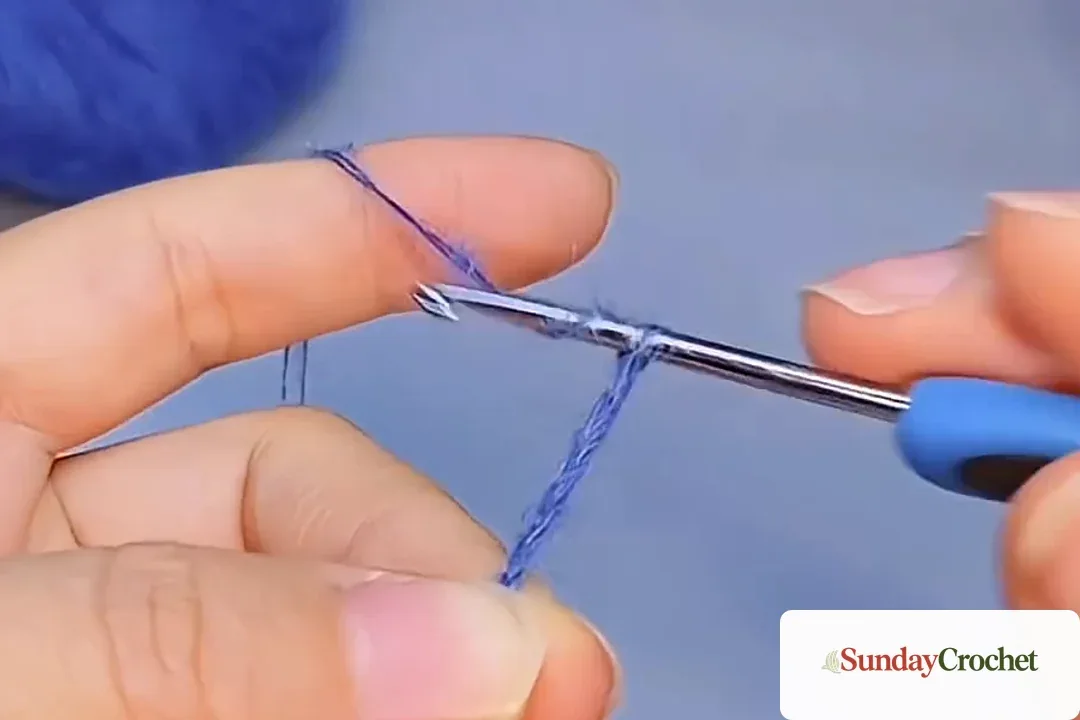
Yarn over and insert the hook into the second chain from the hook. Work 3 double crochets into that chain. Continue to the final chain at the far end of the foundation and work 2 double crochets into it. You should have a small base of 5 double crochets in total. Keep the base relaxed enough that you can turn the work without pulling the stitches tight.
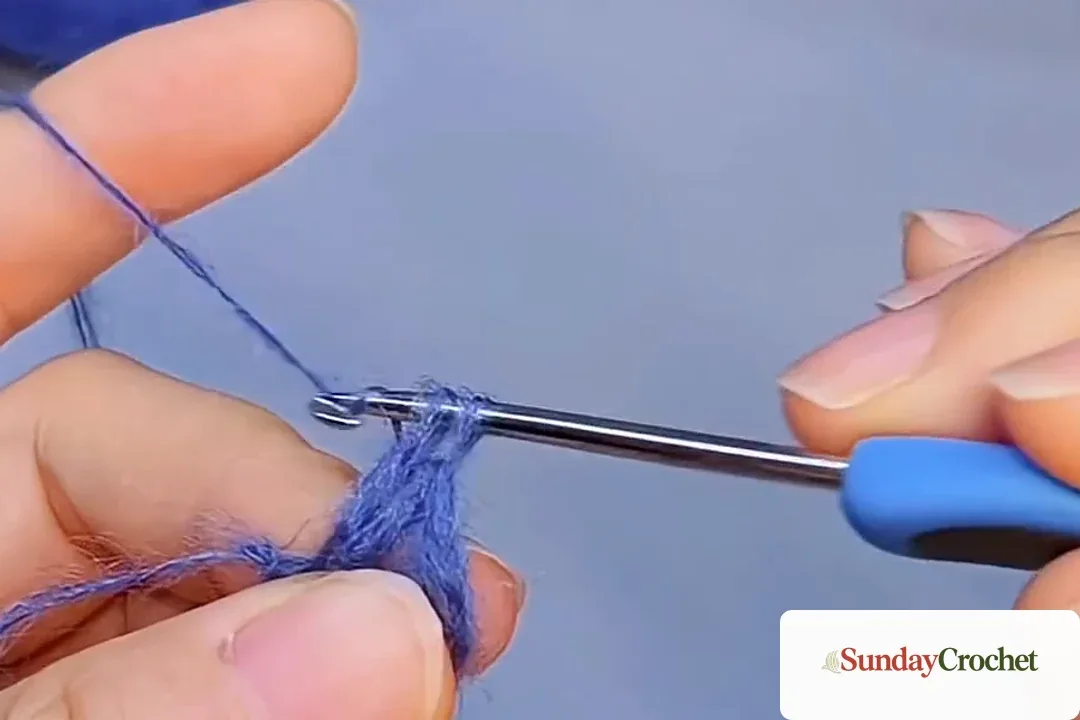
The short foundation span can look unusual at first because the stitches are grouped at the two ends rather than worked evenly across every chain. Pause and count the double-crochet posts: three at the near end and two at the far end. The chain tail connects them. If the small base is twisted, lay it flat before you make the scallop.
Round 2
Chain 3, then turn the work. Insert the hook into the first double crochet and make a slip stitch. Chain 3 again, then slip stitch over the next double crochet. Continue across the five stitches, alternating one chain-3 loop with one slip stitch placed over the next double crochet.
You will make a small chain loop for each stitch as you travel across the five-post base. The loops lift away from the base and create the first scalloped fan edge. Keep the chain loops even in size. Pulling them tight can make the fan curl inward; making them very loose can leave the edge uneven.
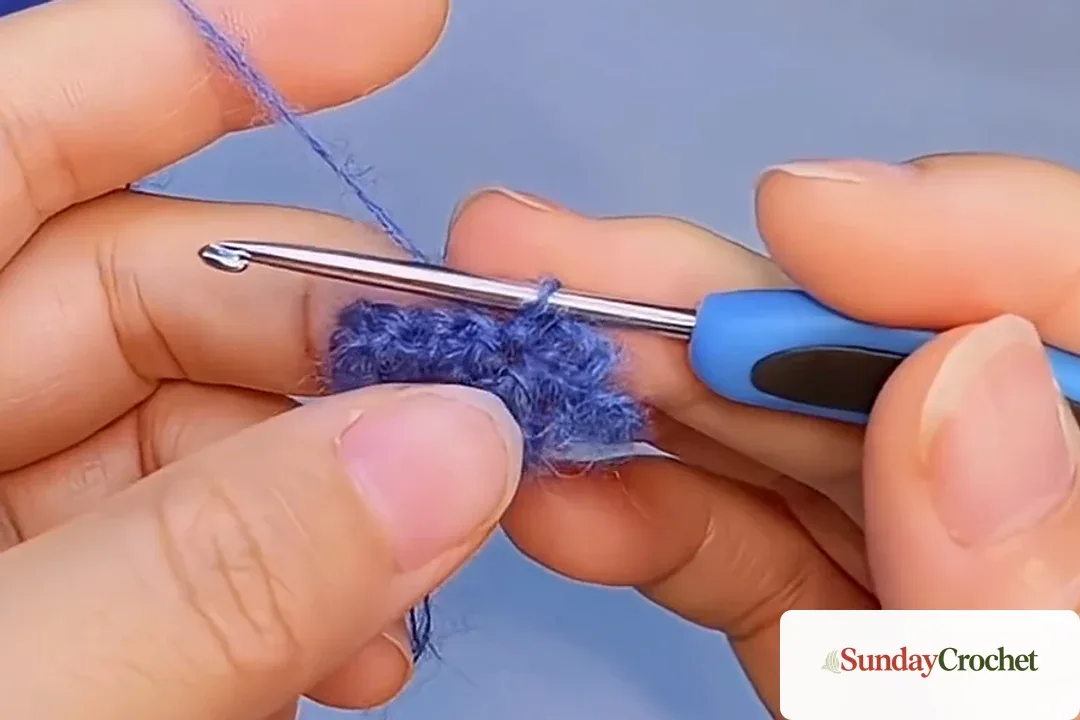
At the end, look for a little row of open arches sitting over the five double crochets. This is the decorative edge of the first fan. The next chain loop will extend the scarf and give you a new space for the next five-stitch fan.
Round 3
Chain 6. This chain makes the open connection to the next motif. Take care not to twist it as you work. Insert the hook into the chain space and make 5 double crochets into that same space. The chain loop is the anchor for all five stitches; do not spread them across separate chain links.
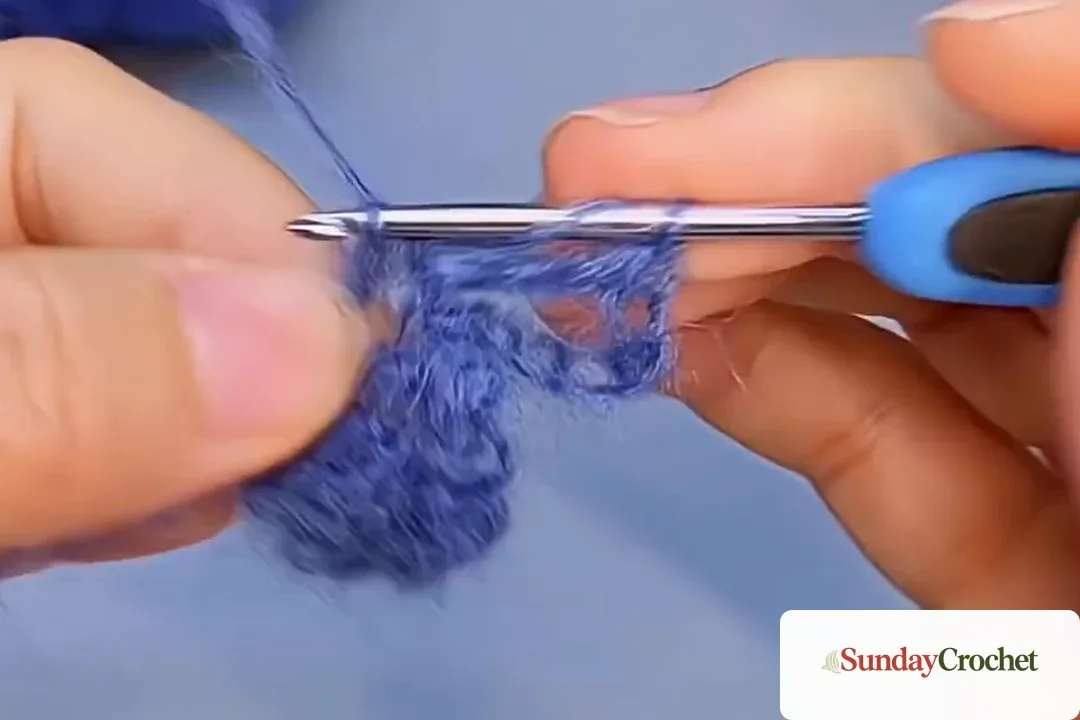
When the five double crochets are complete, you should see a compact fan grouped around the chain loop. Spread the posts slightly with your fingers if they bunch together. Keep the hook entry point in the center of the loop so the motif can fan out evenly.
Round 4
Chain 3 and turn. Slip stitch over the first double crochet. Chain 3 and slip stitch over the next double crochet. Repeat this sequence across all five posts: chain 3, slip stitch over the next double crochet, until you have worked the full fan.
The chain-3 arches sit over the five double crochets and make the scalloped outline. Each slip stitch anchors one arch to the next post. Keep the anchors in order and avoid skipping a post; otherwise one side of the fan will have fewer scallops.
Round 5
Chain 6 to create the next open loop. Work 5 double crochets into that chain space. Chain 3, turn, and make the scalloped edge across the five posts using the same repeat: slip stitch over one double crochet, chain 3, then slip stitch over the next. Continue until all five posts have a loop above them.
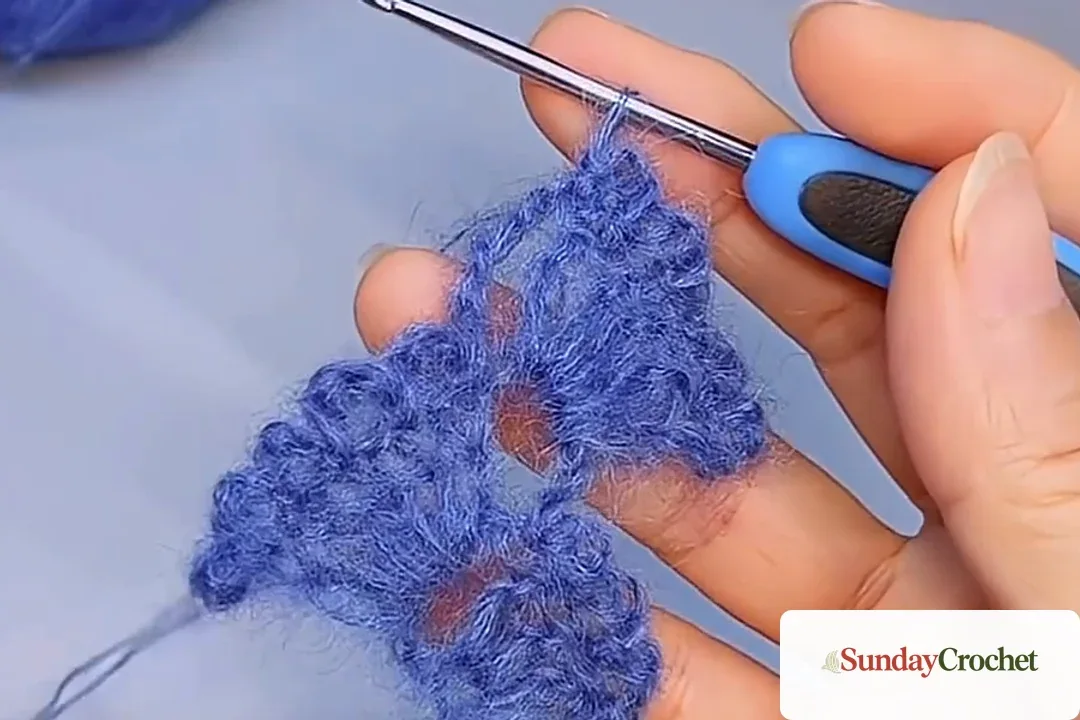
From here, repeat the motif-building and scallop passes: chain 6, work five double crochets into the loop, then chain 3 and turn to make a chain-3 loop over each double crochet. The small fan shapes should alternate along the openwork strip. If one side looks slightly different while you are working, lay the scarf flat and check the count before continuing.
Keeping the scarf even
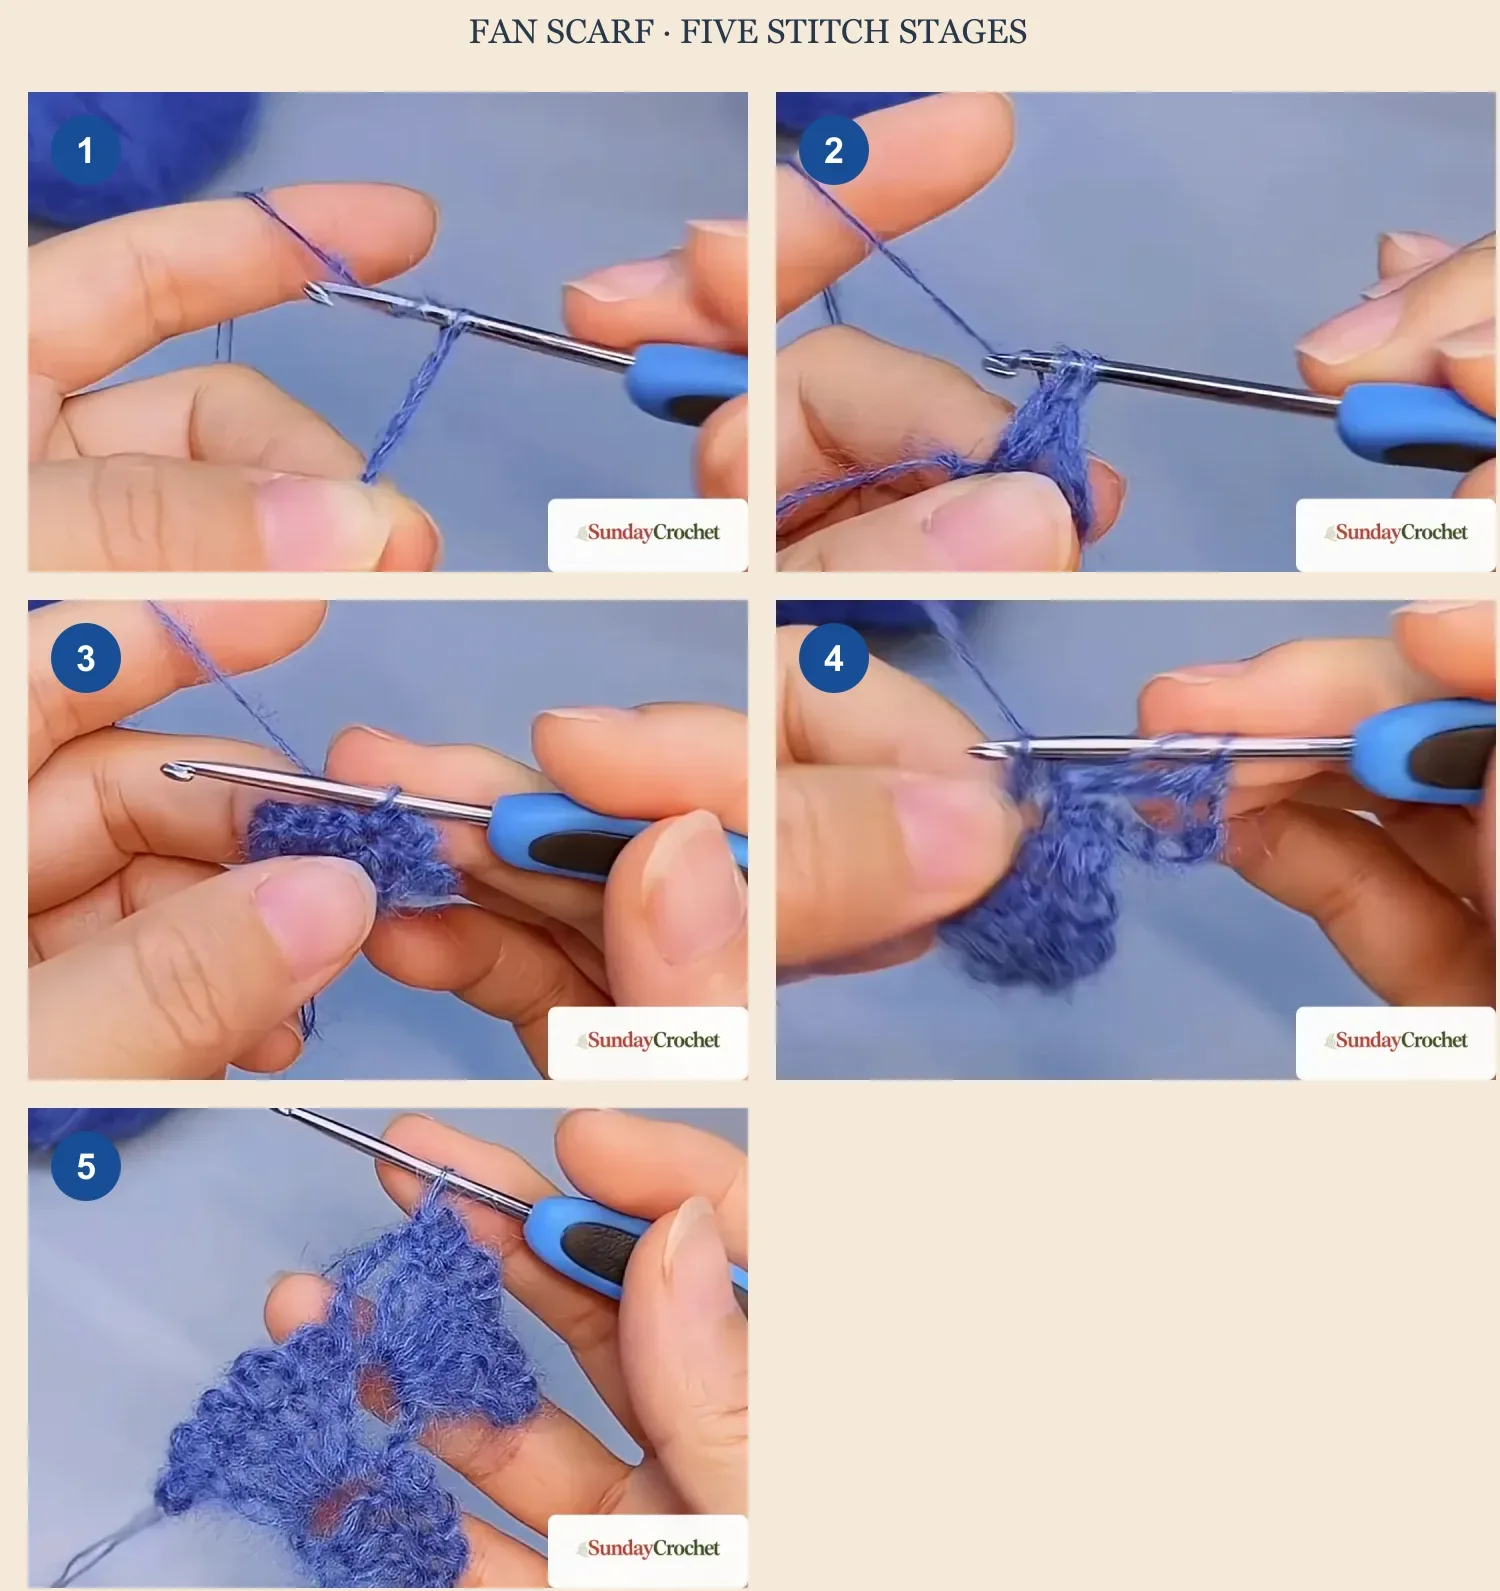
The easiest way to keep this accessory consistent is to count the same two things each time: five double crochets in the fan and five chain-3 arches along its edge. The chain-6 space is the bridge to the next fan. If you are interrupted, mark the completed fan or note whether you are about to work the chain loop or the scalloped edge.
It can help to pause at the end of every motif and check the fabric from both sides. The finished strip has an open chain line running through the center with fans appearing on alternating sides. That alternating look is a useful visual check. If both fans seem to gather onto the same edge, you may have forgotten to turn after the chain 3.
Tension matters more here than matching a particular gauge. This is a light accessory rather than a fitted garment, but consistently sized loops make the scallops sit neatly. Let the chain-6 bridges have a little give, and avoid tightening the slip stitches so much that the fan edge puckers. A small swatch of two or three repeats is a good way to see whether your yarn and hook create a fabric you like before continuing to full length.
Adjusting the length and wearing it
Repeat the fan unit until the scarf drapes the way you want. Because no finished measurement is specified, try the growing strip around your neck from time to time rather than relying on a guessed fan count. Keep the sample loose enough to sit comfortably; the open structure is part of its delicate look.
The design is an open strip, so you can style it with the ends hanging, crossed, or loosely overlapped. No closure or joining method is specified. If you choose to add a button or other fastener, treat that as a personal modification and check that it does not pull the delicate chain spine out of shape. The pictured piece is most faithful when left as a narrow scarf with its airy fans visible.
Finishing touches
The instructions do not specify a special final edge or fastening-off technique. When the scarf is the length you want, finish the working yarn in the way you normally secure a crochet project, leaving a tail long enough to weave in securely with a yarn needle. Tuck the tail through nearby stitches without pulling the chain spaces closed. If you wet-block cotton, follow the care information on the yarn label and pin the scarf gently into shape while it dries. Avoid stretching the scallops sharply; they should remain soft and rounded.
Common questions
Is this a cowl?
No join is described. The finished accessory is an open, narrow scarf that can be draped around the neck. You could add a closure as a personal adaptation, but the base directions do not make a closed tube.
How many fans should I make?
There is no fixed number. Continue repeating the chain-6 and five-double-crochet fan, followed by its chain-3 scalloped edge, until the scarf reaches your preferred length. Check the fit around your neck as you go.
What yarn weight and hook size should I use?
Cotton yarn is specified, along with a hook suited to its thickness. The yarn weight and hook measurement are not provided. Use the label recommendation as a starting point and work a small sample to judge the drape.
Why does my fan curl?
The loop may be too tight, or the chain-3 edge may be pulled firmly against the double-crochet posts. Relax your tension and spread the five stitches slightly around the chain space. Check that you have five stitches and have turned before beginning the scallop pass.
What to make next
If you enjoy the airy texture, the same simple chain and stitch motions can lead into other lightweight accessories. A tidy foundation and even tension are useful skills for projects such as an adjustable crochet headband, where consistent edges help the finished piece sit comfortably.


