
· Sunday Crochet
In this pattern
01 · A soft little dolphin02 · Yarn & tools03 · The pattern04 · Common questions05 · Finishing touchesA soft little dolphin
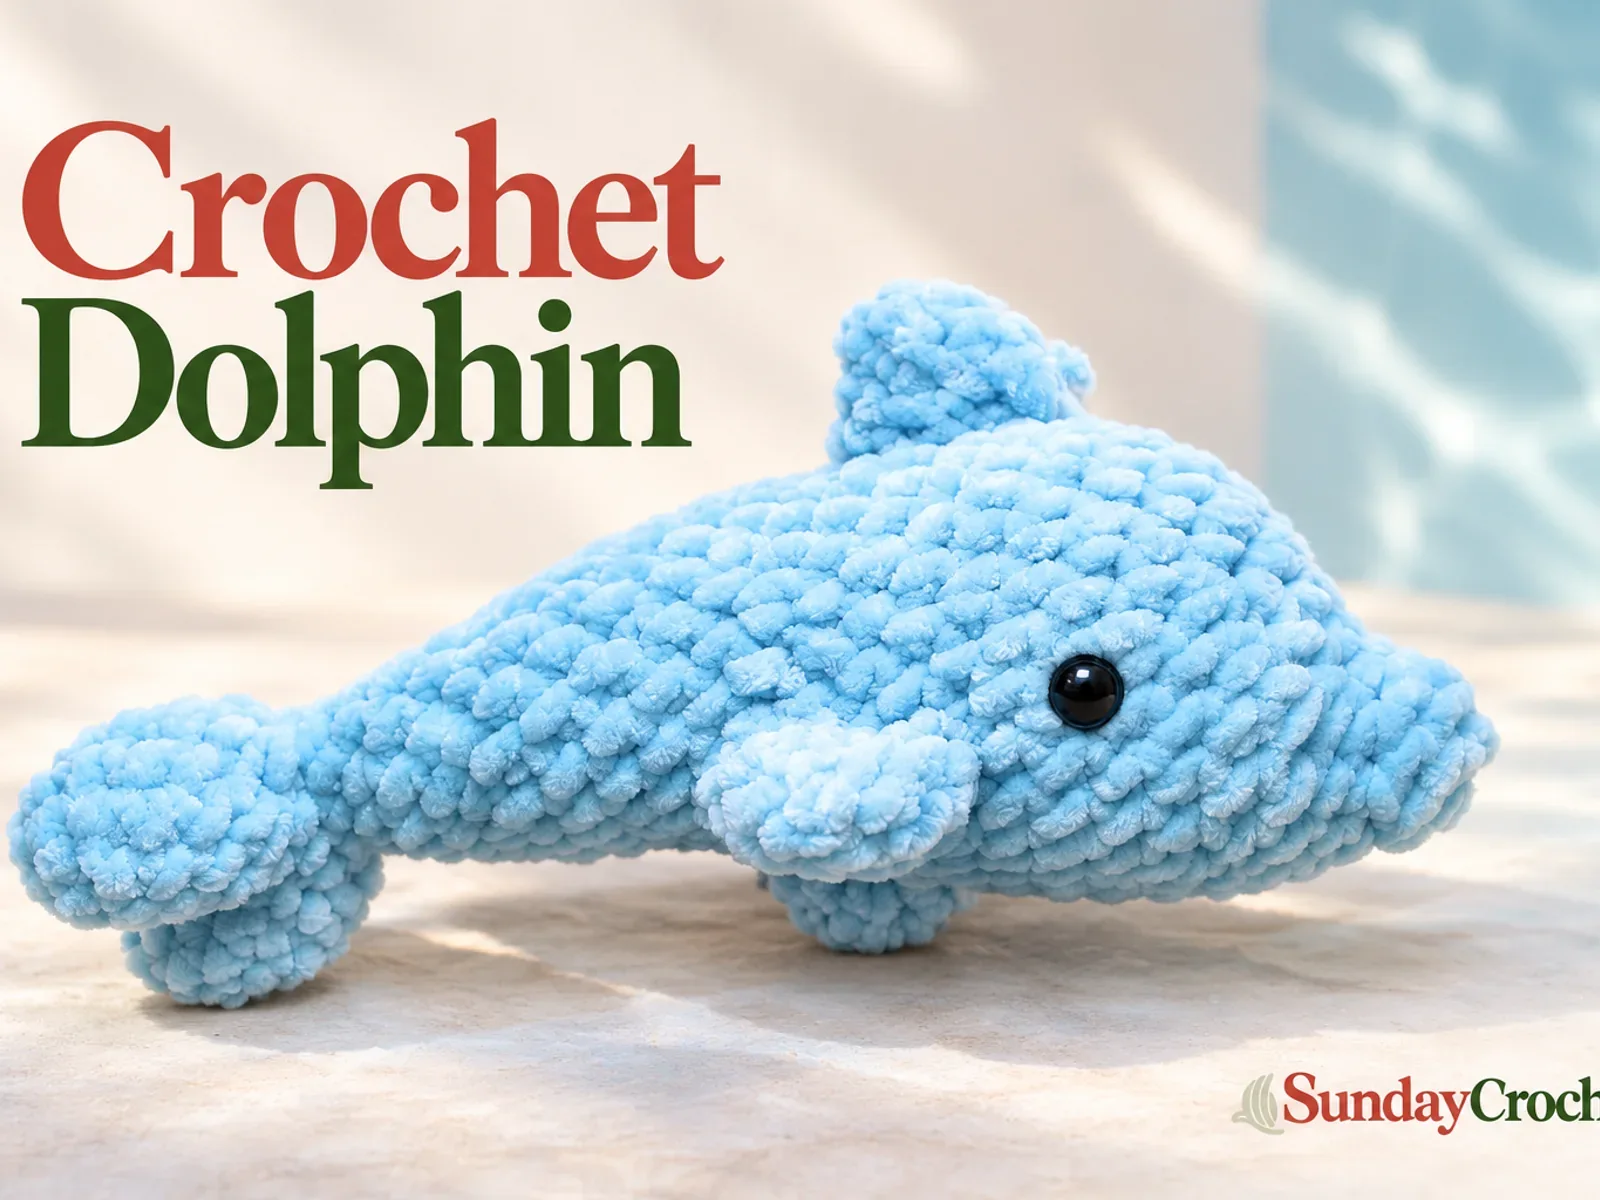
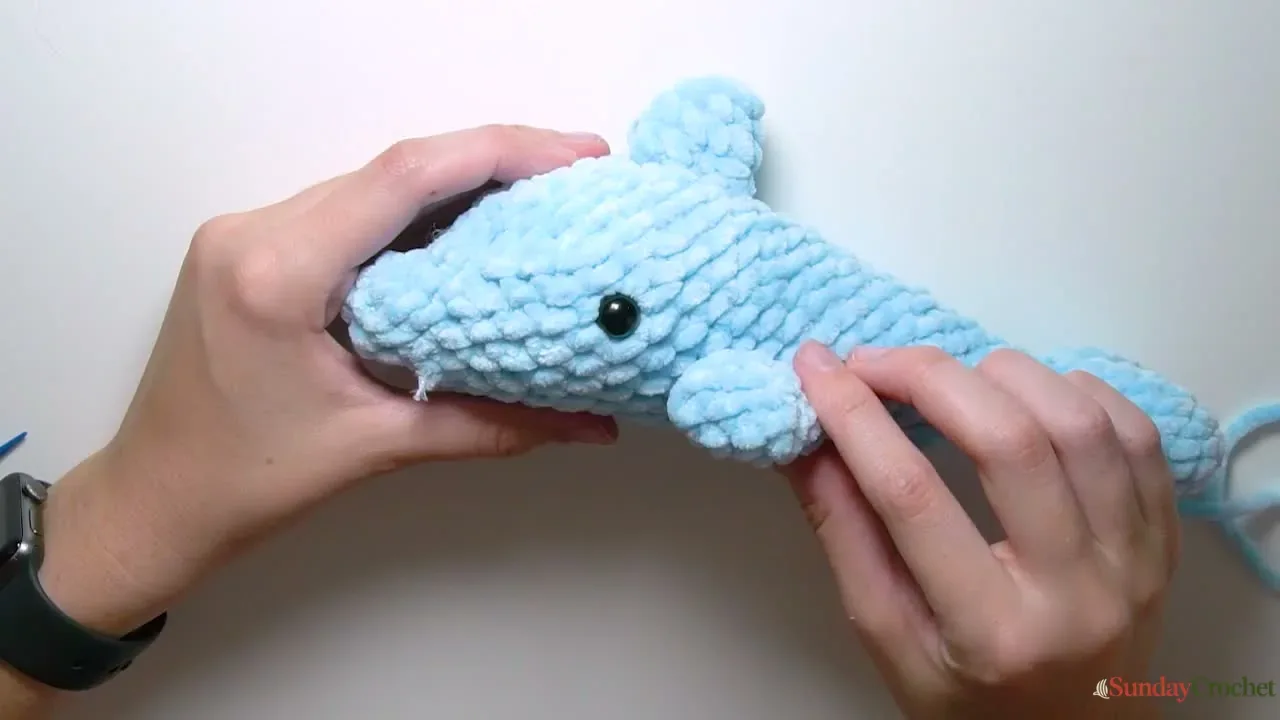
This plush dolphin is crocheted as one continuous body, beginning with two small tail lobes that are joined together. The body widens into a rounded head, then narrows to form the long snout. A curved dorsal fin and a pair of side fins are made separately and sewn on. The result is a squishy sea-life friend with a simple silhouette and plenty of room to choose your own yarn color.
I’ll show you how I work the joined tail, shape the body, place the eyes, and attach the fins. The pattern uses US terms and single crochet throughout, so the shaping comes from increases and decreases rather than complicated stitch textures. The original sample uses light blue size 6 plush yarn, but the color is your choice. Keep the decreases snug and even, and pause to check the shape as the body grows.
Yarn & tools
A plush yarn hides individual loops, so feel for the stitch tops with your fingertips and keep a consistent tension. A hook smaller than the yarn label suggests may help make a firm fabric, but the demonstrated hook is 5 mm. The finished size and gauge are not specified, and both can change with your yarn, hook, and tension. If you are new to the basic motions, the beginner crochet fundamentals can help you get comfortable with single crochet before starting a stuffed project.
Abbreviations
- MR: magic ring. A two-chain start is also shown, with the first stitches worked into the first chain.
- sc: single crochet
- inc: work 2 single crochet stitches into the same stitch
- dec: decrease over the next 2 stitches, working them together
- st(s): stitch(es)
- ( ) × 4: repeat the instructions in parentheses four times
The counts in parentheses are the stitch totals at the end of a round. A lifting chain and joining slip stitch are not called for in these instructions. Work continuously in rounds and move your marker into the first stitch of each new round. If written pattern shorthand is new to you, the round and repeat notation guide explains how to track repeats and stitch counts.
The pattern
Make the joined tail and body
Make the first tail lobe as a small tube. Fasten off with a short sewing tail. Crochet a second lobe the same way, but keep its working loop live. The pattern continues directly from this second piece as you join around both lobes.
Round 1
Make a magic ring and work 5 sc into it. Pull the ring closed. (5)
Round 2
Work 5 inc around. (10)
Round 3
Sc in each stitch around. (10)
Round 4
Sc in each stitch around. Fasten off the first lobe, leaving a short tail. Make a second lobe through this round, but do not fasten off. (10 each)
Round 5
Place a marker in the last stitch of the live lobe. With the working yarn still attached to it, insert the hook into a stitch on the far side of the first lobe, opposite its fastening point, and make a sc. Sc around the first lobe. Ignore the small step at its join and continue evenly; then sc into the next unworked stitch of the second lobe and sc around it. The two lobes are now joined and the body continues from here. A small opening may remain between them. Close it later with the first lobe’s yarn tail. (20)
Round 6
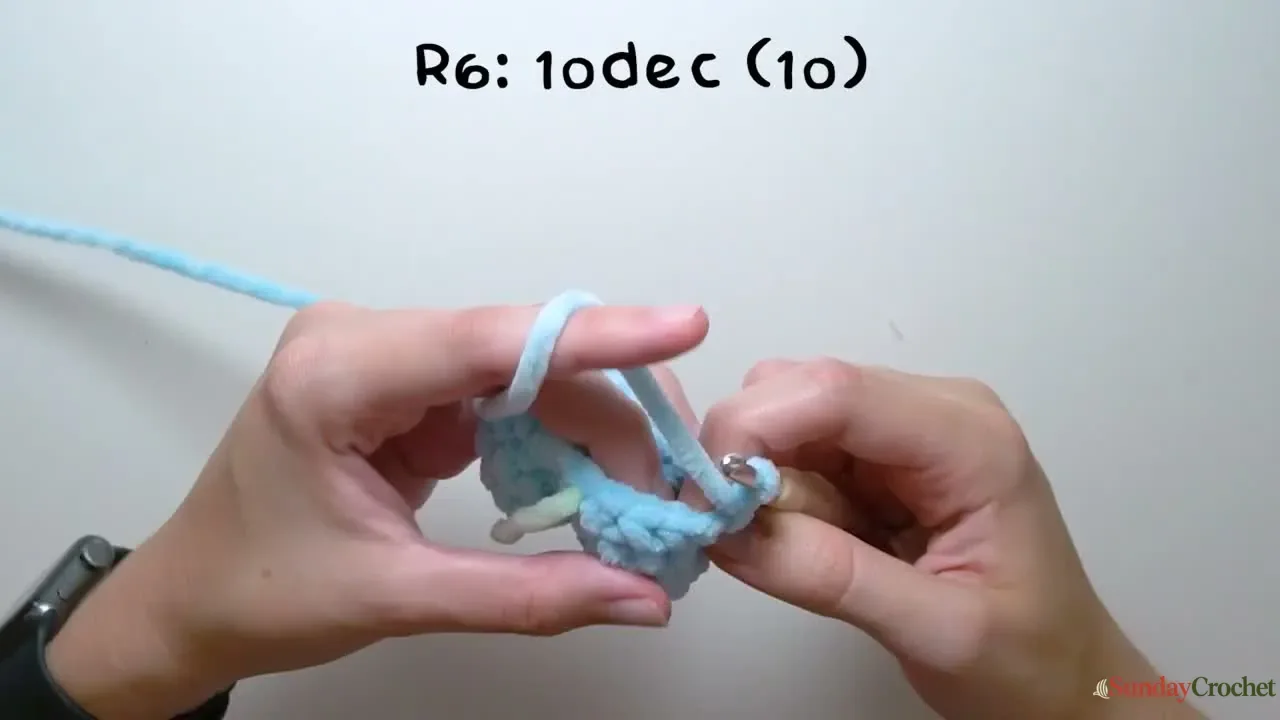
Work 10 dec around. Add a little stuffing into the tail now, while the opening is still roomy. Push the stuffing into both lobes without stretching the stitches. (10)
Round 7
Repeat (3 sc, dec) 2 times. (8)
Round 8
Sc in each stitch around. (8)
Round 9
Repeat (sc, inc) 4 times. (12)
Round 10
Sc in each stitch around. (12)
Round 11
Sc in each stitch around. (12)
Round 12
Repeat (2 sc, inc) 4 times. (16)
Round 13
Sc in each stitch around. (16)
Round 14
Sc in each stitch around. (16)
Round 15
Repeat (sc, inc) 2 times, then sc in the next 12 stitches. (18)
Round 16
Repeat (2 sc, inc) 2 times, then sc in the next 12 stitches. (20) The increases begin building the top of the dolphin. Depending on where your marker falls and how tightly you crochet, shift some of the plain sc stitches to the beginning of the round so the increase group sits along the top rather than the side. Keep the total number of stitches the same.
Round 17
Sc in each stitch around. (20)
Round 18
Sc in each stitch around. (20)
Round 19
Repeat (inc, 2 sc) 4 times, then sc in the next 8 stitches. (24) Keep the increase section aligned with the top of the body. The plain sc section can be moved around the round to achieve that placement without changing the stitch count.
Round 20
Sc in each stitch around. (24)
Round 21
Sc in each stitch around. (24)
Round 22
Sc in each stitch around. (24)
Round 23
Repeat (3 sc, inc) 6 times. (30)
Round 24
Sc in each stitch around. (30)
Round 25
Sc in each stitch around. (30)
Round 26
Repeat (3 sc, dec) 6 times. (24)
Round 27
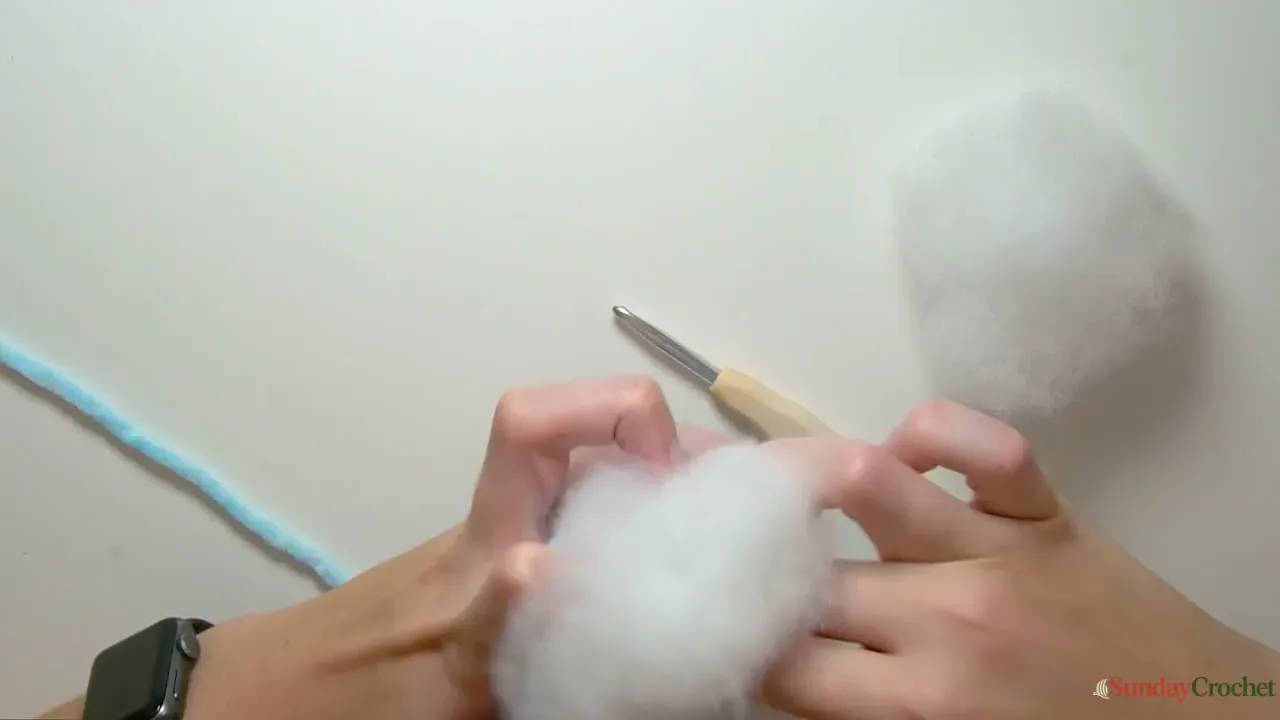
Repeat (2 sc, dec) 4 times, then sc in the next 8 stitches. (20) Keep the decreases along the top of the dolphin, adjusting the plain stitches around them if needed. Add some stuffing now, before the head opening becomes smaller.
Round 28
Repeat (sc, dec) 4 times, then sc in the next 8 stitches. (16)
Round 29
Repeat (2 sc, dec) 4 times. (12) Place the 12 mm safety eyes on opposite sides of the head, approximately between Rounds 26 and 27. Check that they sit level when viewed from the front before securing the backs. Add more stuffing after the eyes are in place.
Round 30
Repeat (2 sc, dec) 3 times. (9)
Round 31
Sc in each stitch around. (9)
Round 32
Sc in each stitch around. Add the remaining stuffing to the front of the head and snout. Keep the shape smooth and firm, but do not force stuffing through the small opening. (9)
Round 33
Repeat (sc, dec) 3 times. (6) Leave a tail for closing. Thread it onto the yarn needle and pass through the front loops of the six remaining stitches in order. Pull the yarn to gather the opening, then take the tail into the body and trim it.
Make the fins
The fins are crocheted separately and sewn to the body with their finishing tails. Make the dorsal fin first. For its R1, work 4 sc into an MR. R2: 4 inc (8). R3: repeat (3 sc, inc) 2 times (10). R4: inc, 3 sc, dec, 4 sc. Leave a long tail for sewing. Shape the fin so its increased curve faces the front and the decreased edge curves under toward the back.
Make two matching side fins. For R1, work 4 sc into an MR. R2: 4 inc (8). R3: repeat (sc, inc) 4 times (12). R4: sc in each stitch around (12). Fasten off each fin and leave a long sewing tail.
Sew the fins in place
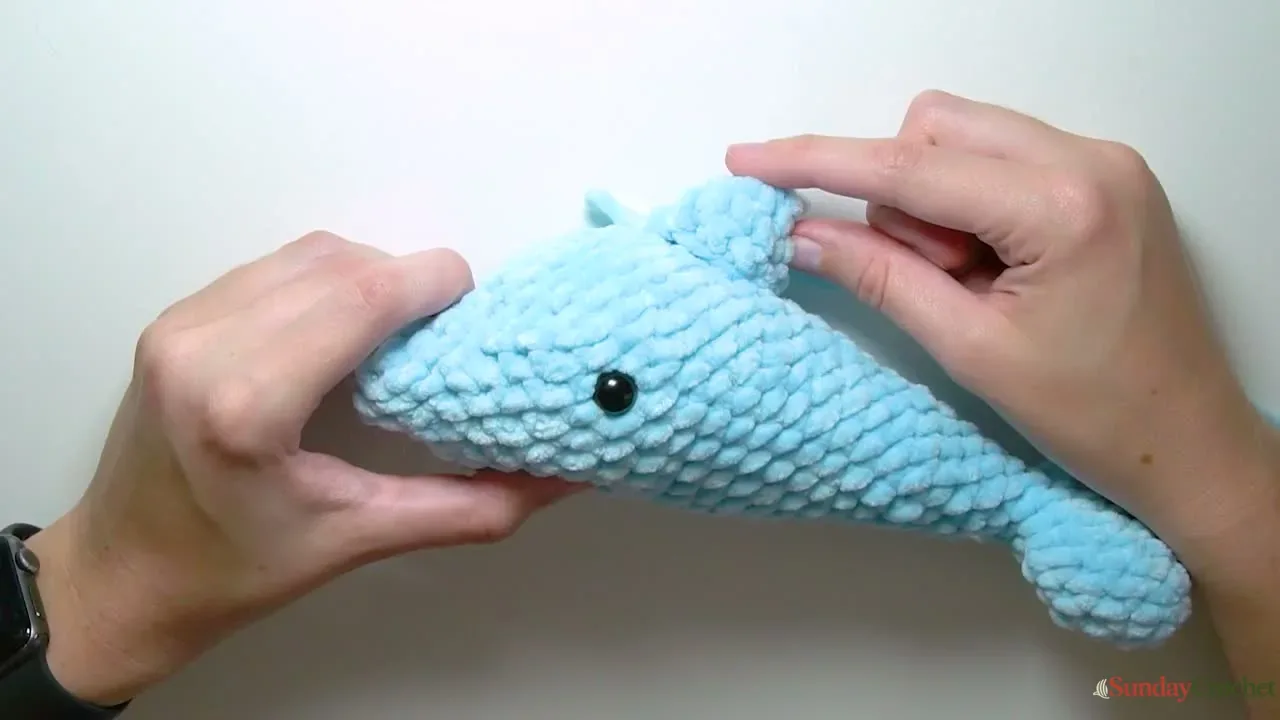
Find the top center of the head and position the dorsal fin a little behind the eyes. Orient its rounded, increased edge toward the front and its decreased edge toward the back. Use the yarn needle to sew around the fin’s edge, catching a little of the body fabric with each pass. Check that the fin lies flat and centered before weaving in the tail.
Place one side fin on each side of the body, just below and behind the eyes. Pinch each base slightly if that helps it sit naturally against the curved body. Sew around the base with small, secure stitches. The two side-fin tails can be brought together at the top of the body, tied off, and tucked inside before trimming. Use the tail from the first tail lobe to close the small gap between the two joined lobes. The body can be gently bent at the tail to give the dolphin a downward curve.
Common questions
Can I use a different yarn color?
Yes. The demonstrated plush yarn color is light blue, but the yarn can be any color you like. Use a similar bulky plush yarn if you want a comparable soft texture. The exact yardage is not specified, so have enough yarn on hand to finish the body and three fins.
How large will my dolphin be?
The finished dimensions are not specified. Size 6 yarn and a 5 mm hook are used in the sample, but your own tension and yarn brand will affect the result. Focus on maintaining a dense fabric that can hold the stuffing.
Can I embroider the eyes instead?
The pattern uses 12 mm safety eyes. If the dolphin is intended for a young child, embroidered eyes may be a more suitable finishing choice than plastic parts. This changes the look slightly, so place both eyes symmetrically and secure the embroidery ends inside the fabric.
Why does my dolphin look uneven?
The position of increases and decreases matters as the body widens and narrows. Keep the shaping along the top and redistribute the plain stitches in the round when needed. Also check that the tail lobes are joined from opposite sides and that the eyes and fins are placed at matching heights.
How do I finish the tail gap?
After the body is closed, use the short tail left on the first tail lobe to sew the small opening between the two lobes. Bring the yarn needle through nearby stitches until the gap is closed, then weave in the end securely.
Finishing touches
Roll the finished dolphin gently in your hands to settle the stuffing and check that the fins feel secure. If one fin tilts, add a few more small stitches through its base and the body. Weave in any visible tails, then smooth the plush stitches back into place with your fingers. You now have a soft, rounded dolphin with a joined tail, a tapered snout, and three carefully placed fins.


