
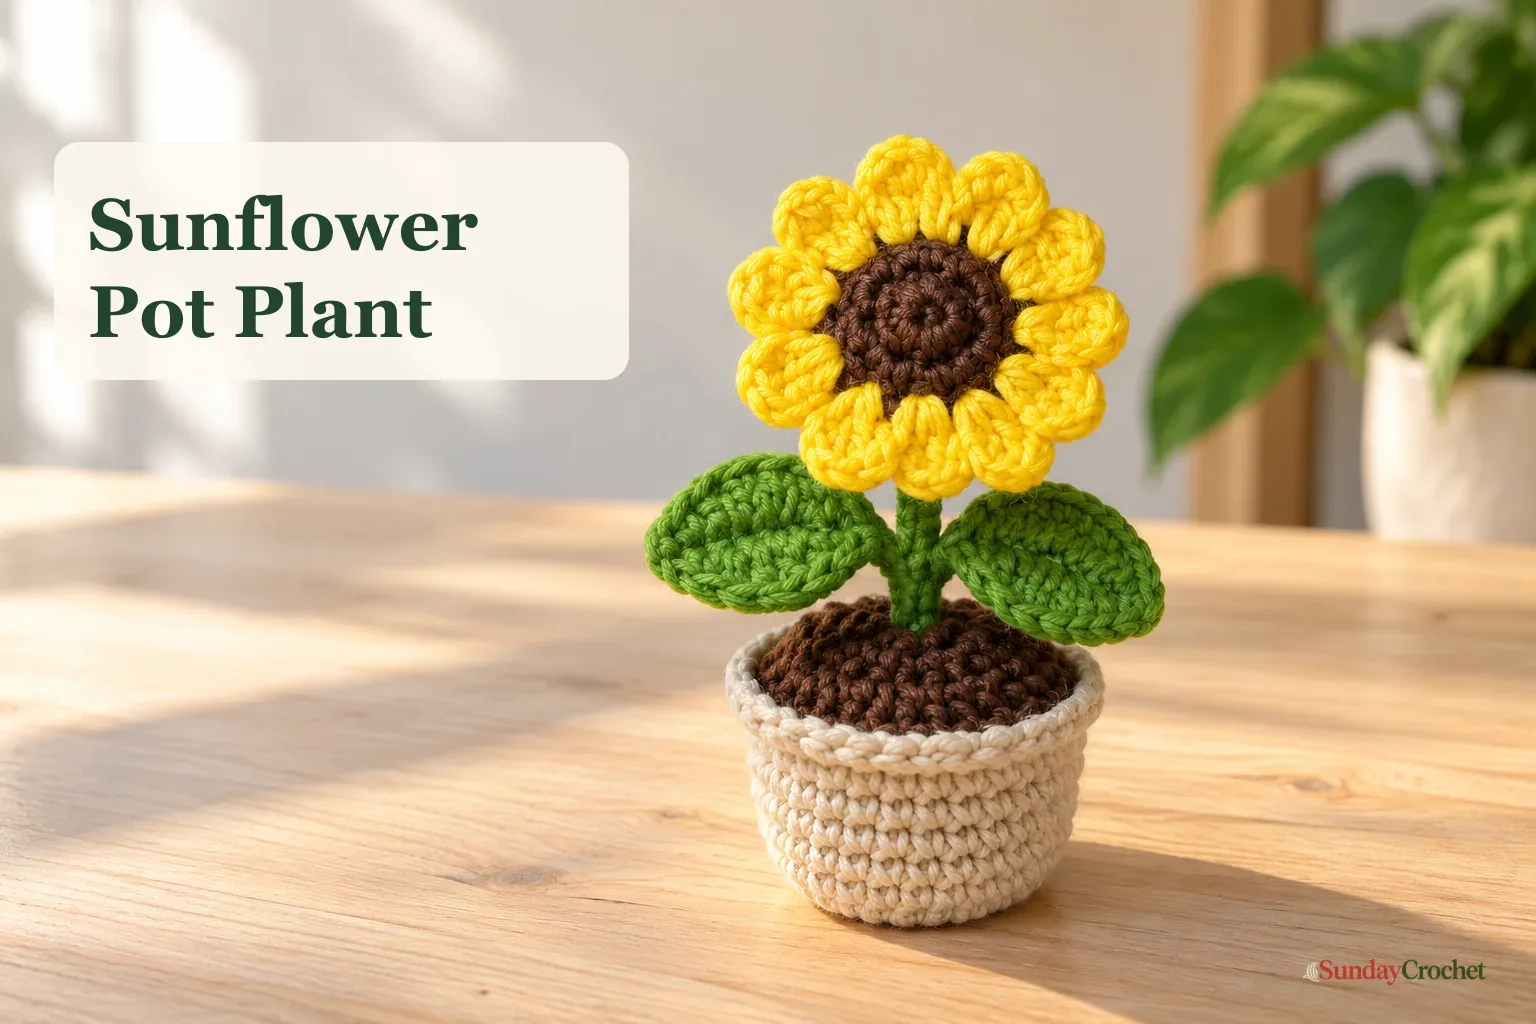
A tiny crocheted sunflower makes a bright desk or shelf accent. · Sunday Crochet
In this pattern
01 · A little sunflower that never needs watering02 · Yarn & tools03 · Before you begin04 · The pattern05 · Small details that help06 · Common questionsA little sunflower that never needs watering
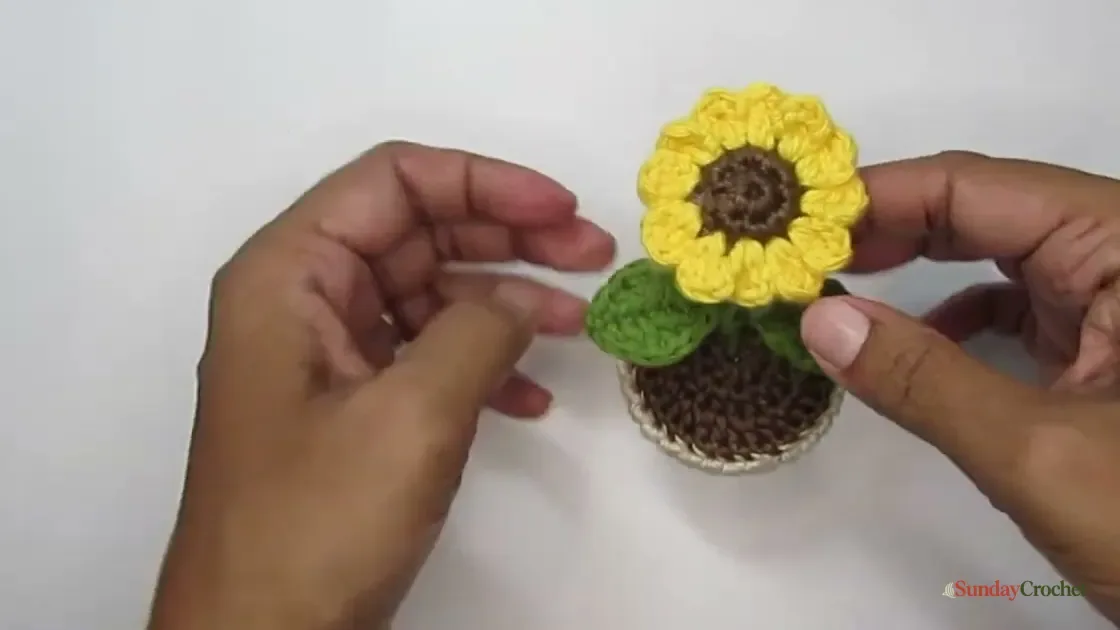
This small crochet sunflower has a round golden bloom, two green leaves, and a soft cream pot topped with brown soil. The pot is stuffed to hold its shape, while a wrapped wire stem keeps the flower upright. It makes a cheerful shelf accent or a handmade gift, and you can change the flower color to turn the same idea into another potted bloom.
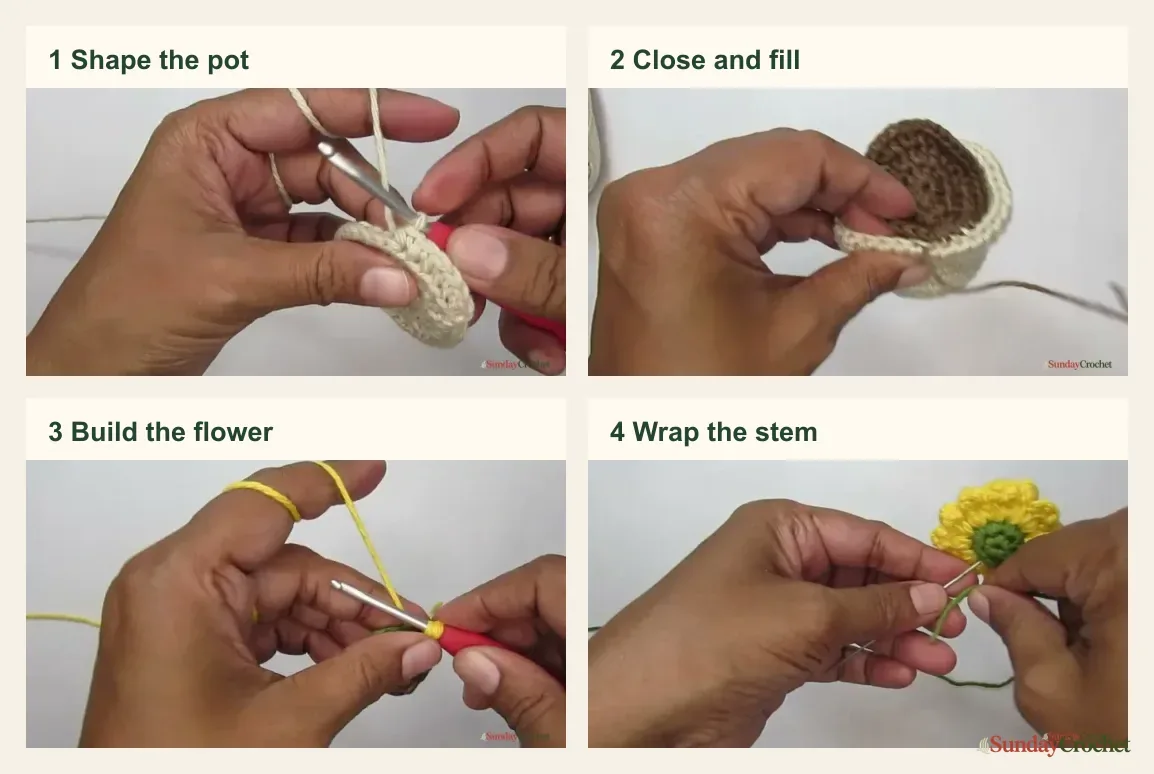
I’ll show you how I do this from the round pot base to the last wrap around the stem. The pattern uses US crochet terms and gives a stitch count for each round. It uses basic single crochet, half double crochet, and double crochet, along with a magic circle and a few simple assembly steps.
Yarn & tools
The sample uses 100% cotton DK yarn with a 3.5 mm hook. You can use a different yarn weight, but the pot may come out larger or smaller. Choose a hook that makes your stitches firm enough to hold stuffing without large gaps. No yarn amount or measured finished size is specified, so keep your colors nearby and expect the dimensions to depend on your materials and tension.
Before you begin
The pot and soil are worked in joined rounds at first. The pot sides then continue in a spiral for several rounds, so place a stitch marker in the first stitch and move it up as you go. The flower centers are two small circles layered together. The petals join those layers as you crochet, so you do not sew around the flower edge afterward.
For this pattern, ch means chain, sl st means slip stitch, sc means single crochet, hdc means half double crochet, dc means double crochet, and BLO means back loop only. A stitch count in parentheses is the number of stitches around after that round. The starting chains do not count as stitches.
The pattern
Flowerpot: base rounds 1–3
With cream yarn, make a magic circle. The base grows from 10 stitches to 30, then the next round turns upward to form the pot walls.
Round 1: Ch 2, then work 10 hdc into the magic circle. Pull the tail to close the center and sl st to the first hdc, skipping the starting ch-2. (10 hdc)
Round 2: Ch 2. Work 2 hdc in each stitch around. Join with a sl st to the first hdc, skipping the starting chains. (20 hdc)
Round 3: Ch 2. Repeat 1 hdc in the next stitch, 2 hdc in the following stitch around. Join to the first hdc with a sl st. (30 hdc)
Flowerpot: sides and rim, rounds 4–12
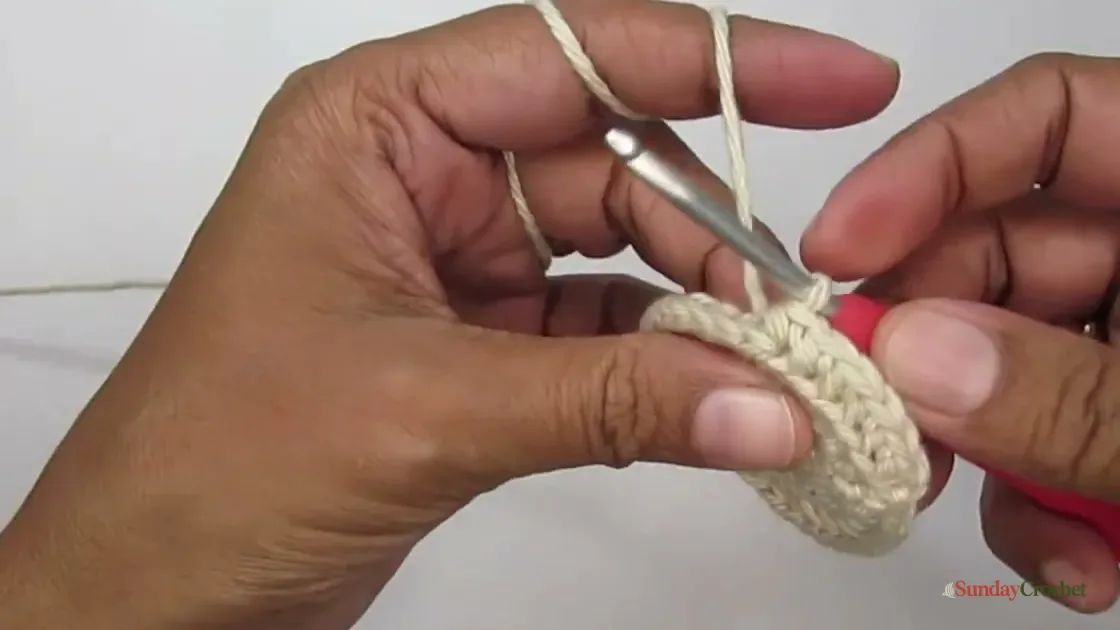
Round 4: Ch 1, then work 1 sc in the back loop of each stitch around. Do not add increases. (30 sc)
Rounds 5–10: Continue with 1 sc in each stitch around, keeping the same 30 stitches. Work these rounds continuously without joining at the end of each round. Move the stitch marker into the first stitch of every new round so you can keep track. The wall will begin to rise from the base.
At the end of Round 10, sl st into the first stitch once to smooth the small step between the last and first rounds.
Round 11: Ch 2, then work 1 dc in each stitch around. Join with a sl st to the first dc, skipping the starting chains. (30 dc)
Round 12: Ch 2, then work 1 dc in the front loop only of each stitch around. Join to the first dc with a sl st and fasten off. (30 dc)
Fold the top edge outward to make a neat rim. The back loops left unworked on Round 12 form a clear ring around the pot opening. Those 30 loops are where you will sew on the soil piece.
Soil: three rounds
With brown yarn, make a second flat circle using the same increases as the pot base. Leave a long tail for sewing.
Round 1: Ch 2, work 10 hdc into a magic circle, and join to the first hdc. (10 hdc)
Round 2: Ch 2, work 2 hdc in every stitch, and join to the first hdc. (20 hdc)
Round 3: Ch 2, repeat 1 hdc in the next stitch, 2 hdc in the following stitch around. Join to the first hdc and fasten off, leaving a sewing tail. (30 hdc)
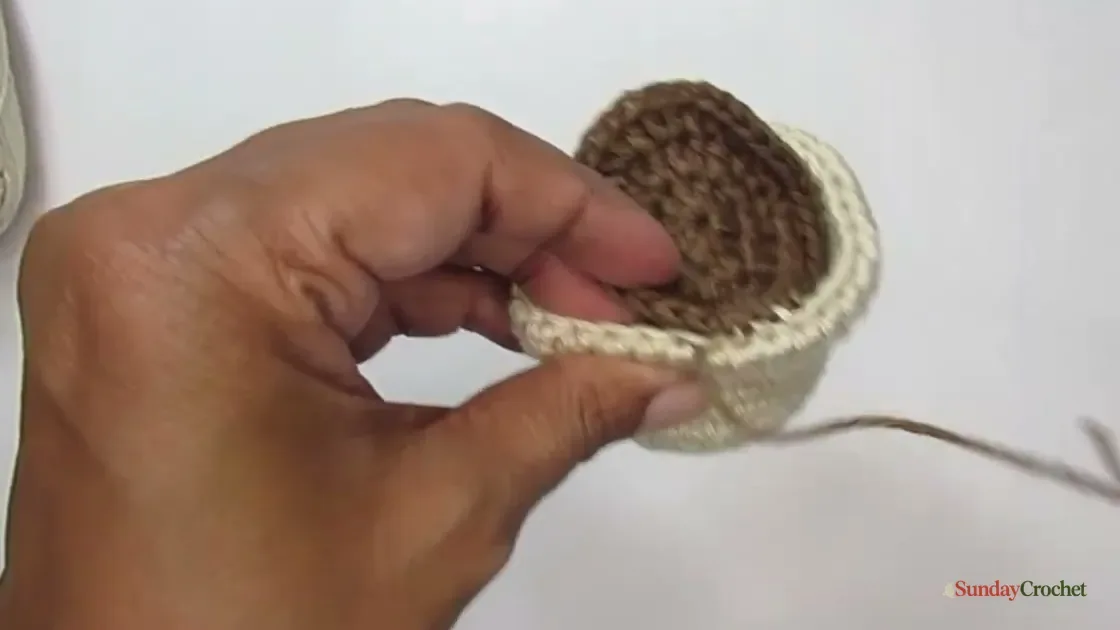
Set a small cardstock circle inside the bottom of the pot to help it sit flat. Add fiberfill above the cardstock. Use the brown tail and a yarn needle to sew the soil circle to the 30 unworked back loops at the pot opening, easing the stitches together one at a time. When you are about halfway around, add or adjust the stuffing before sewing the opening closed. Spread the fiberfill evenly for straight sides, or nudge more toward the edges if you want a slightly tapered shape.
Sunflower center: two small circles
Make one circle in brown for the front and one in green for the back. These are the same size, so use the same two-round instructions for each color.
Round 1: With the chosen color, ch 1 and work 6 sc into a magic circle. Join to the first sc and pull the center closed. (6 sc)
Round 2: Ch 1, then work 2 sc in each stitch around. Finish at the first sc and fasten off, keeping the closing stitch outside the count. (12 sc)
Weave in the short ends. Place the brown and green circles together with the wrong sides facing each other and the brown side toward you. Match the 12 stitches around both circles.
Petals: repeat around the center
Join yellow yarn through one matched pair of stitches at the edge of the circles. Secure it with a knot or sl st. The petal repeat uses one pair of stitches at a time.
In the same stitch on the front circle, ch 2 and work 2 dc. Ch 2 again, then sl st through the next stitch on the brown circle and the matching stitch on the green circle to close the layers together at that point. Repeat the petal sequence around the edge. With 12 matched stitch pairs, you will make 12 petals. If you want a softly padded center, add a small pinch of stuffing between the circles when you are halfway around, then continue the petals and close the remaining edge.
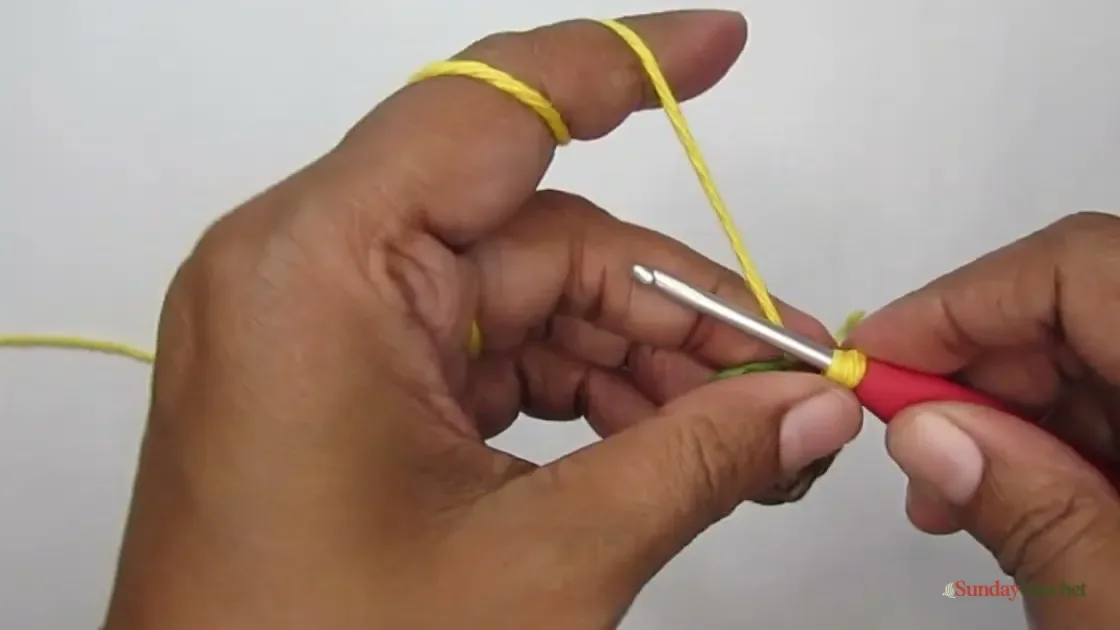
Fasten off after the last joining slip stitch and weave in the yellow end. The two layers should stay aligned, with the brown center visible from the front and the green circle forming a tidy back for attaching the stem.
Leaves: make two
The thin wire inside each leaf helps it keep a gentle curve, but you can leave the wire out. With green yarn, make a slip knot and ch 7.
Skip the chain closest to the hook. Work 1 sc in the second chain, 1 hdc in the next chain, 1 dc in each of the next 2 chains, 1 hdc in the next chain, and 1 sc in the last chain. Keep the thin wire alongside the chain and crochet over it as you make these stitches.
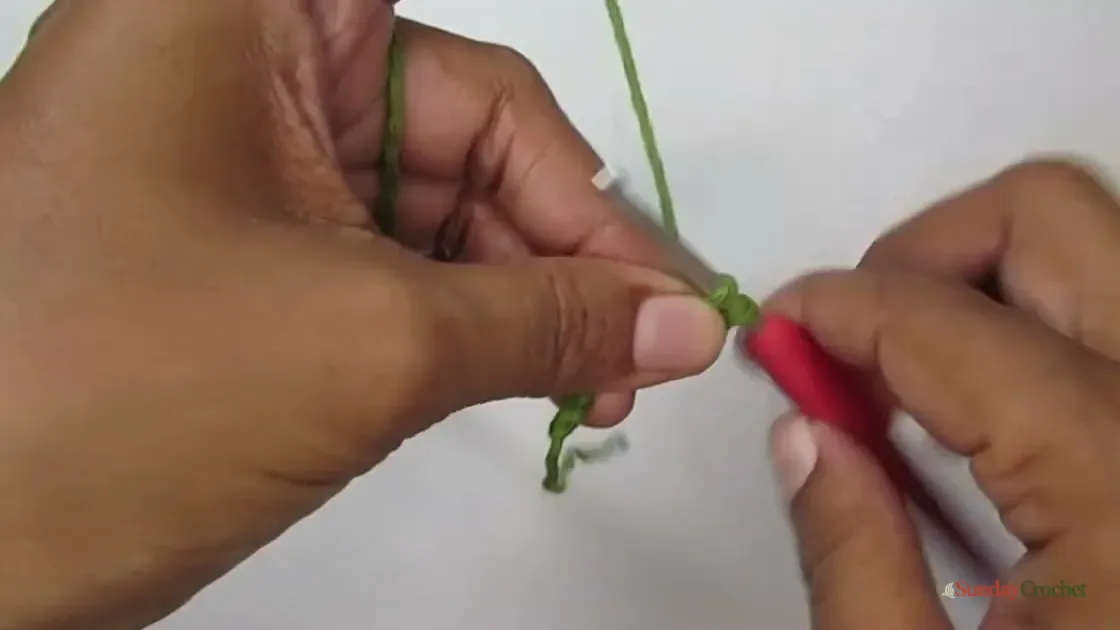
Ch 2 at the tip, then work another sc into that same last chain. Fold the wire around the tip. Now work back along the other side of the foundation chain: hdc in the next stitch, dc in each of the next 2 stitches, hdc in the next stitch, and sc in the final stitch. Sl st to the first sc and fasten off, leaving enough yarn to wrap around and secure the wire ends. Twist the wire ends together, wrap them with the yarn tail, and secure the tail with a small amount of glue. Make a second leaf the same way.
Assemble the flower and stem
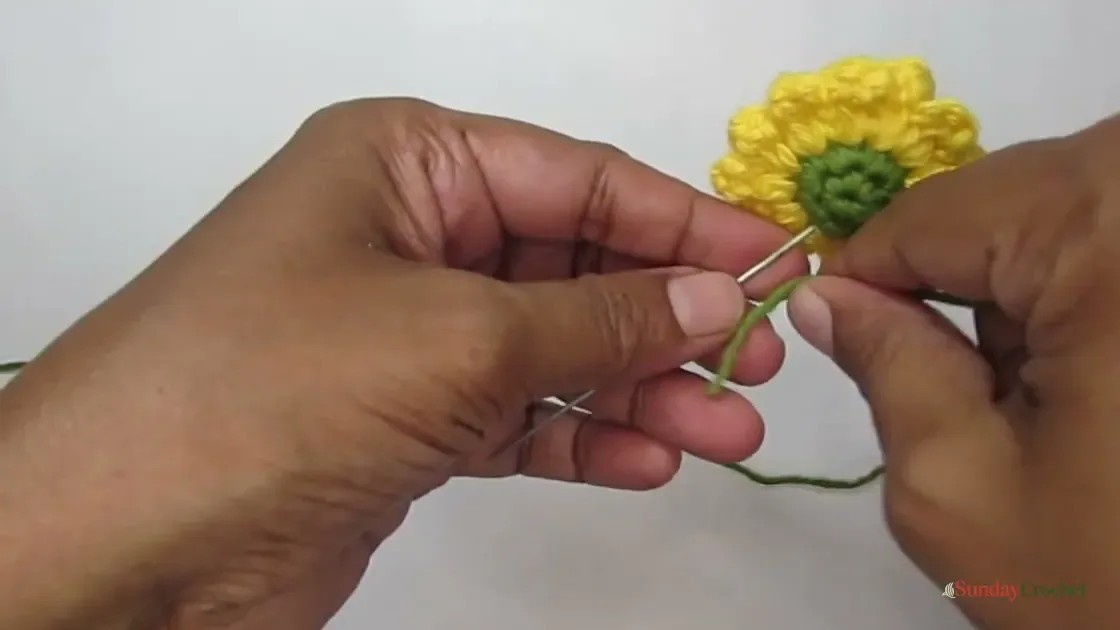
Position the two leaves behind the green side of the sunflower, one on each side of where the stem will sit. Use the thicker wire as the stem support. Secure it to the back of the flower with glue, then allow the attachment to hold before wrapping.
Wrap green yarn around the stem wire, starting just under the flower. Keep the wraps close together so the metal is covered. Partway down, place the leaves against the stem and wrap over their joined ends to hold them in position. Continue wrapping toward the bottom of the wire, then secure and trim the yarn end with glue.
Add glue to the lower end of the covered wire and push it into the center of the brown soil. Hold it upright until the glue sets. Adjust the flower and leaves while the stem is still flexible, then bend the wire gently to create the angle you like.
Small details that help
Keep the pot stitches firm and even. If stuffing peeks through the fabric, try a smaller hook or tighten your tension slightly before you continue. The cardstock disk belongs inside the pot base, under the fiberfill, so it stays hidden while helping the pot stand more steadily.
Count the increase rounds rather than judging the circle by eye. The pot base should finish Round 3 with 30 hdc, and each of the following single-crochet rounds stays at 30 stitches. If the total grows, check whether two stitches were accidentally worked into one. If it shrinks, look for a missed stitch near the marker.
For a different bloom, you can change the petal color while keeping the same pot. A flatter flower shape has a different construction, as in this six-petal crochet flower. If you enjoy shaping leaves and wrapping a supported stem, the same assembly approach also suits a small flower with a wired leaf.
Common questions
Can I use a different yarn?
Yes. The pattern allows different yarn types and weights. The sample uses cotton DK yarn and a 3.5 mm hook. A different yarn or hook will change the finished dimensions, so keep the stitches dense enough to contain the stuffing.
Do I have to use wire?
The thin wire in the leaves is optional. It helps the leaf hold its shape, but the leaf can be crocheted without it. The stem uses a thicker wire in the demonstrated assembly so the flower can stand upright. If you choose to use wire, keep sharp cut ends covered and secured inside the yarn wrapping.
Is the cardstock circle necessary?
It is included to help make the pot base flatter. Cut it to fit inside the bottom without forcing or stretching the crochet. Place it beneath the stuffing before sewing on the brown soil circle.
Can I make a daisy instead?
Yes. The flower is made separately from the pot, and the petals can be worked in another color. White or cream yarn gives the yellow-center-and-light-petal look of a daisy, while the same green leaves and pot finish the piece.
This tiny sunflower is built from simple circles, repeated stitches, and a few careful joins. Once the pot is stuffed and the stem is wrapped, it becomes a bright little decoration that can sit on a desk, shelf, or windowsill all year.


