· Sunday Crochet
In this pattern
01 · A tiny blue hedgehog with big character02 · Yarn & tools03 · Before you begin04 · The pattern05 · Face and finishing06 · Common questionsA tiny blue hedgehog with big character
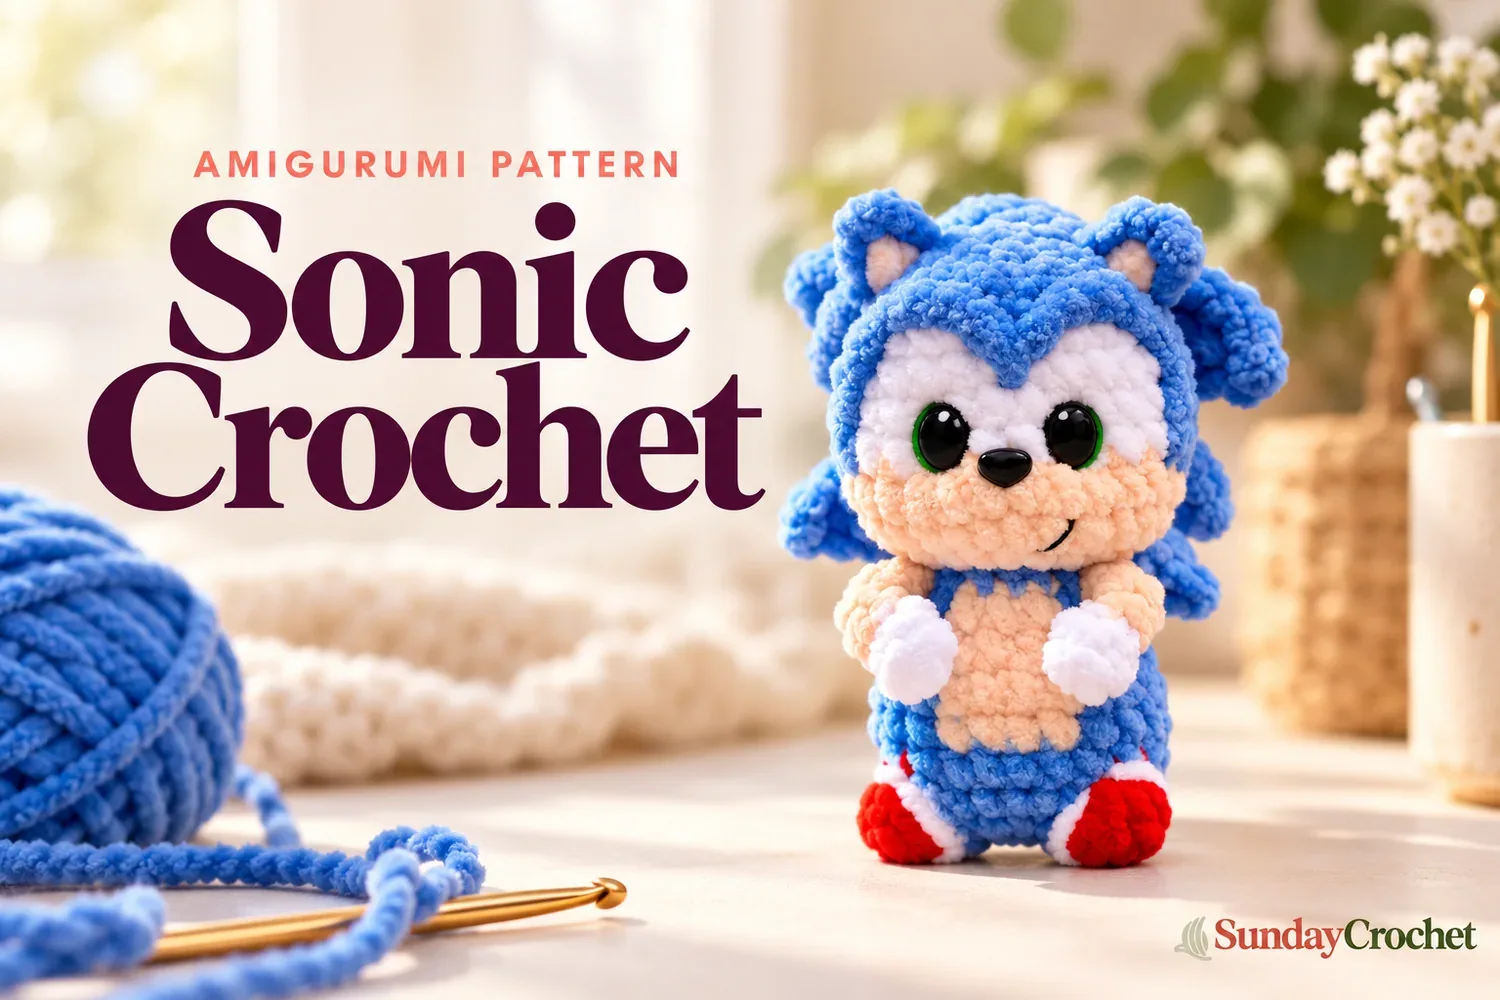
This palm-sized Sonic-inspired crochet plush is built from one continuous body, so there is no separate head seam to sew. The blue body is worked from the bottom up, with the red feet, peach belly, arms, and face colors added as you go. Ears and back spines are attached afterward to give the finished toy its recognizable silhouette. The sample is about 4.3 inches tall, though plush yarn and personal tension can shift the final size.
I’ll walk through the pattern in US crochet terms, explain the color changes, and point out a few places where the written counts need checking before you continue. This is an intermediate project because it combines small-round amigurumi, color changes, surface crochet, and embroidered details. You should already be comfortable making the listed stitches and keeping track of a continuous spiral. If you need a refresher on the basic motions, practice with these foundational crochet stitches before working with plush yarn.
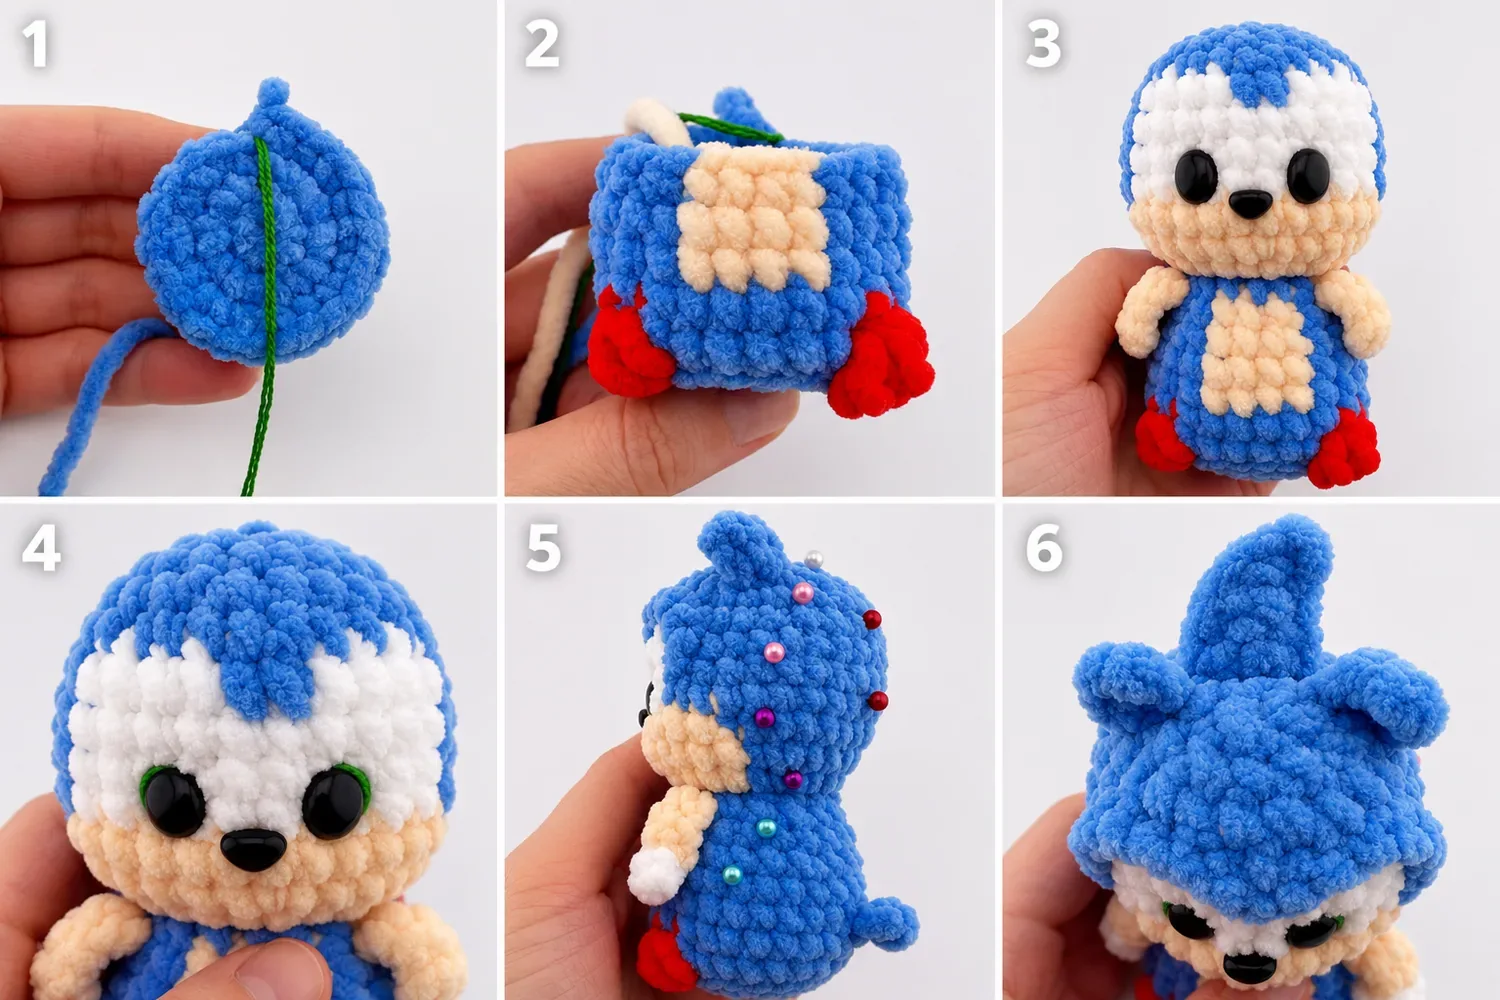
Yarn & tools
The original palette calls the face color “skin”; peach is a clear US-friendly color description. Keep the same color placement: blue for the main body, peach for the belly, muzzle, arms, and ear details, white for the gloves and face area, and red for the feet. Since plush yarn can make stitch tops difficult to see, feel for each stitch with your hook and use the marker at the center back. The pattern does not provide a gauge. Work tightly enough that stuffing cannot peek through, without forcing the hook through the yarn.
Before you begin
This pattern uses US terminology throughout. A stitch count in parentheses is the total number of stitches at the end of the round. The two chain extensions for the arms and the tail are worked into the project as described; they are not treated as extra body-round stitches in the listed counts.
Abbreviations: MR = magic ring; ch = chain; sc = single crochet; inc = 2 sc in one stitch; dec = single-crochet decrease over 2 stitches; sl st = slip stitch; hdc = half double crochet; hdc inc = 2 hdc in one stitch; dc = double crochet; tr = treble crochet; BLO = back loop only; FLO = front loop only. A puff stitch here means 3 dc worked together as one cluster. Parentheses followed by a repeat number tell you how many times to work that group.
Work in a continuous spiral unless a joining instruction is given. Move the marker up at the start of each round. The pattern calls for “shift stitches” after Rounds 8 and 12 to reposition the round start. It does not clarify whether those extra single crochets are included in the stated counts, so preserve the stated totals and check that your marker remains at the center back rather than silently adding them to the count.
The pattern
Use blue unless a color is specified. Stuff gradually as the body grows; it is much easier to distribute the filling before the opening becomes small. The body and head remain one piece.
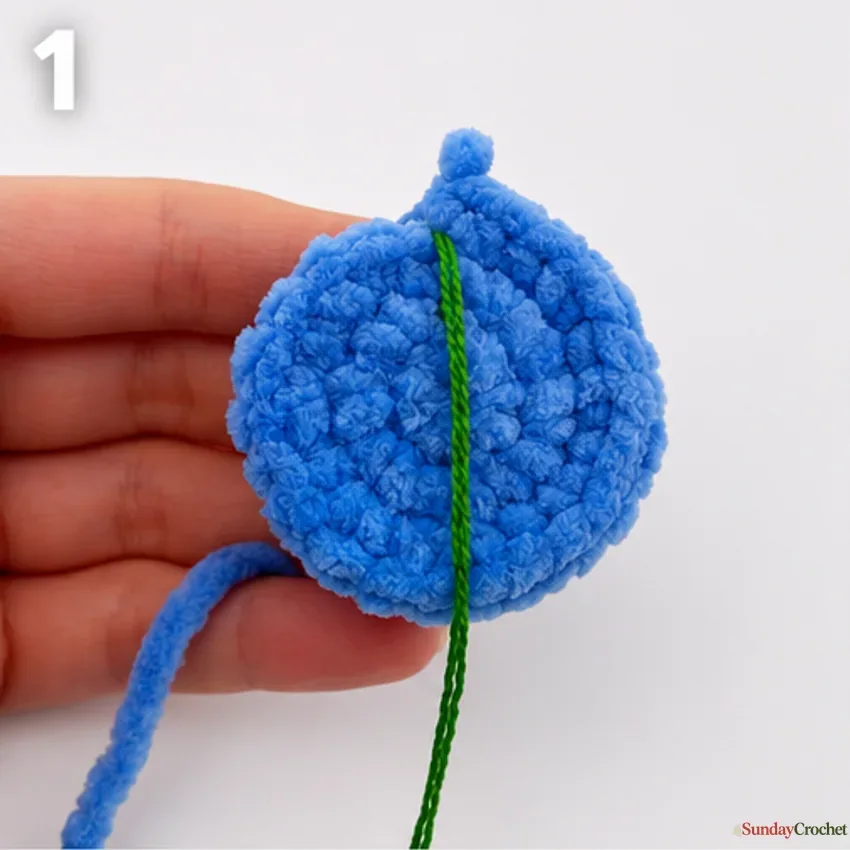
Round 1
Work 8 sc into a magic ring. Pull the ring closed. (8)
Round 2
Work 2 sc in each stitch around. (16)
Round 3
Repeat (1 sc, inc) 8 times. (24)
Round 4
Work in BLO for the blue stitches: 8 sc, 1 red puff stitch through both loops, 6 sc, 1 red puff stitch through both loops, 8 sc. The two puff stitches form the feet at the front. (24)
Round 5
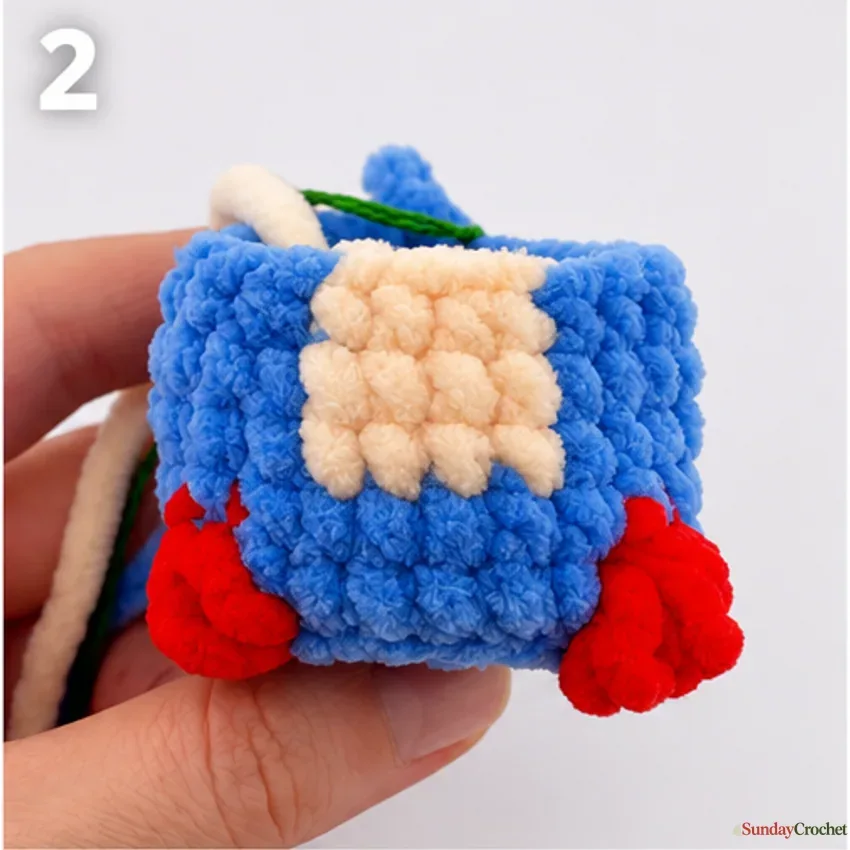
For the tail, ch 3 and begin in the second chain from the hook: work 1 sc, then 2 hdc in the next chain. Continue around the body with 24 sc. The written total for the body round is (24). The pattern does not explain whether the short tail extension is separate from the round count, so do not count its chain stitches as body stitches.
Round 6
Work 10 sc in blue, 4 sc in peach, then 10 sc in blue. Keep the peach section centered on the front belly and carry or change colors neatly at the color boundary. (24)
Round 7
Repeat Round 6, keeping the peach section centered on the front belly. (24)
Round 8
Repeat (2 sc, dec) 2 times, then work 2 sc, dec, 2 sc, dec, and repeat (2 sc, dec) 2 times. (18) Shift the round start by one sc if needed to keep the marker centered at the back; see the note above about how the shift is counted.
Round 9
Work 6 sc. For the first arm, ch 5 and begin in the second chain from the hook: work 4 sc in peach. Continue with 1 sc, 3 sc, 2 sc. For the second arm, ch 5 and begin in the second chain from the hook: work 4 sc in peach. Finish with 6 sc. The stated body count is (18). The pattern’s sequence describes the chain-made arms as extensions, not additional body stitches.
Round 10
Repeat (1 sc, dec) 6 times. (12)
Round 11
Work 12 sc around. (12)
The head starts without breaking the body yarn. Keep stuffing the neck and lower head evenly, leaving enough give for the safety eyes and nose to sit securely.
Round 12
Work in FLO: 3 inc, 6 hdc inc, 3 inc. (24) Shift the round start if needed. As with Round 8, the written instruction does not say whether the shift stitch is included in the total.
Round 13
Work 3 sc, inc, 1 sc, 2 sc, inc, repeat (3 sc, inc) 2 times, then work 1 sc, 2 sc, inc, 3 sc, inc. The stated total is (30). Count check: as written, this sequence appears to make 28 stitches, not 30. Stop and compare the stitch placement with the face progress photos before moving on; the written directions do not identify where the two missing stitches belong, so they should not be guessed.
Round 14
Work 7 sc in blue, 13 sc in peach, then 10 sc in blue. Keep the peach stitches across the muzzle area at the front. (30) Fasten off the peach yarn and secure the end.
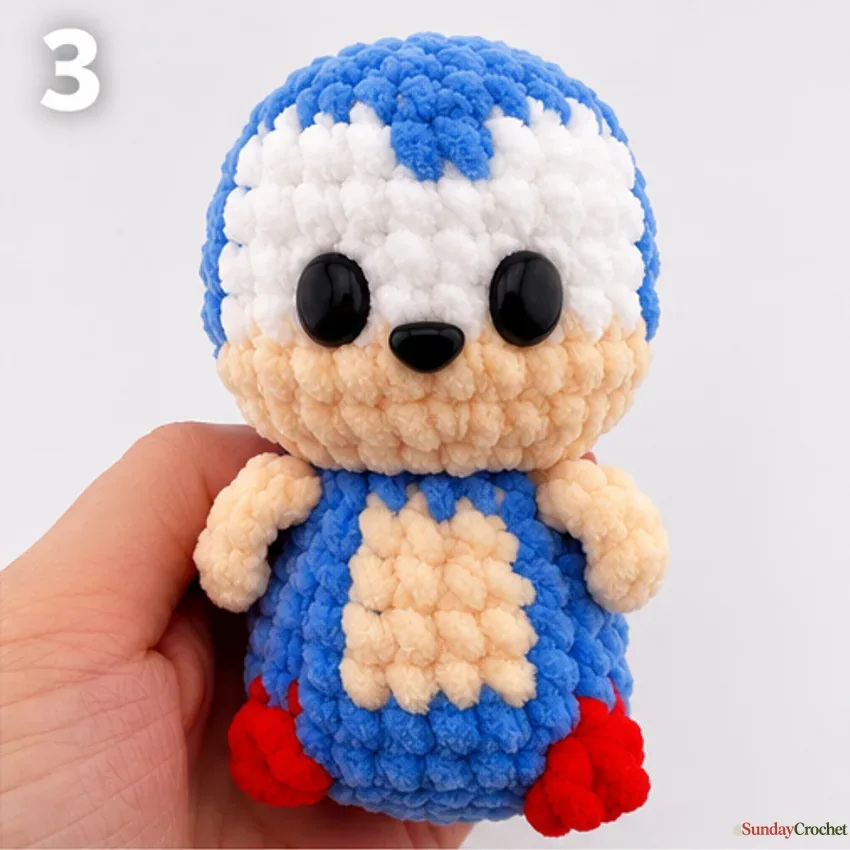
Round 15
Work 7 sc, dec, 10 sc in white, dec, then 9 sc. (28)
Round 16
Work 8 sc, 10 sc in white, then 10 sc. (28)
Round 17
Repeat Round 16. (28)
Round 18
Work 3 sc, dec, 4 sc, 3 sc in white, 2 sc, 3 sc in white, 1 sc, then repeat (3 sc, dec) 2 times. (25) Fasten off and secure the white yarn.
Round 19
Repeat (2 sc, dec) 6 times, then work 1 sc. (19)
Round 20
Repeat (1 sc, dec) 6 times, then work 1 sc. (13)
Round 21
Work 7 dec. The pattern lists a total of (7), but seven decreases normally require 14 stitches to work into, while Round 20 ends with 13. Check your live stitch count and do not force the last decrease into an absent stitch. The written pattern does not provide a correction. Once the opening is closed safely, fasten off and use a tapestry needle to draw the tail through the remaining stitches and hide it inside.
Face and finishing
Place the oval safety eyes between Rounds 15 and 16, leaving 4 sc between their stems. Place the 9 mm nose between the eyes, between Rounds 14 and 15. The eye-placement photo helps show the general alignment. Secure safety components firmly before closing the head, especially if the finished plush will be handled by a young child. Safety eyes and noses can be choking hazards and are not suitable for every age group.
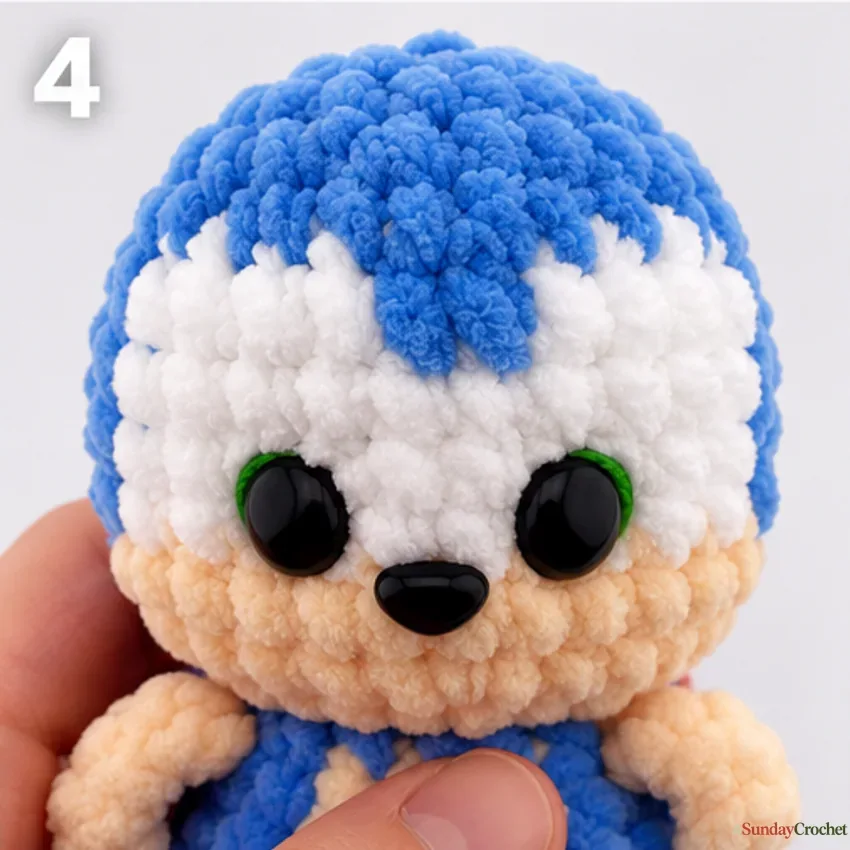
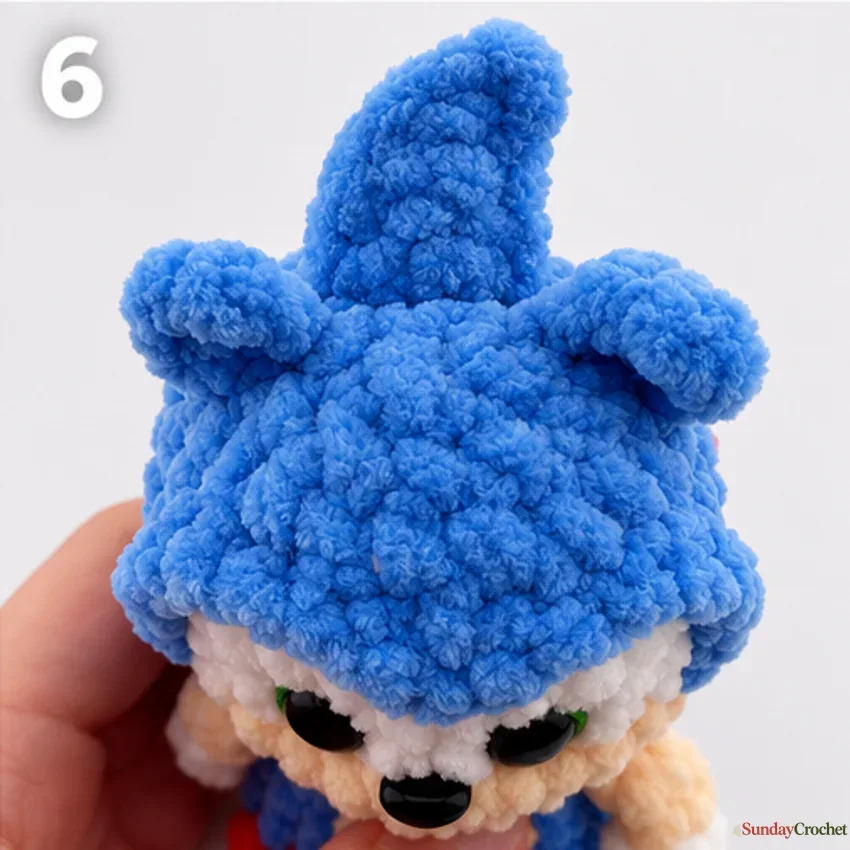
For each ear, use pins to mark the position first. Attach blue yarn between Rounds 19 and 20, ch 3, begin in the second chain from the hook, and work 1 sc and 2 dc into the next chain. Sl st into the body between Rounds 20 and 21. Embroider the inner ear with peach thread, fasten off, and hide the ends. Repeat for the second ear, matching its height and angle.
For the white glove cuff, attach white yarn at the edge of an arm and work into one stitch: ch 1, 2 hdc, ch 1, sl st. Fasten off with a long tail if you intend to sew or secure the edge, then weave the tail in firmly with a tapestry needle. The written instructions mention burning yarn ends; avoid that step because polyester fibers can melt, ignite, or cause burns. Needle-finishing is the safer option.
Embroider a small black mouth on Round 13, about 2 stitches long. Add the eye glints with doubled green thread on the outer side of each eye. The instructions say to crochet around the white muzzle with blue yarn but do not specify the stitch sequence or number of stitches. Work that outline only if you can follow the visible edge confidently; no exact count is supplied.
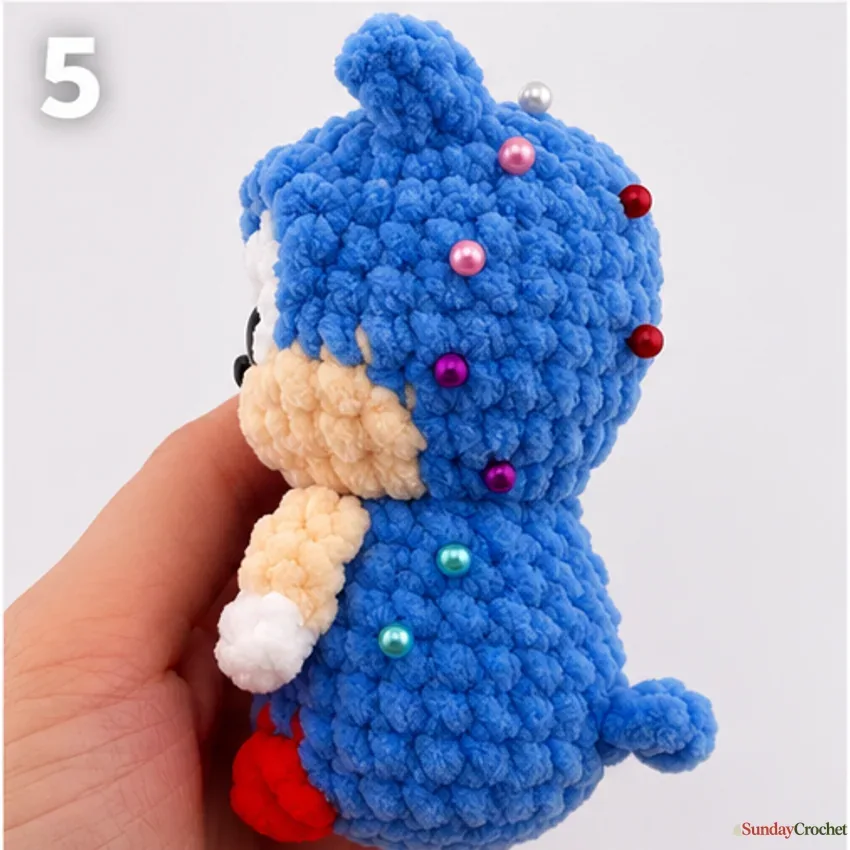
Mark the back-spine positions with pins before attaching yarn. Starting behind the ears, repeat this spike unit 5 times: ch 5, begin in the third chain from the hook, work 1 sc, 2 dc, and 1 tr. These form the three central and upper-side spikes. For the lower sides, repeat twice: ch 4, begin in the second chain, work 1 sc, 1 dc, and 1 tr. Fasten off and hide every tail. The pin-placement image shows the general path; the written pattern does not provide a numbered placement map, so use the sample shape as a visual guide and space the spikes evenly.
Common questions
How tall is the finished Sonic plush?
The listed height is about 11 cm, or 4.3 inches. Plush yarn, hook size, stuffing, and personal tension all affect the final size.
Is this pattern written in US or UK terms?
It uses US crochet abbreviations. For example, sc means single crochet, and dc means double crochet.
What gauge should I use?
No gauge is provided. Keep your stitches close and firm enough that the stuffing remains hidden, and use the specified 3.5 mm hook as your starting point.
Are the head and body sewn together?
No. They are worked continuously from the bottom of the body up through the head. The ears and surface spikes are attached after the main piece is finished.
What should I do if my stitch count does not match?
Recount before moving forward, especially in Rounds 13 and 21, where the written sequence and stated total conflict. The instructions do not give a correction for those rounds, so compare the shaping with the progress photos and avoid inventing extra increases or decreases. A marker and a consistent habit of counting each round make small amigurumi much easier to troubleshoot.