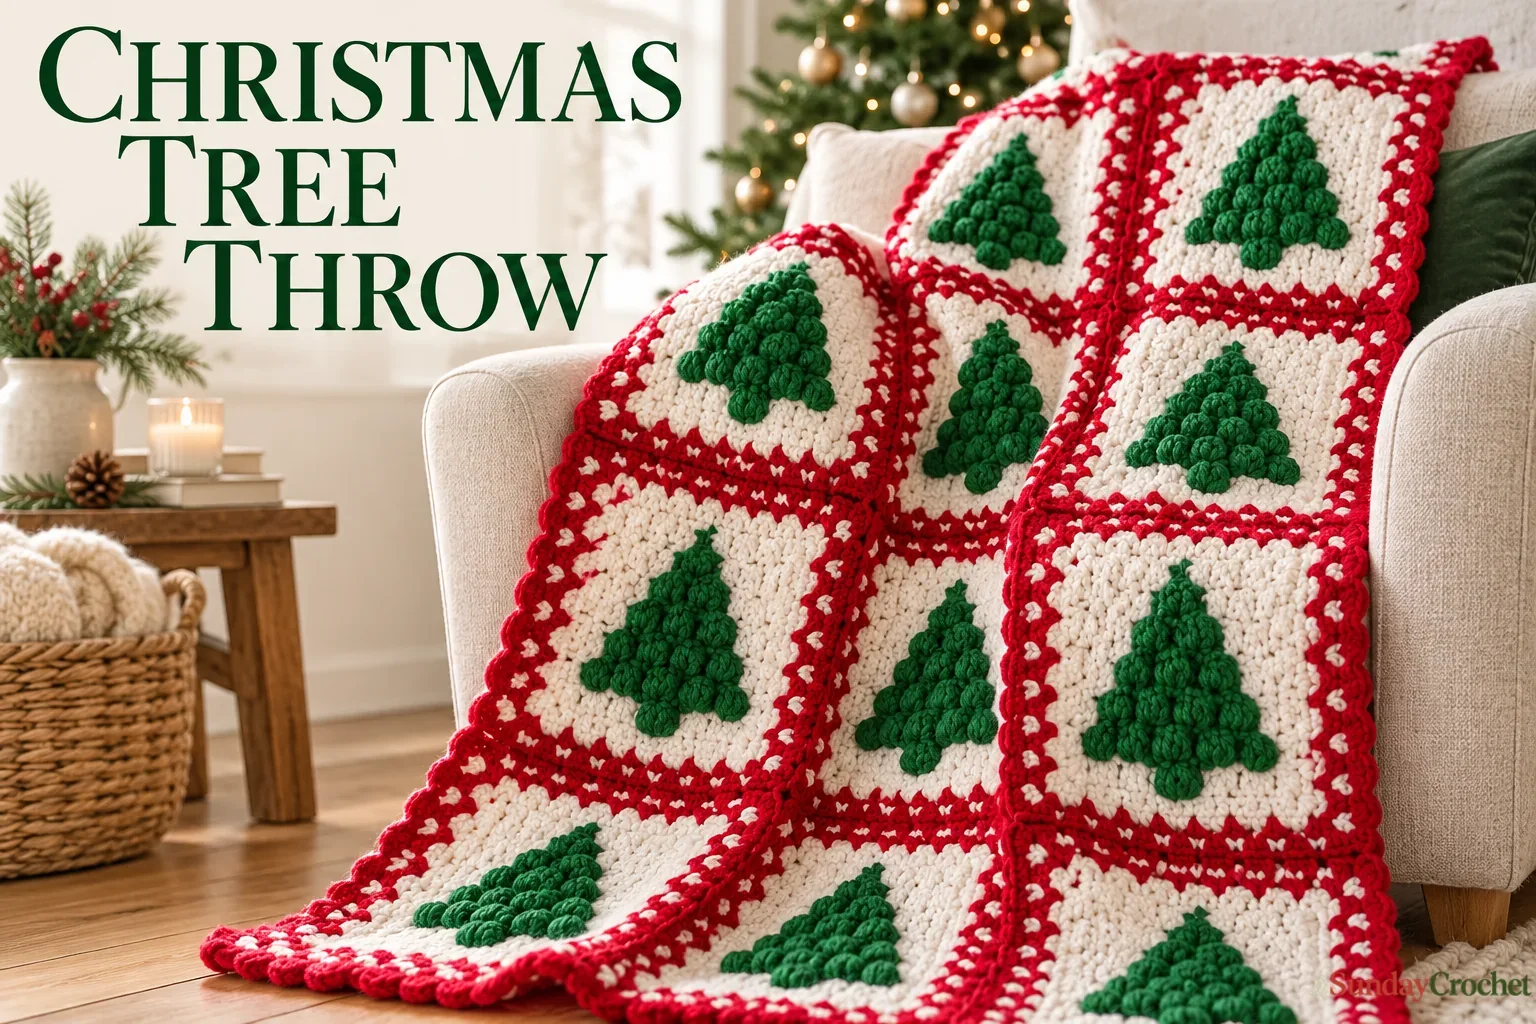
A 6-by-9 layout of raised tree squares makes a 42-by-63-inch throw. · Sunday Crochet
In this pattern
01 · Before you begin02 · Yarn & tools03 · Pattern notes04 · Abbreviations05 · Progress photos06 · The pattern07 · Joining and finishing08 · Common questionsBefore you begin
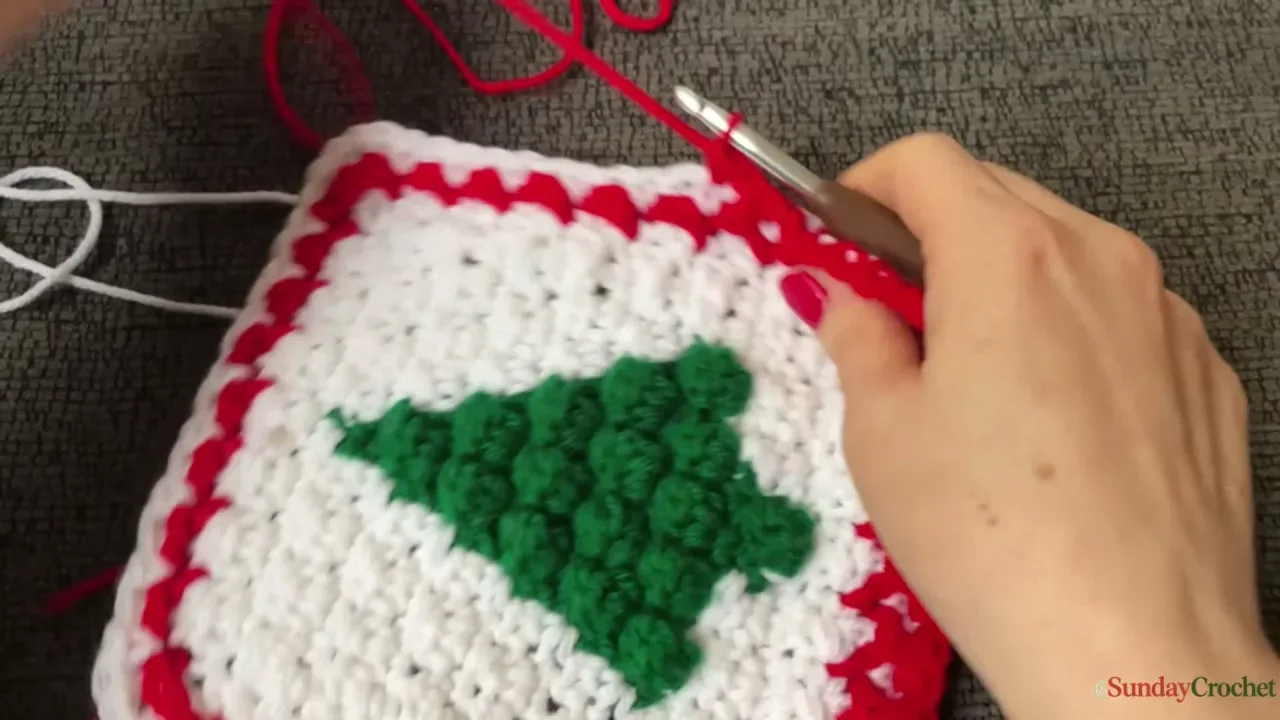
This vintage-style Christmas tree blanket is made from simple squares rather than one enormous piece worked back and forth. Each 7-inch block has a raised green tree against a cream background, framed by red and cream edging. Join 54 blocks in a 6-by-9 arrangement and the throw measures about 42 by 63 inches. That modular construction makes the project easy to pick up between other holiday preparations, and the puffed tree branches give the finished fabric a little dimension.
I’ll show you how I make the motif, keep the color changes tidy, edge each square, and join the blocks into a throw. The directions use US crochet terms. The square is worked in rows, with a 15-stitch width; its puff rows widen and then taper to shape the tree. The recommended yarn quantities and the motif gauge are given below. A formal stitch-and-row gauge is not stated, so use the 7-inch square measurement to check your tension.
Yarn & tools
The amounts are estimates for the full blanket, so your yarn use can shift with tension and the yarn you choose. The color arrangement is straightforward: ecru makes the field around the tree, green creates the tree, and red adds the decorative border. The sample uses Red Heart Super Saver. Smooth worsted yarn makes it easier to see where each color changes. If you substitute yarn, keep all three shades in the same weight and make a complete test square before committing to the full set.
Pattern notes
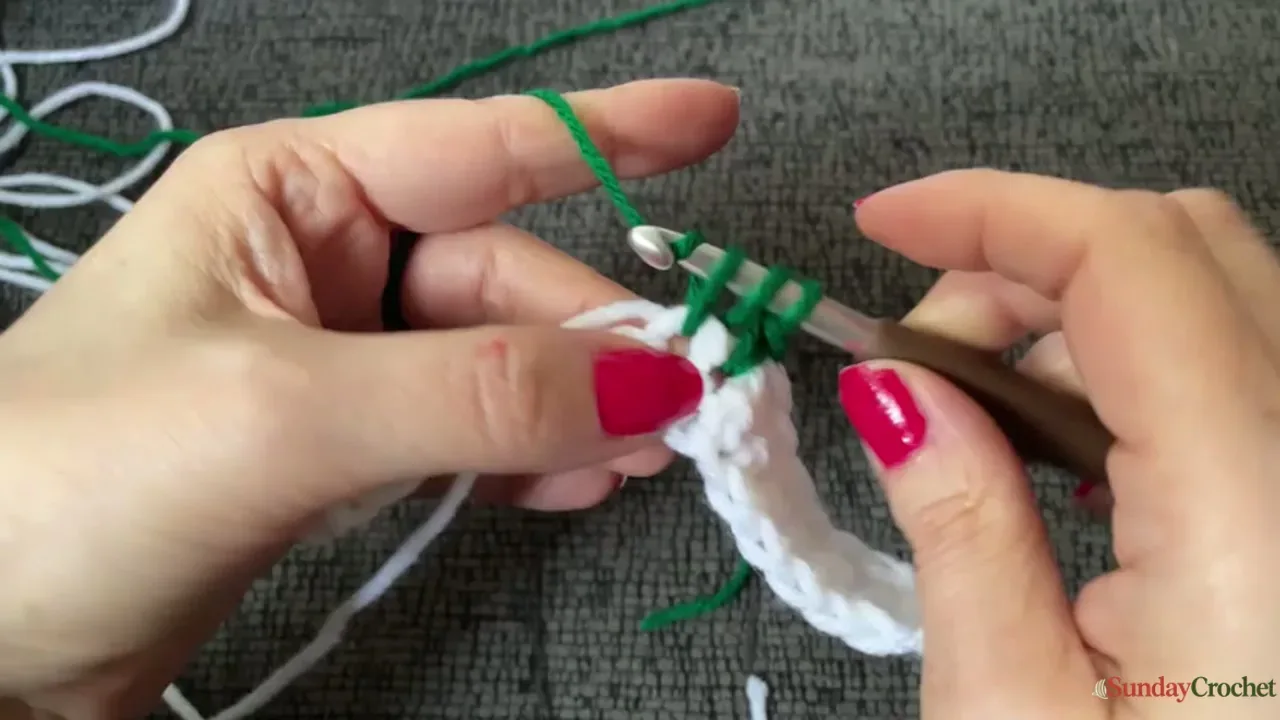
This is tapestry-style colorwork worked flat. Carry the inactive strand across the back of the work only where the motif needs it, and leave enough slack for the square to stay flat. Change colors on the final pull-through of the stitch before the new color begins. For example, stop the ecru double crochet with two loops on the hook, pick up green, and draw it through those loops. That makes the top of the stitch green while the stitch below remains ecru.
Each green puff is made from three partially completed double crochets worked into the same stitch and closed together. The instructions use tight single crochets immediately before and after each puff. Those snug anchors help the puffs sit forward and keep the carried ecru strand from showing through the front. Keep the puff loops relaxed enough to close, but do not loosen the anchoring single crochets.
The colorwork rows keep a total of 15 stitch positions across. A puff uses one position in the row, even though it contains several partial double crochets. On the return rows, single crochet across the width and change colors to follow the green motif. To check stitch terminology or written repeats as you work, this plain-language pattern-reading guide explains common crochet notation.
Abbreviations
- ch: chain
- dc: double crochet
- hdc: half double crochet
- sc: single crochet
- sl st: slip stitch
- st(s): stitch(es)
- yo: yarn over
- puff: three partial dc closed together in one stitch
The turning chain is not counted as a separate stitch when the row begins with a stitch worked into the first stitch. Count the actual stitch positions across the row. The edges alternate double crochet and single crochet to keep the square’s sides even, with a half double crochet at the row ends where specified.
Progress photos
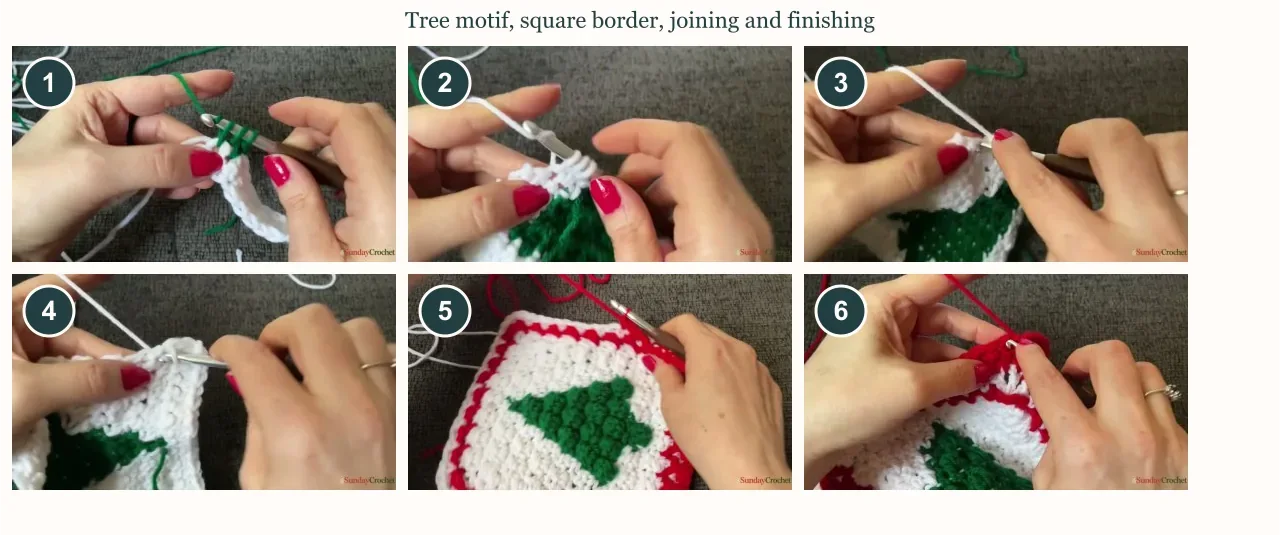
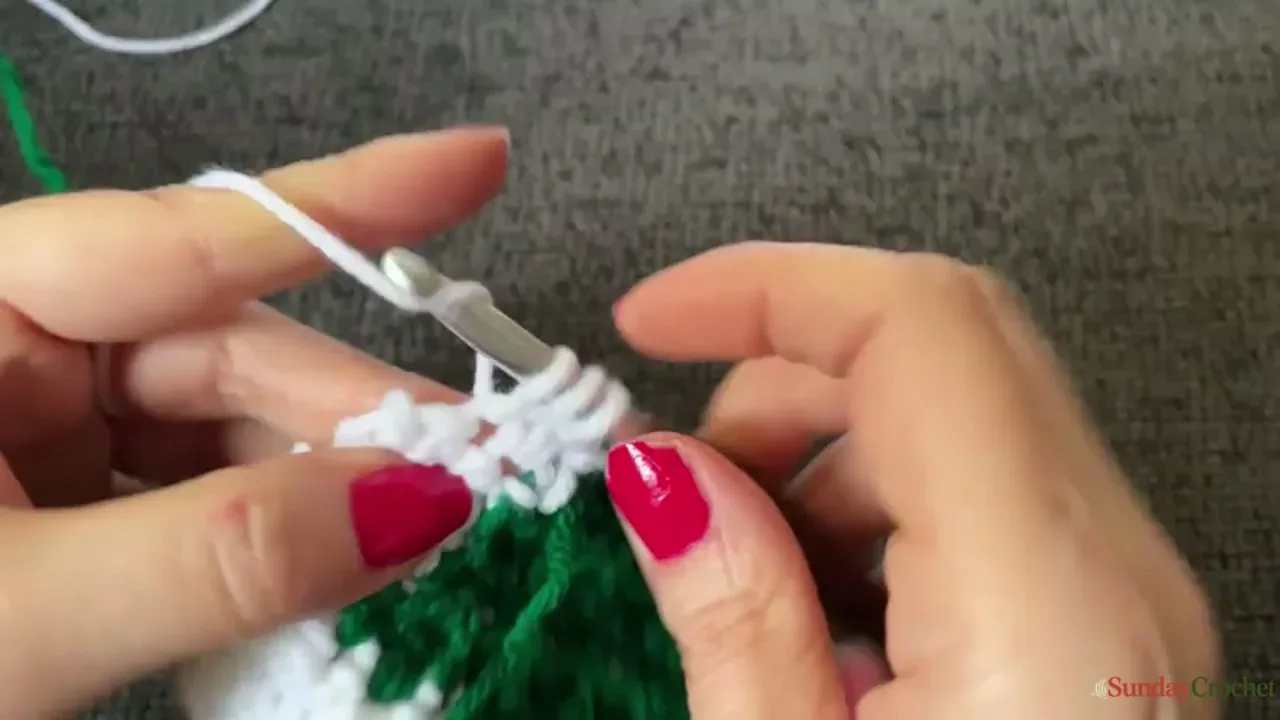
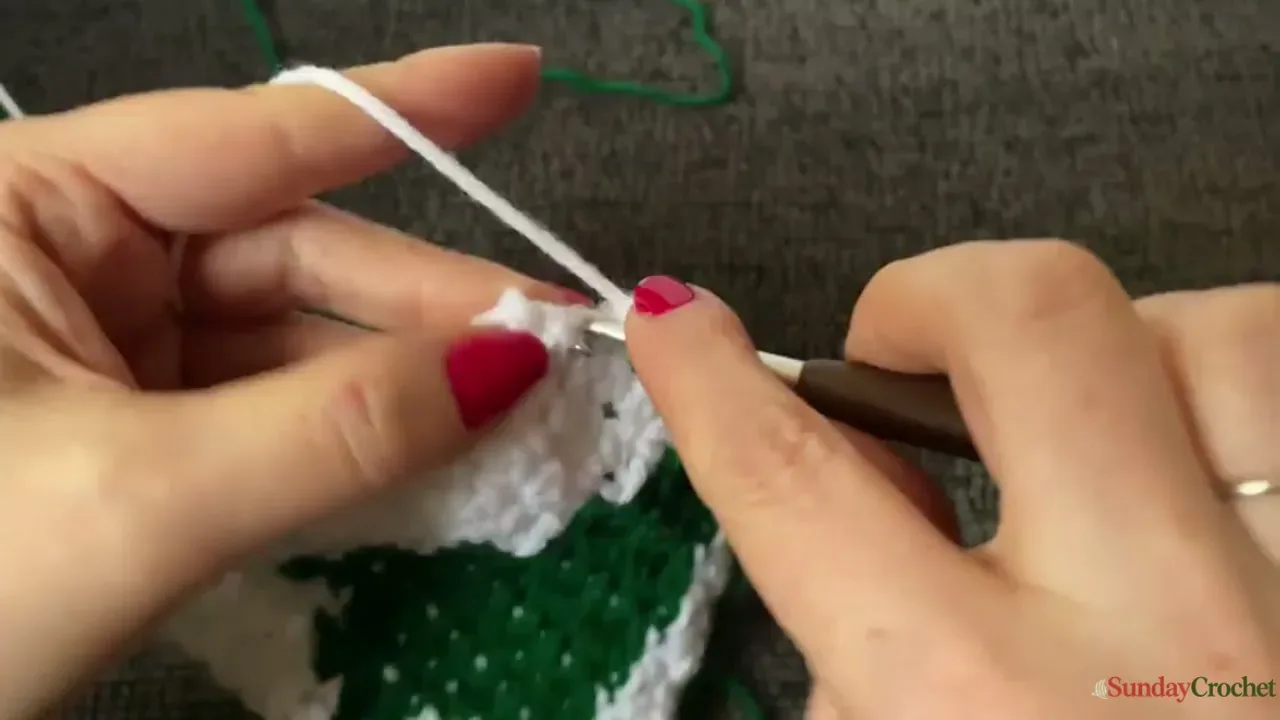
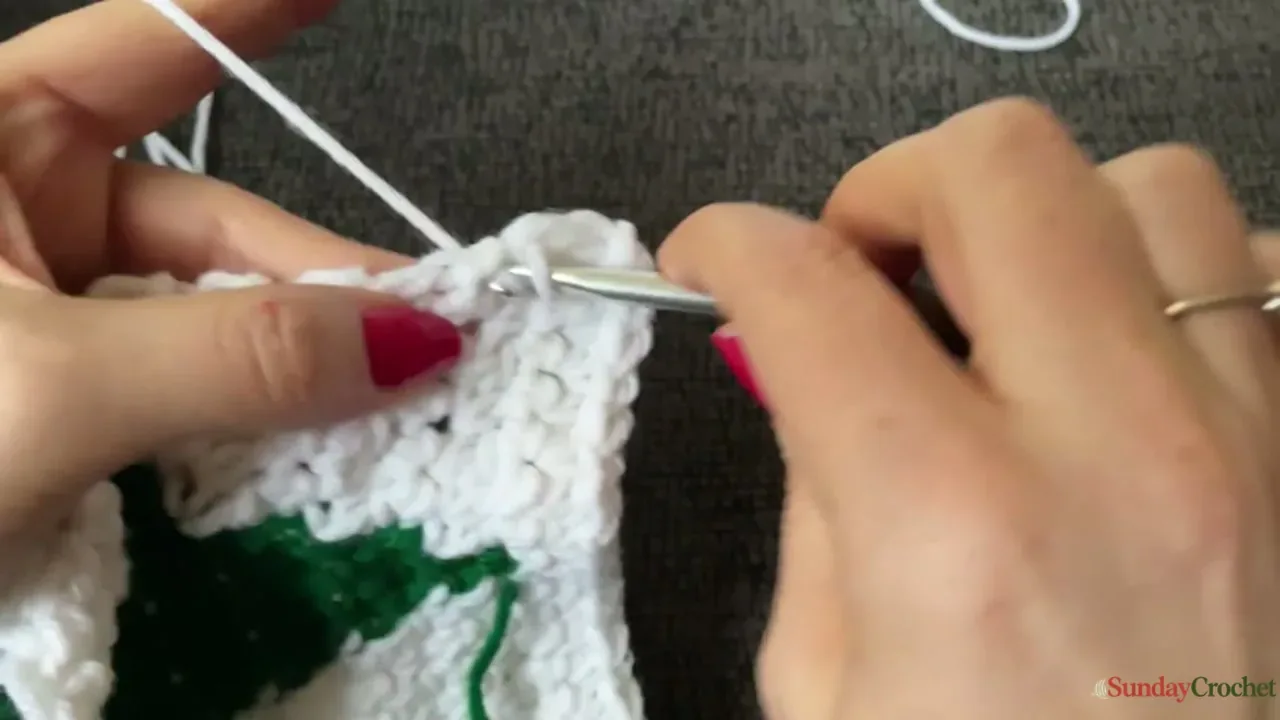
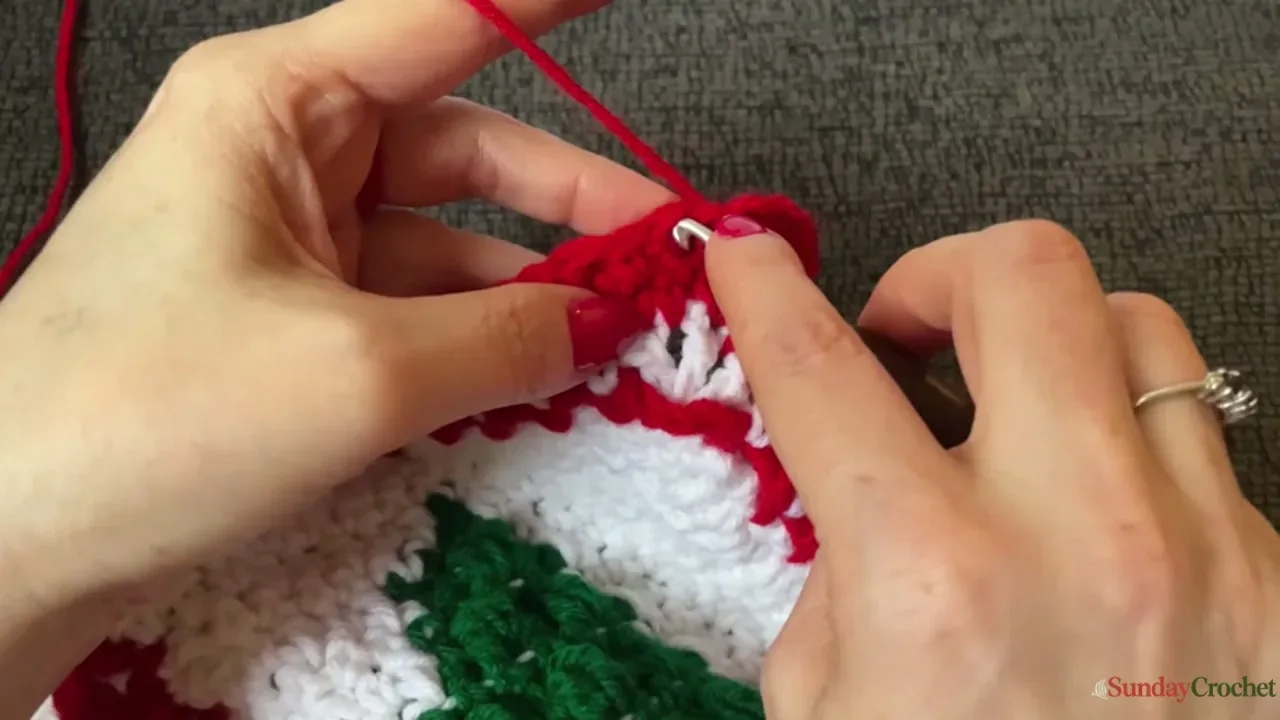
The pattern
Row 1
With ecru, make a slip knot and chain 16 loosely. Work a single crochet into the second chain from the hook and into each remaining chain across. Turn. Count: 15 sc. The beginning chain is only a foundation and is not included in the 15 stitches.
Row 2
Chain 1 and turn. Across the first six ecru edge positions, work hdc, dc, sc, dc, sc, dc. On the final pull-through of that last double crochet, change to green. Carry the ecru yarn loosely behind the green work. Make the centered green puff section: a snug sc, one puff stitch, and a snug sc. Change back to ecru on the final pull-through of the last green stitch. Mirror the edge rhythm on the far side with dc, sc, dc, sc, dc, and hdc. Count: 15 stitch positions.
Row 3
Chain 1 and turn. Work single crochet across all 15 positions, changing to green over the tree section and back to ecru at its edge. Keep the color changes aligned with the puff section from the previous row, and carry the unused strand behind the fabric. Count: 15 sc.
Row 4
Chain 1 and turn. Begin with the ecru half double crochet, then start the next double crochet and finish its last pull-through with green. Work five green puff clusters across the widest tree section, keeping a tight single crochet at the beginning and end of each cluster unit and between the puffs as shown. Change back to ecru on the final green stitch. Finish with the ecru edge stitches, ending with dc and hdc. Count: 15 positions across; 5 green puffs.
Row 5
Chain 1 and turn. Work one ecru single crochet, begin the next single crochet and complete it with green, then work 10 green single crochets across the tops of the tree clusters. Complete the tenth green single crochet with ecru, then work the final three ecru single crochets. Carry the unused color loosely on the back. Count: 15 sc total; 10 green sc in the tree section.
Row 6
Chain 1 and turn. Work the ecru edge stitches, change to green on the final pull-through before the motif, and make four green puff clusters across the tree. Use snug single crochet anchors around the puffs. Change back to ecru before finishing the other edge with the dc/sc rhythm and half double crochet. Count: 15 positions across; 4 green puffs.
Row 7
Chain 1 and turn. Work the return row in single crochet, carrying ecru behind the center and working eight green single crochets across the tree. Change back to ecru on the last green stitch and finish the remaining stitches to the edge. Count: 15 sc total; 8 green sc in the tree section.
Row 8
Repeat the puff-row method, reducing the green section to three puff clusters. Keep the edge stitches in ecru, change colors on the final pull-through before each color section, and maintain the total width. Count: 15 positions across; 3 green puffs.
Row 9
Work a single-crochet return row with six green single crochets across the tree. Complete the last green stitch with ecru and continue to the edge. Count: 15 sc total; 6 green sc in the tree section.
Row 10
Work a puff row with two green puffs, using the same three-part puff and tight sc anchors. Continue the ecru edge rhythm and keep the square flat. Count: 15 positions across; 2 green puffs.
Row 11
Work a single-crochet return row with four green single crochets across the narrowing tree. Finish the color change with ecru and single crochet to the far edge. Count: 15 sc total; 4 green sc in the tree section.
Row 12
Work one green puff at the center, with the snug single crochet anchors and the ecru edge stitches on either side. Count: 15 positions across; 1 green puff.
Row 13
Work two green single crochets on the return row to complete the small upper tree section. Complete the final green stitch with ecru and continue across. Count: 15 sc total; 2 green sc in the tree section.
Row 14
Work the final narrow colorwork row using the edge sequence established in Row 2. Shape the top with the last small green stitch section, complete its final pull-through with ecru, and cut the green yarn after the color change. Keep the double and single crochet edge stitches in their alternating order. Count: 15 stitch positions.
Row 15
Chain 1 and turn. Work one plain row of single crochet across, using ecru and picking up any carried strand only where needed to secure it. Count carefully from the first edge stitch to the last. Count: 15 sc.
Square edging
Do not cut the ecru after Row 15. Chain 1 and work a corner into the first stitch: sc, ch 2, sc. Along the side, use the alternating dc and sc spacing shown, skipping one stitch before the next sc, and finish with a dc before the next corner. Repeat the corner and side sequence around the square, using the foundation chain for the top edge. Join with a slip stitch in the starting corner. The written directions do not give a total perimeter stitch count; keep the corners consistent and repeat the same spacing on each side.
Join red just after a corner. Chain 1 and sc in the same stitch. Repeat ch 2, skip the next dc, sc in the next stitch along the side. At each corner, work the red sc into the first corner stitch, ch 3, then sc into the next corner stitch. Finish with ch 3 and slip stitch to the starting red sc. This makes the open red arches that frame each cream square.
Join ecru in a red sc just after a corner, ch 1, and sc in the same stitch. Across each side, work a dc into each skipped ecru double crochet, then sc into the next red sc. At each corner, work dc, ch 1, dc, ch 1, dc in the corner space, then continue the same alternating repeat. Slip stitch to join. Perimeter count: not specified; the square has four matching corners and identical repeats along each side.
Joining and finishing
Make 54 squares, each approximately 7 inches square. Lay them out in six columns and nine rows, with all trees facing the same direction. This gives an approximate finished size of 42 by 63 inches before any change caused by joining or blocking. Check the arrangement in daylight so the red, green, and cream blocks look balanced before you connect them.
The demonstrated join is a raised single-crochet seam. Place two squares with their right sides facing outward and align the edge stitches and corner chain spaces. With the joining yarn, work a single crochet through the matching edge spaces of both squares, moving across one pair at a time. At the corners, join through the corresponding chain spaces so the seam remains continuous. The raised ridge becomes part of the blanket’s texture. Join the blocks into strips first, then join the strips into the 6-by-9 rectangle. There are no separate pieces to stuff; this is a flat throw assembled from motifs.
Weave in the yarn tails with a tapestry needle, following the back of the same color where possible. Secure the colorwork tails without pulling the fabric tight, then trim the excess. The outer edge can be left as it is or tidied with a simple round of green single crochet or reverse single crochet. That optional final round is not assigned a stitch count, so work evenly around and add enough stitches at the corners for the blanket to lie flat. If the squares need a little help settling, use a gentle blocking method suited to your yarn and pin them to the 7-inch measurement before joining.
Common questions
How many squares make the throw?
The layout uses 54 squares, arranged six across and nine down. At approximately 7 inches per square, that makes a throw around 42 by 63 inches before joining and finishing.
What gauge should I use?
The motif gauge is one square measuring 7 by 7 inches. No separate stitch-and-row gauge is provided. Make one complete square with your chosen yarn and hook, then measure it before making the remaining 53.
What is the skill level?
Confident beginner is a useful expectation. The fabric uses basic stitches, but you will change colors in the middle of rows, carry yarn, make puff clusters, and join many squares. Practice the color change and puff on a small swatch before starting the blanket.
Does the blanket need stuffing?
No. The tree puffs create the raised texture, and each square remains a flat motif. The 54 squares are joined edge to edge to make the blanket.
Can I change the colors?
Yes. Keep the ecru or another light shade as the background, choose a contrasting green for the tree, and use a border color that stands out clearly. If you change the palette, make a test square first to check that the green motif remains easy to see.